Good morning, friends, and welcome back to the October
Papertrey Ink countdown. We're on Day 4 and today we're introducing Dawn's
Blooming Amaryllis stamp set and
Say It Simply: Merry & Bright die and my
Winter Window stamp set. Let's get to it!
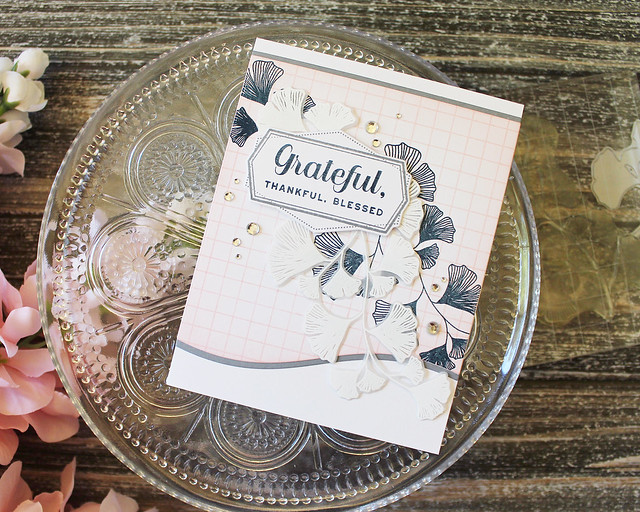
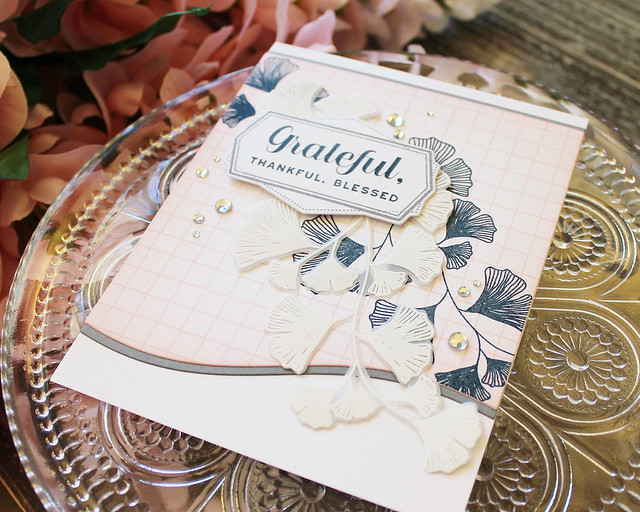
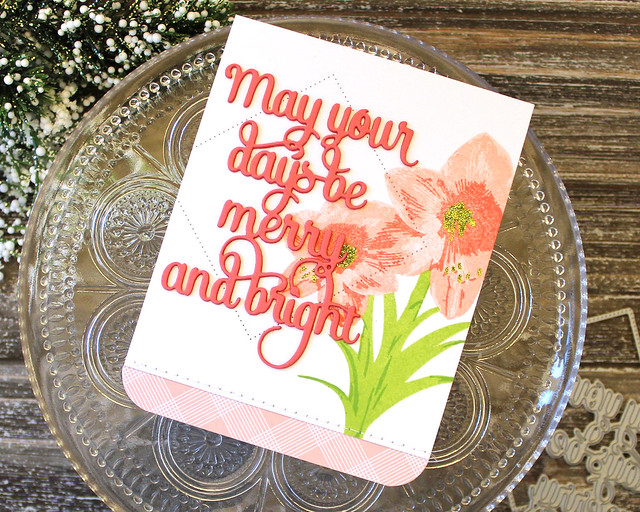
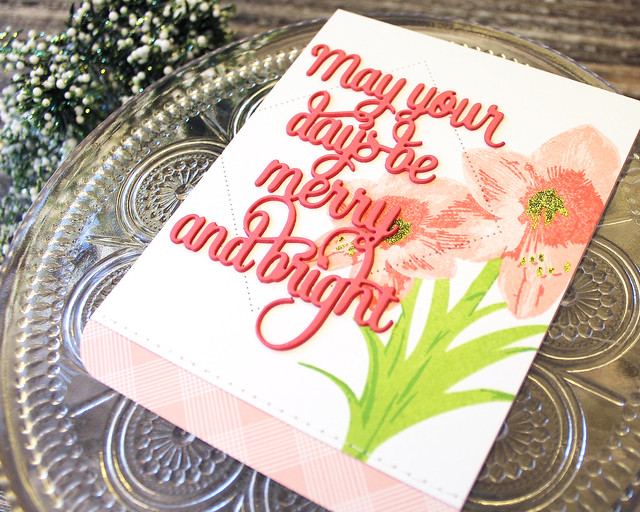
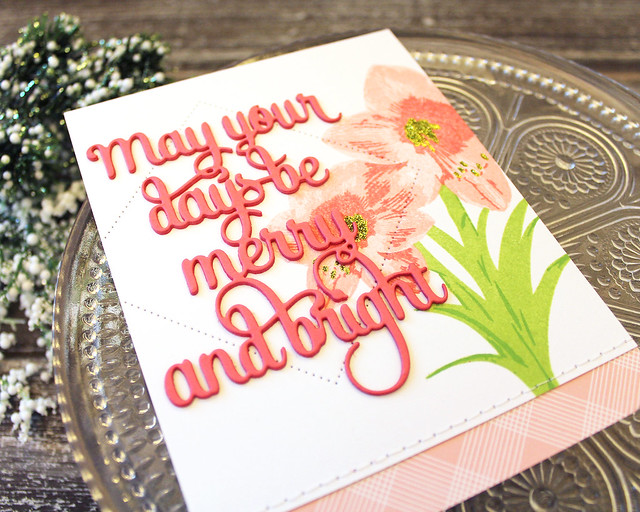
I'm going to start today with a card pairing
Blooming Amaryllis and the
Say It Simply: Merry & Bright die. We get amaryllis bulbs every year and some of my very favorites have been giant pink varieties, so that's the style I recreated on today's card.
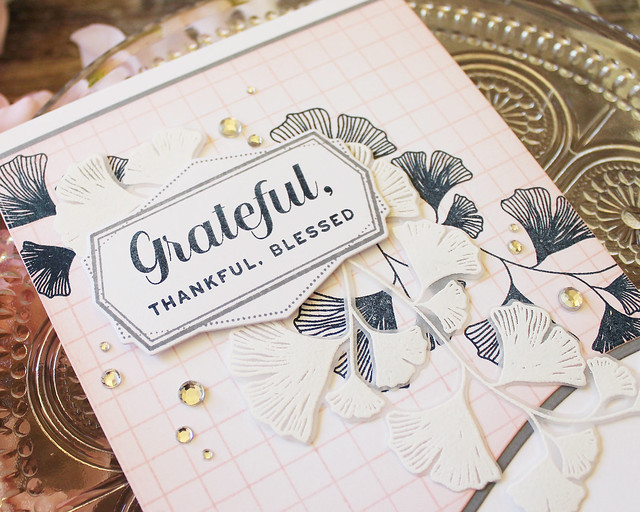
I began by stamping the amaryllis blooms in Sweet Blush, Pale Peony, and Berry Sorbet onto a white panel. I also stamped the stems in Green Parakeet and New Leaf inks. I stamped the flower centers and stamens in Green Parakeet and then embellished them with Golden Beryl glitter to give them sparkle.
I die cut the
Shape Shifters: Square 3 dotted border into the amaryllis panel before stitching it to a decorative strip of Bitty Big: Pale Peony patterned paper. I adhered the card front to a Sweet Blush card base and rounded the bottom corners before setting it aside.
Next, I xyroned a piece of Berry Sorbet cardstock and die cut three Say It Simply: Merry & Bright shapes. I stacked them to give dimension and then adhered them to the front of the card. I can't wait to use this set again! There are so many amaryllis colors and I'm super excited to recreate as many of them as I can.
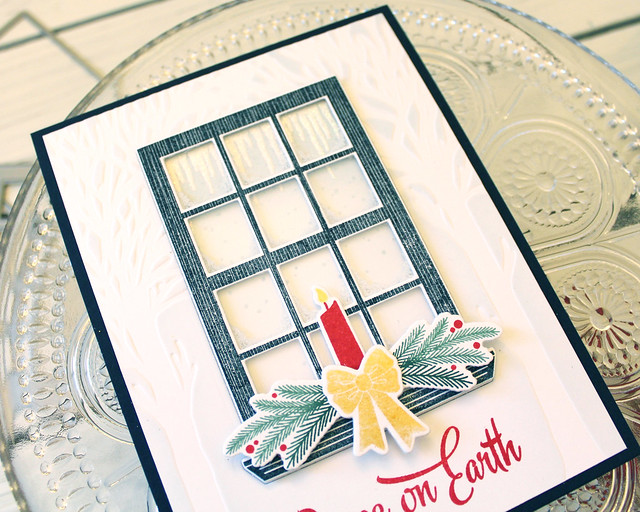
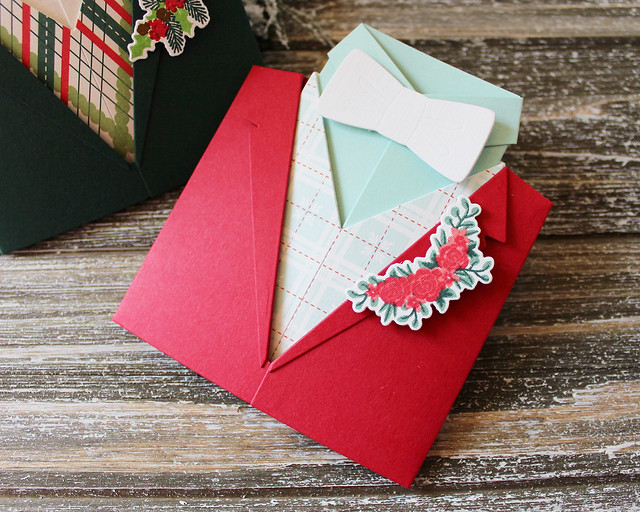
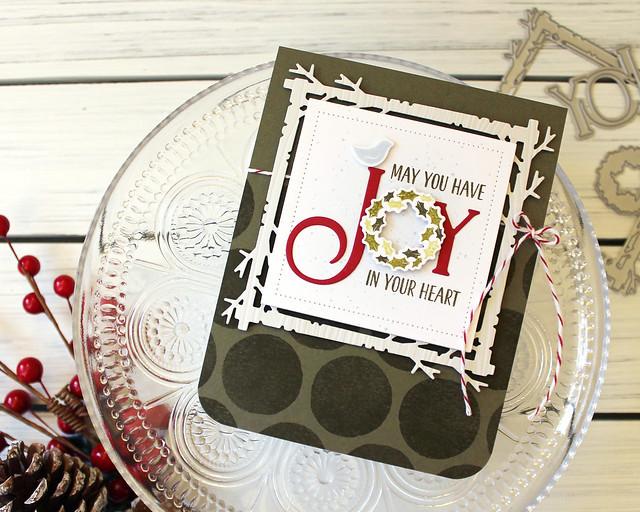
My second card for the day features my new
Winter Window stamp set. I have wanted a set like this for a very long time and I'm thrilled it is finally here! This set is inspired, for better or worse, by the...vintage...windows in our house. When it gets cold outside they get this romantic, glittering, frosty look that makes everything outside look like it stepped right out of a storybook.
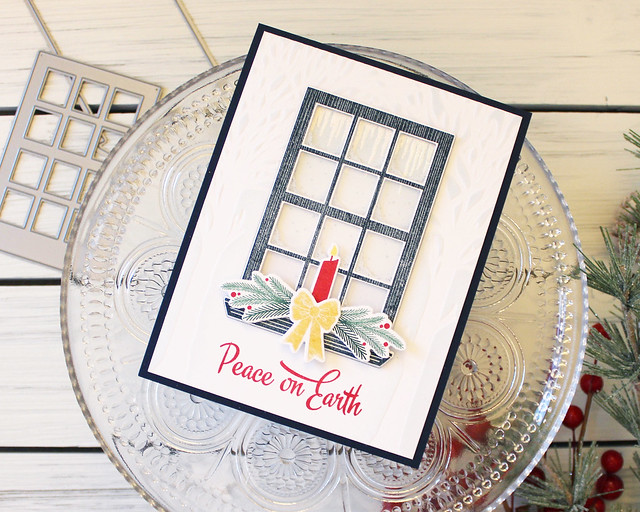
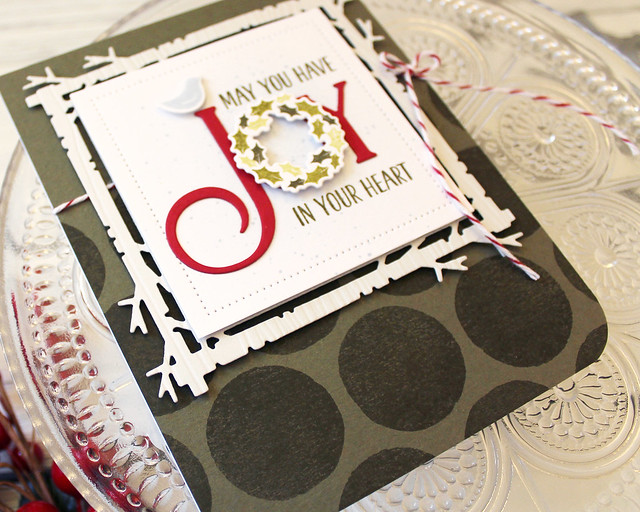
I wanted to incorporate those frosty windows in my card today, so I started out by die cutting the window out of white cardstock and clear cardstock. I used the paned window die for the white cardstock and the open window die for the clear. I stamped the window onto a piece of scrap paper first and temporarily adhered the clear cardstock over it. Then, I stamped the frost in Cotton White Stazon onto the clear cardstock, using the scrap paper window underneath as a guide. Next, I stamped the window image onto the white cardstock die cut and adhered the clear cardstock to the back. You could very easily make this a shaker element, but I chose not to do that this time. Soon though. Soon!
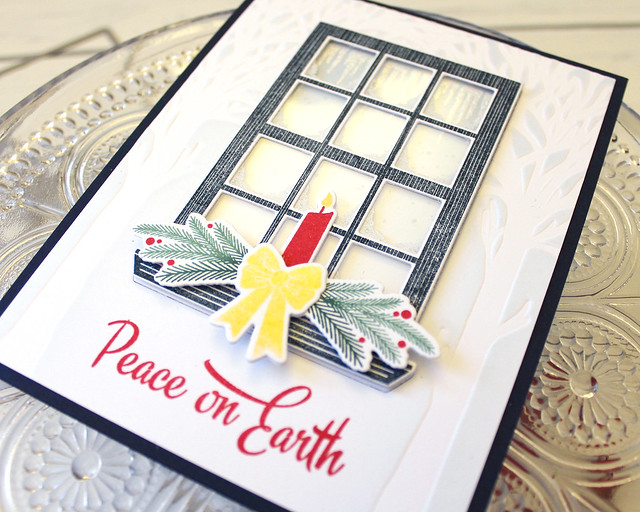
I sponged some Spring Rain ink onto a scrap of white cardstock before die cutting it with the open window die. I stamped it with the snowy pattern included in the set and then heat embossed the icicles twice (once in white and once with holographic powder). I die cut the window shape from a panel of white cardstock before stenciling it and texturing it with the
Fairy Tale Christmas Stencil Collection. We live in the woods, so this stencil is definitely a favorite.
I stamped my sentiment before adhering my woodland panel to a Dark Indigo card base. Then, I inlaid my snowy/icicle window into the opening I had previously die cut and attached the layered window to the card front with foam tape. I wanted to give my window a touch of festive flair, so I stamped and die the pine swag and candle. I used Versamark and pigment powder for the bow, adding a touch of gold metallic to the arrangement. I am so, so excited about this set, friends. I already have an autumn variation of this design in the works that I promise to share with you very soon.
Thank you so much for joining me today! I'll be back tomorrow with even more of this month's knockout release. In the meantime,
Amy,
Betsy,
Dawn,
Heather,
Laurie,
Melissa B,
Melissa P,
Michelle,
Stephanie, and
Kimberly all have projects to share that you won't want to miss. See you soon!
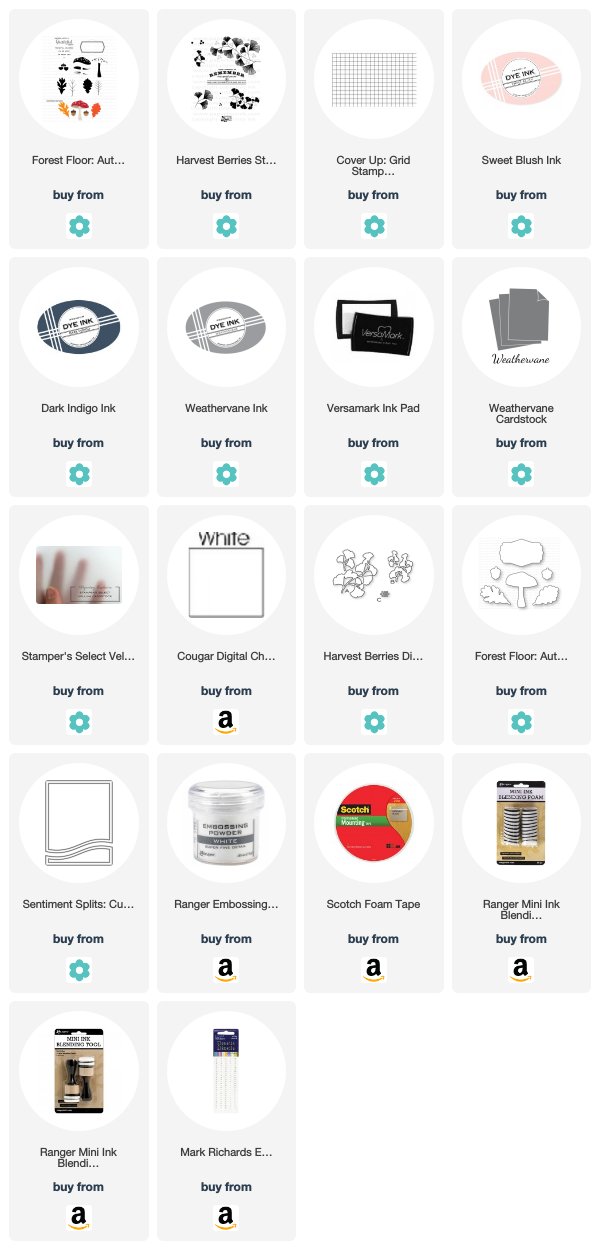
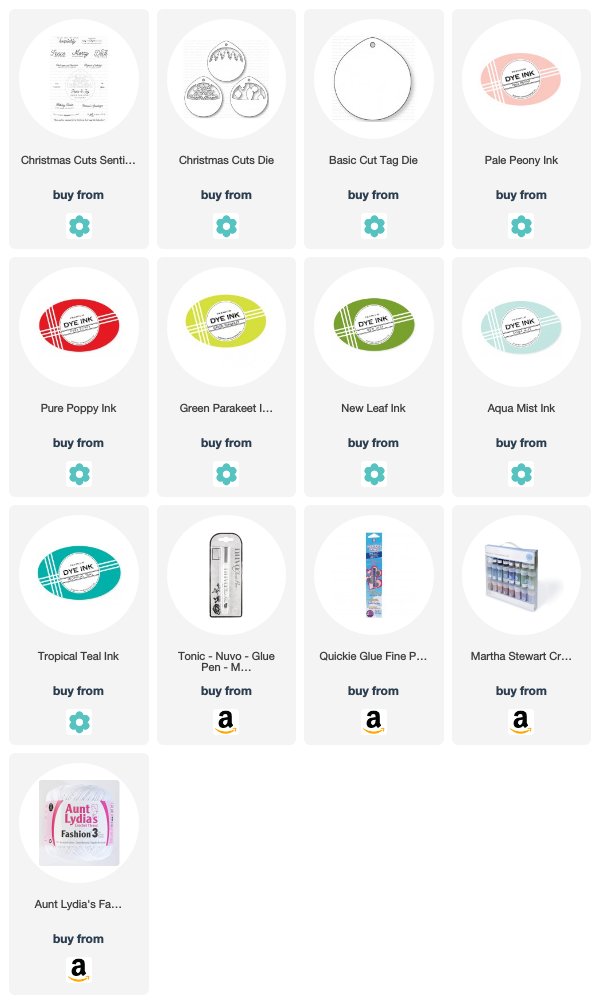
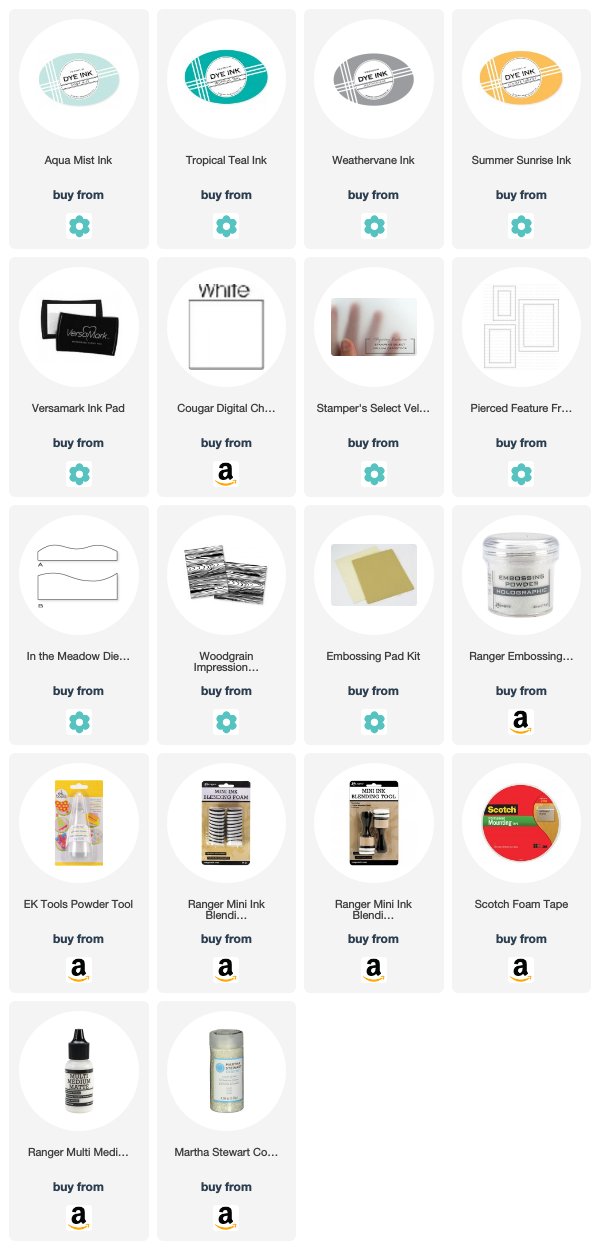
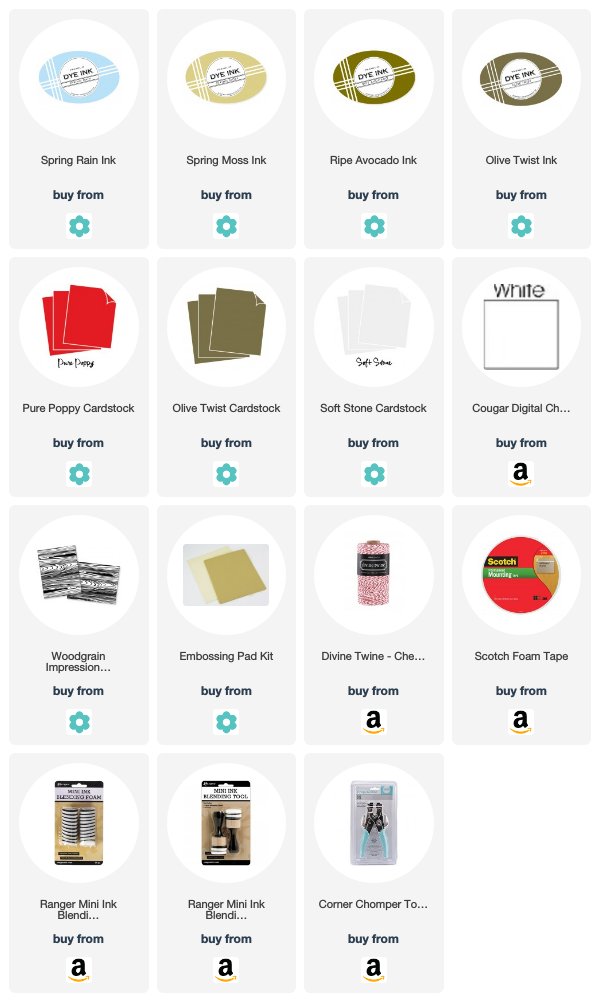
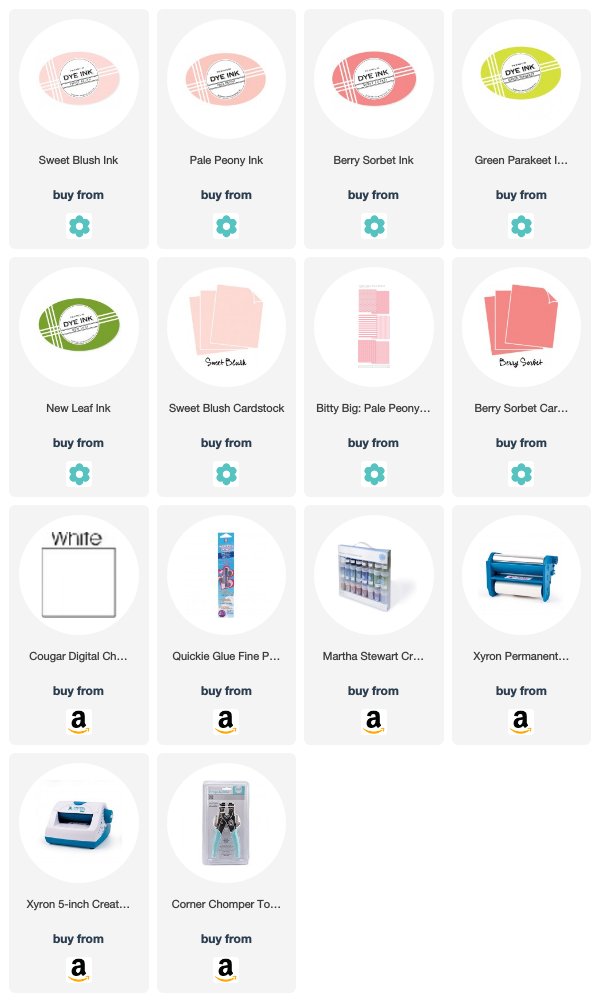
Supplies:
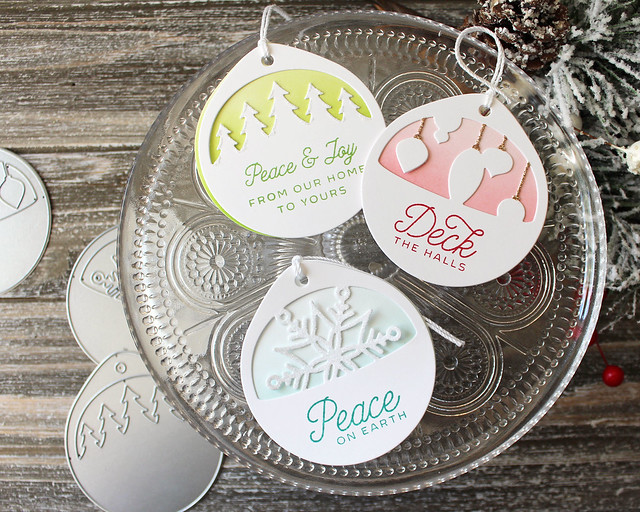
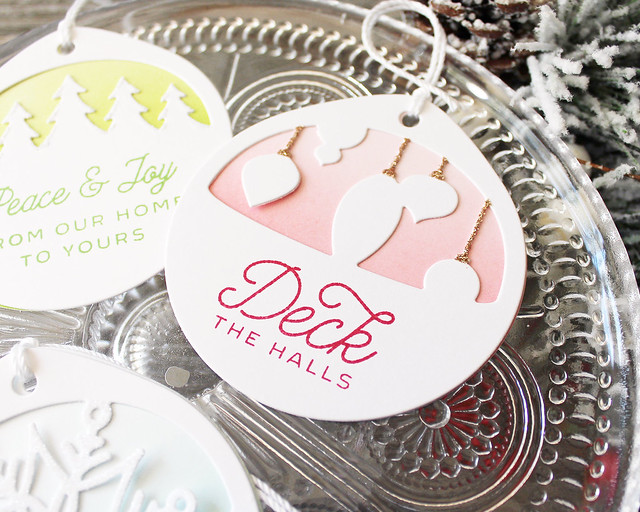
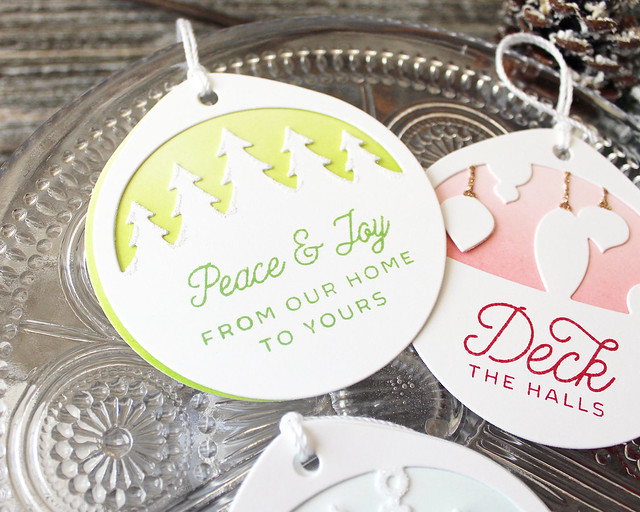
Merry & Bright Card
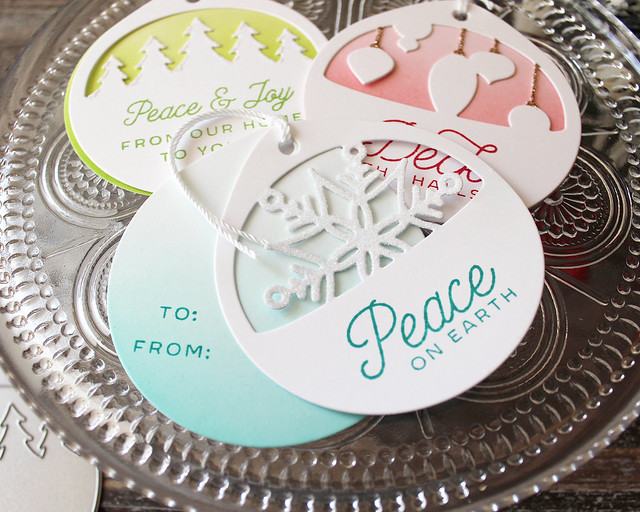
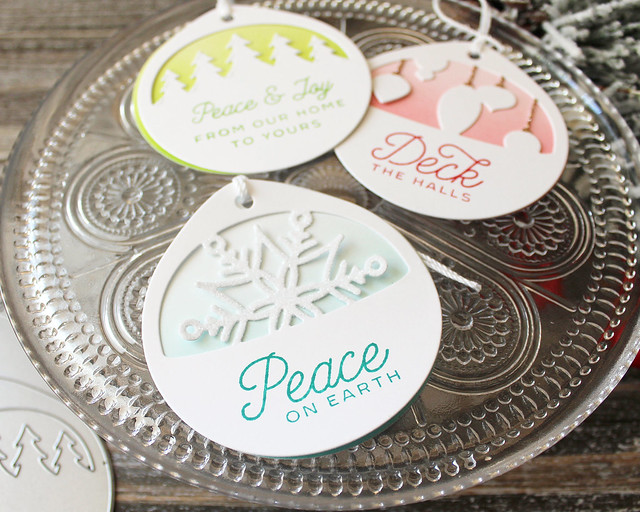
 Peace On Earth Card