Hello, friends, and welcome to this month's
Papertrey Ink Simple To Spectacular feature. This month, I'm showcasing the Secret Agent stamp set. When Secret Agent debuted I remember thinking it was one of the most innovative and unique stamp sets I had ever seen. At the time, my nephew was a little too young to really get excited about spies, mysteries, and all things cloak and dagger. That has certainly changed! I thought it might be fun to use this challenge to create a non-traditional Valentine for him, along with a couple extras I can have on hand for other kiddos that might also get a kick out of a cute, retro detective.
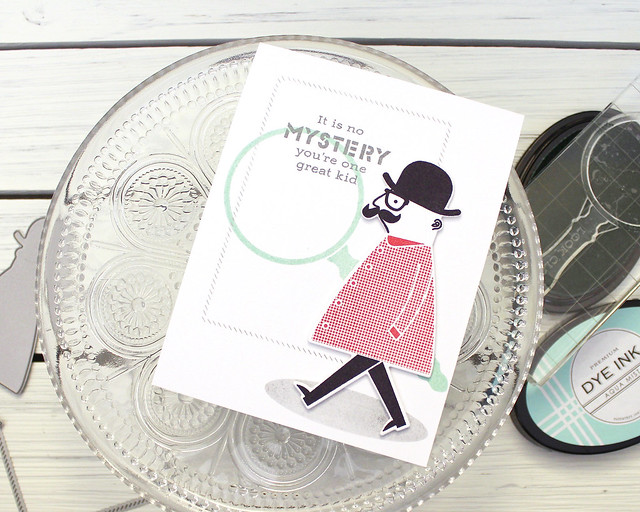
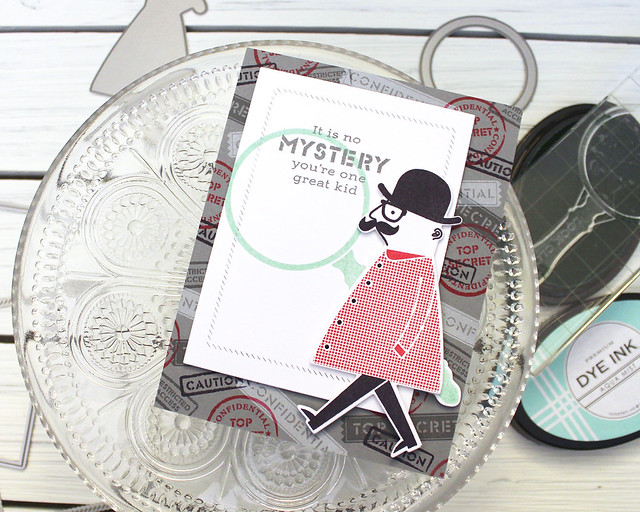
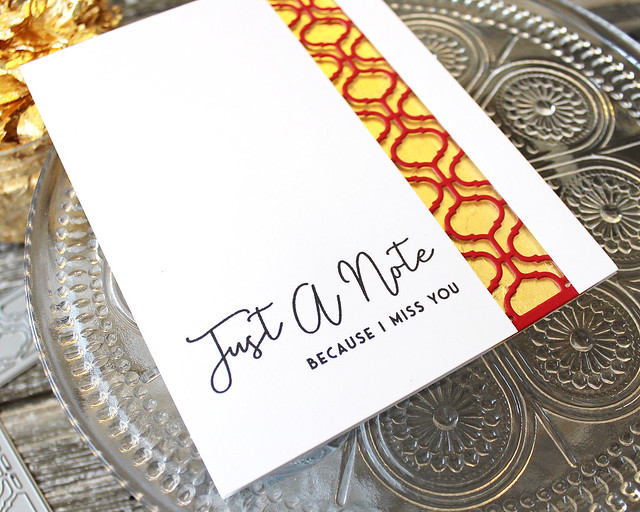
Let's start with my Simple card, shall we?
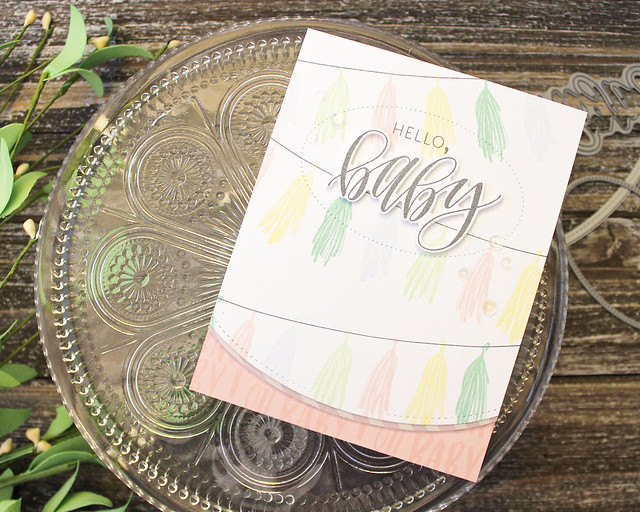
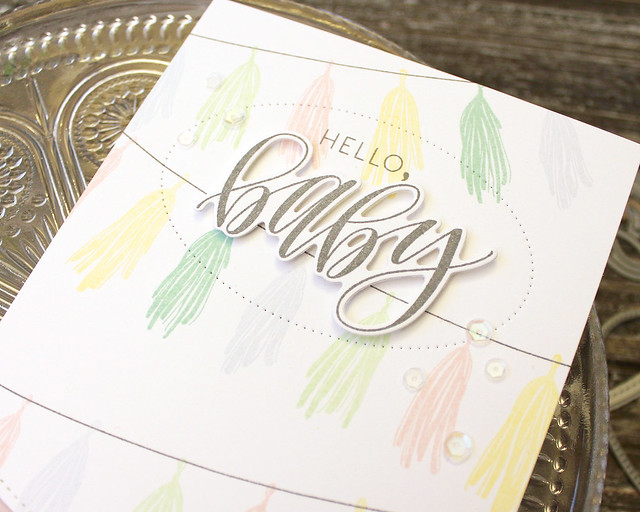
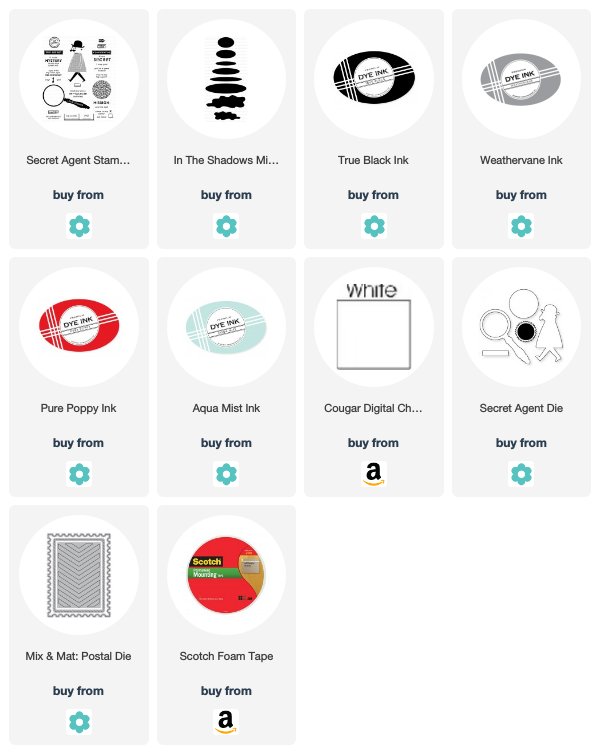
I wanted to keep this design really clean and uncluttered to allow that adorable detective to take center stage. I began by die cutting the striped border into my white card base using the center die in the Mix & Mat: Postal die. I stamped the sentiment in Weathervane and the large magnifying glass in Aqua Mist.
Next, I stamped the grounding oval from In The Shadows. I used second generation Weathervane ink (meaning, I stamped off the majority of the ink onto scrap paper before stamping the oval onto my card base) to coordinate with my greeting.
Then, I die cut and stamped the detective. He's broken up into two layers to make it easy to incorporate a couple of colors. I used True Black for his head/hat/legs and Pure Poppy for his jacket. I added him to the card front with foam tape, placing him so that he looks a bit like he's holding the giant magnifying glass.
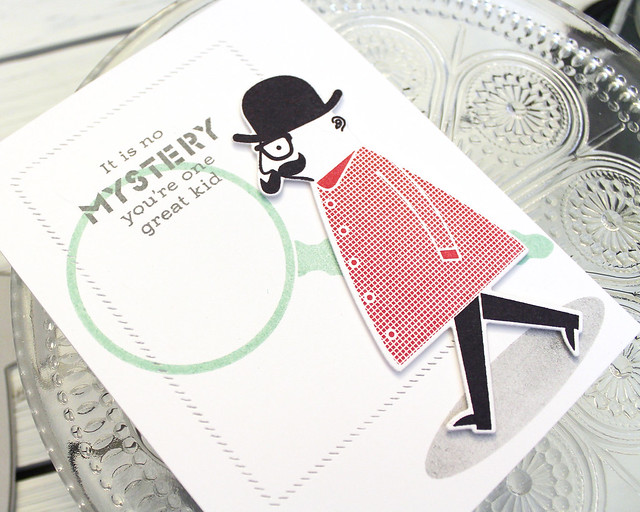
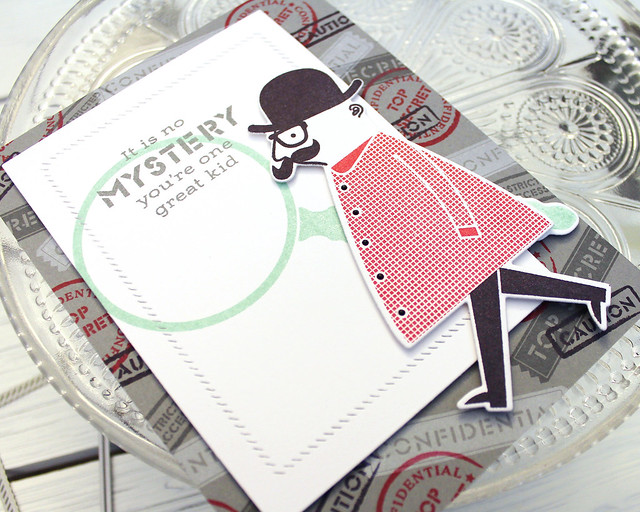
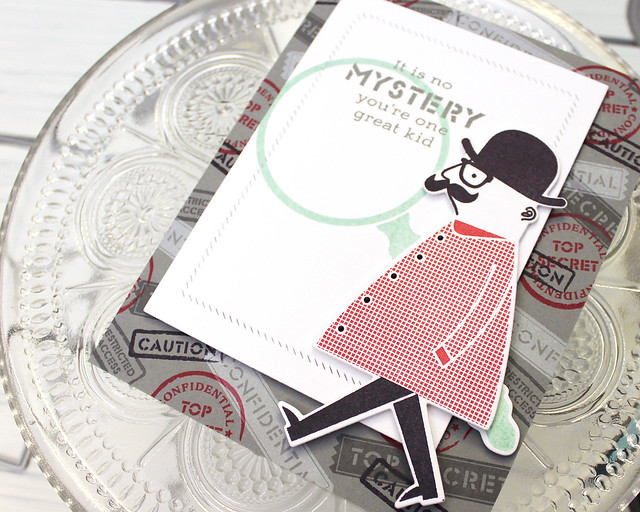
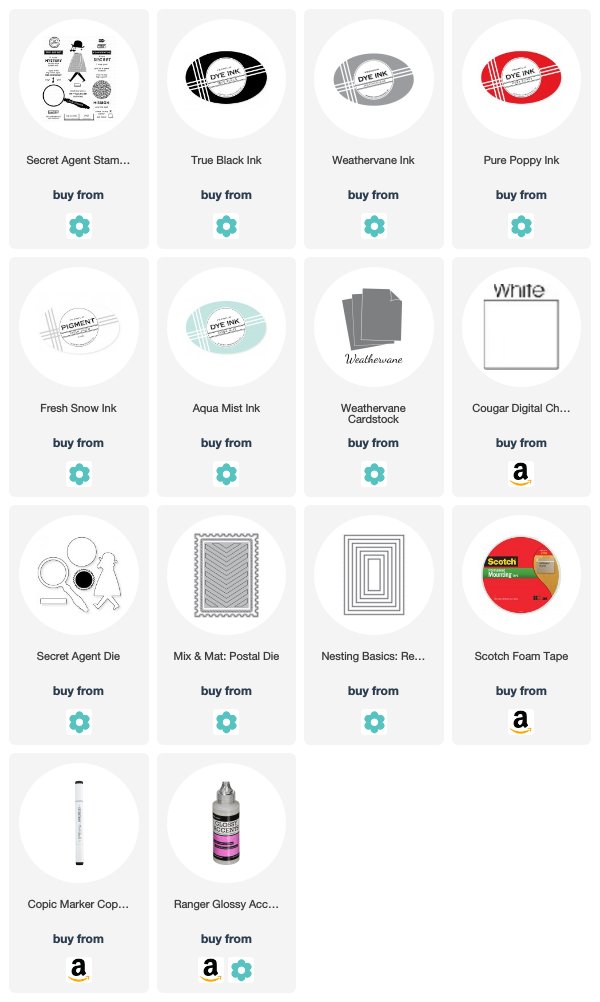
I went with a similar layout on the Intermediate version, this time tossing a stamped background into the mix. You all know how much I love a stamped background!
I stamped some of the smaller images from the set onto Weathervane cardstock using Weathervane, True Black, Fresh Snow, and Pure Poppy inks. I attached that to a white card base and then set it aside.
Next, I die cut a rectangular layer using one of the Nesting Rectangles dies and used the same border die from Mix & Mat: Postal to add some interest. Again, I stamped the greeting in Weathervane and the magnifying glass in Aqua Mist. I also die cut and stamped the end of the magnifying glass and tucked it next to that layer once I attached it to the card front (otherwise it would have been cut off).
I die cut and stamped the detective using the same colors on this version. This time I used a black Copic to add contrast to the buttons. I adhered him to the card front and then used Glossy Accents to give the buttons some texture and shine.
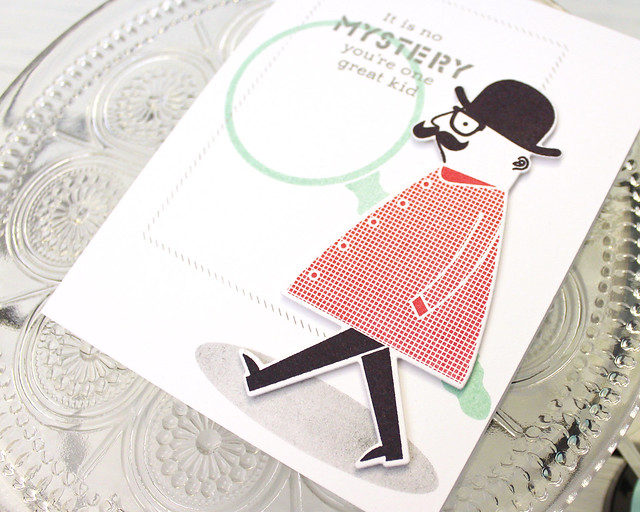
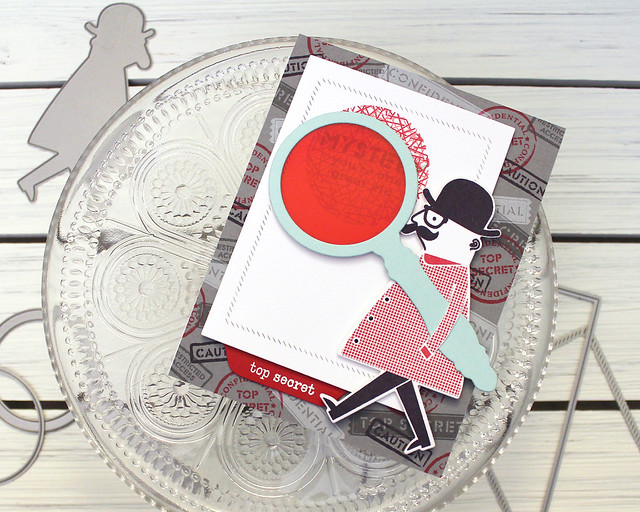
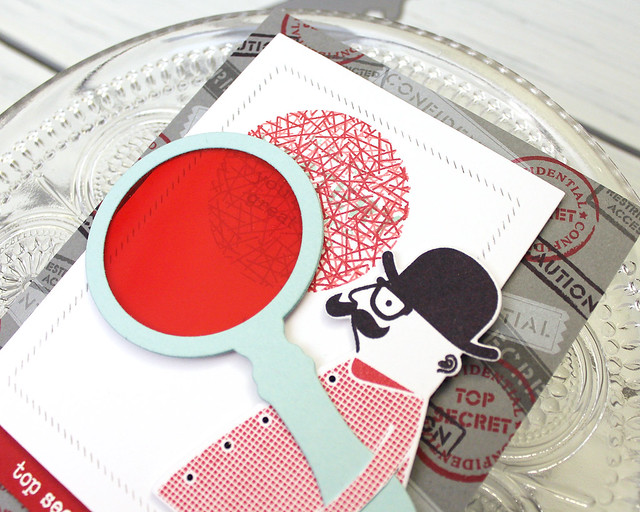
My Spectacular card has an interactive element that I truly love! I think my nephew will be pumped about it, too.
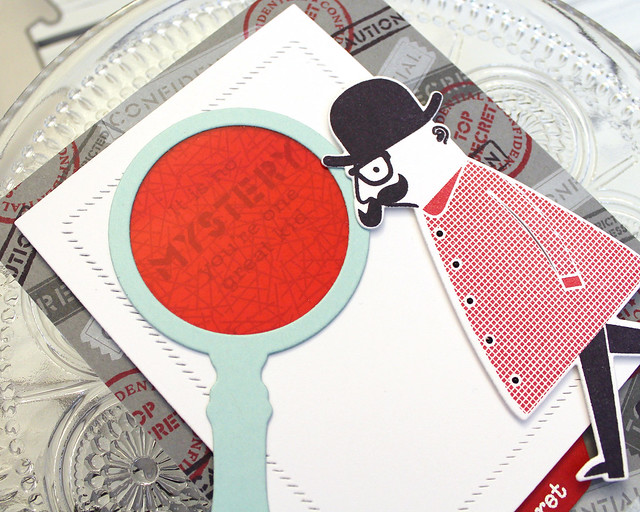
For this card, I followed the same steps as I outlined for my Intermediate card, but this time I just amped things up a bit. Instead of simply stamping my sentiment, this time I used the secret message screen to conceal my sentiment (this time stamped in Aqua Mist).
I stamped the screen once in Pure Poppy and then rotated and stamped a second time in Berry Sorbet. That small step gives the secret message a bit more depth and texture without making the message more difficult to read.
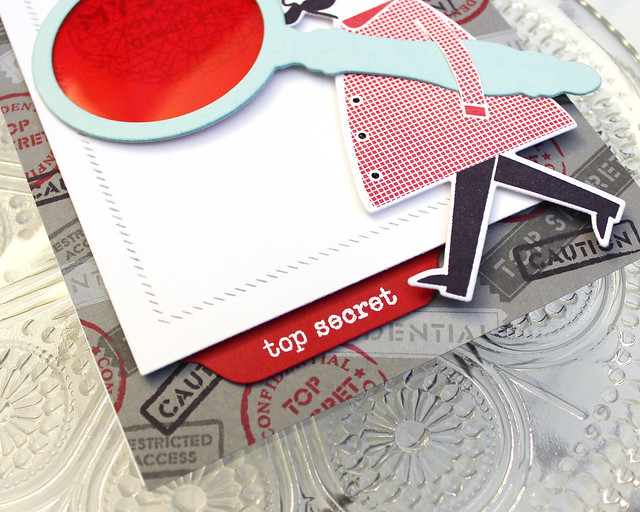
Speaking of reading the secret message, I used the magnifying glass and a piece of colorful transparency to create a decoder. How cool is that?! Rather than just tuck it into the card, I decided to cut slits along the detective's arm so I could slip the magnifying glass underneath.
I also added a fun file folder tab to the bottom edge of the sentiment layer using Pure Poppy cardstock and the Edgers #5 die (I double cut it to shorten it a tiny bit). I heat embossed it with one of the sentiments from the set and I think it adds a really fun, cloak and dagger element to the card.
So that's all I have for you today. I truly hope you enjoyed it! This is my last Papertrey Ink post and I just want to say again how much I genuinely appreciate all of your encouragement and support over the past several years. I'm not exactly sure what's next, but when I know, you'll know. And I hope you'll join me.
Thank you again, friends.
L
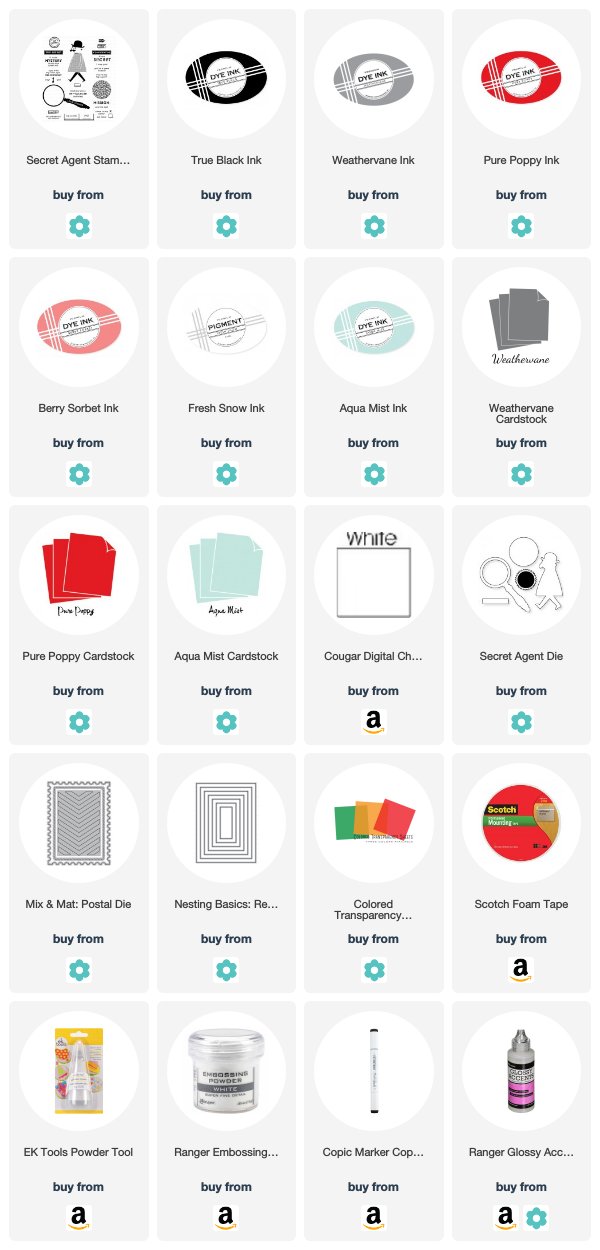
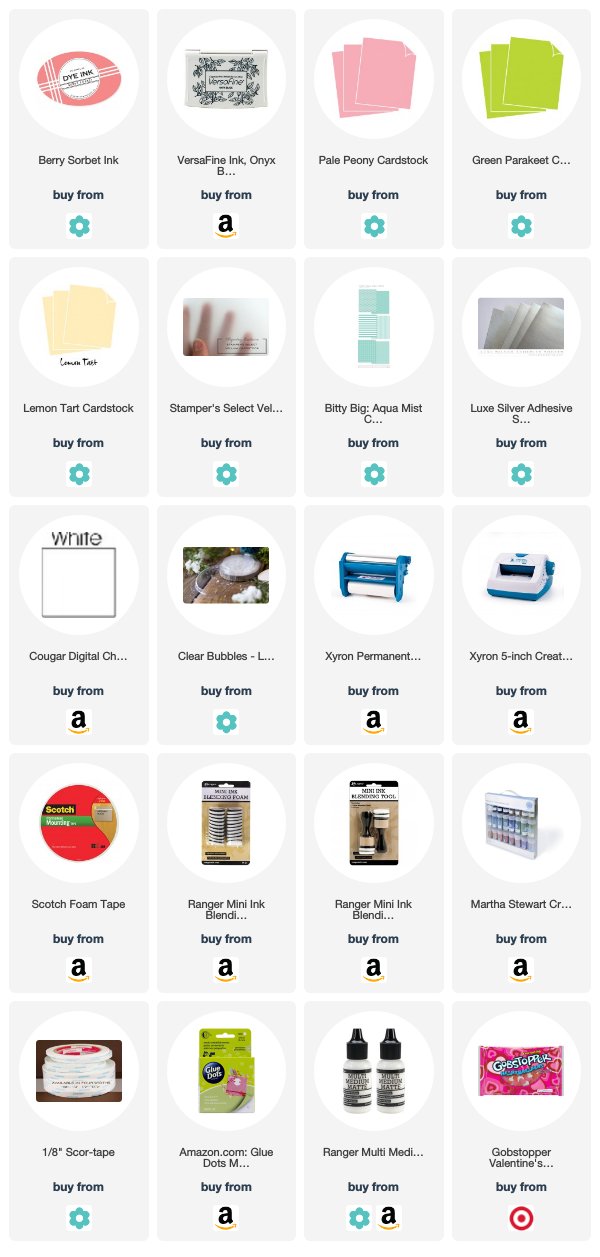
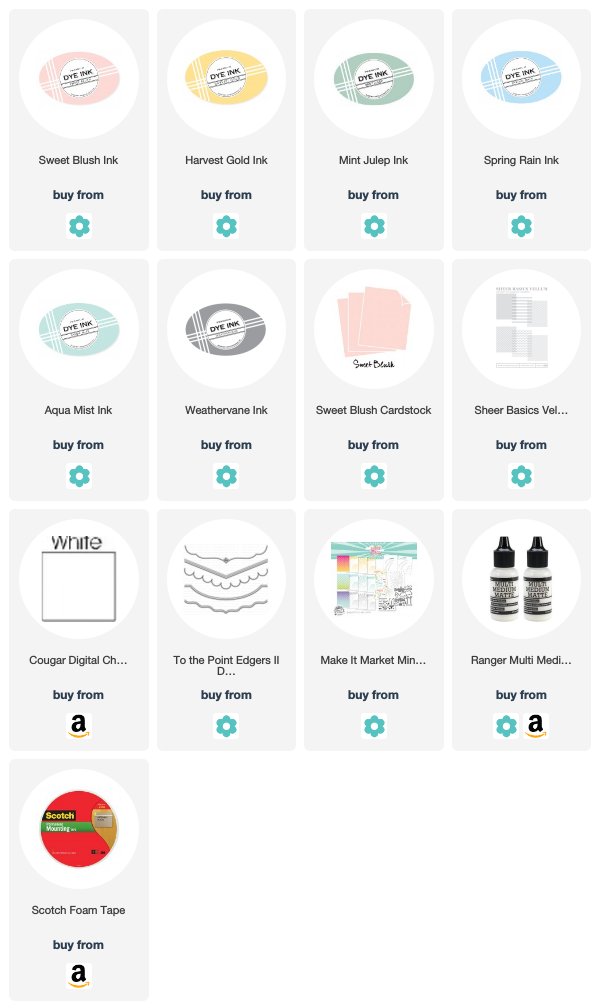
Supplies:Simple Secret Agent Card
 Intermediate Secret Agent Card
 Spectacular Secret Agent Card