Good morning, all! It's my turn to share a tip with you and I’m going to do something a little different with this week’s
Papertrey Ink Design Team Tips. Rather than share a cardmaking technique, I’m going to share an organizational solution that I hope you’ll find useful.
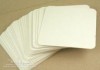
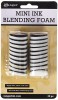
I think most of you have come to notice that I love ink blending - I seem to be blending on nearly every card these days! And thanks in part to all of Papertrey’s beautiful ink colors, my blending sponges were starting to get a little unruly. So I set out to find a solution that would be cost effective, easy to establish, and effortless to keep organized. So here's the result of my search.
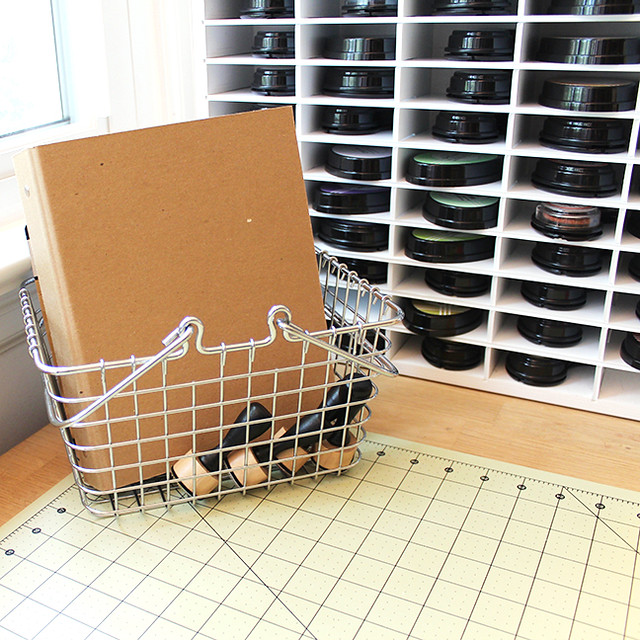
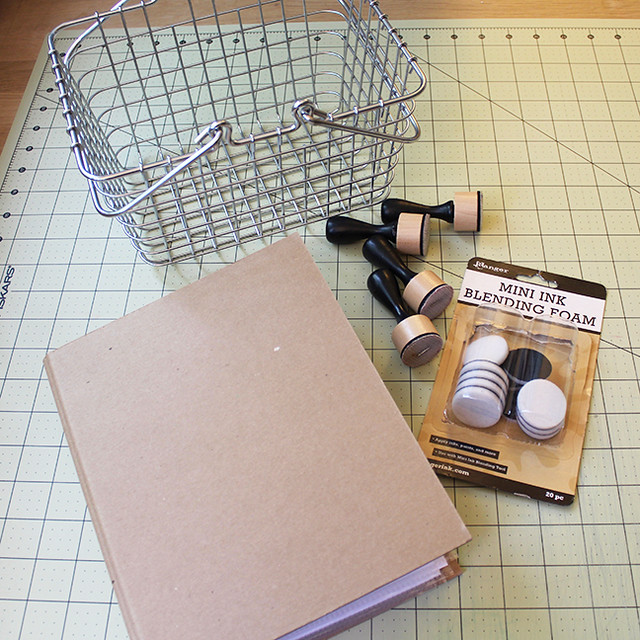
On my workbench there sits a small wire basket. I bought it at Target ages ago and it's proven its worth over the years.
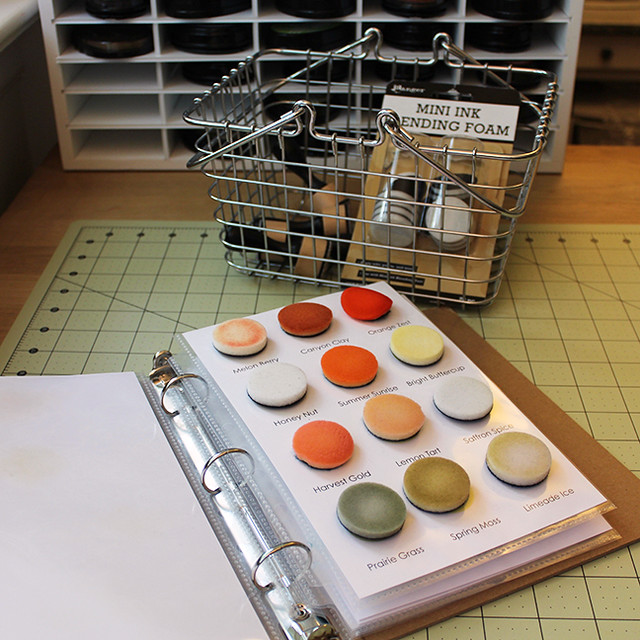
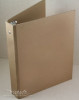
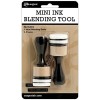
The basket holds a few blending tools, an extra pack of sponges, and one of Papertrey's kraft binders (now, of course the binders went out of stock between my planning of this post and this moment, but hopefully they will be back soon - any other mini 3-ring binder should work just as well).
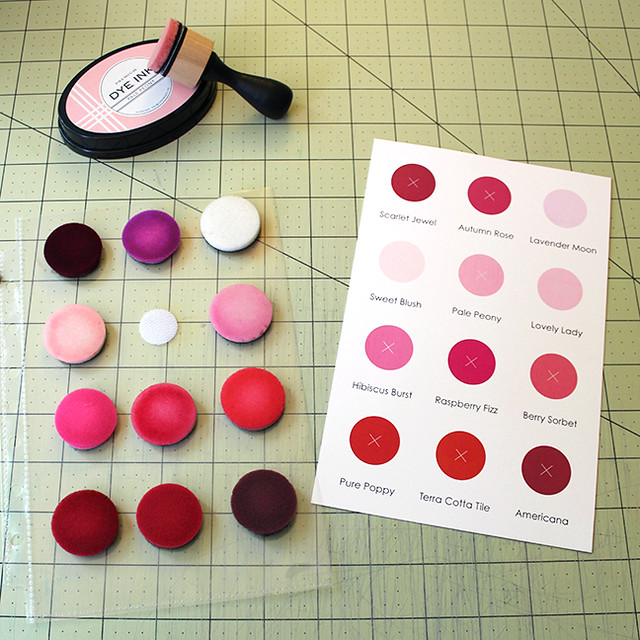
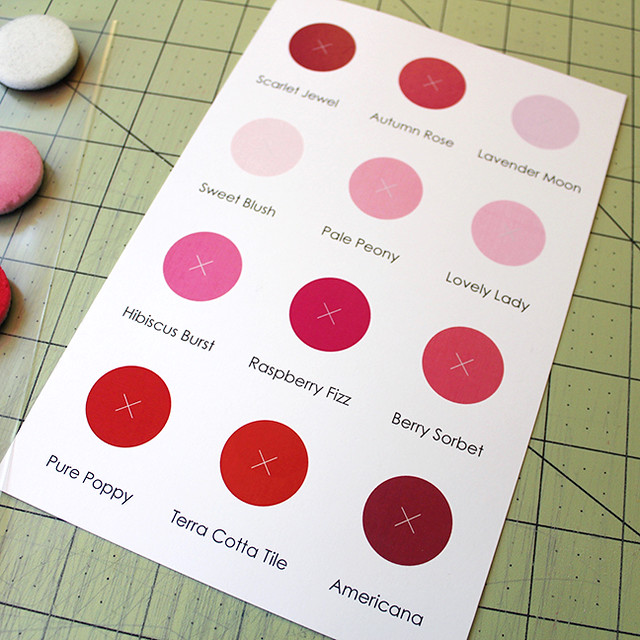
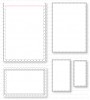
Now, here's where the magic happens. I have five 5 1/2" x 8 1/2" pages tucked into mini page protectors inside the binder. On each page I've printed twelve circles and their corresponding color names. The colors are arranged in rainbow order and there's still a bit of space at the back under the blues and purples. I put the neutrals on their own page. This is an idea I got from
Gina on the Papertrey Ink forum. I simply made a few adjustments to make it fit my needs even better.
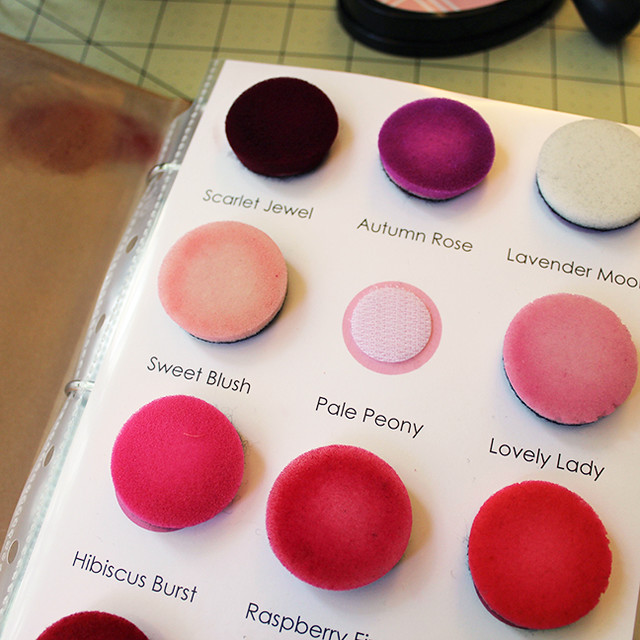
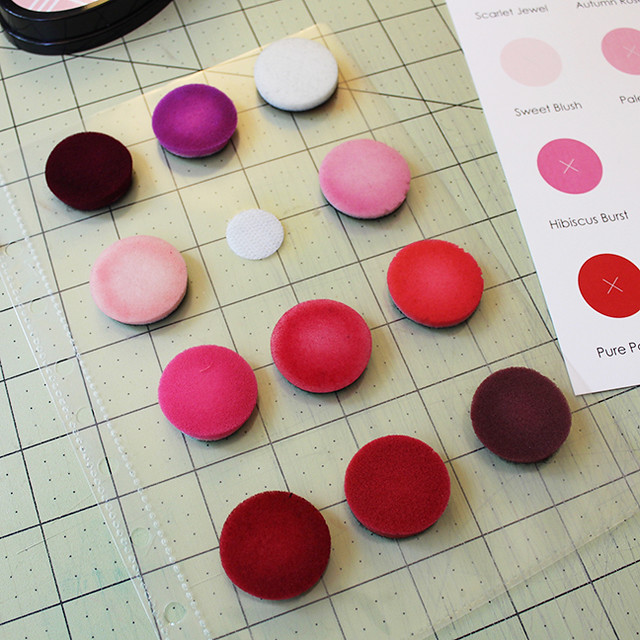
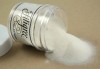
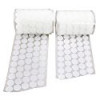
Each circle has a velcro tab in the center. I just used the pokey parts of each pair of hook and loop sets since the blending sponges are already equipped with the soft part.
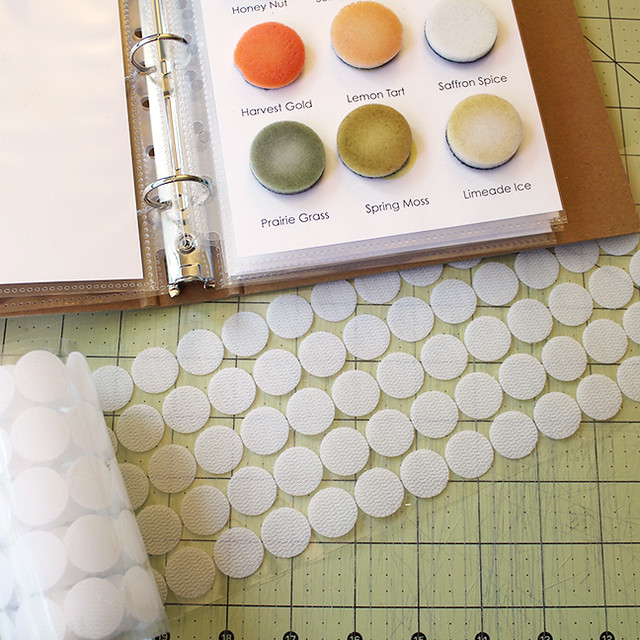
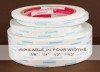
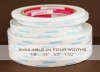
These are the velcro dots I bought to do this project. They can be expensive, so I picked these up online. There are 250 sets of dots (500 pieces total) in the package I bought and they're sure to last me a very long time. You could make this organizational system even more cost effective by splitting a package with a friend or two.
When I designed the pages I included a gray "x" in the center of each circle. That was an easy way to know where to place my velcro circles. I pulled the colors from the Papertrey Ink website and laid out the pages so that each sponge would have an ample amount of space.
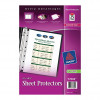
I decided to use page protectors (rather than cardstock sheets that I hole punched myself or laminated pages) for a few reasons. In the first place, I happen to use these page protectors for my stamp set organization, so I already had them handy. Also, if a new color is introduced I can adjust the printed pages without having to replace the velcro on the page protectors (since the spacing will always be the same and the blending sponges are movable).
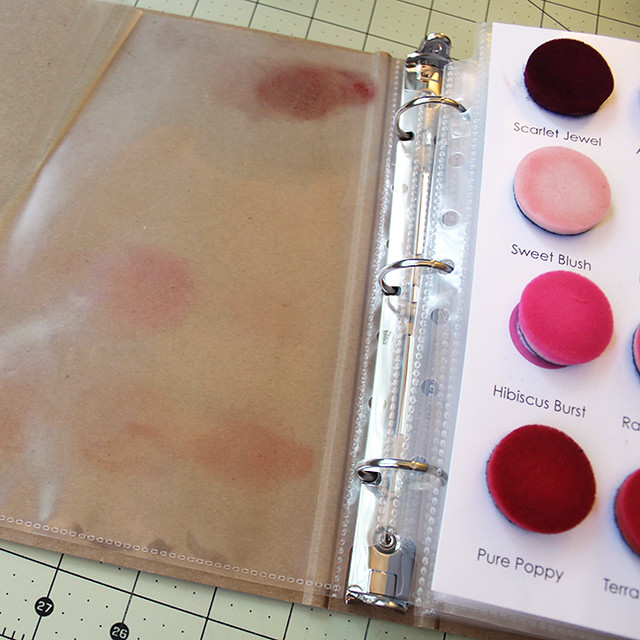
And thirdly, the page protectors help protect (duh) the back of each page against ink transfer from the sponges behind it. You can see here that the greens would have left residue on the yellows page, but the page protector keeps the back of that sheet clean.
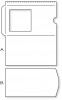
I did the same thing in the front of the binder, just using an empty page protector rather than a filled one. If you had several binders you could use this for a title page, but I haven't bothered to put anything inside. This is real life, people.
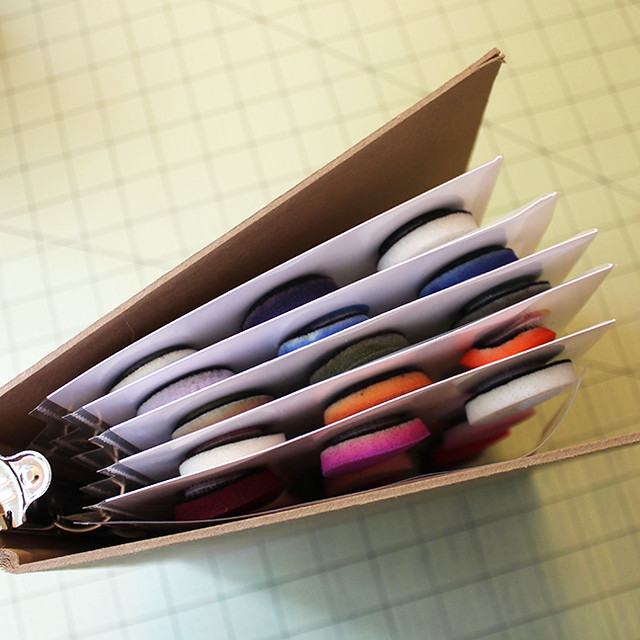
One binder holds five sheets (filled with sponges) comfortably. I've spread it out a bit here so it would stand up for the photo, but it closes perfectly for normal use. Also, it's a good idea not to accidentally spike your binder at the floor and bend a corner. Just throwing that out there. Don't be like me.
So there you have it - my perfect ink blending solution. I use this binder almost every time I sit down to stamp. It has saved me so much time! I used to keep my sponges in small baggies thrown into that small wire basket, but whenever I wanted a particular color I'd end up searching through all of the sponges to find it. No more, friends, no more.
I hope you've enjoyed this peek into my blending sponges binder. Here's a list of the supplies I used and a downloadable PDF of the pages in case you'd like to create a binder of your own!
Ink Blending Sponges Pages
Have a wonderful weekend, everyone!
Supplies: