Saturday, March 31, 2018

Make It Monday

Happy Saturday, friends! I'm just popping in quickly to remind you to check out this week's Papertrey Ink Make It Monday challenge.

LizzieJones_MakeItMonday_SweetLife_LayeredBannerBanter_StencilBasicsHexagon_Thanks_Card_2

I'm up this week and I shared a quick and easy technique for adding a little extra impact to the edges of your card. Check it out HERE and make sure to link up your project by Monday (4/2) at 6am EDT for your chance to win a $25 gift certificate to the Papertrey Ink store. Have a happy weekend and I'll see you back very soon with a big, exciting announcement!

Supplies:
Thanks Card

Wednesday, March 28, 2018

Simple To Spectacular: Rosie Posie

Good morning, friends, and welcome to this month's Papertrey Ink Simple To Spectacular feature! Today, Betsy, Laurie, and I are showcasing the progressive possibilities of Rosie Posie. This is a set I've loved for a long time, so it was such a fun challenge!


I generally feel like I land on the simple end of the spectrum, so I really enjoyed dreaming up ways to step up my designs from one card to the next. There's absolutely nothing wrong with keeping things clean, but there's something truly satisfying about adding in layers of texture and detail to really put a project over the top!


Simple

LizzieJones_SimpleToSpectacular_PapertreyInk_RosiePosie_ThinkingOfYou_Simple_Card_1

I started with my first card. One layer cards are quick and easy to produce and a whole set of them packaged together can make a lovely gift. Even better, a sentiment set like Penned Elegance paired with a wonderful floral like Rosie Posie makes it a snap. Just switch our your colors and your greeting for a collection of handmade cards that cover a wide variety of occasions.

LizzieJones_SimpleToSpectacular_PapertreyInk_RosiePosie_ThinkingOfYou_Simple_Card_2

I began by stamping a floral swash along a curved line. I went with a Rustic White card base, so I used more subdued pinks and greens in keeping with the natural feel.

LizzieJones_SimpleToSpectacular_PapertreyInk_RosiePosie_ThinkingOfYou_Simple_Card_3

Once those inks were dry, I stamped my sentiment and tied on a Rustic Jute bow. Even one layer cards can use a little zhuzh.


Intermediate

LizzieJones_SimpleToSpectacular_PapertreyInk_RosiePosie_ThinkingOfYou_Intermediate_Card_1

For my intermediate card, I decided to add a bit of texture and contrast.

LizzieJones_SimpleToSpectacular_PapertreyInk_RosiePosie_ThinkingOfYou_Intermediate_Card_2

I cut the front panel with the Round Off Edgers before stamping the flowers in the same color palette. Then, I added a scalloped Olive Twist trim along the edge and tied another Rustic Jute bow.

LizzieJones_SimpleToSpectacular_PapertreyInk_RosiePosie_ThinkingOfYou_Intermediate_Card_3

I heat embossed the sentiment on a Kraft card base this time. The white embossing really pops and ties in to the Rustic White panel.


Spectacular

LizzieJones_SimpleToSpectacular_PapertreyInk_RosiePosie_ThinkingOfYou_Spectacular_Card_1

On the more complex end of the spectrum, I decided to go all out with layered stamping and die cuts.

LizzieJones_SimpleToSpectacular_PapertreyInk_RosiePosie_ThinkingOfYou_Spectacular_Card_2

I paired Rosie Posie with the companion Step 2 set to give the blooms themselves a little additional interest. I also die cut and popped up the largest flower and a couple of its surrounding leaves.

LizzieJones_SimpleToSpectacular_PapertreyInk_RosiePosie_ThinkingOfYou_Spectacular_Card_3

I went with the same die cut panel and Olive Twist trim against a Kraft card base, but this time I used the large hexagon background strip in the set to give my card base a little bit of extra texture. The monochromatic stamping doesn't distract from the sentiment, but it does amp up the interest.

Thank you so much for joining me today! Make sure to pop in on Betsy and Laurie to see how they're using Rosie Posie for this month's challenge. Have a great day and I'll see you again soon!

Supplies:

Simple


Intermediate


Spectacular

Thursday, March 22, 2018

Throwback Thursday: Fresh Floral Wrap-Ups

Good morning, friends, and welcome to this week's Papertrey Ink Throwback Thursday feature! This week Stephanie, Melissa, and I are showcasing Fresh Floral Wrap-Ups. This set charmed me so much when it first came out and revisiting it for today’s feature was a joy! The lovely bouquet comes together in just a couple of simple steps and the sentiments are totally unique.

I decided to pair the set with the new Penned Elegance Alphabet to create a personalized card for Mother's Day. Yay!

LizzieJones_ThrowbackThursday_FreshFloralWrapUps_ILoveYouCard1

I began by die cutting and stamping the bouquet itself. I used Pale Peony and Berry Sorbet for the blooms and Green Parakeet and New Leaf for the greenery. Then, I went in with a yellow Copic and added the flower centers and embellished those areas with clear glitter for a bit of sparkle. Next, I stamped the floral wrap using Fine Linen and Classic Craft inks. I stamped the strings image in Smokey Shadow and then added a die cut tag to finish it off.

LizzieJones_ThrowbackThursday_FreshFloralWrapUps_ILoveYouCard2

Next, I stamped the greeting on a Noted: Scalloped A2 Vertical panel. I used the Penned Elegance Alphabet for the "Mom" and the "I love you" came from the Fresh Floral Wrap-Ups set. I used a stamp press to get nice blending on the "Mom" using Pale Peony and Berry Sorbet inks.

LizzieJones_ThrowbackThursday_FreshFloralWrapUps_ILoveYouCard3

I covered a card base with Harvest Gold Bitty Big paper and then layered it with a Bold Borders: Diagonal die cut. I mounted the sentiment panel to the front of the card using foam tape and then added the bouquet with varying layers of foam adhesive. It's fun and sparkly and I'm looking forward to sending it this Mother's Day.

Thank you for stopping by today! Make sure to pop over and check out Stephanie and Melissa's projects too! Have a great day!

Supplies:
Mom, I Love You Card

Tuesday, March 20, 2018

Transformation Tuesday!

Hello, friends! Welcome to this week's Papertrey Ink Transformation Tuesday post. In case you've missed it, this is a new feature we're doing to encourage ourselves (and you!) to pull out those cards that didn’t necessarily turn out the way we had envisioned and give them a second try. Some of you may remember the Recipe Remix Challenge from SAF 2013. It’s sort of like that (but with our own projects instead of customer submitted projects). The idea is to show a project transformed into something fresh and new. Here's the card I'm transforming today (and HERE's the original post):


Despite loving my original concept, I was never completely happy with how the card turned out (and my photography also could have used some work, if I'm being honest with myself). I felt like the scene behind the Text Block was too busy and dark and took too much attention away from the celebratory greeting. I made several subtle changes that made a big impact on the new card. Let's take a closer look!

LizzieJones_TransformationTuesday_TextBlockBirthday_HappyBirthdayCard1

I began by stamping the streamers from Hooray and the confetti dots from Confetti Toss essentially the same way I did on the original card. The differences on this version are 1) I chose not to do the ink blending behind the Text Block and 2) I didn't fussy cut the streamers and weave them around each other. The result is so much lighter, cleaner, and quicker (Hello?! Fussy cutting all those banners? What on earth?)!

LizzieJones_TransformationTuesday_TextBlockBirthday_HappyBirthdayCard2

I also chose to glitter the confetti dots to make them stand out better and add festive sparkle. I felt like they really got lost in the blending on the original card. Another change (that you can't really see) is the layer of clear cardstock behind the Text Block. That helps stabilize the delicate text on the Text Block and, bonus!, seals in the glitter so it won't come off on my recipient's hands. I just ran the Tropical Teal cardstock through a Xyron before die cutting it and then applied that to the clear cardstock. No sweat!

LizzieJones_TransformationTuesday_TextBlockBirthday_HappyBirthdayCard3

I didn't want to lose the blending on the new version of the card, so I instead chose to add a very light Aqua Mist layer to the base. I like how it highlights the texture of the impression plate (I used the same By The Numbers plate this time around) and just adds some nice, subtle interest to the card base.

So what do you think? Do you have a preference? I hope you've enjoyed today's post. Don't forget, you can play along with your own project. Link up your Transformation Tuesday project over on our team blog for your chance to win a $25 gift certificate for the Papertrey Ink store! I have another something coming your way this week, so stay tuned! Have a great day, everyone!

Supplies:
Text Block Birthday Card

Monday, March 19, 2018

Release Party Live Card

Good morning, friends! I had a few requests for photos of the card I made on this month's Papertrey Ink Release Party Live Broadcast, so I thought I'd pop in today to share a couple of close-ups and a quick tutorial for anyone who missed it (though you can rewatch it on the Papertrey Ink Facebook page - it's a public page, so you don't need an account to watch). Ok, let's get to it!

LizzieJones_March2018_SimpleStems_KindnessCounts_We_Rise_Card_1

I began by die cutting a Noted: Scalloped A2 Vertical card base from white cardstock. I masked off the edges and used Aqua Mist ink to sponge "water" onto the base. Then, I die cut a top layer and die cut a vase from Vogue Vases so the negative remains. Then, I stamped a stem from Simple Stems with Olive Twist ink first on the base and then on the top layer. I used a stamp press to make this process easier.

LizzieJones_March2018_SimpleStems_KindnessCounts_We_Rise_Card_2

Next, I stamped the hyacinth from Simple Stems in Pale Peony and the sentiment from Kindness Counts in True Black. I also used an oval from In The Shadows to ground the vase. Then, I adhered clear cardstock to the back of the top layer to make it look like glass. I used foam adhesive to adhere the top layer to the card base. Quick and easy!

LizzieJones_March2018_SimpleStems_KindnessCounts_We_Rise_Card_3

This happens to be the one I actually did on air, so there are little issues here and there that I wish were different, but overall the card turned out pretty well. You could always splatter the ink blending with water or reinker to give your water a bit more texture. Or you could make the vase into a shaker with microbeads (I bet the clear ones would look great). Thank you all for your interest about this project! I hope you've enjoyed a closer look. Have a wonderful week, friends!

Supplies:
We Rise Card

Wednesday, March 14, 2018

Introducing Glorious Globes and Shape Shifters: Oval 1

Good morning, friends and welcome to the last day of projects for the Papertrey Ink countdown! The new products release tomorrow night at 10pm EDT on the Papertrey Ink website, so you definitely won't want to miss that. Today though, I have the great pleasure of introducing my Glorious Globes: March stamp set and Betsy's Shape Shifters: Oval 1 die with you. Check 'em out!

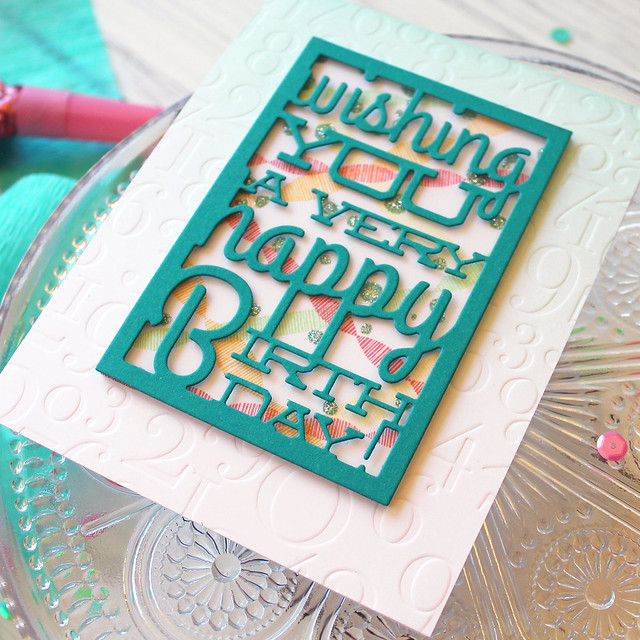
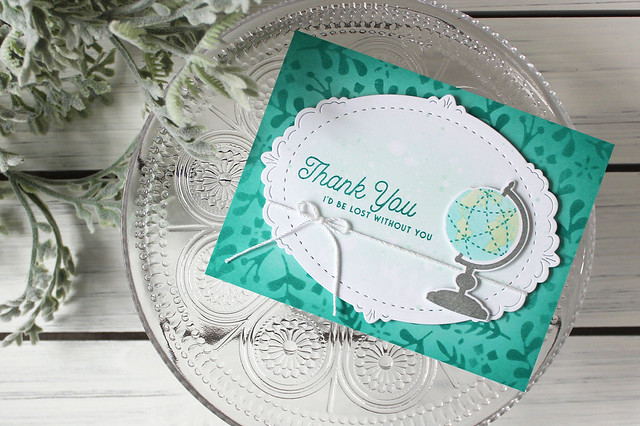
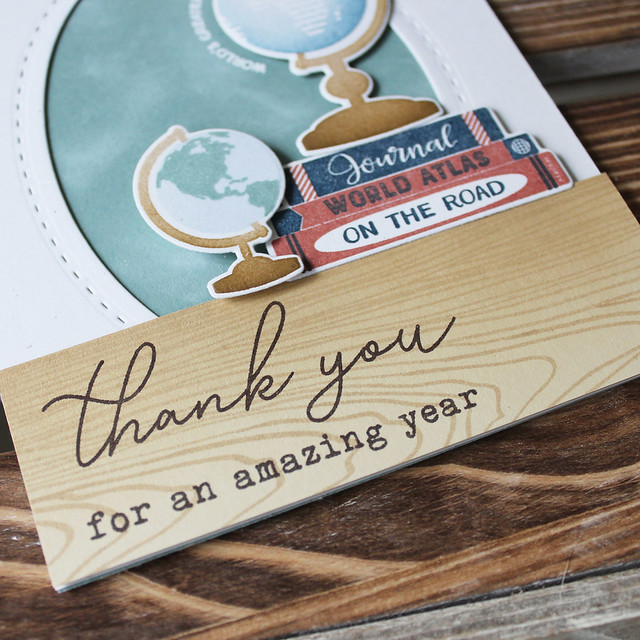
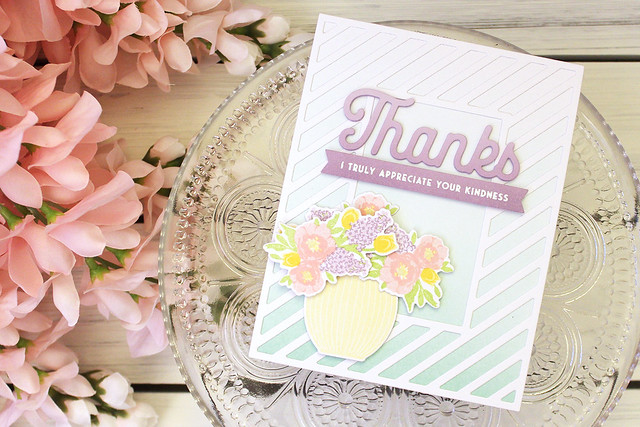
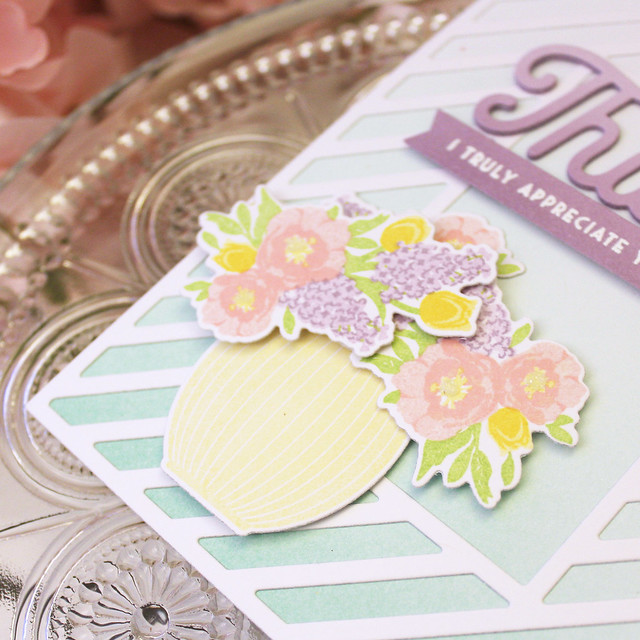
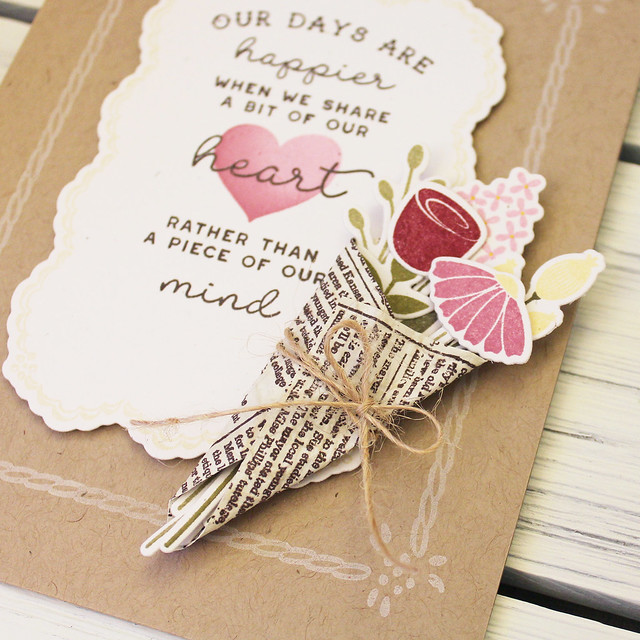
For starters, I thought I'd do a thank you card. I used my Sentiment Staples: Thank You set on this one, too.

LizzieJones_PapertreyInk_March2018_Glorious Globes_Lost_Without_You_Card_1

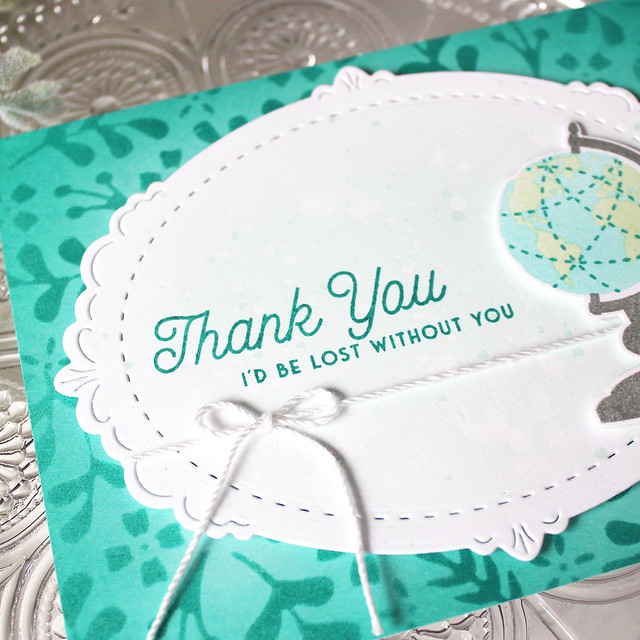
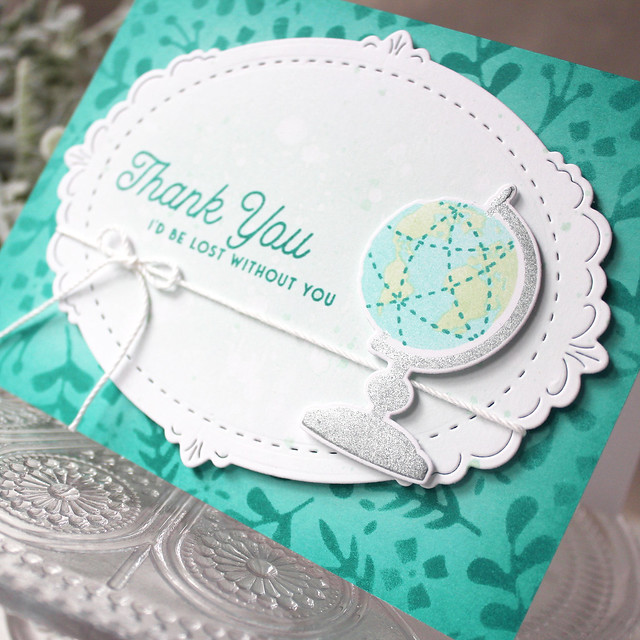
I began by sponging a bit of Aqua Mist ink onto a Shape Shifters: Oval 1 die cut. I speckled it with water and reinker to add a bit of additional texture and then stamped it with the Sentiment Staples greeting in Tropical Teal.

LizzieJones_PapertreyInk_March2018_Glorious Globes_Lost_Without_You_Card_3

Next, I sponged a bit of additional Tropical Teal onto an Aqua Mist card front to give a bit of depth. Then, I die cut the central window from the Shape Shifters set from vellum and used it as a stencil. Instead of rubbing or blending like I normally would with a stencil though, I dabbed or pounced the ink through the openings. Otherwise the sponge would have gotten caught on all of the little pointy edges from the die cut.

LizzieJones_PapertreyInk_March2018_Glorious Globes_Lost_Without_You_Card_2

I tied crochet thread around the oval layer before adhering it to the card front. Then, I stamped and die cut the globe. The stand and globe are from the original Basics set, but the "travel lines" are from the March edition. In order to get a metallic finish on the stand I stamped first with Stormy Sea and then again with Versamark. Then, I sprinkled Perfect Pearls pigment powder over the sticky ink. The finished result looks metallic without the hassle of pulling out my heat tool. Yay! I adhered that in place with foam tape.

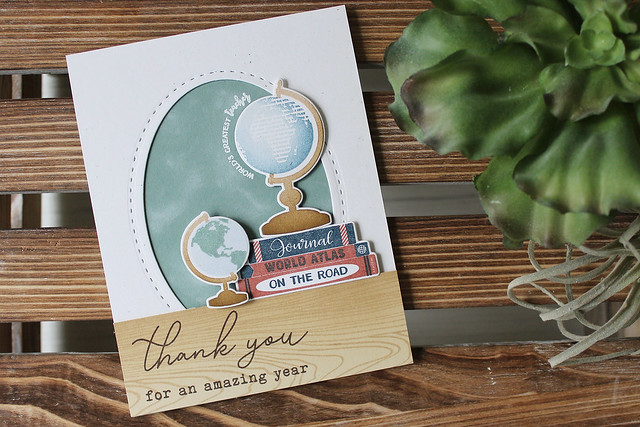
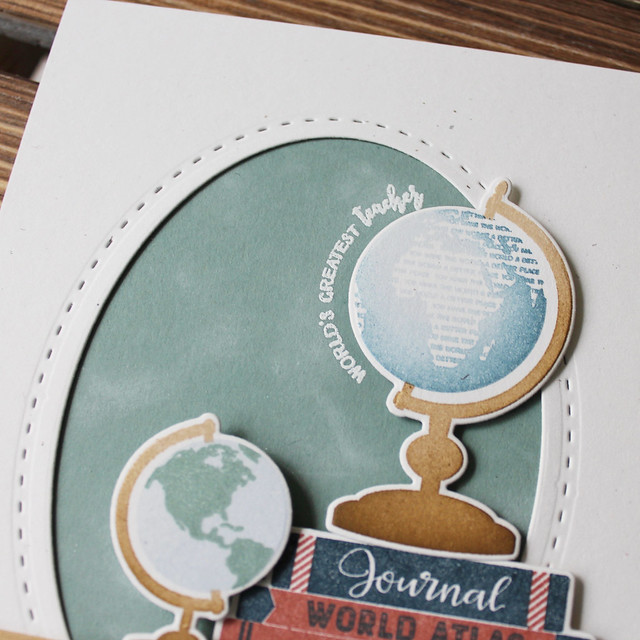
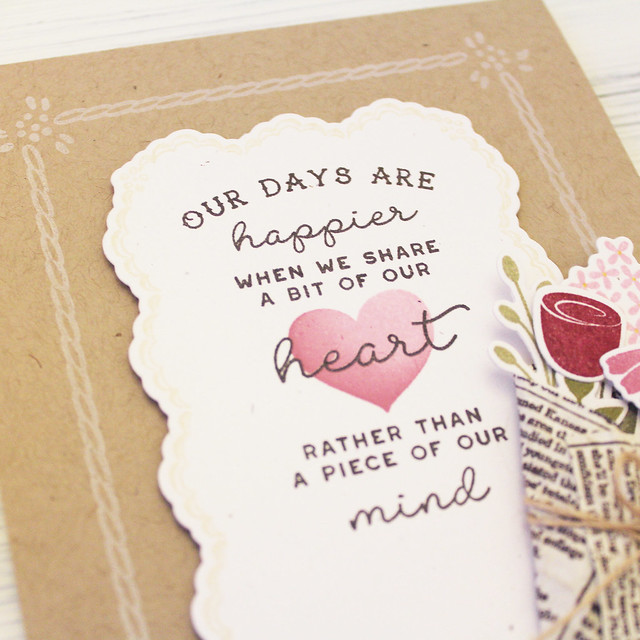
Next, I have a teacher thank you card that pulls in a sentiment from Heather's Great Teachers set.

LizzieJones_PapertreyInk_March2018_Glorious Globes_Teacher_Thank_You_Card_1

I began by using the large oval from the Noted: Scalloped A1 Die Collection to cut a frame from Rustic White cardstock. Then, I added the dashed frame detail from the Shape Shifters: Oval 1 set. Next, I sponged a piece of Fine Linen cardstock with Classic Kraft ink to give the impression of distance and then stamped it with Background Basics: Woodgrain to make it look like a desk or something. Side note: Background Basics: Woodgrain is retiring this year and I cannot stress enough how much I recommend this set. It's great for snow, water, grass, woodgrain (duh), sand...so many things. Make sure to get it before it's gone! I stamped that panel with the Great Teachers sentiment and set it aside.

LizzieJones_PapertreyInk_March2018_Glorious Globes_Teacher_Thank_You_Card_3

Next, I stamped and die cut the globes from Glorious Globes: March. These are both new to this month's set. The text inside the Africa globe says "you make the world a better place" though that's hard to read here because I used a light ink. It's also tiny...so there's that. But that's what it says, fyi. I also stamped and die cut the stack of books from the original Basics set.

LizzieJones_PapertreyInk_March2018_Glorious Globes_Teacher_Thank_You_Card_2

Then, I smudged a bit of ink on an Ocean Tides card base to make it look like a recently erased chalkboard. I intentionally went with distinct smudges to give that authentic "streaky blackboard" look. Do they even use blackboards in schools anymore? Anyway, I adhered the frame and desk to the card front and then placed the globes and books to use as a guide for stamping the curved sentiment. I heat embossed that in white and then adhered the rest of the elements to the card front with dimensional adhesives.

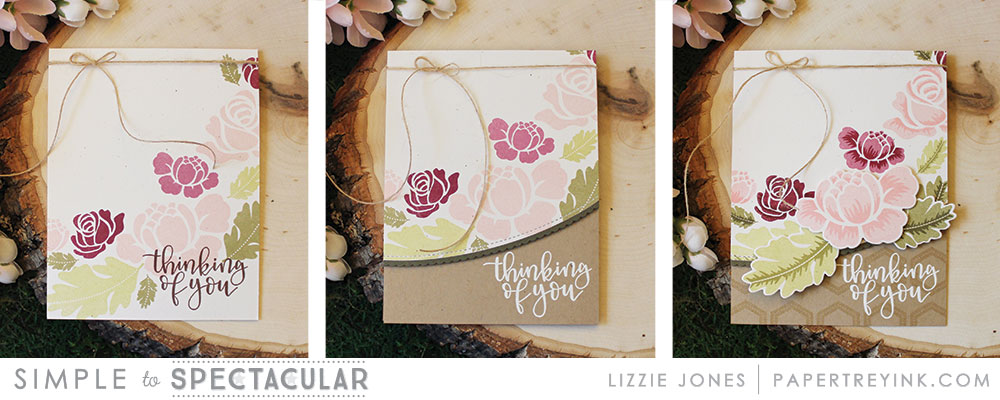
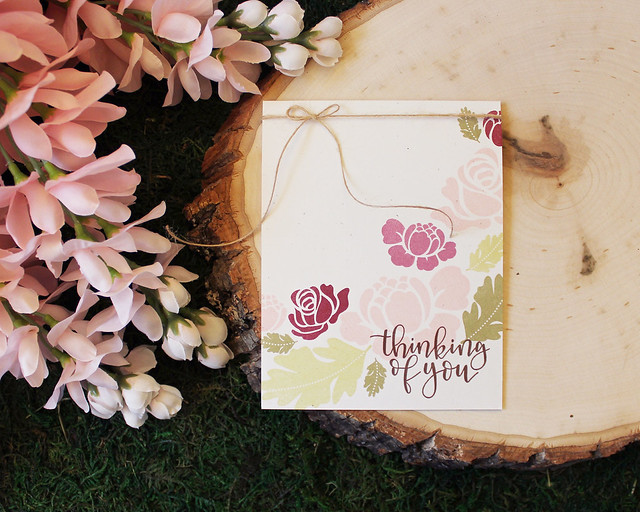
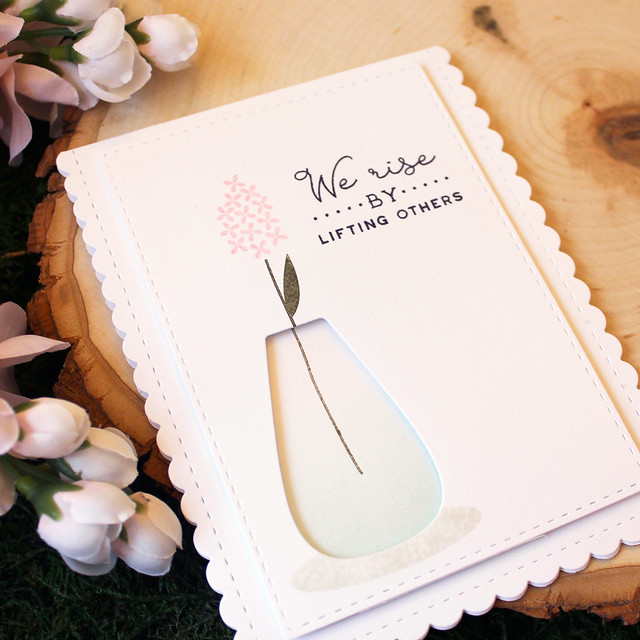
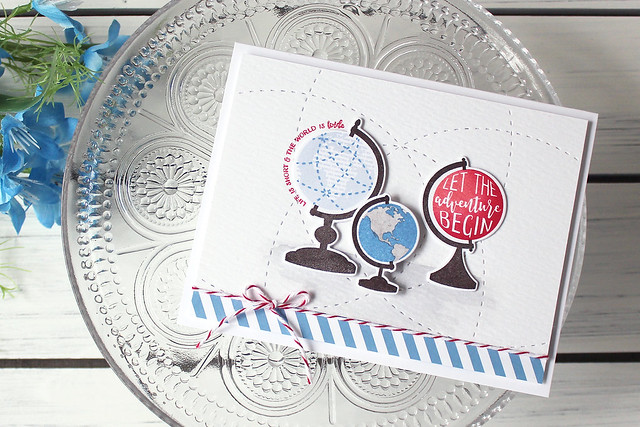
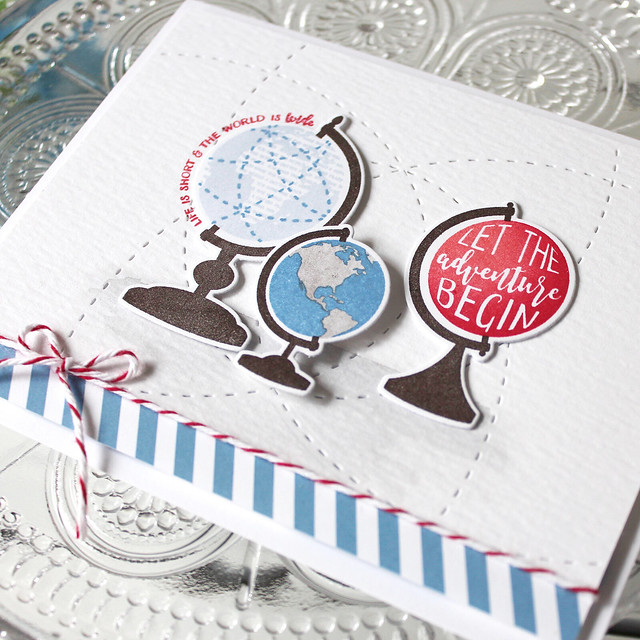
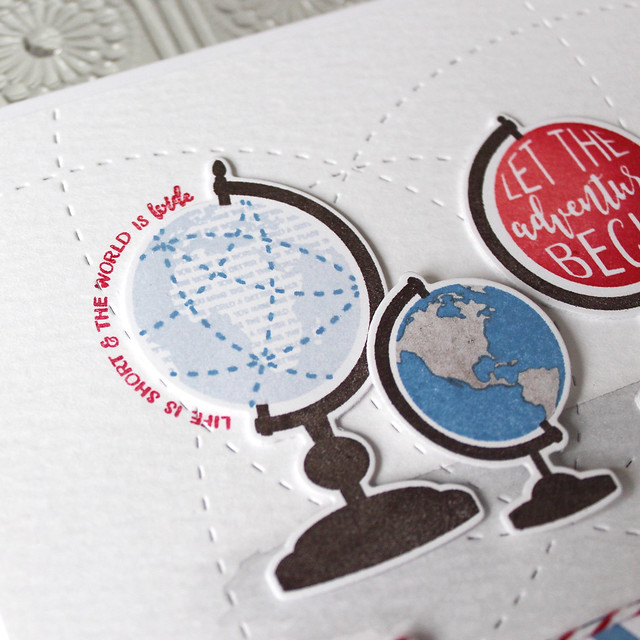
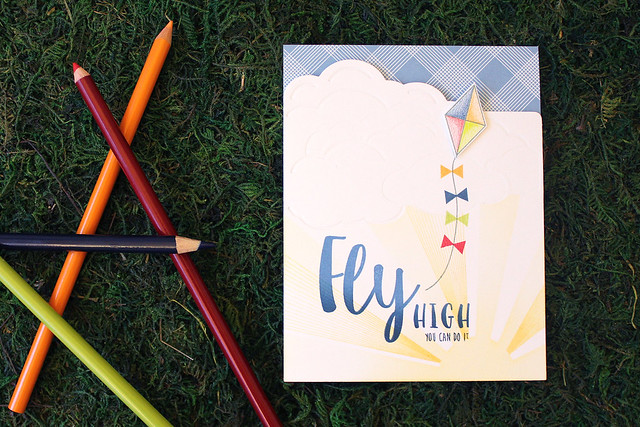
Last, but certainly not least, I have a graduation card. Or just a striking-out-on-your-own card. Or travel...it could be used for a few occasions, come to think of it.

LizzieJones_PapertreyInk_March2018_Glorious Globes_Let_The_Adventure_Begin_Card_1

I began by watercoloring a "ground" on a watercolor panel using a gray Zig marker. Then, I used the dashed line frame to cut a background pattern into the panel. Once that was totally dry, I added a strip of Bitty Big: Blueberry Sky patterned paper and a baker's twine bow.

LizzieJones_PapertreyInk_March2018_Glorious Globes_Let_The_Adventure_Begin_Card_2

Next, I stamped and die cut my globes. I stamped the "adventure" globe with Berry Sorbet and then added shading with Pure Poppy to give it dimension. I placed the globes on the card front and stamped the sentiment with Pure Poppy ink. Then, I used a mix of flat and foam adhesives to adhere my globe arrangement to the panel. Finally, I used foam tape to adhere the panel to the card base.

LizzieJones_PapertreyInk_March2018_Glorious Globes_Let_The_Adventure_Begin_Card_3

Thank you so much for joining me today! Betsy, Heather, Keeway, Laurie, Melissa B, MelissaP, Michelle, Stephanie, and Lexi all have cards to share with you today so make sure to check in with them, too. Have a wonderful day!
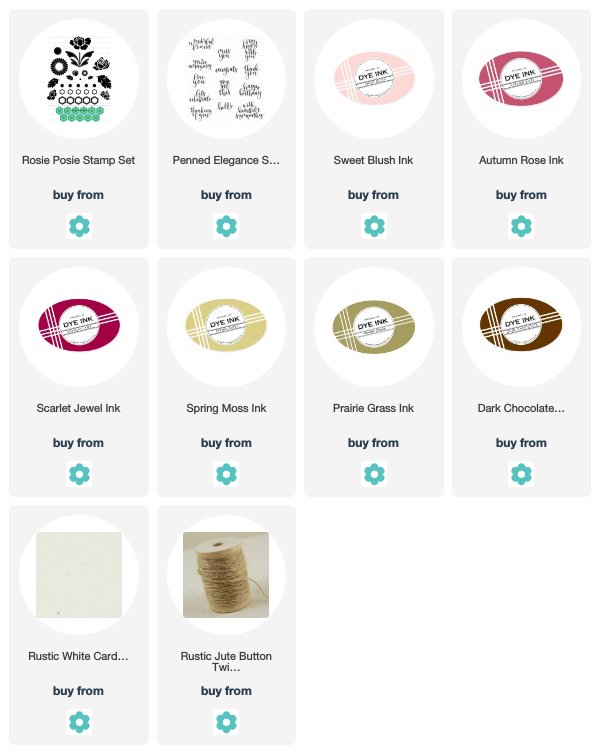
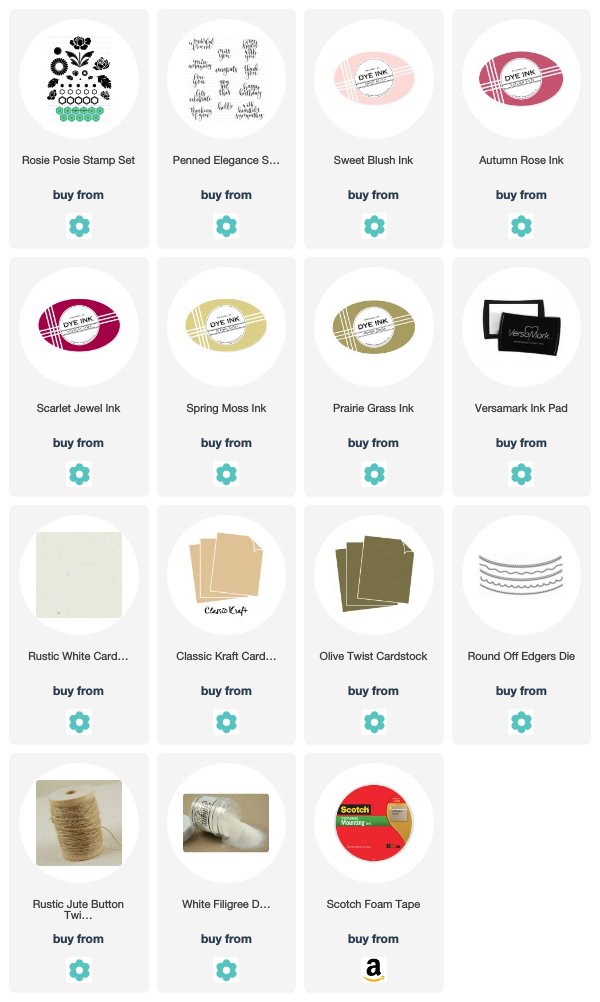
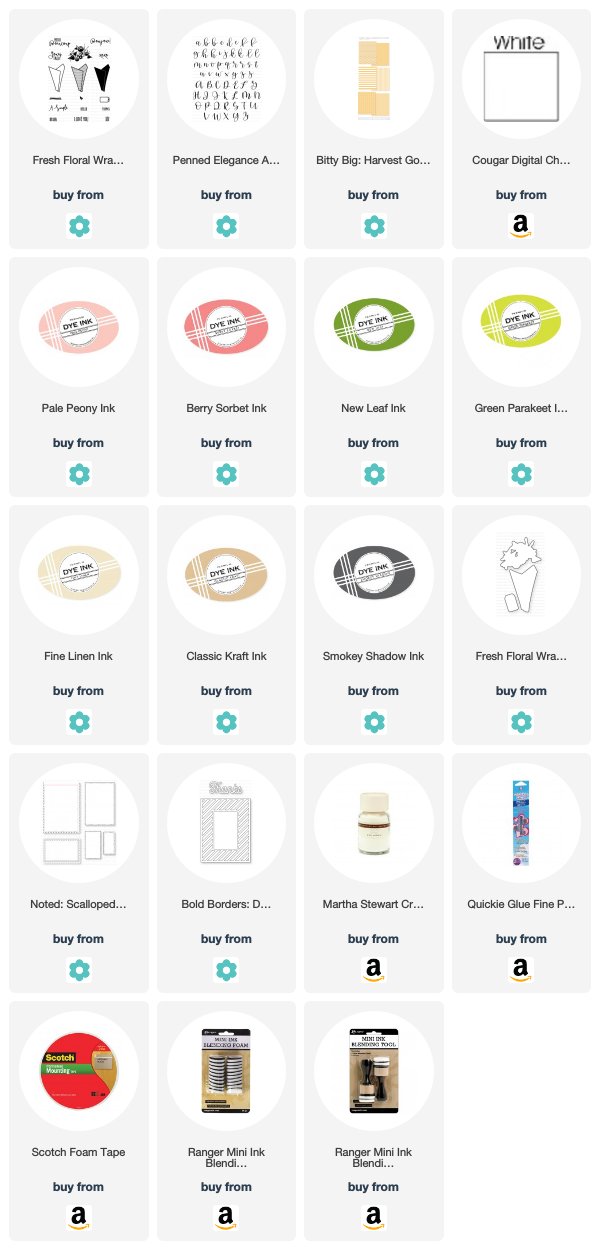
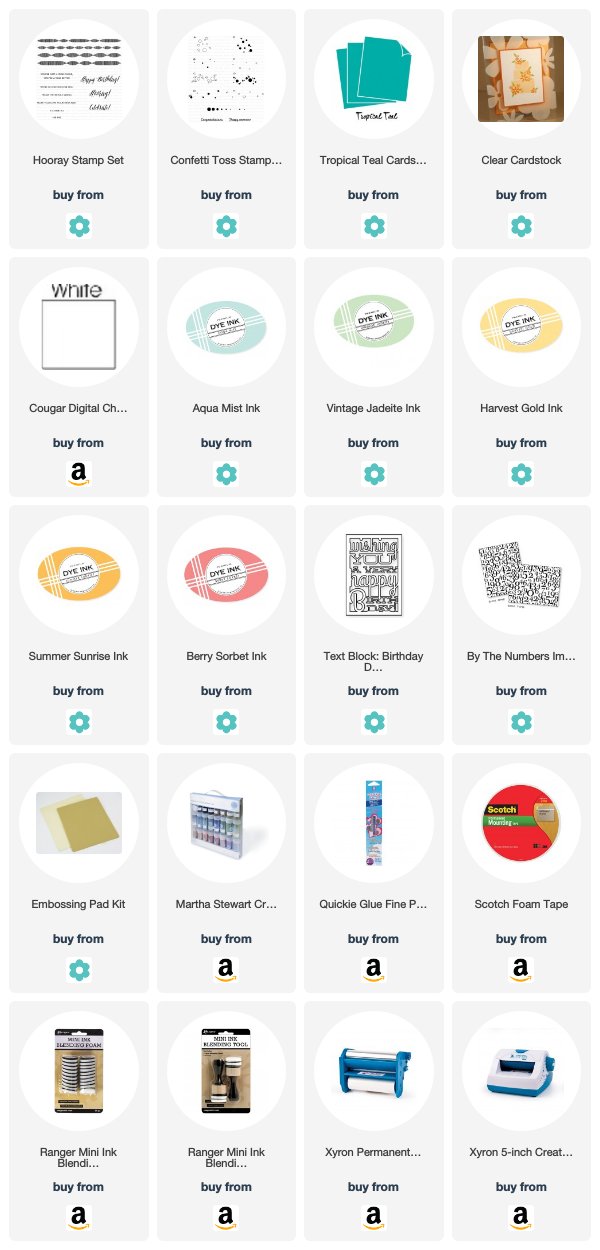
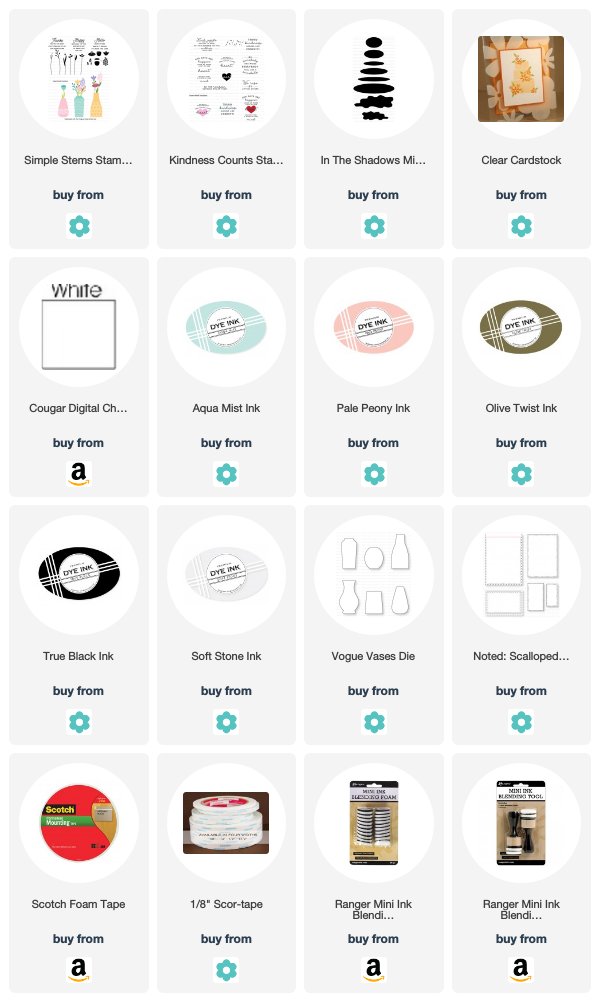
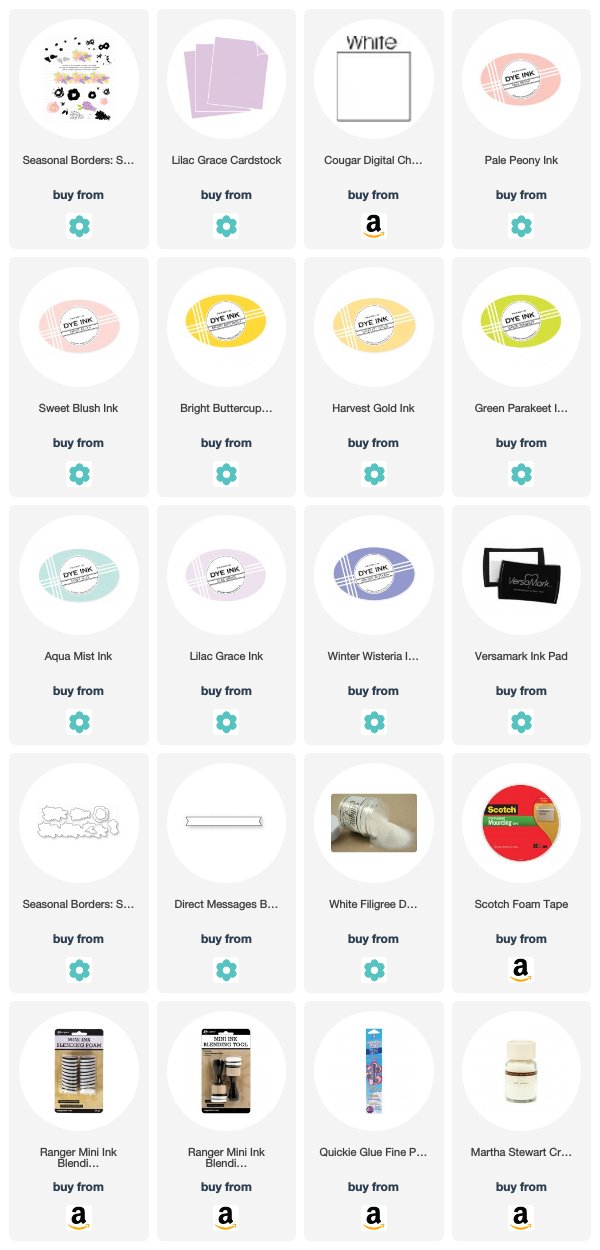
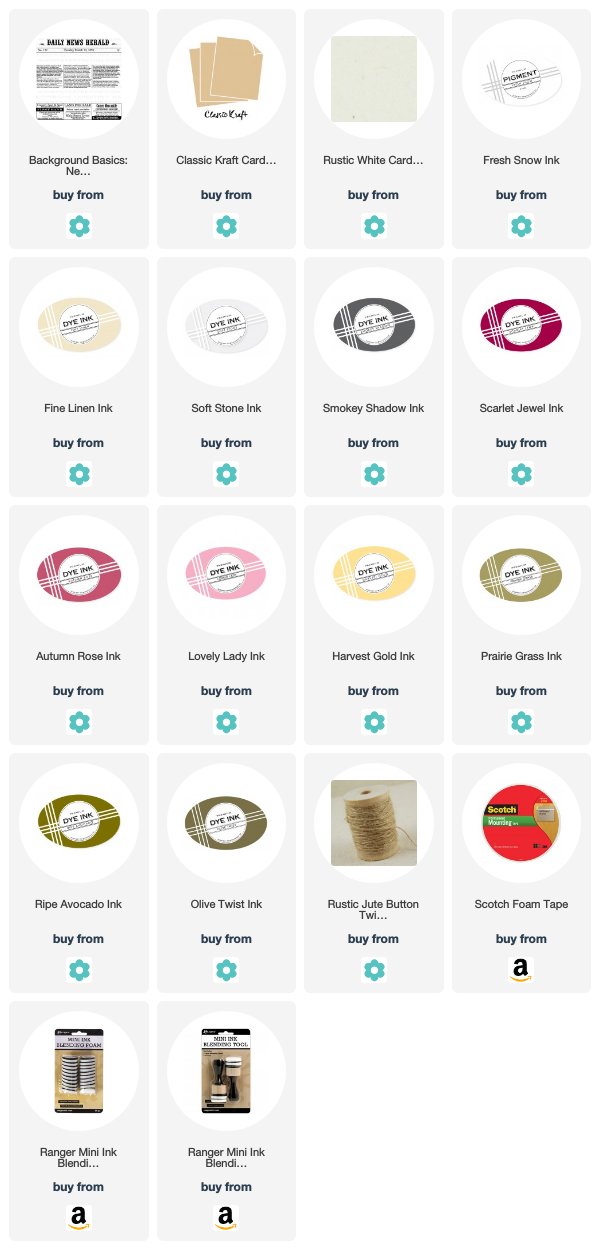
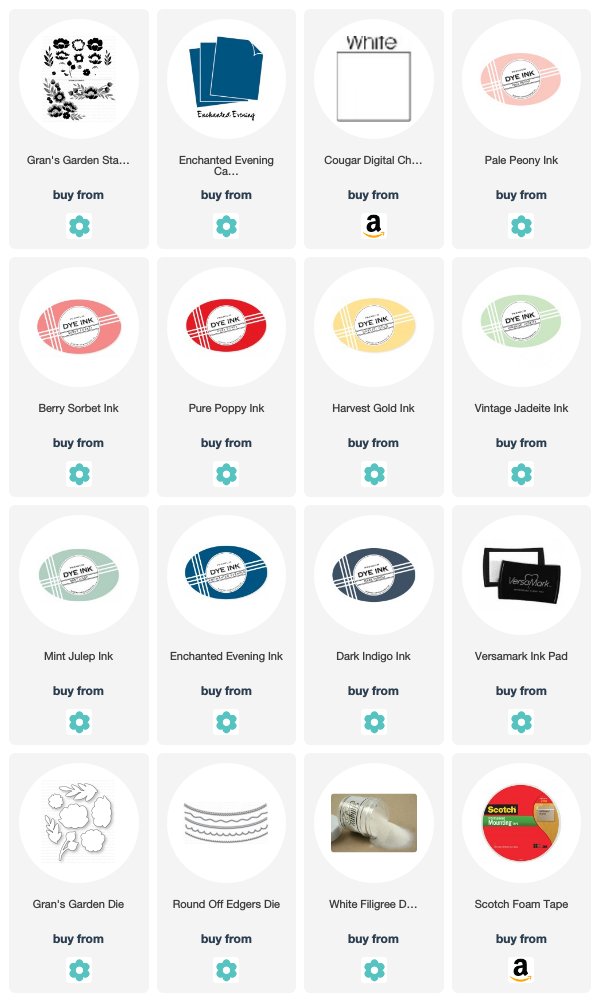
Supplies:
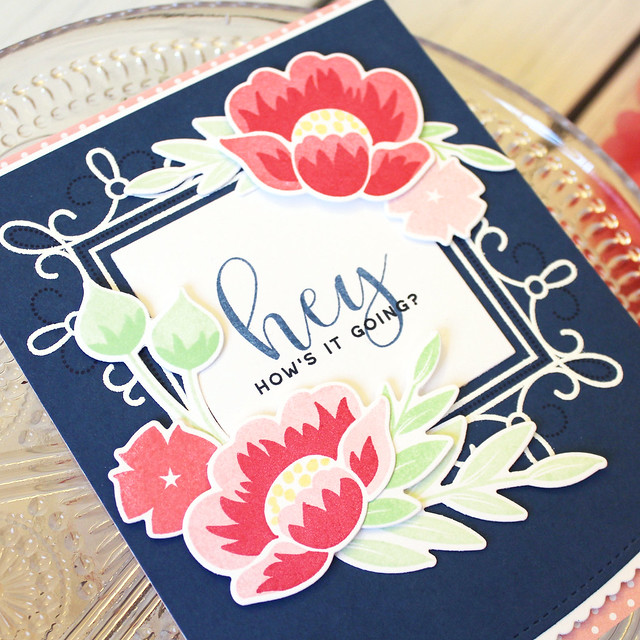
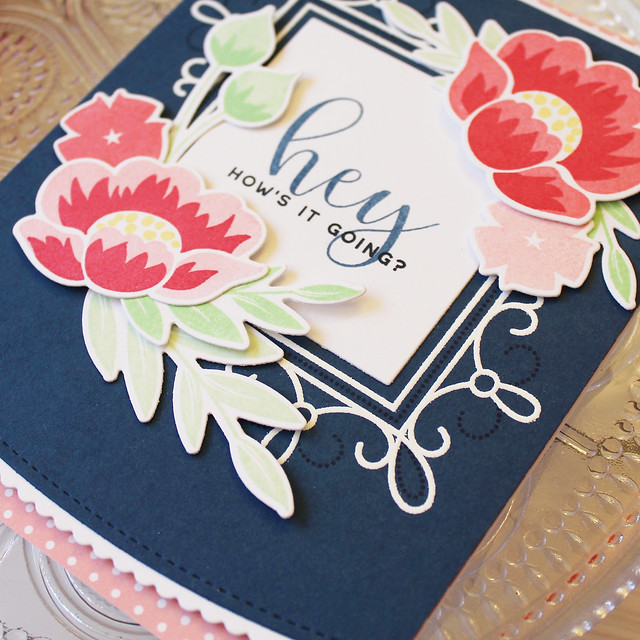
Lost Without You Card


World's Greatest Teacher Card


Let The Adventure Begin Card

Tuesday, March 13, 2018

Introducing Bold Borders, Sentiment Staples, Stitch In Time, and Kindness Counts

Good morning, everyone! It's Day 4 of the March Papertrey Ink new release countdown and it's a full intro day, friends! The team is showcasing my new Bold Borders: Diagonal Die, the Sentiment Staples: Thank You mini, and Kindness Counts (a sentiment set all about being kind and lifting others) as well as Betsy's Stitch In Time set. So rather than keep babbling, I'm going to share some projects. Sound good? Great!

First up, I have a thank you card I made by pairing the Bold Borders: Diagonal Die with Sentiment Staples: Thank You.

LizzieJones_PapertreyInk_March2018_BoldBorders_Appreciate_Your_Kindness_Card_1

I began by sponging a bit of Aqua Mist ink onto a white card base. Then I die cut a Bold Borders: Diagonal frame from white cardstock and adhered it to the card front.

LizzieJones_PapertreyInk_March2018_BoldBorders_Appreciate_Your_Kindness_Card_3

Next, I stamped and die cut three flower clusters from the Seasonal Borders: Spring set. I also stamped and die cut one of the vases from my Vogue Vases stamp set. I arranged the vase and flowers on the card front and adhered them with a mix of flat and foam adhesives. Then, I embellished the pink flowers' centers with glitter for a touch of sparkle.

LizzieJones_PapertreyInk_March2018_BoldBorders_Appreciate_Your_Kindness_Card_2

Then, I sponged Winter Wisteria ink onto Lilac Grace cardstock. I die cut the sentiment and banner from that cardstock and heat embossed the banner with the Sentiment Staples: Thank You greeting. I adhered those pieces to the card front and called it good. I love the softness of this card!

Next up, I have a card made with Betsy's Stitch In Time set and my Kindness Counts set.

LizzieJones_PapertreyInk_March2018_KindnessCounts_Bit_Of_Our_Heart_Card_1

I began by stamping the large frame image on a Classic Kraft card base using Fresh Snow ink. Then, I die cut the center panel from Rustic White cardstock and stamped it with the border image in Fine Linen.

LizzieJones_PapertreyInk_March2018_KindnessCounts_Bit_Of_Our_Heart_Card_2

I followed up by stamping the sentiment in the center of that die cut using Smokey Shadow and the heart in Lovely Lady and Autumn Rose. Then, I adhered it to the card front with foam adhesive.

LizzieJones_PapertreyInk_March2018_KindnessCounts_Bit_Of_Our_Heart_Card_3

Next, I created a bouquet of flowers using my Simple Stems set. I created a newspaper wrap by sponging Soft Stone and Fine Linen inks onto white copy paper before crumpling it up and stamping it with the Background Basics: Newsprint stamp set. I wrapped that "newspaper" around the flowers and embellished it with a twine bow before adhering it to the card front. I'm really happy with how that little detail turned out.

I hope you've enjoyed today's post! I'll be back tomorrow with more projects featuring this month's new release. In the meantime, Betsy, Heather, Keeway, Laurie, Melissa B, MelissaP, Michelle, Stephanie, and Lexi all have cards to share with you today. Have a great day, everyone!
Supplies:
Truly Appreciate Your Kindness Card


Bit Of Our Heart Card

Monday, March 12, 2018

Introducing Corner Adorner, Penned Elegance Alphabet, and Dream, Fly, Soar!

Hello, friends! It's Day 3 of the March Papertrey Ink new release countdown and today we're introducing my Corner Adorner: March set, Jennifer Campbell's Penned Elegance Alphabet, and Rebecca Luminarias's Dream, Fly, Soar! set. I have a couple of projects to share, so let's get to them!

On this first project, I combined my Corner Adorner set with Jennifer's alphabet.

LizzieJones_PapertreyInk_March2018_CornerAdorner_Hey_Card_1

I started by heat embossing the solid Corner Adorner images onto Enchanted Evening cardstock. I followed up by stamping the dotted detail image with Dark Indigo ink. I cut the bottom edge of that panel with the Round Off Edgers and set it aside.

LizzieJones_PapertreyInk_March2018_CornerAdorner_Hey_Card_2

I stamped the "hey" using the Penned Elegance Alphabet onto a Limitless Layers: 2 1/4" Square shape. I followed up with a companion sentiment from Simple Stems in Dark Indigo. I adhered the square on the Dark Indigo panel and then embellished the panel with white trim on the top and bottom edges.

LizzieJones_PapertreyInk_March2018_CornerAdorner_Hey_Card_3

I mounted the Dark Indigo panel onto a card base layered with Bitty Big: Pale Peony patterned paper. Then I stamped and die cut a selection of Gran's Garden flowers and leaves, arranging them around the sentiment with a mix of flat and foam adhesives. I'm head over heels for this color palette and I'm sure I'll be using it again.

Next up, I have a card made with Rebecca's Dream, Fly, Soar! set.

LizzieJones_PapertreyInk_March2018_DreamFlySoar_Fly_High_Card_1

I began by die cutting a cloudy panel using the Cover Plate: Blue Skies Die. I also cut a stencil using the Cover Plate: Blue Skies Rays Die and sponged Lemon Tart ink onto the cloud panel through the openings in the vellum. Then, I used Hello Sunshine to stamp a few additional rays.

LizzieJones_PapertreyInk_March2018_DreamFlySoar_Fly_High_Card_3

Next, I stamped the sentiment from Dream, Fly, Soar! onto the cloud/sun panel using Blueberry Sky and Enchanted Evening inks. I stamped the kite and tails before adhering the panel to a card base that I'd layered with Bitty Big: Blueberry Sky patterned paper.

LizzieJones_PapertreyInk_March2018_DreamFlySoar_Fly_High_Card_2

I stamped an additional kite on white cardstock and colored in the sections using colored pencils. I trimmed out the kite by hand and adhered it to the card front with foam tape.

I hope you've enjoyed today's post! I'll be back tomorrow with more projects featuring this month's new release. In the meantime, Betsy, Heather, KeewayLaurie, Melissa B, Melissa P, Michelle, Stephanie, and Lexi all have cards to share with you today. Have a great day, everyone!

Supplies:
Hey Card


Fly High Card