Tuesday, February 12, 2019

Thinking Of You

Good morning, friends! I meant to share today's card last week, but I just ended up getting overwhelmed with other tasks and completely forgot about it. But that just means I have something to share today, and there's nothing wrong with that!

Thinking Of You Card 1

I made today's card with the remnant of the Flora Background that I colored and used on this card last week. That beautiful pattern was simply too lovely to waste, so I thought about how I could incorporate it into a project and came up with this gem. It's super duper simple, but I really love how the colorful strip pops off of the Kraft background.

Thinking Of You Card 2

All I did was stamp that same Flora Background from Simon Says Stamp onto a Kraft card base using white pigment ink. I used a stamp press so I would be able to stamp repeatedly and get the best possible impression. Then, I adhered the colorful strip into place (lining up the pattern on both the base and the strip), attached a banner (embossed with a sentiment), and sprinkled on a few clear sequins. The little bit of sparkle works wonders for drawing your eye toward the sentiment.

Thank you so much for popping back in and checking up on me, friends! We're busy packing our house for demo day so I probably won't have a project to share for a little while, but I'll try and put together a "before" tour of the areas being renovated so you can get an idea of where we're starting. Have a great week!

Supplies:
Thinking Of You Card

Wednesday, February 6, 2019

You're In My Heart Today

Good morning, friends! While looking for stamp sets to color recently, I came upon the Flora Background from Simon Says Stamp.

You're In My Heart Today Card

This background reminds me of stained glass and I thought it would be beautiful with a bit of coloring. So I spent a little time each day last weekend using Copics to give this background a little life.

You're In My Heart Today Card 3

Once the whole square was done, I die cut a panel using a Nesting Basics: Rectangle die and matted it with a piece of black cardstock. Next, I vertically stamped a greeting from Sentiment Staples: Thinking Of You along one side of a Soft Stone card base.

You're In My Heart Today Card 2

I mounted the floral panel to the card front with foam tape and then embellished all of the flower center areas (the round, yellow bits) with Glossy Accents to give a touch of shine to the pattern. The best part? I still have a nice, big strip of the colorful pattern to use on a card that I'll share in the next day or two.

Thank you so much for joining me today! I hope you're having a wonderful week! I'm going to choose flooring for our new basement guest suite/family room today. Wish me luck!

Supplies:
You're In My Heart Today Card

Monday, February 4, 2019

A Happy Hello

Good morning, friends! I decided a few days ago to try and play along with the 30 Day Coloring Challenge this month (yes, I know February is only 28 days). It's been quite a long time since I've really played with my Copics so this first go-round I felt a tiny bit rusty. But how am I ever going to shake it off if I don't practice? So here we go.

A Happy Hello Card_Tall Blooms

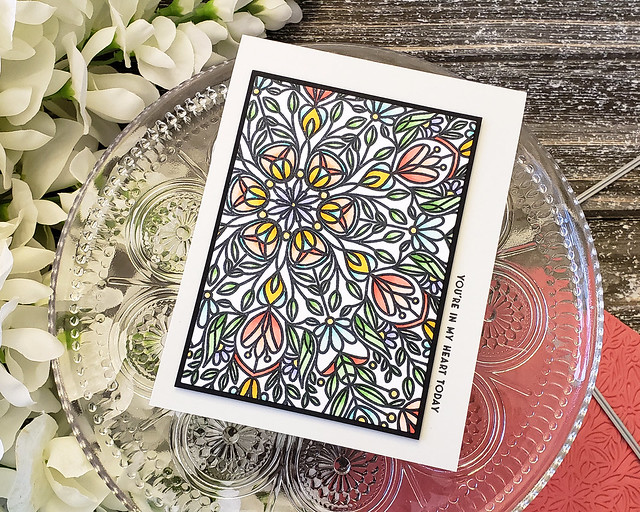
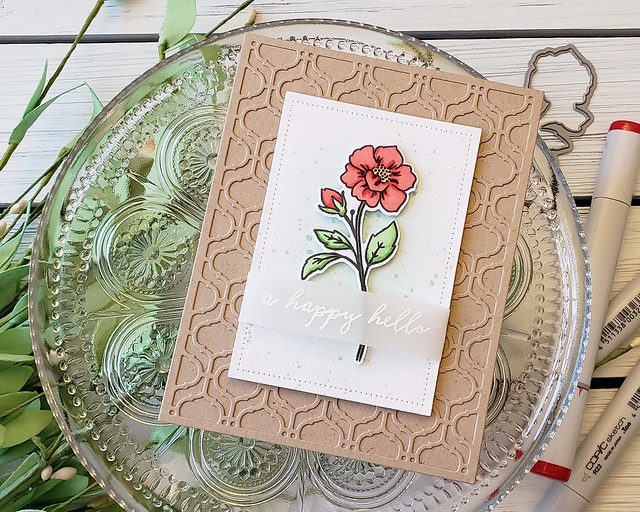
I bought this set, Tall Blooms from Reverse Confetti, several months ago and just never took the time to break into it. When I decided to try to play along with the Coloring Challenge, I took a spin through my unused sets to see if I had any that could be colored. This one jumped out at me right away.

A Happy Hello Card2_Tall Blooms

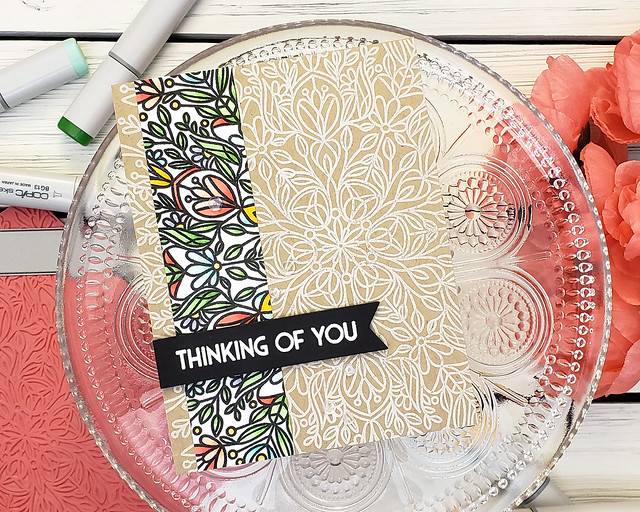
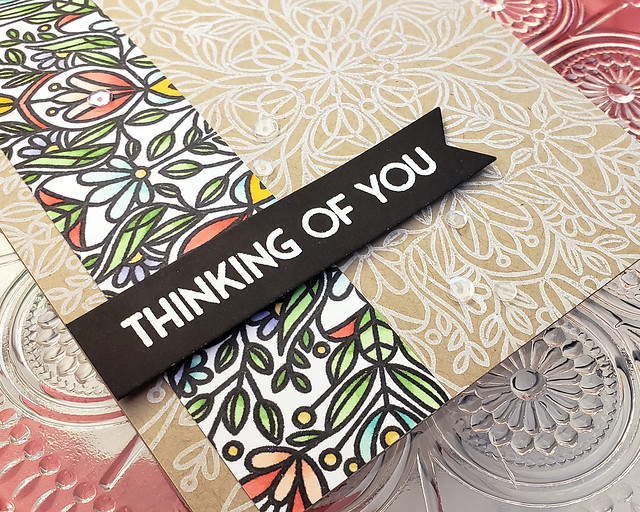
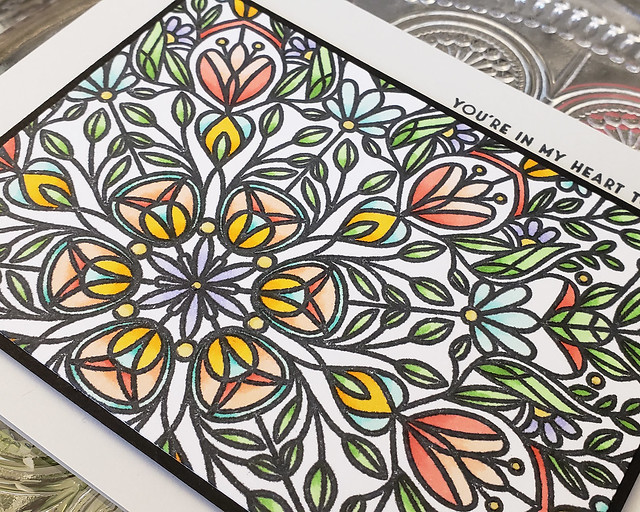
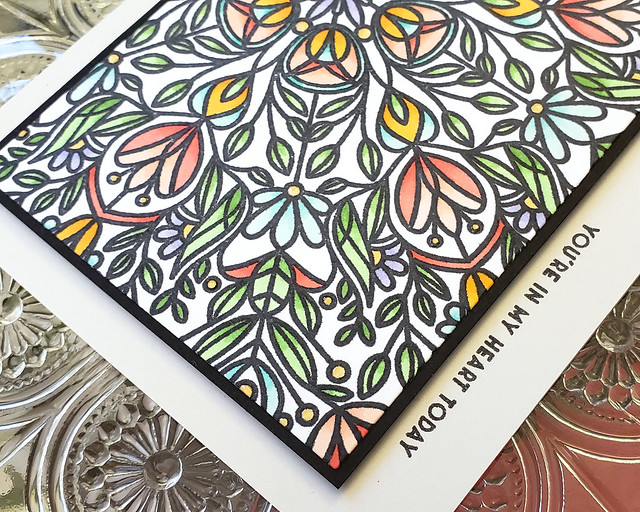
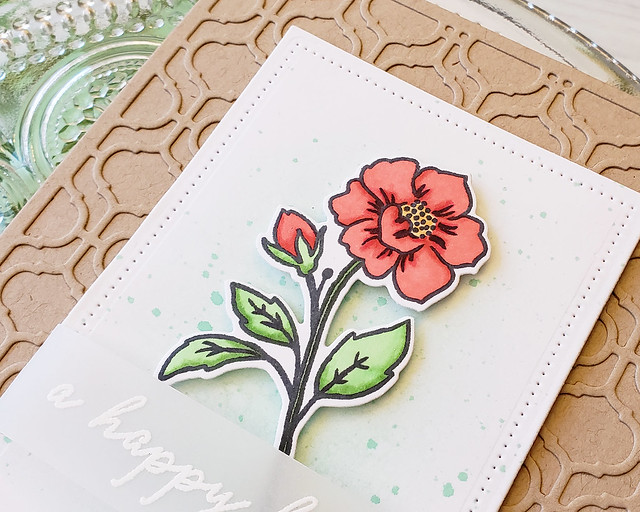
I stamped the flower with Memento Tuxedo Black ink and colored it with Copic Markers. I die cut the flower and set it aside while I assembled the rest of my card. I began by xyroning a piece of Kraft cardstock and die cutting it with the Bold Borders: Arabesque die. I removed the backing and adhered that panel to a Kraft card base. Then, I sponged and splattered a panel of white cardstock with Aqua Mist ink. I die cut that panel with the Nesting Basics: Rectangles and Pierced Rectangles dies and set it aside.

A Happy Hello Card3_Tall Blooms

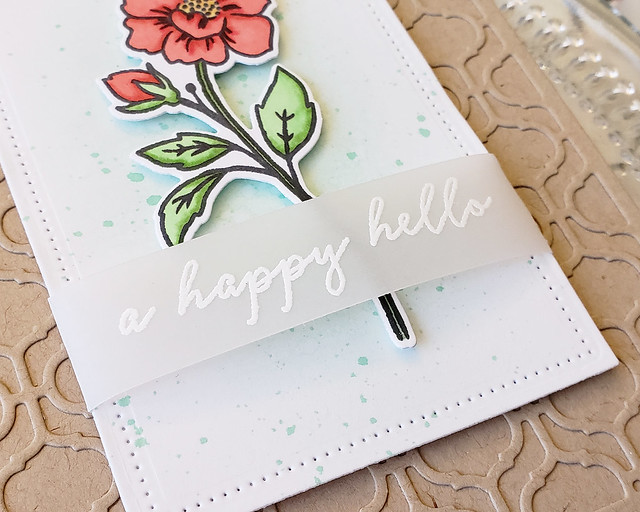
Then, heat embossed a sentiment from the set onto a strip of vellum using white powder. I wrapped it around the splattered panel and adhered the edges to the back. Tip: when you're trying to fold vellum, warm it with your heat tool to reduce or even prevent cracking. The heat makes it more pliable. I used foam tape to adhere that layer to the card base and then used additional foam tape to attach the flower (I just tucked it under the sentiment).

It felt good to stretch my skills and try something outside my comfort zone. Thank you so much for joining me today! I'll pop in the next time I have a project to share. Have a great week, everybody!
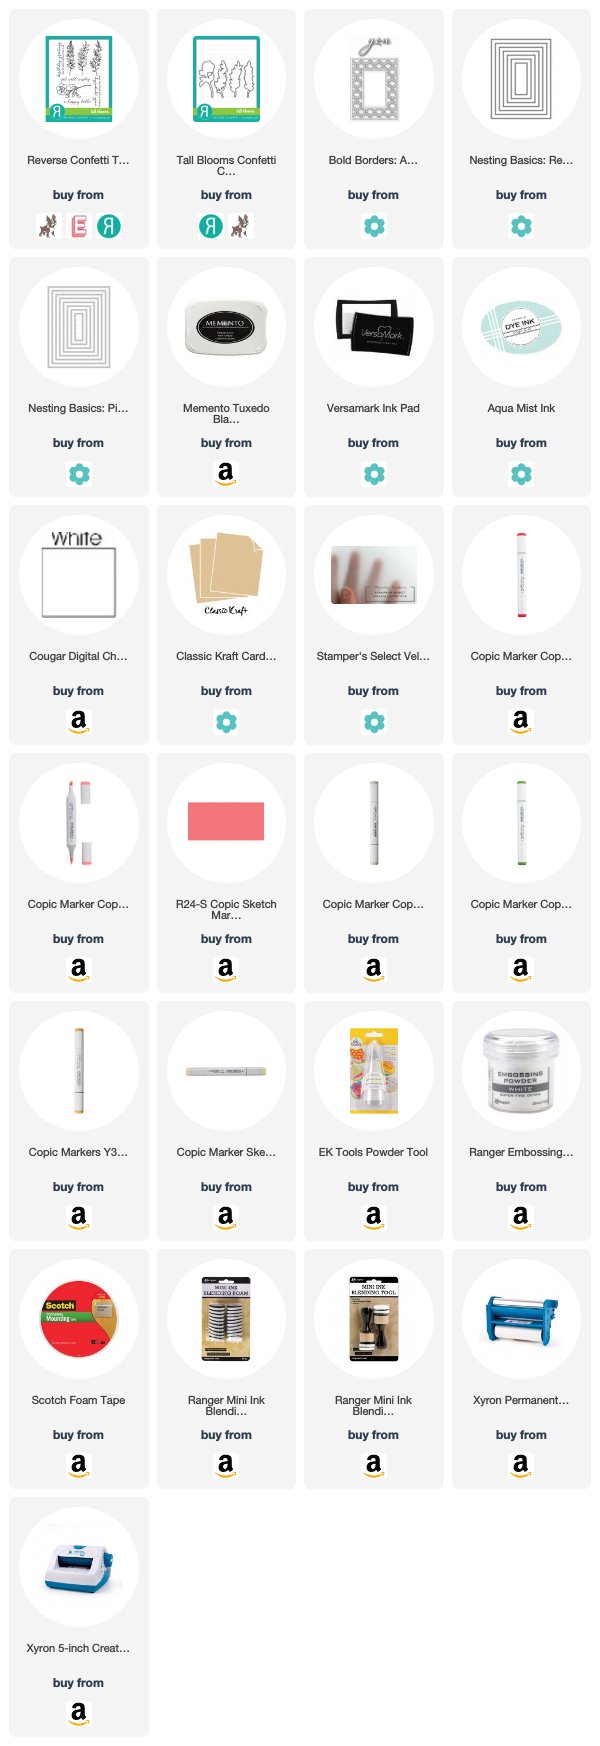
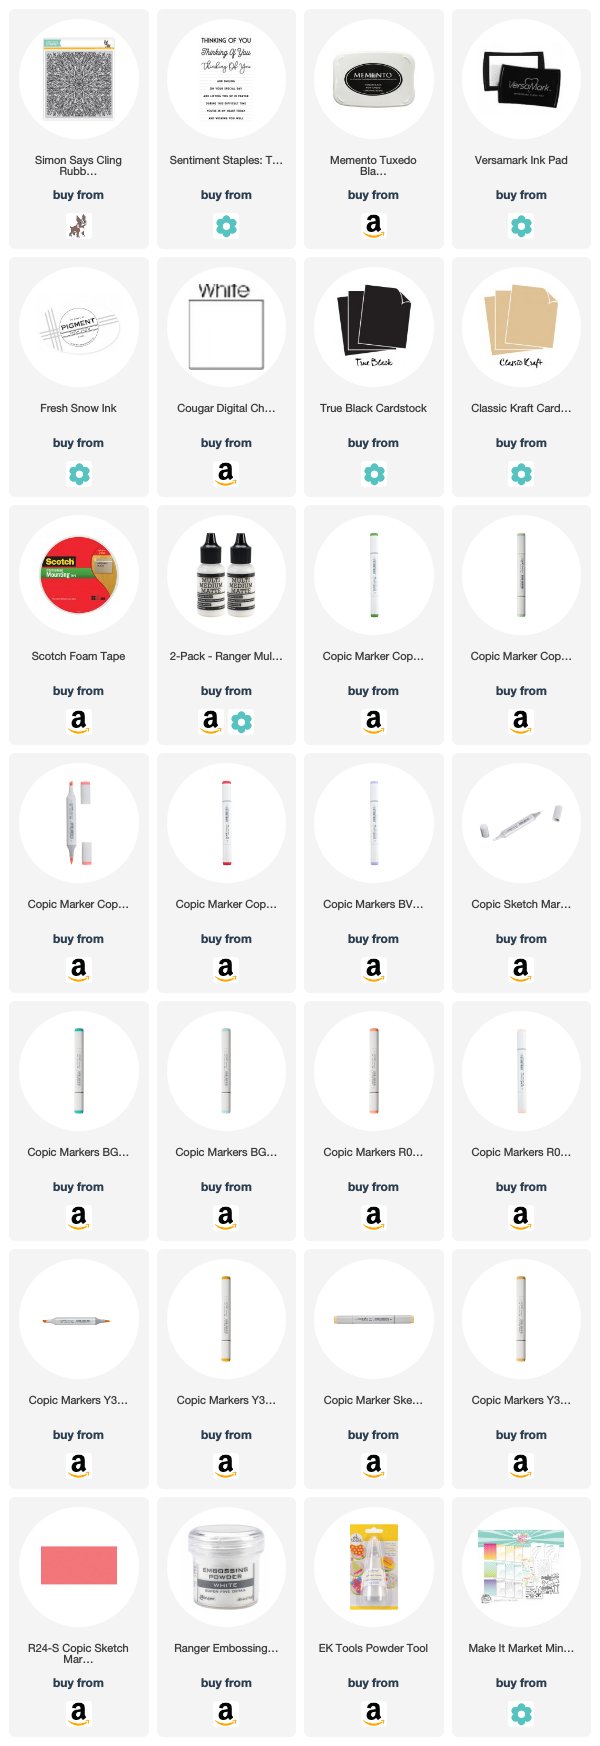
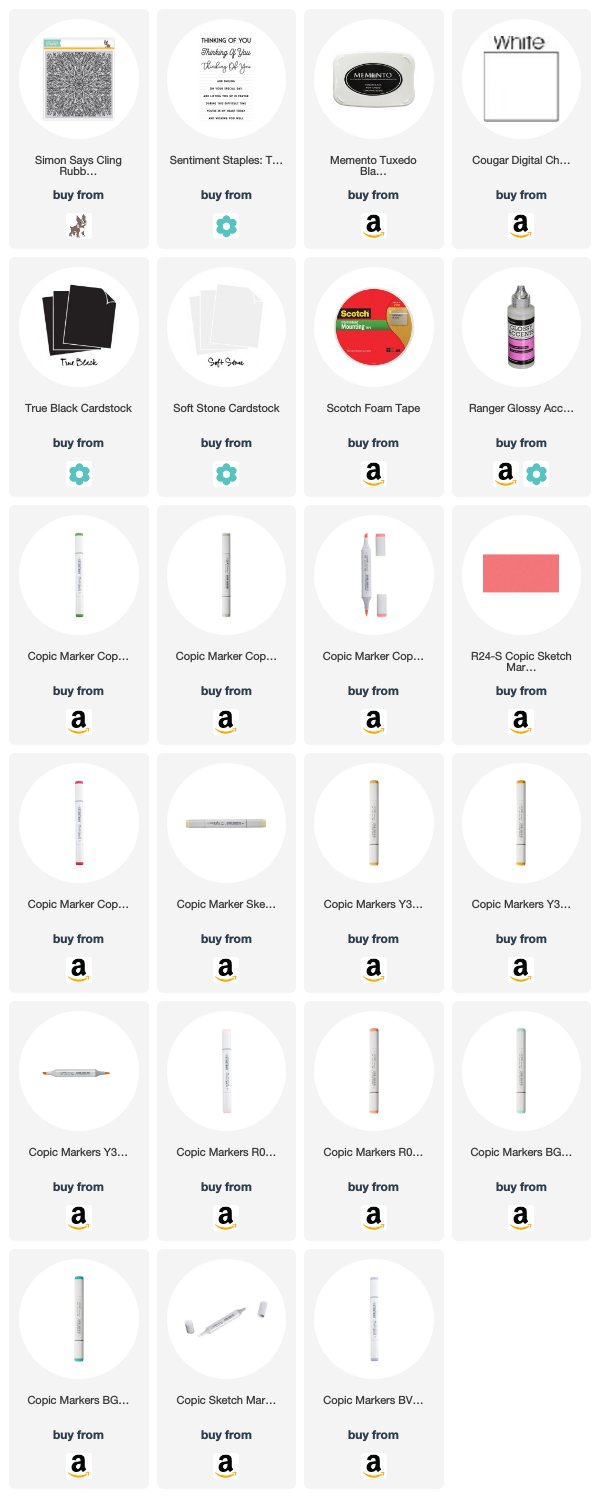
Supplies:
A Happy Hello Card