Good morning and welcome back for Day 3 of the
Papertrey Ink May countdown! The team is back today introducing Dawn's
Cover Up: Hexagons, Betsy's
Seasonal Borders: Summer, and my
Forest Floor: Summer stamp sets. I have three projects to share with you, so let's get to it!
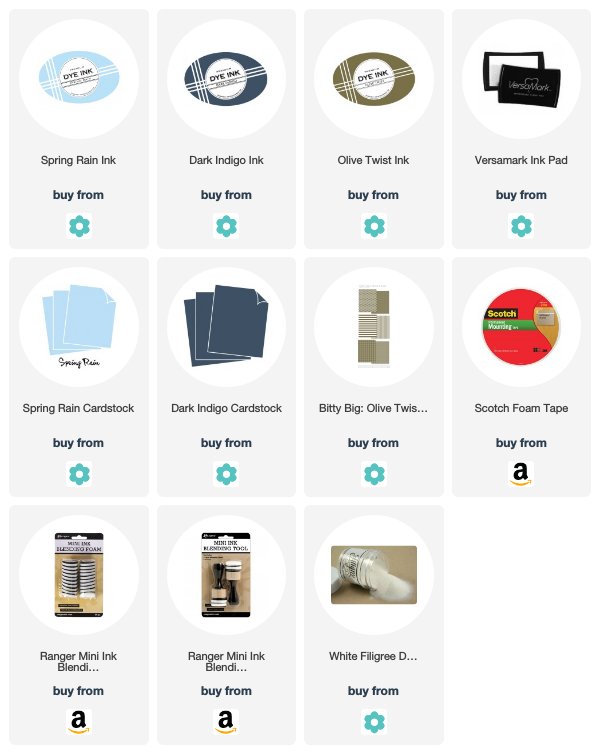
My first card today uses
Cover Up: Hexagons with
Forest Floor: Summer. I've also got a peek at Betsy's newest
Noted: Pinked Edge A2 die collection in here as well.
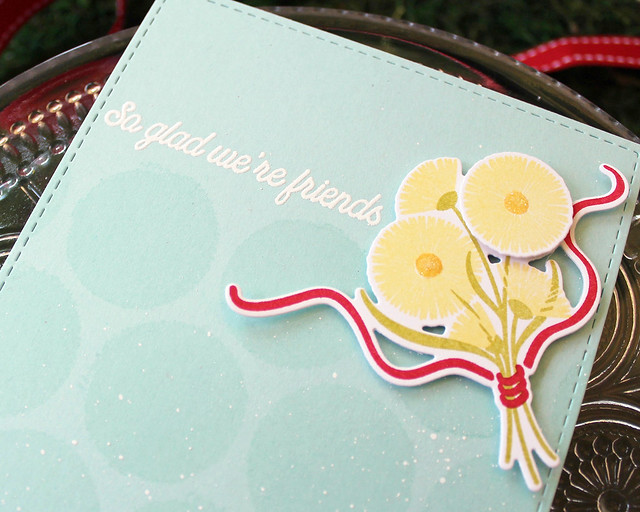
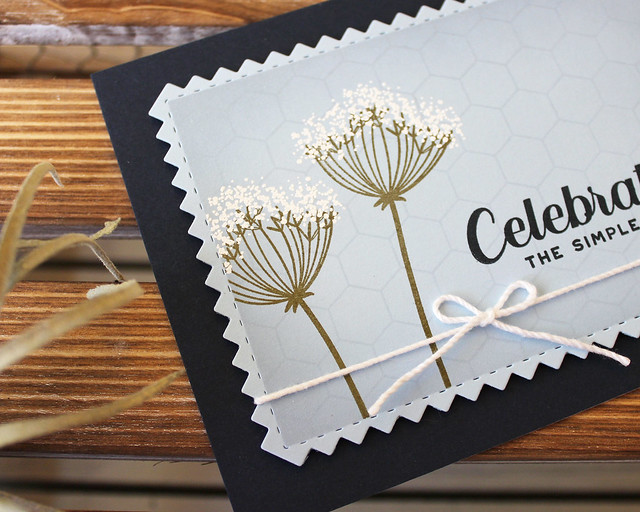
I began by die cutting a pinked edge layer from Spring Rain cardstock and masking the edges with post it tape. Then, I sponged some Spring Rain ink to define the edges a bit and stamped the Cover Up: Hexagons in the matching ink.
Next, I stamped the Queen Anne's Lace stems in Olive Twist and heat embossed the bloom bits with white detail embossing powder. I stamped the sentiment using Dark Indigo before removing the masks and tying a white crochet thread bow around the layer.
I adhered a piece of striped Bitty Big: Olive Twist patterned paper to a Dark Indigo card base before adhering the focal panel with foam tape. I love how the bright white blooms pop against the pale blue background.
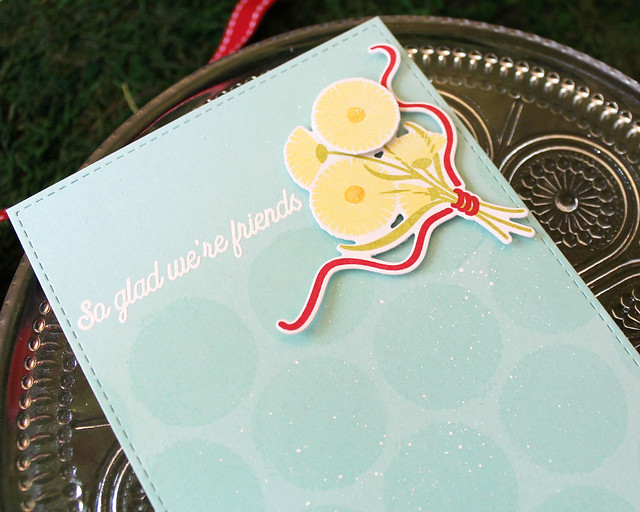
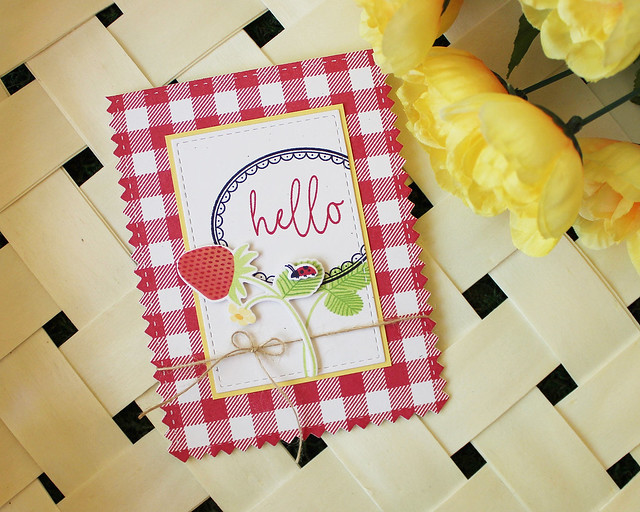
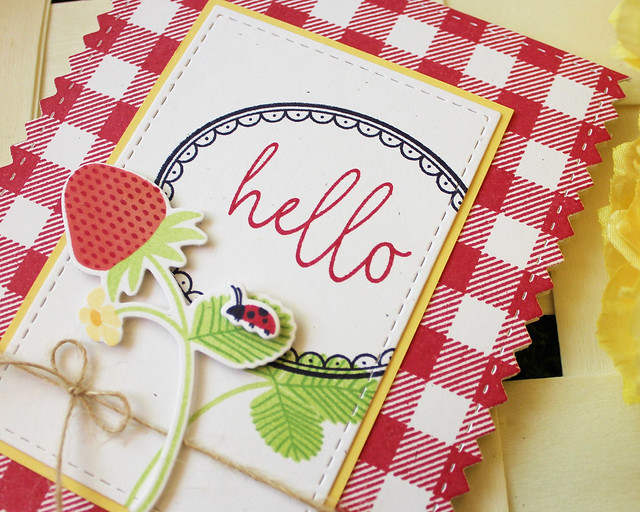
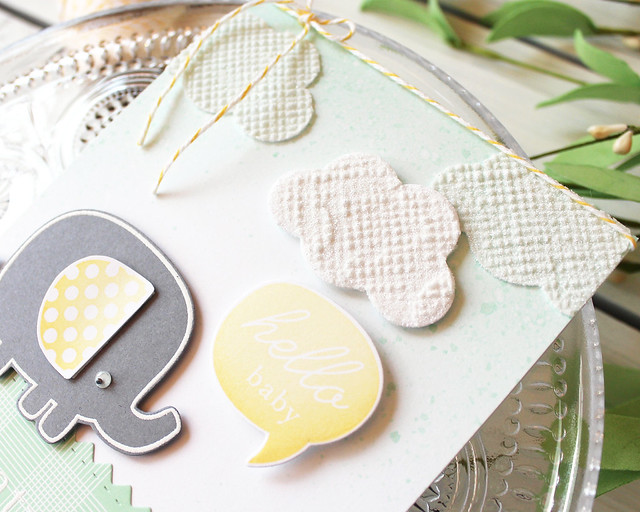
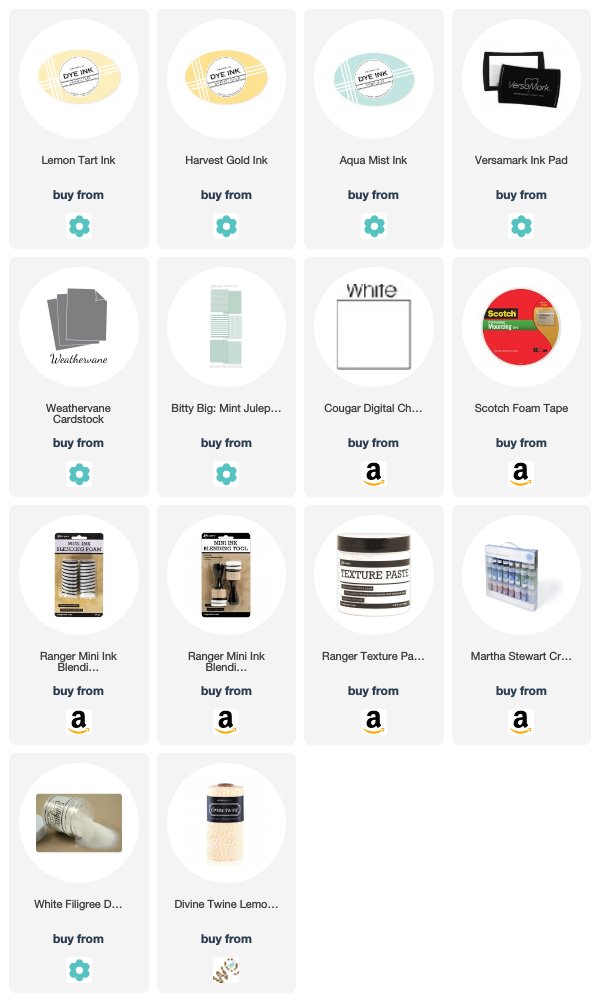
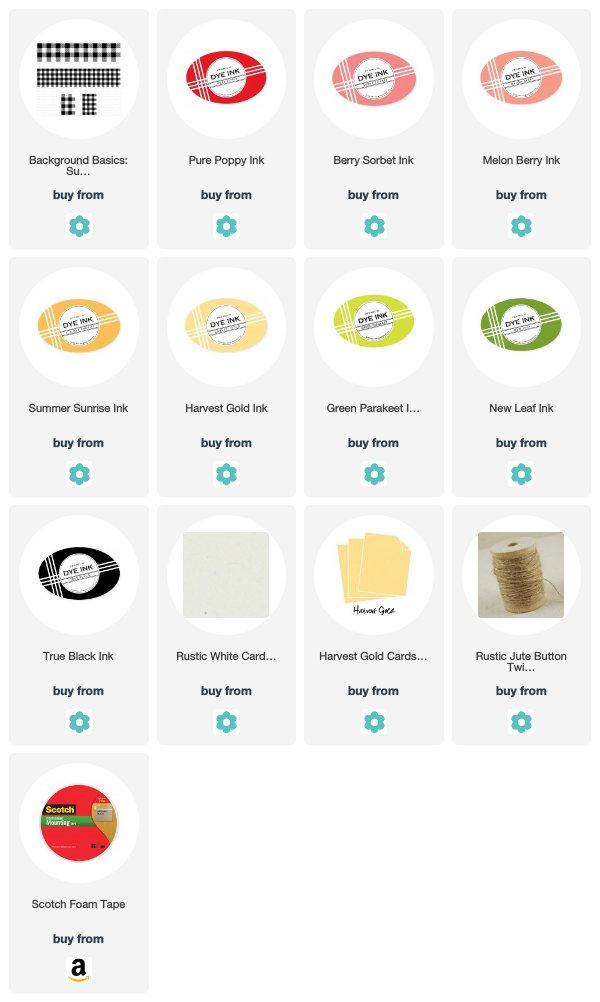
Next up, I have a card using the strawberries from
Forest Floor: Summer. We have these tiny strawberries in our yard during the summer and they make me smile from the moment they start popping up all over the place. I couldn't help but turn them into a stamp!
I began by stamping and die cutting the strawberry stem onto Rustic White cardstock. I used Melon Berry and Berry Sorbet to get the gradient of color on the berry and then used Pure Poppy to add the seeds. You could also heat emboss the seeds with a contrasting powder if you wanted them to be lighter.
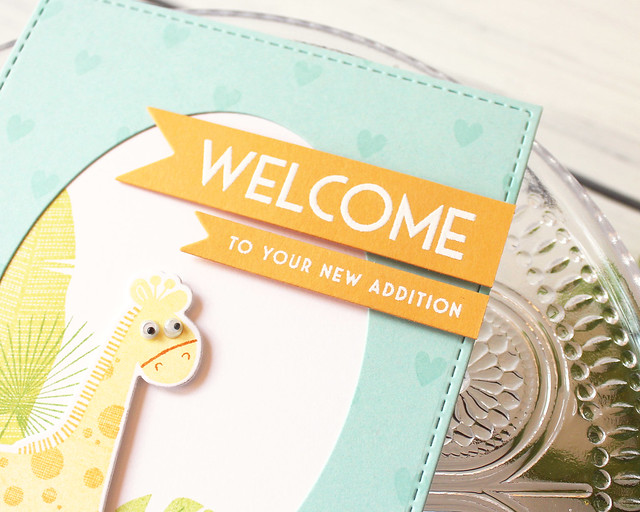
I stamped the leafy stem onto a Rustic White panel that I had cut with a Noted: Simply Stitched rectangle. I followed up with the frame stamped in True Black and a sentiment from Pitter Patterns stamped in Pure Poppy. I matted that layer with a piece of Harvest Gold cardstock and set it aside for a moment.
Next, I stamped a Noted: Pinked Edge card base with the Background Basics: Super Gingham in Pure Poppy. I adhered the sentiment panel and tied a Rustic Jute Twine bow around the card base. Then, I attached the strawberry stem to the card front with foam tape. The card still needed a little something, so I stamped and die cut the little ladybug from Forest Floor: Summer and added her to the strawberry leaf with foam tape. I'm smitten!
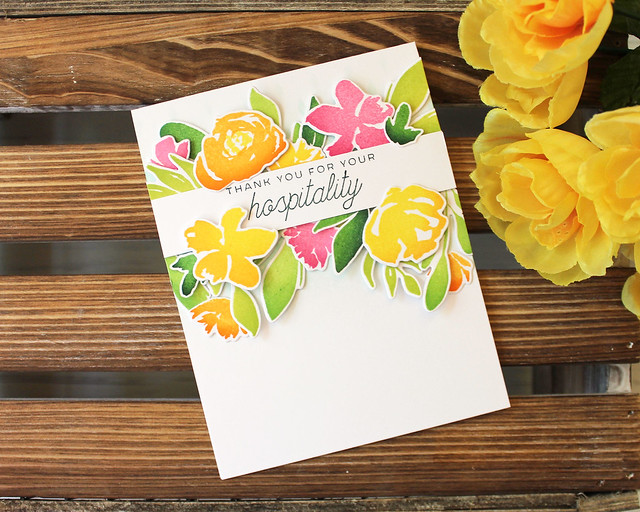
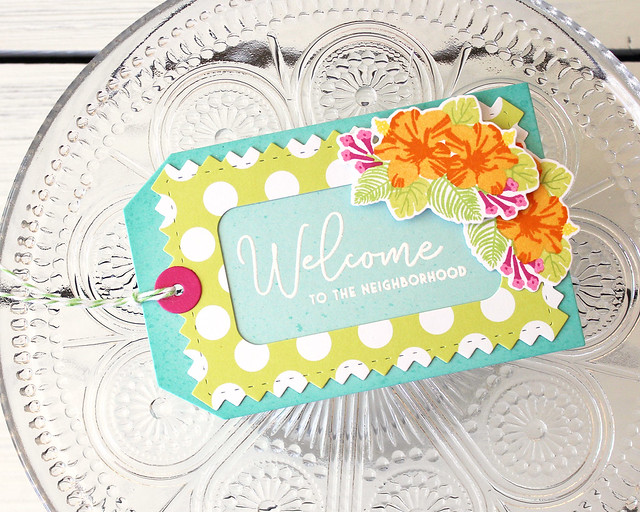
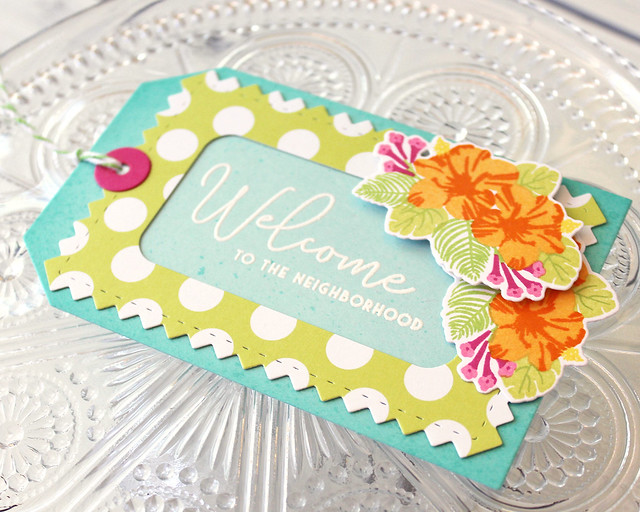
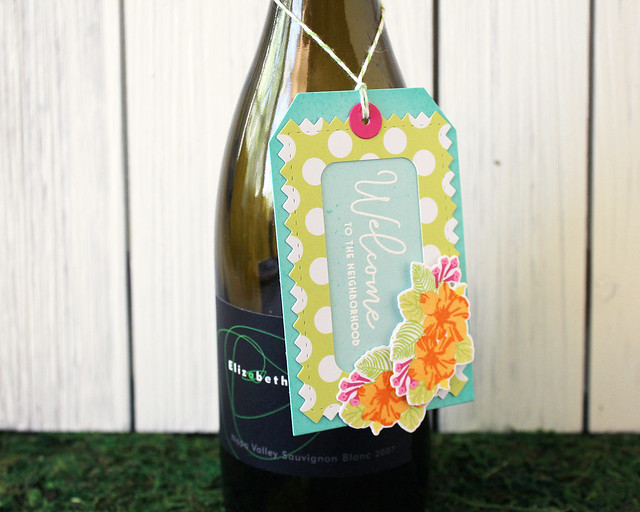
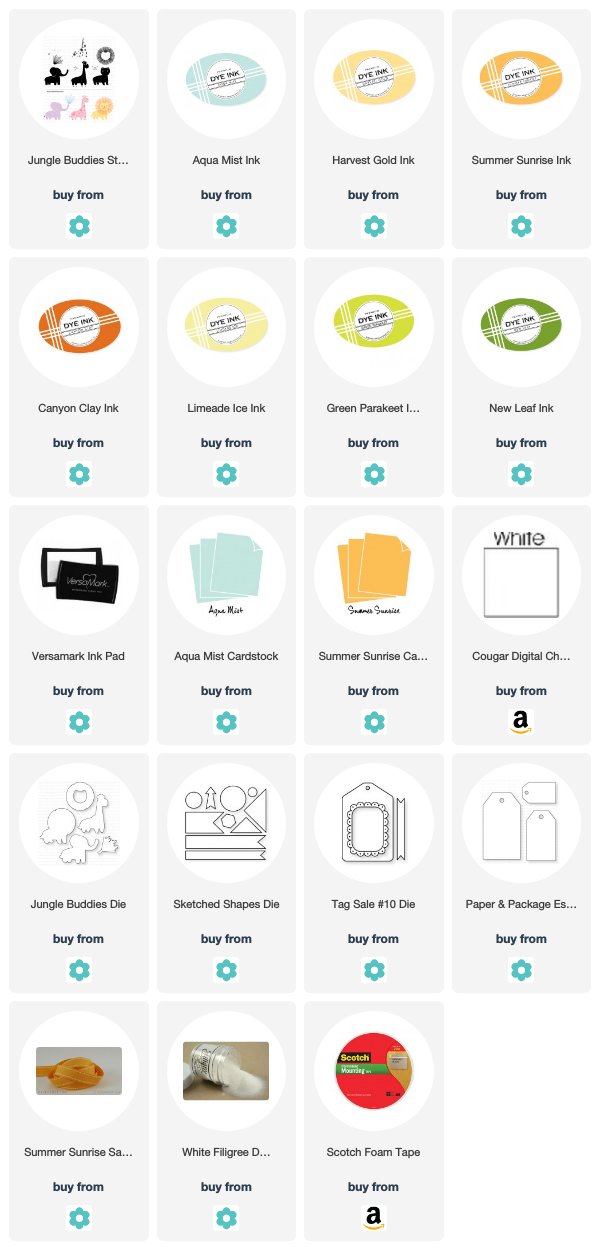
And last, but certainly not least, is Betsy's new
Seasonal Borders: Summer stamp set. This one features a beautiful array of tropical leaves and flowers that you're going to love!
I began by sponging Hawaiian Shores ink onto an Aqua Mist Monthly Moments Journal Card 6 die cut. Once my sponging was done I added a few splatters for texture and heat embossed a sentiment from Sentiment Staples: Welcome with white powder.
Next, I created a frame from the new Bitty Big: Limeade Ice polka dot paper using a Pinked Edge rectangle and the Fillable Frames #7 die (I did have to double cut the Fillable Frames die to make it long enough, but it was a snap to do). I adhered the frame to the tag and added a Raspberry Fizz hole enforcer.
Then, I stamped and die cut the flower cluster from Seasonal Borders: Summer two times. I adhered them to the tag with a mix of flat and foam adhesives to give some dimension and then finished off the tag with some green baker's twine. Hanging this tag off of a nice bottle of wine or a basket of baked goodies would be such a nice way to welcome a new neighbor!
That's all I have for you today. I hope you've enjoyed today's post! I'll be back tomorrow with more of this month's release, but make sure to pop in on
Betsy,
Dawn,
Heather,
Laurie,
Melissa B,
Melissa P,
Michelle, and
Stephanie for more sneak peeks or click
HERE to see everything we're introducing today. Enjoy your Saturday and I'll see you again in the morning!
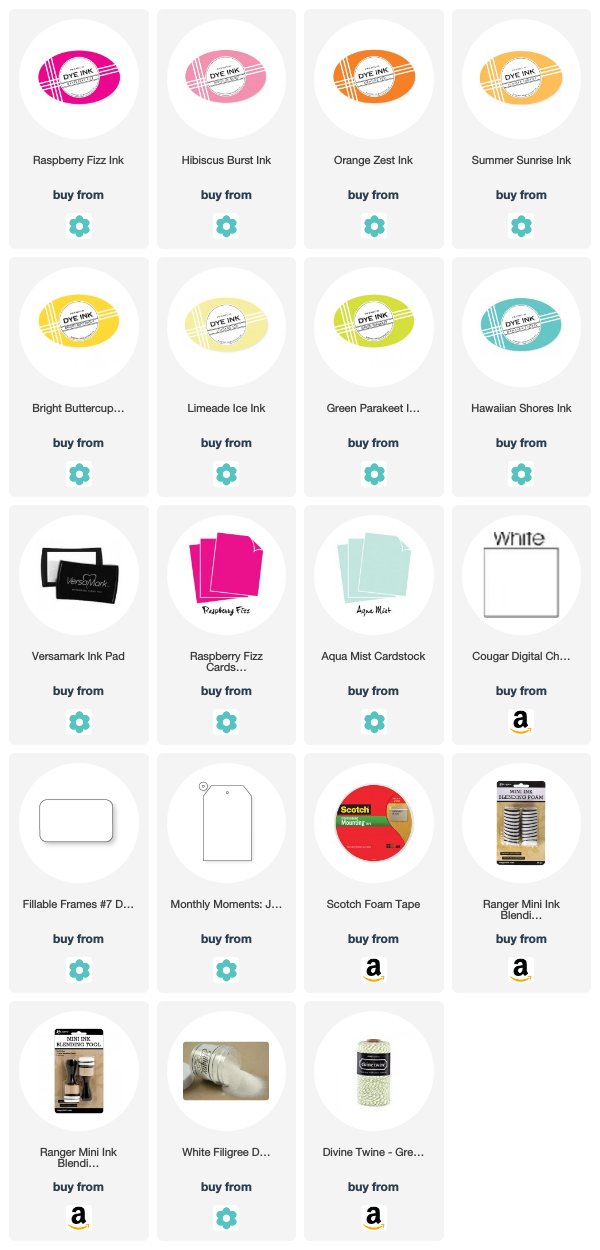
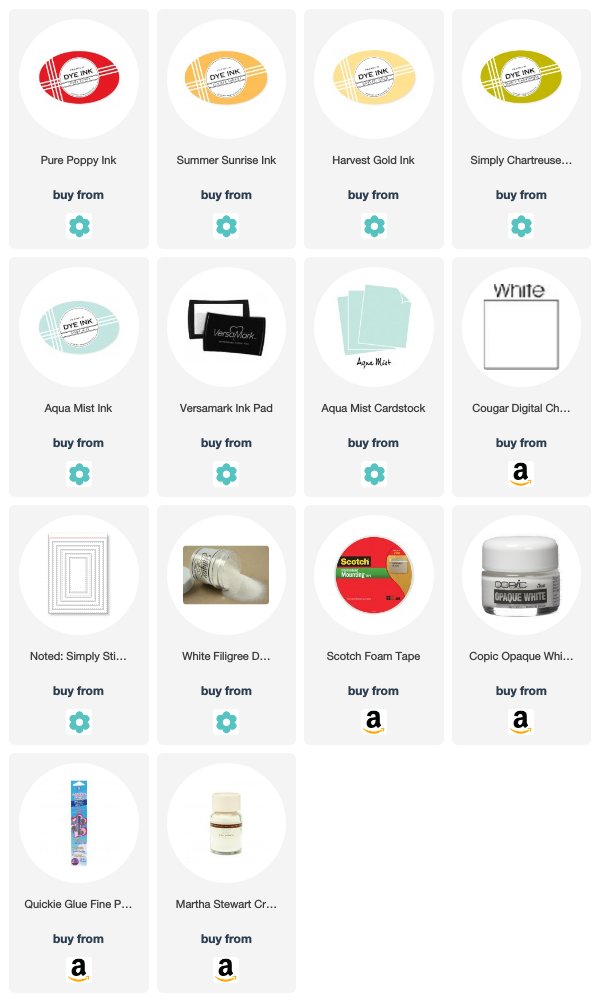
Supplies:
Celebrate The Simple Things Card
 Hello Card
Welcome To The Neighborhood Tag