Tuesday, November 14, 2017

Papertrey Ink Featured Post: Direct Messages

Good morning, all! Welcome to the final day of this month's Papertrey Ink new release countdown! I'm back today to showcase my new set, Direct Messages. This sentiment set features nine banner-style sentiments in reverse print with a coordinating die. Let's take a closer look at this set!

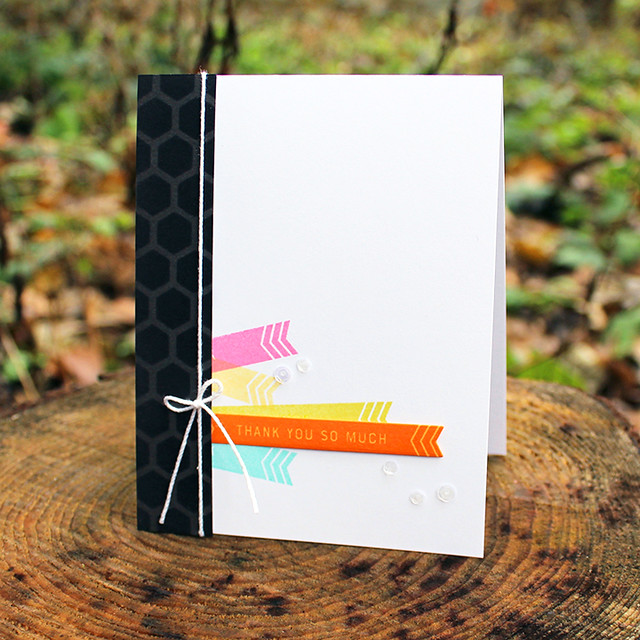
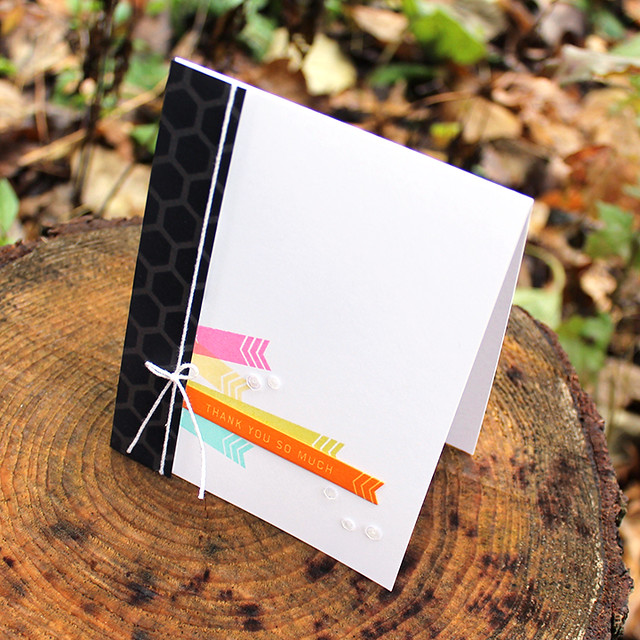
My first project uses one of the banners with a shorter phrase (the Best Of Luck banner) to add extra colorful flags around the sentiment.

Thank You So Much Card

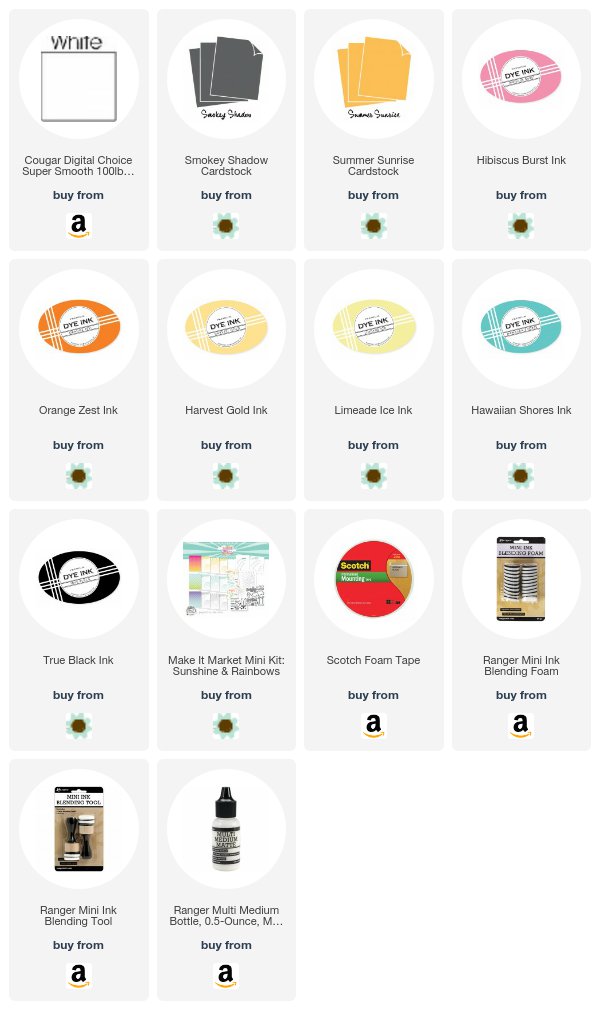
I began by stamping the extra banners in Hawaiian Shores, Limeade Ice, Harvest Gold, and Hibiscus Burst inks. The longest banner (the Limeade Ice one) had the text partly visible, so I used colored pencils to color in the sentiment and make it blend in better.

Thank You So Much Card 2

Then, I stamped my sentiment banner onto Summer Sunrise cardstock with Orange Zest ink. I adhered one end to the card front, leaving the other end loose.

Thank You So Much Card 3

I attached a strip of Smokey Shadow cardstock tied with a white crochet thread bow to the card front with foam tape and sprinkled on a handful of sequins to dress things up a bit.
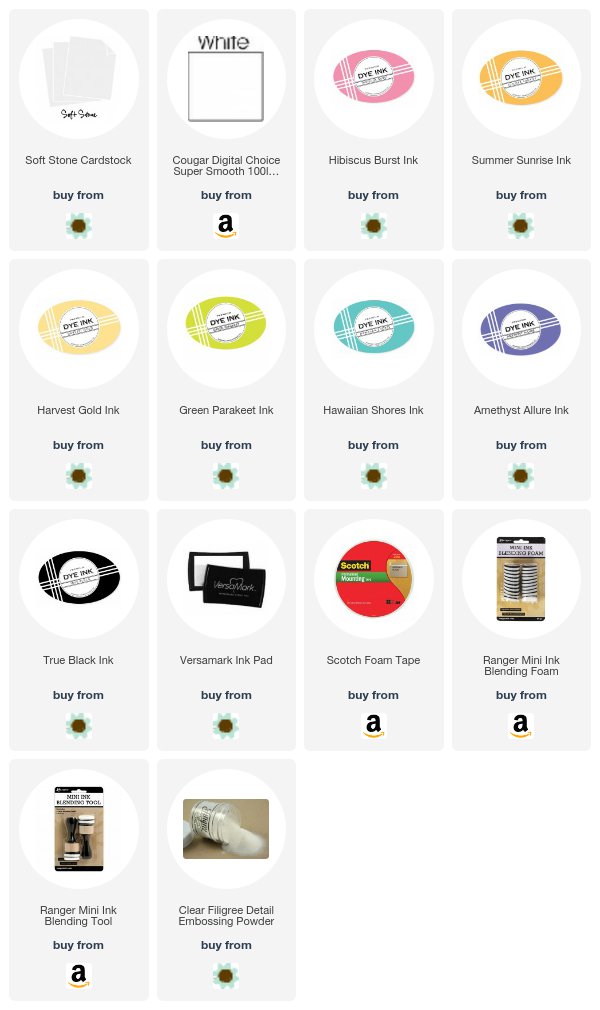
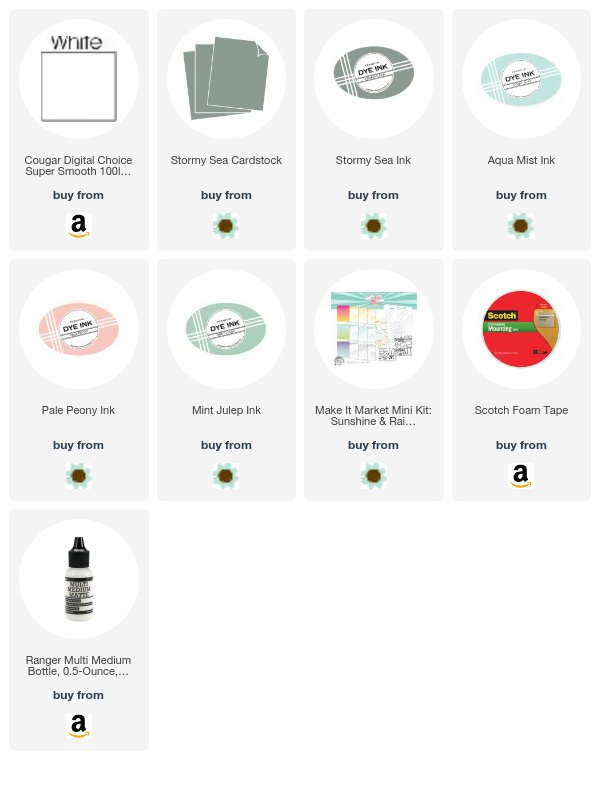
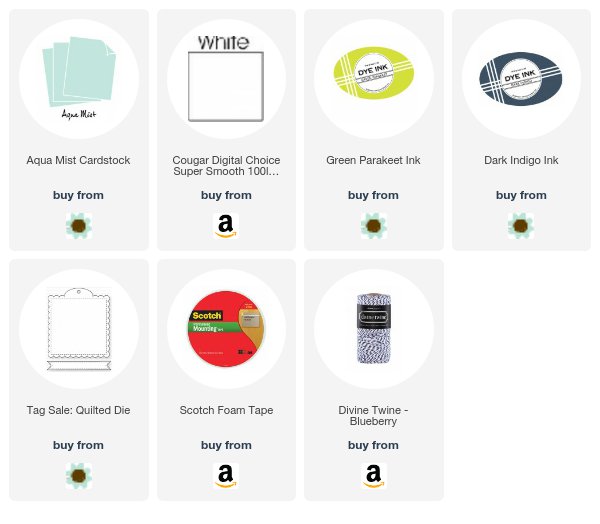
Supplies:


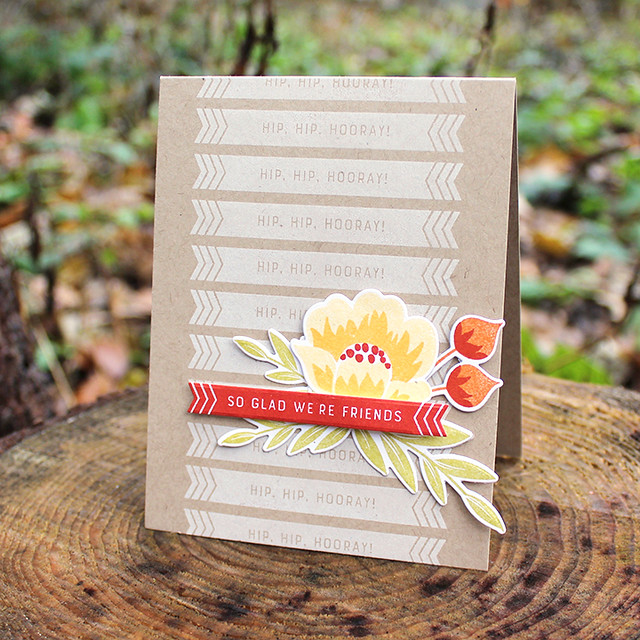
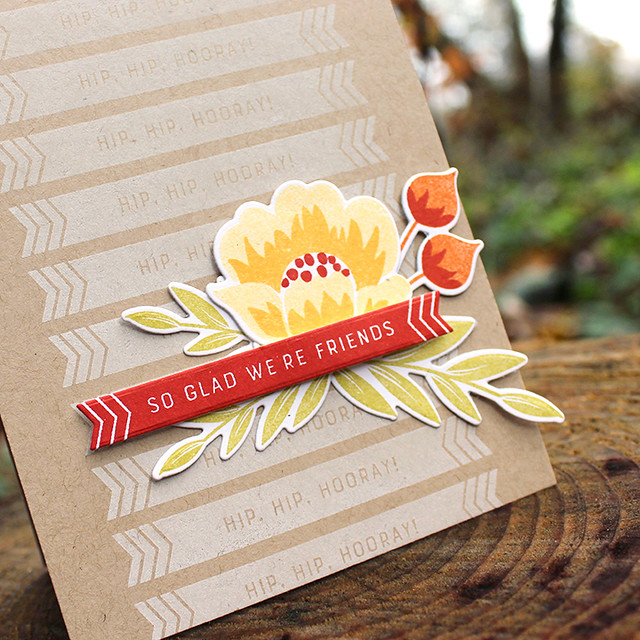
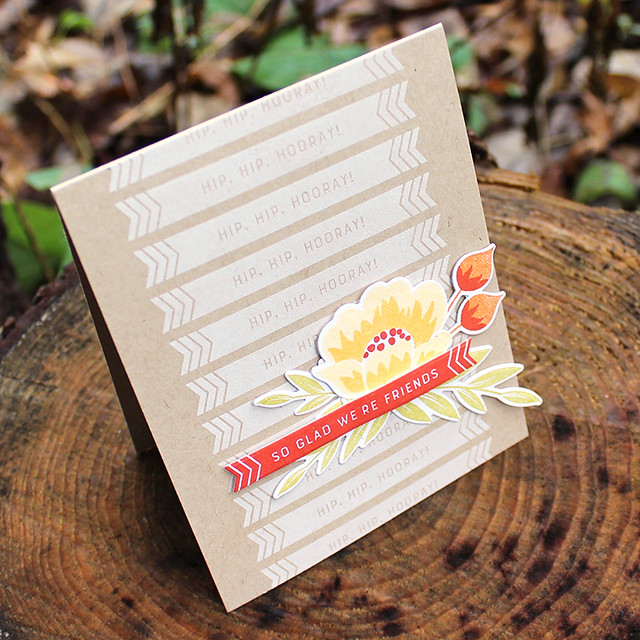
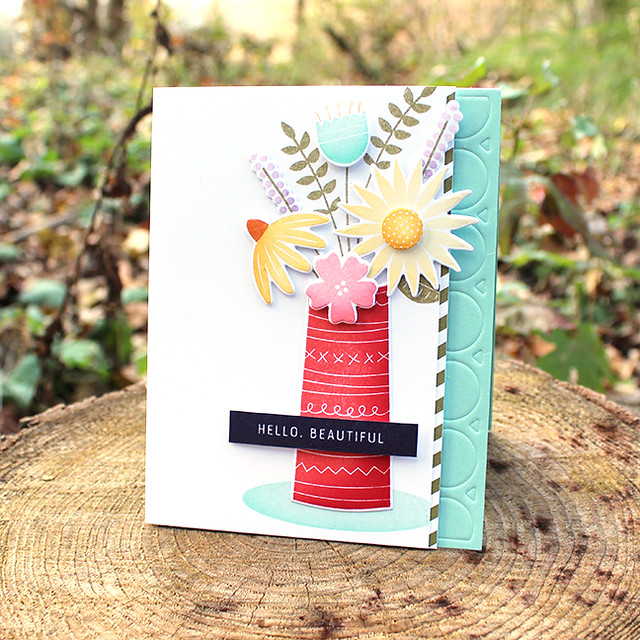
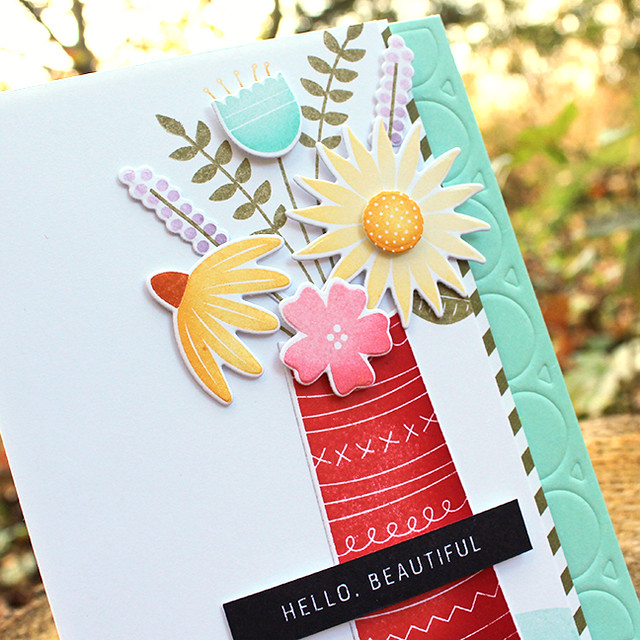
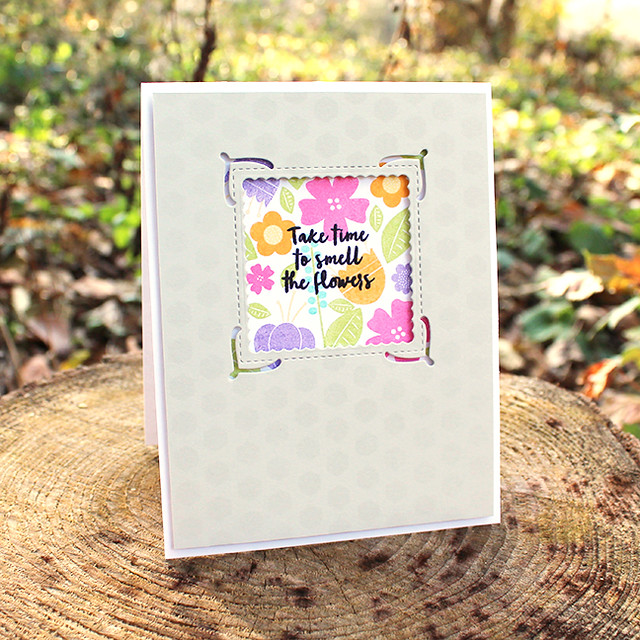
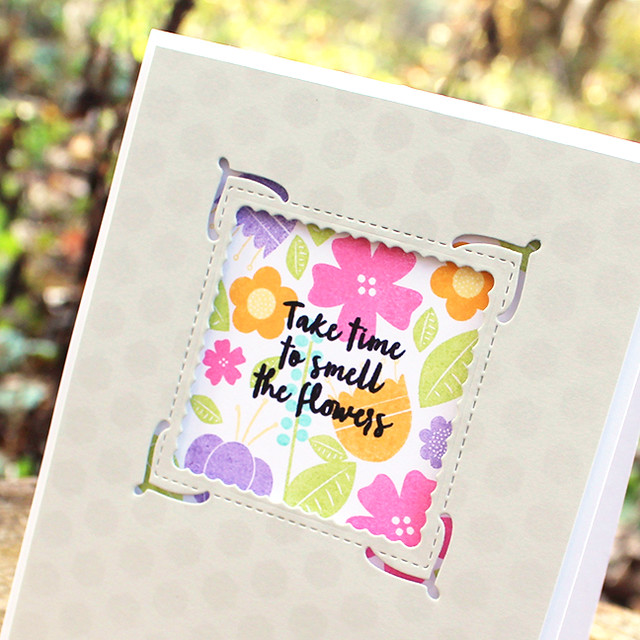
Next up, I've paired my sentiments with Dawn's Gran's Garden set. The clean, modern style of these banner sentiments contrasts really nicely against the round softness of florals.

So Clad We're Friends Card

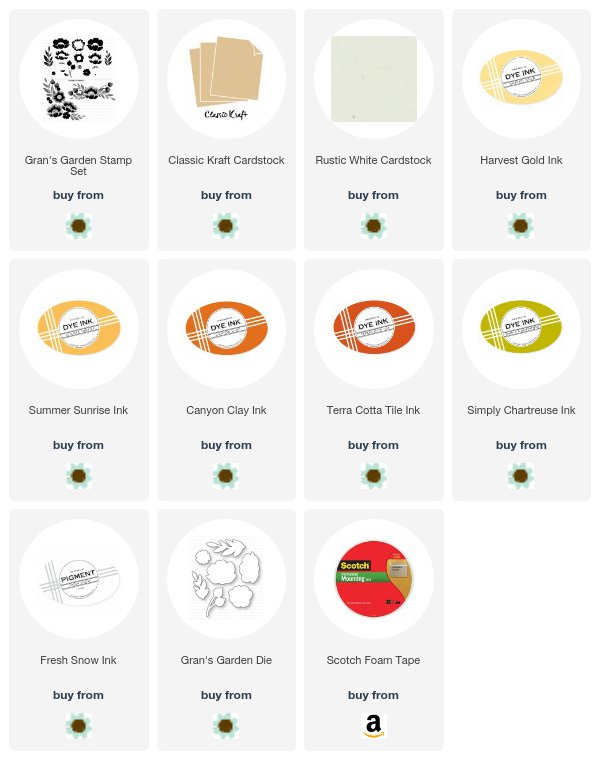
I began by stamping the background sentiments onto a Classic Kraft card base using Fresh Snow ink. A tip: start with the sentiment you want to use as your focal point so you can get things spaced exactly the way you want them.

So Clad We're Friends Card 3

Then, I stamped my focal point banner in Terra Cotta Tile ink onto Rustic White cardstock. I also stamped and die cut the flowers and greenery using the same cardstock. The ink colors are Harvest Gold, Summer Sunrise, Canyon Clay, Terra Cotta Tile, and Simply Chartreuse.

So Clad We're Friends Card 2

I arranged the flowers and leaves on the card front before adding my sentiment with foam tape. This card gives me a distinctly '70s vibe. I think my grandparents had a couch that would have coordinated nicely.
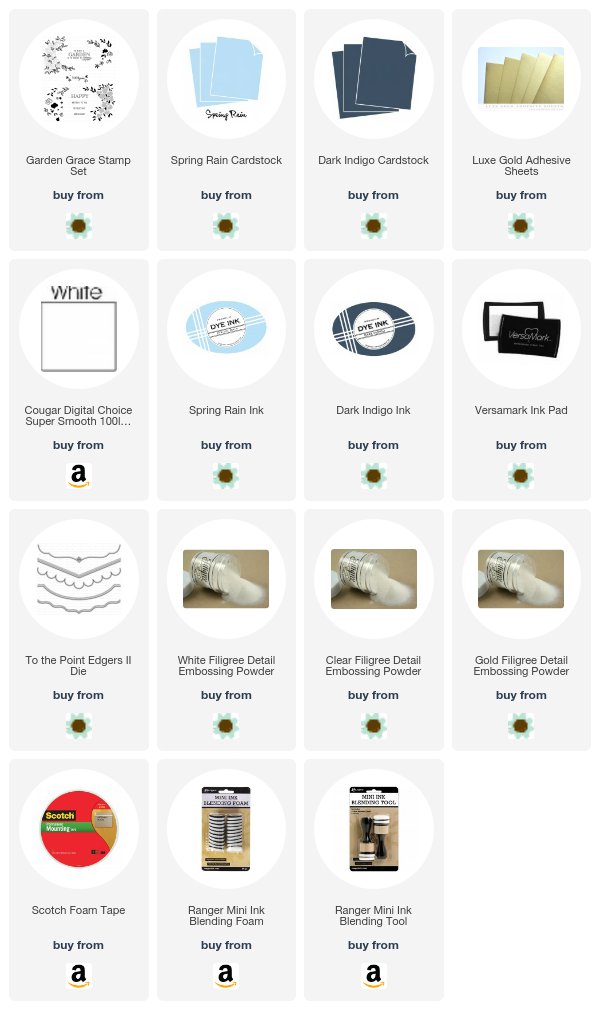
Supplies:


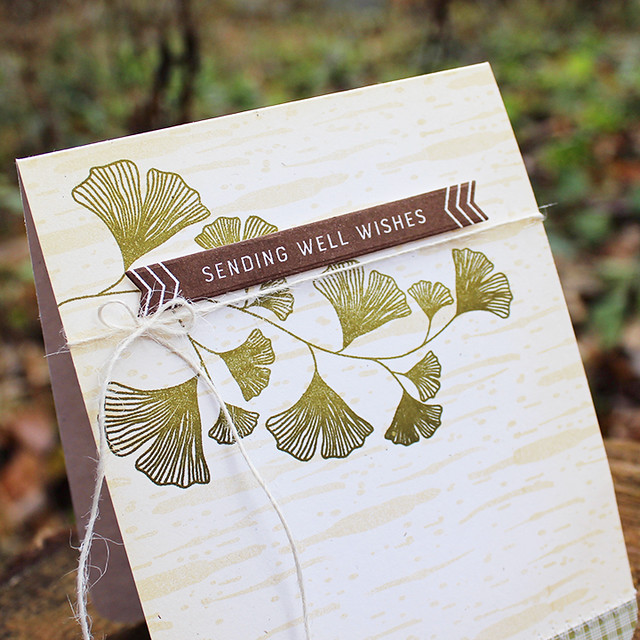
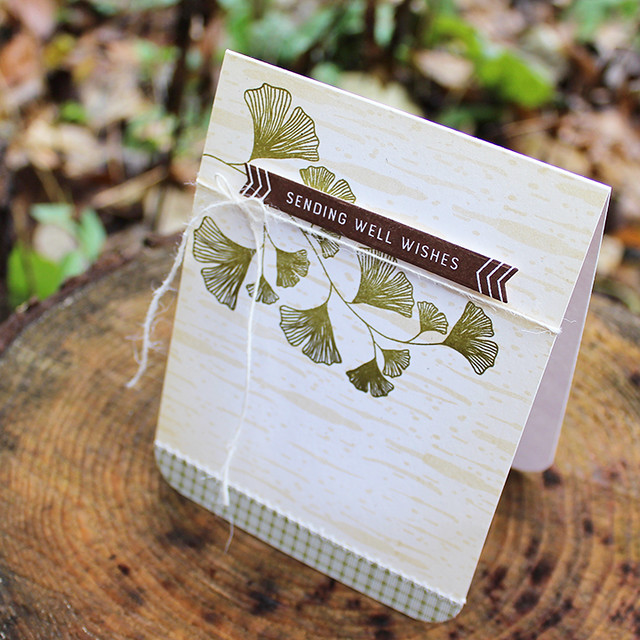
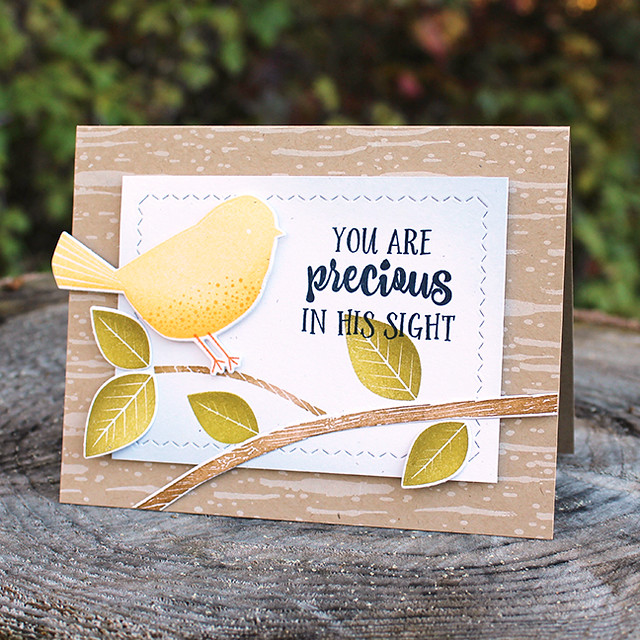
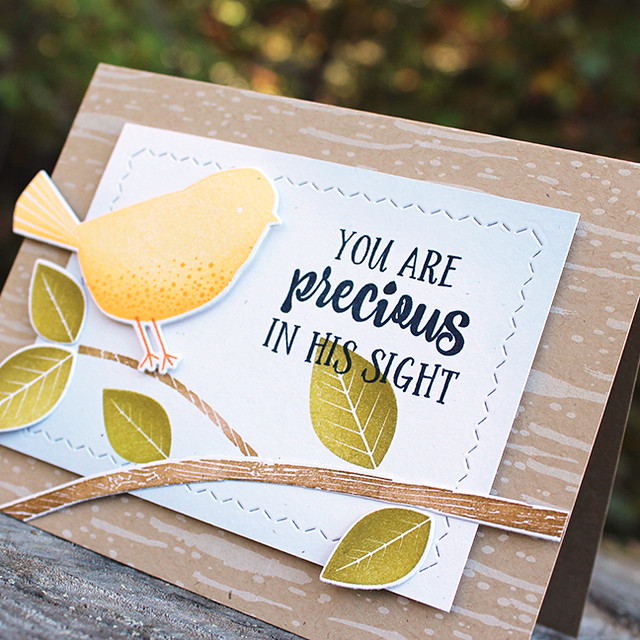
My last Direct Messages project is slightly more masculine in tone. There is a twine bow, but I rarely avoid bows even on masculine cards. If a dude's shoes have bows I don't understand why their cards can't too.

Ginkgo Well Wishes Card

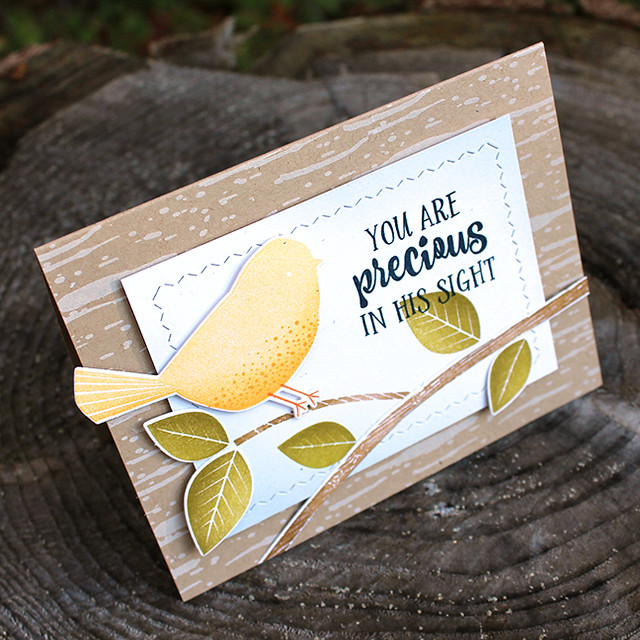
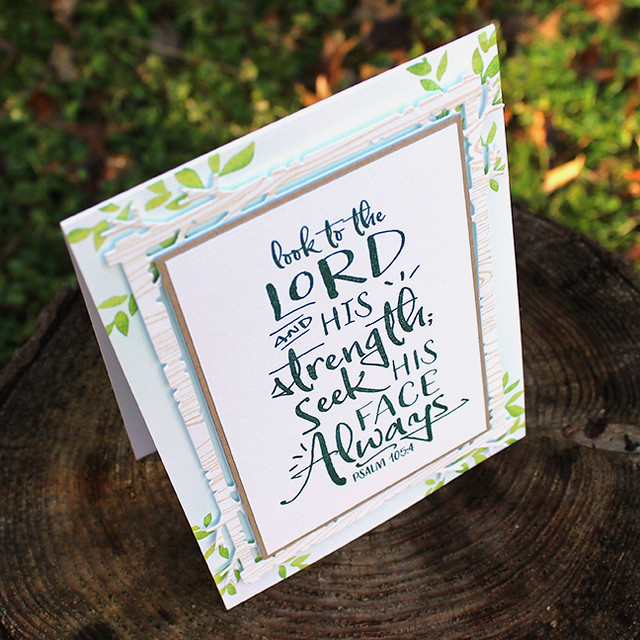
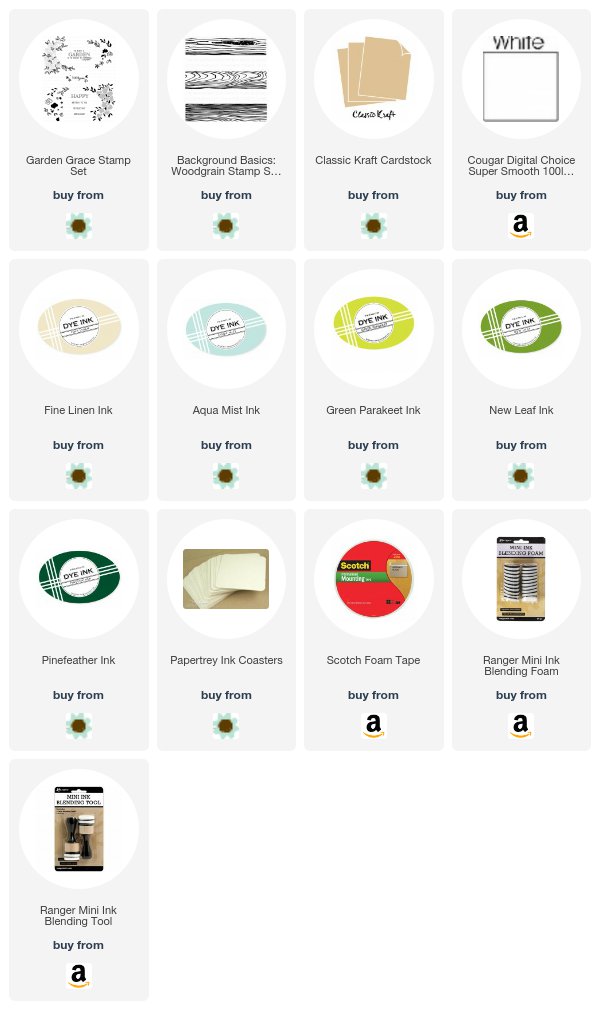
I began by sponging Fine Linen ink around the edges of a Rustic White card base. Once I was happy with the depth of color, I stamped Background Basics: Birch, also in Fine Linen.

Ginkgo Well Wishes Card 2

Next, I stamped the gingko branch from Harvest Berries in Ripe Avocado and Olive Twist inks. Then, I stitched on a strip of plaid Bitty Big: Prairie Grass patterned paper along the bottom edge of the card front and rounded the lower corners.

Ginkgo Well Wishes Card 3

I finished the card by adding the sentiment banner, stamped in Dark Chocolate, to the card front with foam tape. The aforementioned Rustic Cream bow was the last step.

Supplies:


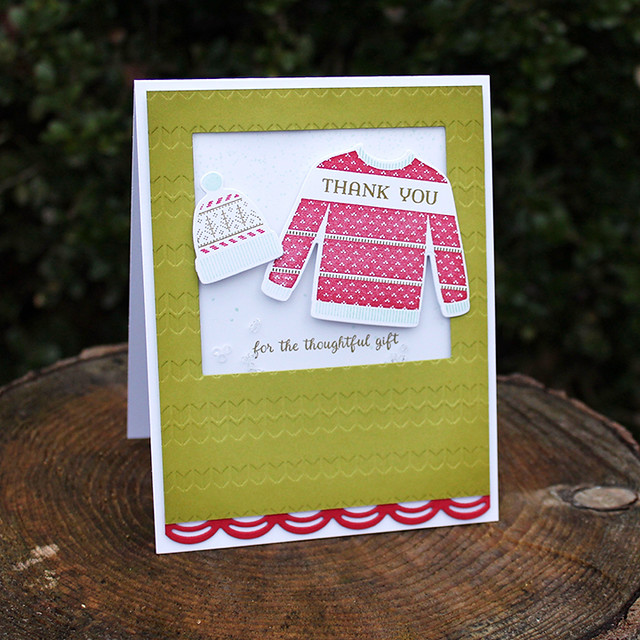
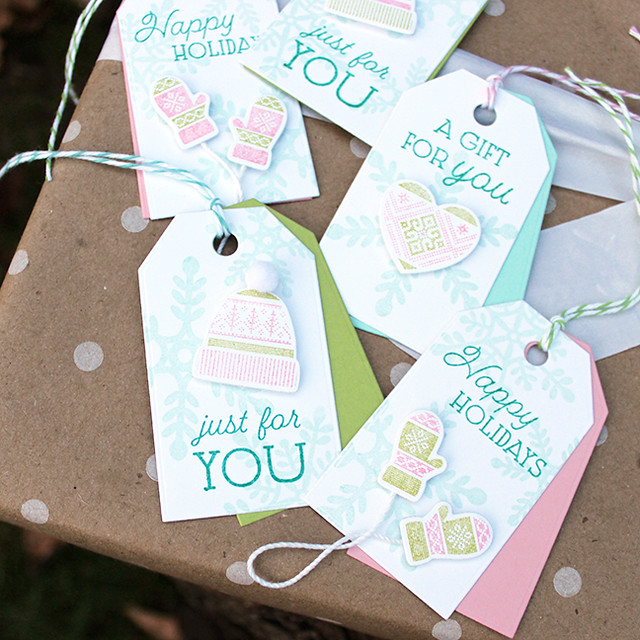
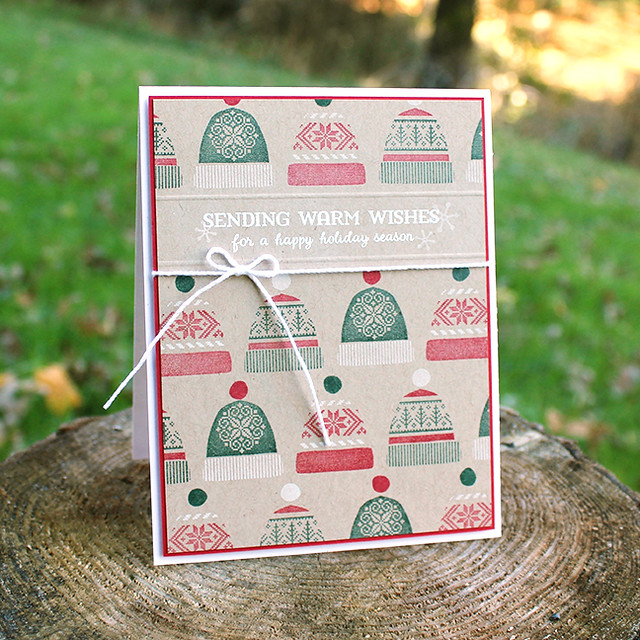
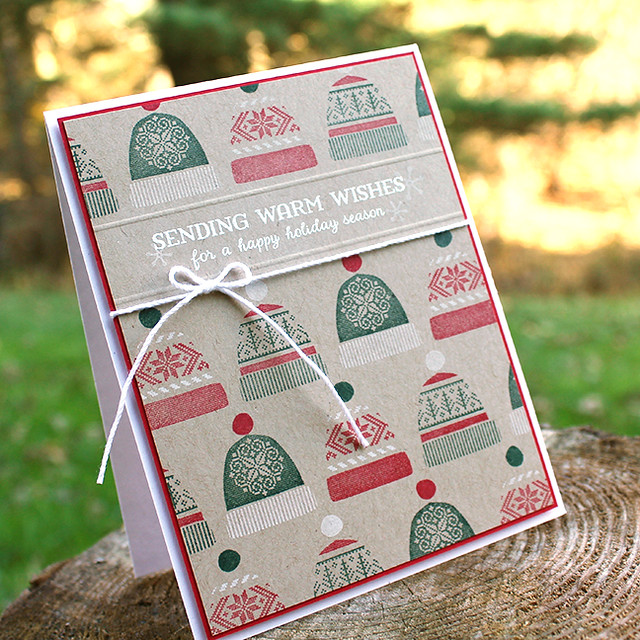
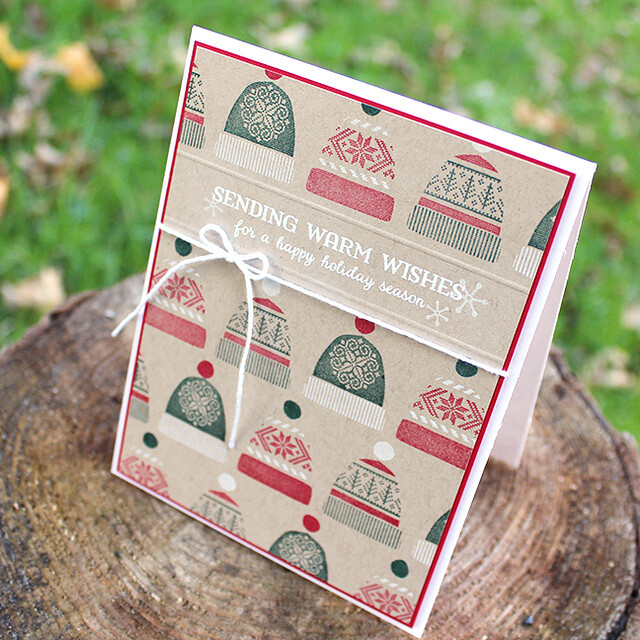
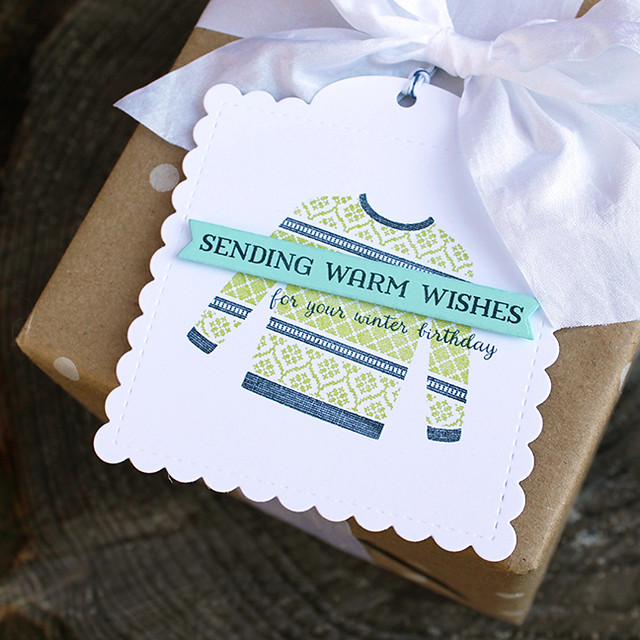
And, just for giggles, here's one last 
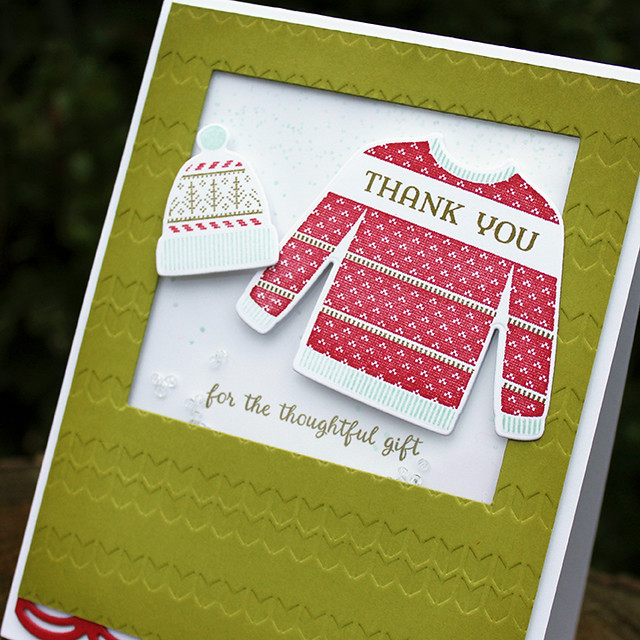
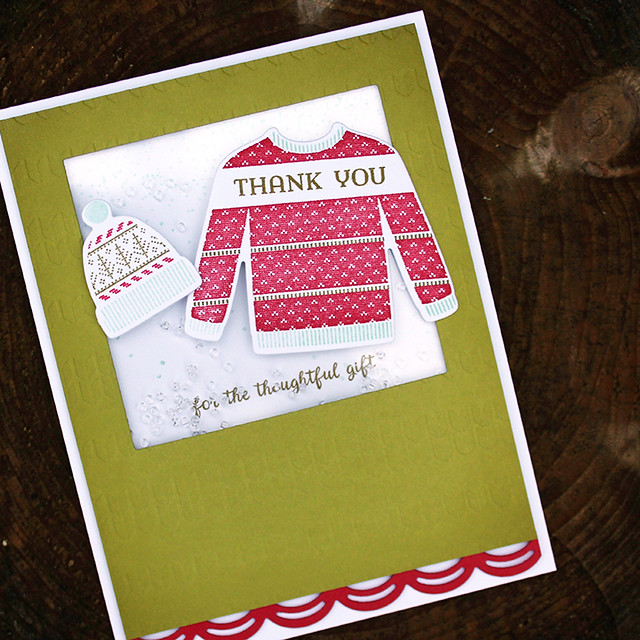
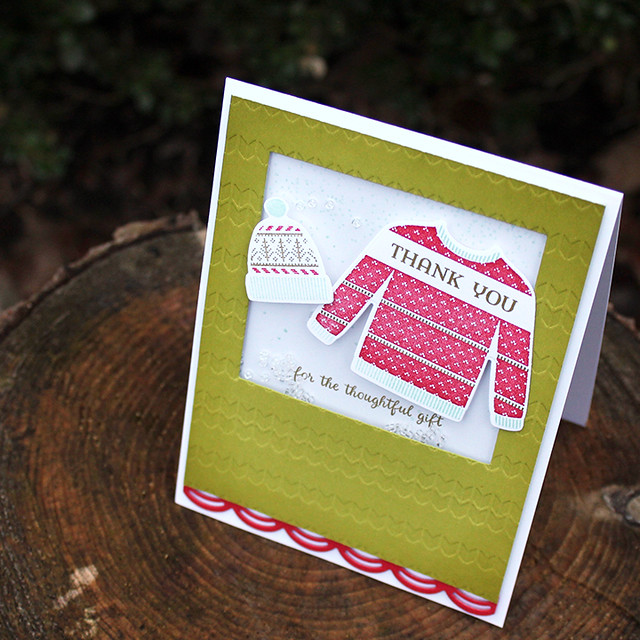
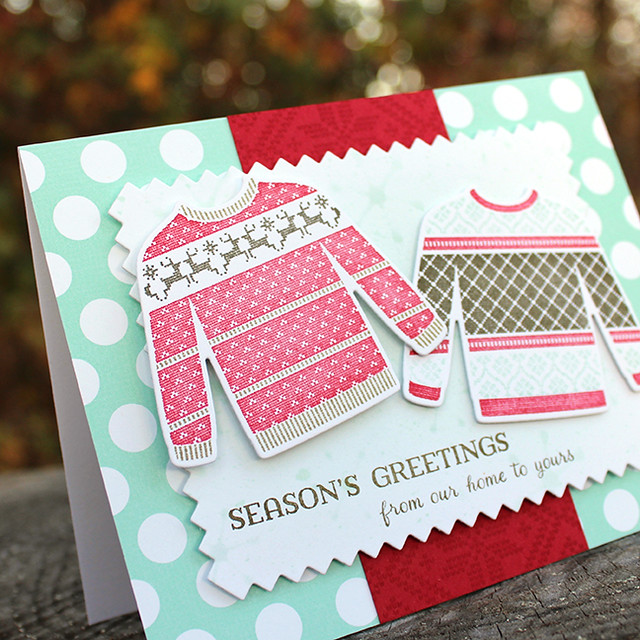
Winter Woolens project to whet your whistle.

Christmas Thank You Shaker Card

I began by sponging some Ripe Avocado ink around the edges of a Simply Chartreuse panel. I die cut a window into the panel using the Noted: Scalloped Square Die Collection and then added texture with the Striped Sweater Impression Plate.

Christmas Thank You Shaker Card 2

I added a Pure Poppy decorative border along the bottom edge (this border die is from the Make It Market Kit: Nostalgic Notions) and then created a shaker box in the window area.

Christmas Thank You Shaker Card 4

I stamped a white card base with the snow shower from Dash Away All and the sentiment from Winter Woolens before sprinkling on clear seed beads and adhering the textured panel to the card front.

Christmas Thank You Shaker Card 3

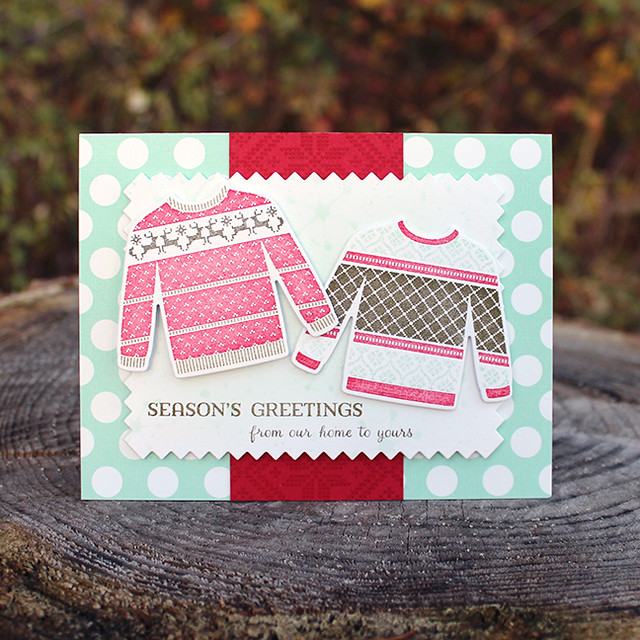
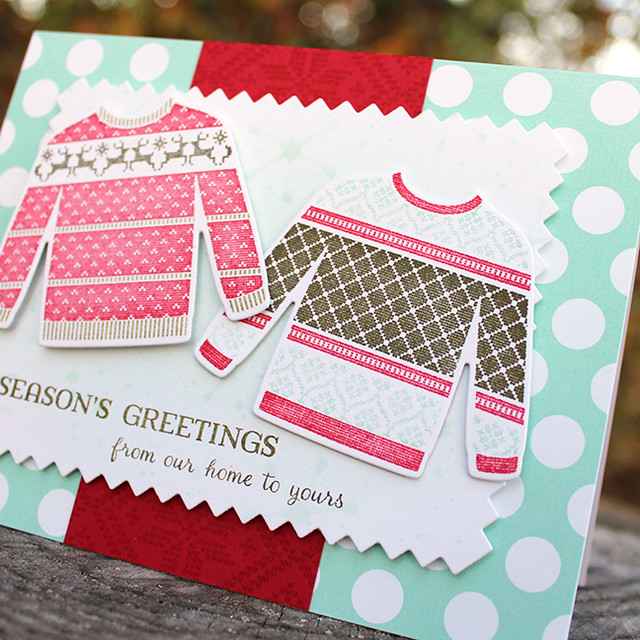
Then I stamped the reindeer sweater, masking off the reindeer stripe and replacing it with the "Thank You" sentiment from Winter Woolens. I also stamped one of the stocking caps to coordinate with my sweater. I adhered the two atop the shaker box with varying depths of foam adhesive. I love these knitwear images so much. Don't be surprised if you see them again before long.
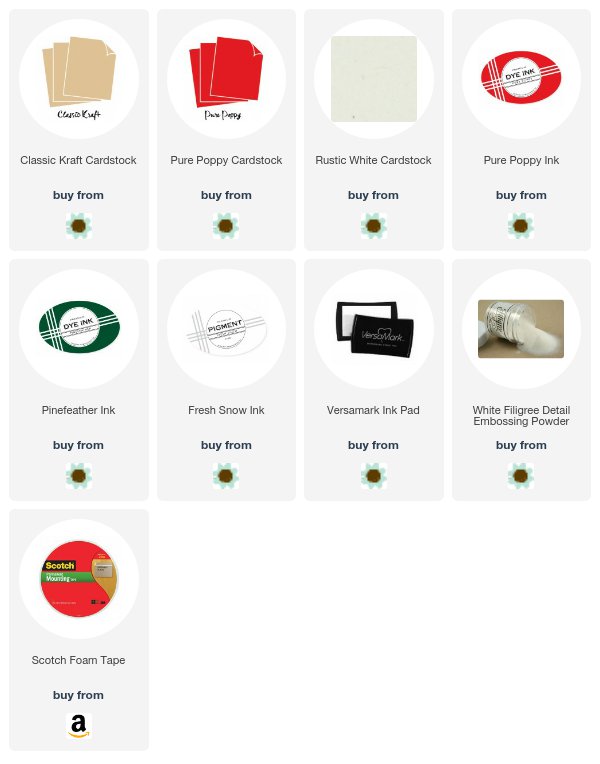
Supplies:


Thank you so much for joining me today! Make sure to check in with Nichole, Betsy, Heather, Keeway, Laurie, Melissa, Michelle, Stephanie, and Wanda for more inspiration using Direct Messages and the rest of the November release. Have a great day and I'll see you on our Release Party Live broadcast tomorrow night!

Monday, November 13, 2017

November Papertrey Ink Countdown: Flower Power & Window Works Dies

Good morning, friends, and welcome back to Day 4 of the Papertrey Ink new release countdown! I'm back today sharing projects featuring Lexi's Flower Power set and Dawn's Window Works Dies. Let's get to the details!

First up, I have a card showcasing several of the beautiful blooms in Lexi's new set.

Hello Beautiful Card

I began by stamping and die cutting the vase and flowers from Flower Power. Then, I stamped the shadow and a few bits of greenery onto a white cardstock panel.

Hello Beautiful Card 2

I matted the edge with Bitty Big: Prairie Grass patterned paper before arranging the flowers and adhering them with a mix of flat and foam adhesives. Next, I stamped a sentiment from Direct Messages (a set I designed that you'll see more of tomorrow) and trimmed it into a rectangle before adhering it to the card front with foam tape.

Hello Beautiful Card 3

I textured an Aqua Mist card base with the Cover Plate: Circles Die before attaching my floral panel with additional foam adhesive. I'm loving these flowers!

Supplies:


Next up, I paired the blossoms from Flower Power with Dawn's Window Works Dies. These filigree windows are simply gorgeous!

Take Time Card

I began by stamping a flower arrangement onto a white card base using several of the smaller flowers in Hibiscus Burst, Amethyst Allure, Hawaiian Shores, Green Parakeet, Summer Sunrise, and Harvest Gold inks.

Take Time Card 2

Then, I stamped (in True Black) and clear embossed the sentiment from Flower Power in the center of the arrangement. Next, I used the square Window Works die to cut a window into a panel of Soft Stone cardstock.

Take Time Card 3

I mounted the Soft Stone panel to the card base with foam tape. The results are simple, but I love the way the bright flowers pop in the midst of all that soft, neutral gray.

Supplies:


Thank you so much for joining me today! Be sure to check back tomorrow when I'll have even more of the November release to share. In the meantime, Nichole, Amy, Betsy, Heather, Keeway, Laurie, Melissa, Michelle, Stephanie, and Wanda all have inspiration for you today. Have a great day and I'll see you soon!

Sunday, November 12, 2017

November Papertrey Ink Countdown: Quoted & More Winter Woolens

Good morning, friends! How are you enjoying this month's Papertrey Ink new release countdown? Are you enjoying the format? I am! Today, I'm sharing a project with Nichole's new Quoted: Living Longer set as well as another peek at my Winter Woolens set. Let's take a closer look!

Up first is the Quoted: Living Longer card. I thought this sentiment would make a lovely wedding card, and since we happen to have a wedding to attend next weekend, it seemed like an ideal time to give it a try.

Love Without Measure Card

I began by creating the floral pattern at the bottom of the card. I sponged Spring Rain ink onto white cardstock and then heat embossed the leaves from Garden Grace with white detail powder. The flowers came next in Dark Indigo followed by clear embossed flower details and gold embossed dots. Then, I adhered the panel to a Spring Rain Card Base.

Love Without Measure Card 2

Next, I die cut the sentiment panel from both white cardstock and Luxe Gold Adhesive paper. I stamped the sentiment on the white panel in Dark Indigo ink and matted it with the gold paper along the decorative edge. Then, I mounted that panel to the card front with foam tape.

Love Without Measure Card 3

I heat embossed the banner portion of the sentiment onto a scrap of white cardstock and trimmed it out before adhering it to the card front with foam adhesive. Next, I die cut the Man & Wife shapes from Dark Indigo, white, and Spring Rain cardstocks. I adhered the figures to the card front with a mix of flat and foam adhesives.

Supplies:


Next, I have a set of holiday tags made with Winter Woolens, Snowfall Style, and the Gift Card Cozy Sentiments sets.

Layered Woolens Tags

I began by die cutting the Paper & Package Essentials Tags from white, Pale Peony, Aqua Mist, and Green Parakeet cardstocks. I stamped the white tags with the snowflakes from Snowfall Style in Aqua Mist ink and the sentiments from Gift Card Cozy Sentiments in Tropical Teal.

Layered Woolens Tags 2

Then, I stamped and die cut the mittens, hats, and hearts from Winter Woolens using Green Parakeet and Pale Peony inks. I adhered those die cuts to the white tags with foam adhesive.

Layered Woolens Tags 4

I used the script "To:" and "From:" from Gift Card Cozy Sentiments on the colorful tags. The Green Parakeet tags were stamped in New Leaf. The Pale Peony tags were stamped in Berry Sorbet. And the Aqua Mist tags were stamped in Tropical Teal.

Layered Woolens Tags 3

Next, I strung the tags together in pairs with baker's twine. I even added fuzzy pom-poms to the stocking caps! My tip for making that easier - use sharp scissors to slightly trim off the back of the pom-pom, making it flat. Then just adhere as normal. That might not seem like a significant step, but it makes a big difference.

Supplies:


Thank you so much for joining me today! Be sure to check back tomorrow when I'll have even more of the November release to share. In the meantime, Nichole, Amy, Betsy, Heather, Keeway, Laurie, Melissa, Michelle, Stephanie, and Wanda all have inspiration for you today. Enjoy your weekend and I'll see you soon!

Saturday, November 11, 2017

November Papertrey Ink Countdown: Snowfall Style & Winter Woolens

Good morning and welcome back to the November Papertrey Ink new release countdown! Today I'm sharing projects with Heather's new Snowfall Style collection and my Winter Woolens set. Let's get to it!

Heather has designed a batch of snowy products that are sure to make you smile. Not only is there the beautiful Snowfall Style stamp set, but also dies and stencils to inspire you to create a variety of wintery projects.

Let It Snow Card

I began my card today by stamping the snowflakes from Snowfall Style in a cascade down the left side of a white cardstock panel. I used Aqua Mist, Pale Peony, and Mint Julep inks for a slightly unconventional, pastel combo.

Let It Snow Card 2

Next, I stamped the sentiment in Stormy Sea ink. Then, I adhered the snowflake panel to a Stormy Sea card base. I love that contrast around the edge.

Let It Snow Card 3

Finally, I decided to sprinkle on a whole buncha sequins to give my snowy panel a boat-load of sparkle. I love sparkle for wintery projects. The more the better!

Supplies:

Next up, I have a few projects featuring Winter Woolens. This set features sweaters, stocking caps, and mittens in Fair Isle patterns. I can't wait to show you all this set can do!

Warm Holiday Wishes Card

First up, I have a holiday card to share today. I began by scoring a band across a Classic Kraft cardstock panel. I wanted to make sure I set aside that space so I would have room for my sentiment.

Warm Holiday Wishes Card 2

Then, I used Fresh Snow, Pure Poppy, and Pinefeather inks to stamp a background pattern using all three stocking cap designs. Once that was done and dry, I heat embossed the sentiment with white detail powder and added a few Snowfall Style snowflakes to dress it up.

Warm Holiday Wishes Card 3

I matted that panel with Pure Poppy and tied a crochet thread bow around the entire thing before mounting it to a Rustic White card base with foam tape.

Supplies:


How about a birthday tag? This set works wonderfully for winter birthdays and other cold-weather occasions so don't put it away right after the holiday season!

Winter Birthday Gift Tag

This tag came together in a snap! I simply stamped one of the sweaters using Green Parakeet and Dark Indigo inks onto a Tag Sale: Quilted shape. Then, I used the Direct Messages Banner die (more on this soon) to cut an Aqua Mist banner. I stamped it with one half of the sentiment in Dark Indigo and the other half of the sentiment I stamped directly on the tag. A little foam tape and twine it was all set. Easy peasy!

Supplies:


My last card today is another holiday card. This one using the sweaters and the Snowfall Style Stencils.

Season's Greetings Sweaters Card

I began by stamping and die cutting the sweaters. I masked off some of the stripes/sections so I could give each sweater three colors instead of two. The reindeer sweater is Pure Poppy, Olive Twist, and Prairie Grass. The striped sweater is Pure Poppy, Olive Twist, and Aqua Mist.

Season's Greetings Sweaters Card 2

Next, I sponged a panel of white cardstock with Aqua Mist ink and splattered it with diluted reinker speckles. I also sponged on a few snowflakes using the Snowfall Style stencil. Then I die cut the panel using the Mix & Mat: Pinked Edge die and stamped my sentiment in Olive Twist.

Season's Greetings Sweaters Card 3

I covered a white card base with Bitty Big Aqua Mist polka dot paper and then added a strip of Pure Poppy cardstock that I stamped with the Fair Isle Borders pattern. I adhered my sentiment panel to my card front with foam tape and then added the sweaters with coaster and foam tape (to give two levels of dimension).

Supplies:


Thank you so much for joining me today! Be sure to check back tomorrow when I'll have even more of the November release to share. In the meantime, Nichole, AmyBetsy, Heather, Keeway, Laurie, Melissa, Michelle, Stephanie, and Wanda all have inspiration for you today. Enjoy your weekend and I'll see you soon!

Friday, November 10, 2017

November Papertrey Ink Countdown - Day 1

Good morning, friends, and welcome to this month's Papertrey Ink new release countdown! Today I'm sharing projects featuring several new products designed by the brilliant Betsy Veldman. Some of you are going to be very happy! Let's get on to the projects.

For starters, I have a card showcasing Betsy's new Little Lift Me Ups and Background Basics: Birch sets. Yep, you saw that right. Background Basics: Birch!

Precious Card

I got the hymn His Eye Is On The Sparrow (well, that and Jesus Loves The Little Children) stuck in my head when I was looking at this sentiment from Little Lift Me Ups, so I decided to go with it. I began my card by stamping the Background Basics: Birch in Fresh Snow ink onto Classic Kraft cardstock. The pattern is designed so that you can match up the edges and create a full background with just a couple of impressions. I love that!

Precious Card 2

Next, I sponged some Spring Rain ink onto a Rustic White panel and added the stitched frame from this month's Mix & Mat: Plaid die. Then, I stamped it with the sentiment from Little Lift Me Ups in Dark Indigo. I used Give Love to add the die cut branch and leaves. I used both flat and die cut leaves to give a bit of dimension. I used Classic Kraft and Cocoa Bean inks on the branch and Simply Chartreuse and Ripe Avocado on the leaves.

Precious Card 3

I also stamped and die cut the bird from that set using Harvest Gold, Summer Sunrise, and Canyon Clay inks. Not a sparrow, but you get the idea. I used foam tape to mount the focal panel and the bird, adding a bit of depth.

Supplies:


Next up, I have a card featuring the Mix & Mat: Plaid and the Year Of Psalms: November set.

Look To The Lord Card

I knew I wanted to give the birch trees from the Mix & Mat: Plaid die a bit of a woodgrain feel, but I wanted it to be a bit more delicate than the Background Basics: Birch pattern. So where did I turn? Everyone's perennial favorite, Background Basics: Woodgrain!

Look To The Lord Card 2

I began by die cutting the frame and stamping it with the woodgrain pattern in Fine Linen ink. Then, I sponged Aqua Mist ink onto a white card base so that you would just see a pale halo of ink peeking out from behind the branches. Then, I stamped the leaves from Garden Grace around the branchy areas using Green Parakeet rolled in New Leaf. It just so happens that these leaves are the perfect size to coordinate with this frame. How cool is that?!

Look To The Lord Card 3

Next, I stamped the Year Of Psalms verse onto a white panel using Pinefeather ink. I matted it with a piece of Classic Kraft and mounted that to the inside of the birch frame with strips of coaster (they're just a tiny bit thinner than foam tape and I like them for instances when I don't want quite as much depth). Then, I used foam tape to adhere the frame to the card base.

Supplies:


Thank you so much for joining me today! Be sure to check back tomorrow when I'll have even more of the November release to share. In the meantime, Nichole, Betsy, Heather, Keeway, Laurie, Melissa, Michelle, StephanieWanda, Erin, and Lexi all have inspiration for you today. Have a great Friday and I'll see you soon!