Good morning, all! Are you enjoying the
Papertrey Ink September countdown? Don't all of these festive holiday projects get you in the mood for carols, cocoa, and wrapping gifts by the light of a Hallmark movie? No? Just me? Cool...
Well, anyway, we're back with another fun round-up of fabulous products for you today. Heather's
Winter Fox set is debuting along with Betsy's
Text & Texture: Wood Slices, Kimberly's
Sending Comfort, and my
Hinged Gift Card Box: Christmas Windows die. Whew! That's a lot to fit in to one day, but I promise it'll be worth it. Let's get started!
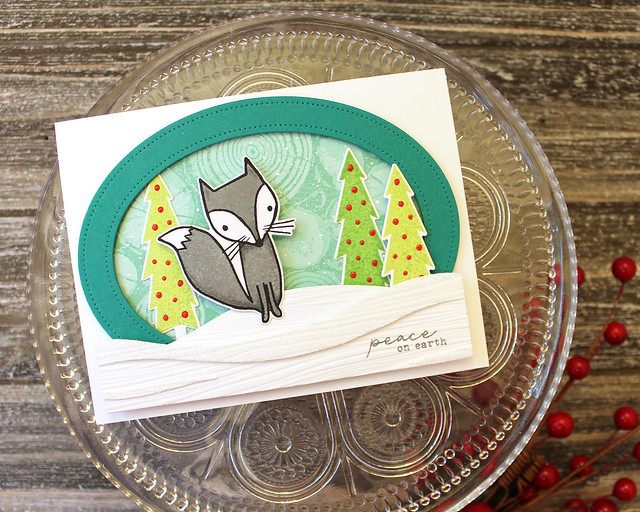
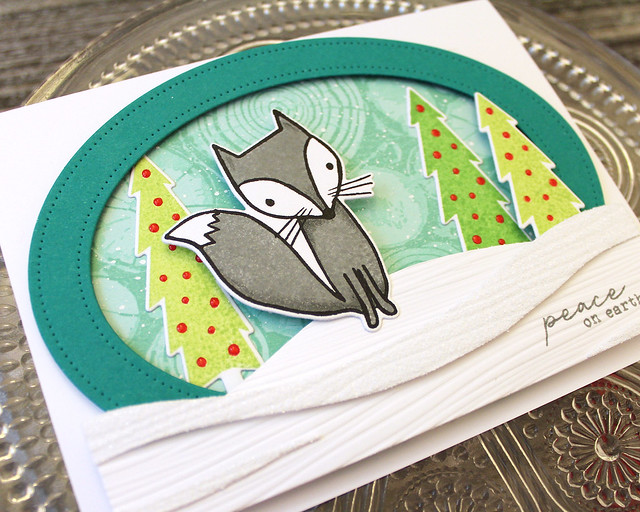
I'm starting today with a card featuring
Winter Fox and the
Text & Texture: Wood Slices paired together.
I began by stamping the wood slices background. I used Aqua Mist ink on Aqua Mist cardstock, but the lighter hue is just second generation ink (which means I stamped off before stamping on the actual project. I trimmed that down a little to hide behind a Pierced Feature Frames: Oval die cut and then splattered it with a bit of diluted Copic Opaque White Pigment to make it look snowy.
Next, I stamped and die cut the trees and the fox from Winter Fox. I embellished the bulbs on the trees with Glossy Accents and set them aside to dry. The fox, looking very dapper in
Weathervane ink may I add, got a little bit of depth and shading using colored pencils.
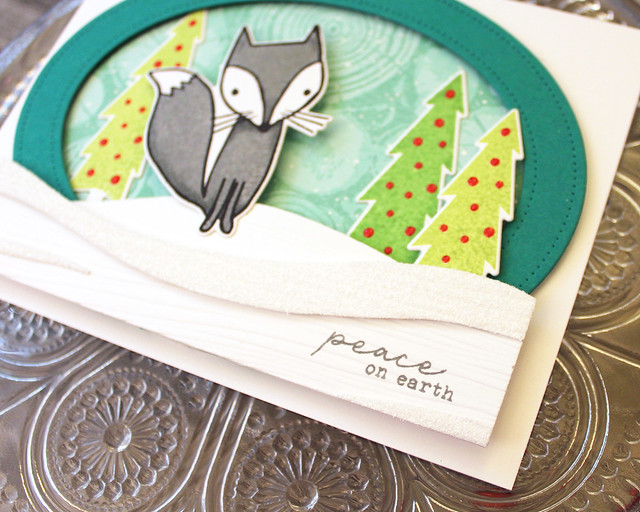
Finally, I die cut the Cover Plate: Waves die from white cardstock and white cardstock that had been xyroned. I stamped the greeting from Winter Fox onto the largest piece and then added texture to all of my chosen pieces using the Woodgrain Impression Plate. I layered the snowdrift pieces and then removed the adhesive backing to reveal the sticky surface. I sprinkled those with glitter to make them sparkle. The mix of matte and glittered areas is really cool in real life.
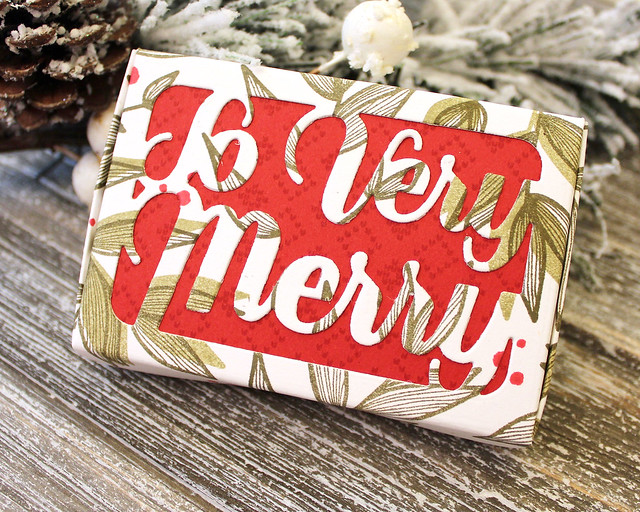
Next up, I have a gift card box to share. I paired Kimberly's
Sending Comfort set with my
Hinged Gift Card Box and the new Christmas Windows Dies to create a pretty, festive package.
I began by stamping the leaf and berry pattern onto Rustic White cardstock using Prairie Grass, Olive Twist, and Pure Poppy inks. I left most of the outline leaves alone, but on a handful I offset-stamped the solid image to add a bit of interest.
Next, I die cut the
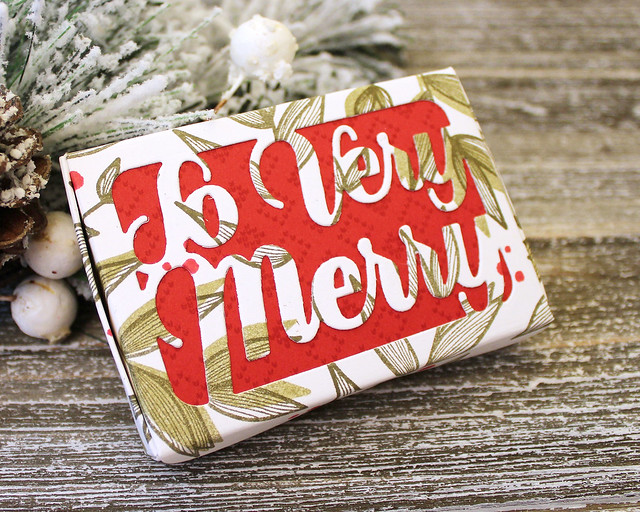
Hinged Gift Card Box and used the "So Very Merry" window to cut a sentiment into the lid. I cut a panel of Pure Poppy cardstock to fit inside the lid and stamped it with a
Fair Isle Borders design in the coordinating ink color. I stamped the Sentiment Staples: Christmas greeting inside using Fresh Snow ink before adhering it into place.
Then, I simply assembled the box like normal. You can see the instructions for assembling this box
HERE in case you missed it the first time. It's incredibly easy and it has nice, finished edges that give it a really professional appearance.
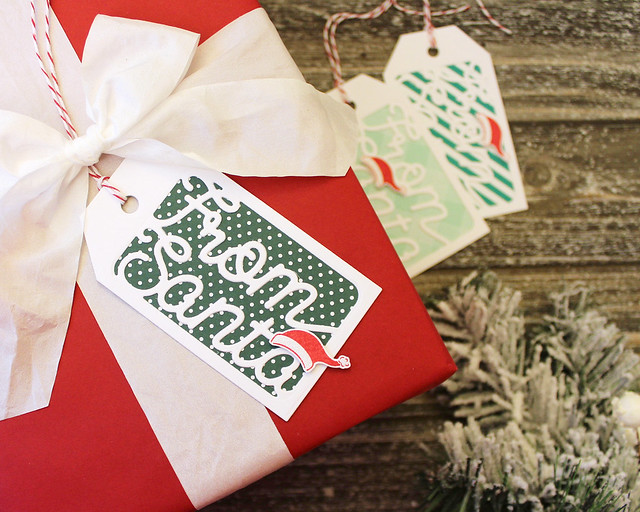
I also wanted to make sure I used the "From Santa" window, so I decided to make some quick and easy tags.
Ok. Hold up. It's important to mention how much I love making tags. Like, I really,
really love making tags, especially at Christmas. Gift wrapping at the holidays is almost as much fun for me as actually giving the gifts, so making tags is definitely at the top of my to-do list this time of year.
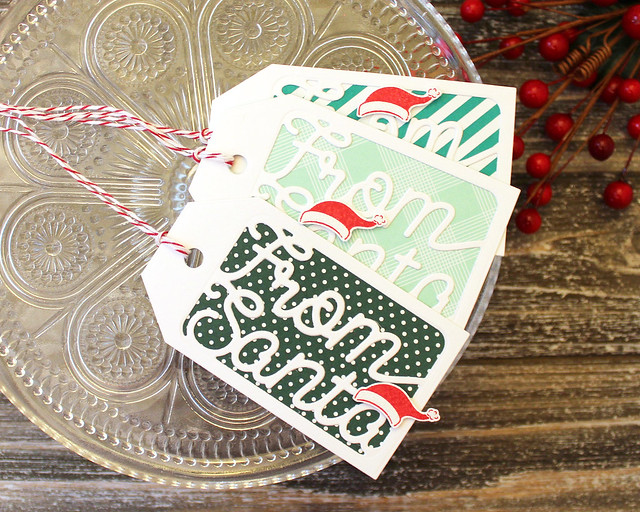
These tags are super simple and they came together in no time! All I did was xyron some white cardstock and die cut it using the large tag in the the
Paper & Package Tag Die set. Then, I cut the tags with the Santa window. I peeled off the adhesive backing and adhered the white tags to Bitty Big patterned papers that I cut with the same tag die. I decided to dress these up a bit by adding little Santa hats (from the
Make It Market Mini Kit: Holiday Pin Ups) embellished with glitter. The cherry baker's twine tied in nicely, too.
Thank you so much for joining me today! I'll be back tomorrow with even more of the September release. In the meantime,
Betsy,
Dawn,
Heather,
Laurie,
Melissa B,
Melissa P,
Michelle, and
Stephanie all have beautiful projects to share. See you soon!
Supplies:
Peace On Earth Card
So Very Merry Gift Box
From Santa Tags


5 comments:
Good morning Lizzie! I usually don't pick favorites, but your Winter Fox card is my fav! What a beautiful winter scene. I've kept my eye on the background die but it's still out of stock. You've used it so many times in your designs and I LOVE it. Thank you for sharing the versatility of your Hinged Box! Wonderful post!! :)
P.S. Lizzie, I have a question? Would you help me please with the size crochet thread you use? Is it a size 3 or smaller? I love the thread you use on your cards &
I ordered the wrong size once already. Thx so much. :)
Oh, gosh, I'm afraid I have no idea. It's been so long since i bought it! I'll take a swatch with me the next time I'm in the city and see if I can figure it out. I'll get back to you!
The boxes, card and tags are all wonderful. I love the colors in the fox card
THX LIZZIE! I bought a size 10 online awhile ago and it was too thin. I was going to order a size 3 but was afraid, so thought I'd ask. I just need to make some trips myself & do some hunting around. Thank you for taking the time to reply. Have a nice day! :)
Post a Comment