Good morning and welcome to Festive Friday! I decided to start this weekly feature to not only help myself prepare for the upcoming holiday season, but to inspire you to get ready, too! I sort of kicked this thing off last weekend with
this post and I heard from several of you that you'd appreciate having more gift packaging and tags in your lives. So what the heck?! Let's make it a thing.
A little bit of what to expect: these projects will likely be some level of "not fancy." I am a real person making real packaging to use for my real gift giving this holiday season. I'm not being sponsored to do these posts (though I do use affiliate links), I just thought it would be fun. I celebrate Christmas and that's the vast majority of what you will see, but some things will definitely be adaptable to more generic celebrations with color substitutions and such.
Ok, enough fine print.
So this week I made a set of tags using the same basic techniques as the mug tags I created for
this post. I used the
Brilliant Baubles stamp set and
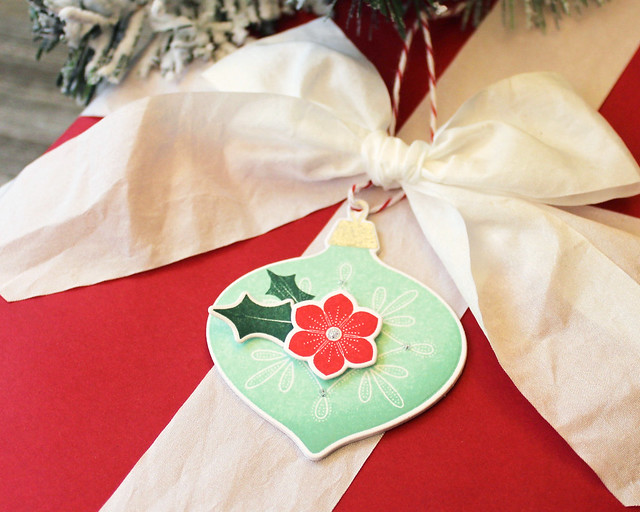
dies to make these shaped tags. I began by stamping and die cutting the ornaments. I used Aqua Mist and Ocean Tides ink for the bulbs and Versamark with silver powder for the toppers.
I stamped one holly leaf directly on each bulb and added a second stamped and die cut one to add dimension. Then, I added a poinsettia on top of that using foam tape. Then, I embellished a handful of spots on the ornaments with
Nuvo Silver Moondust drops.
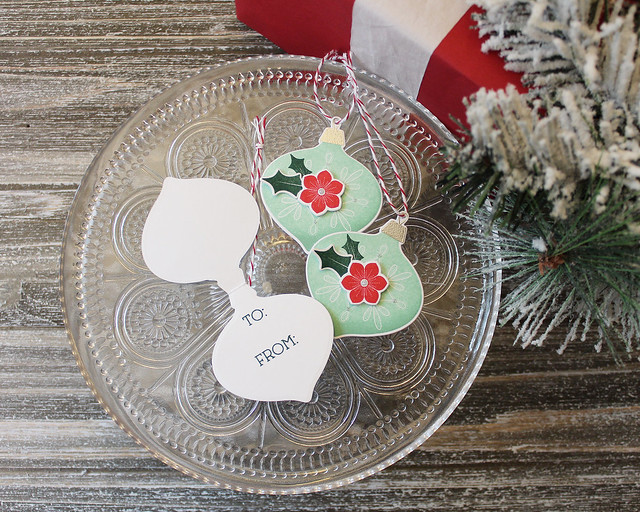
For the insides, I folded my cardstock before die cutting, leaving part of the die over the edge to preserve the fold. I stamped the "To:" and "From:" in Pinefeather ink using the
Gift Card Cozy Sentiments stamp set. I adhered the folded element to the back of each die cut ornament and used an anywhere hole punch to pop holes in the ornament toppers to string baker's twine. Cute!
So there you have it! Week one of Festive Friday is in the books. I hope you enjoyed today's post and will join me each week all the way up until Christmas for more inspiration for your holiday crafting and packaging needs. I'll see you again soon. Have a great weekend!
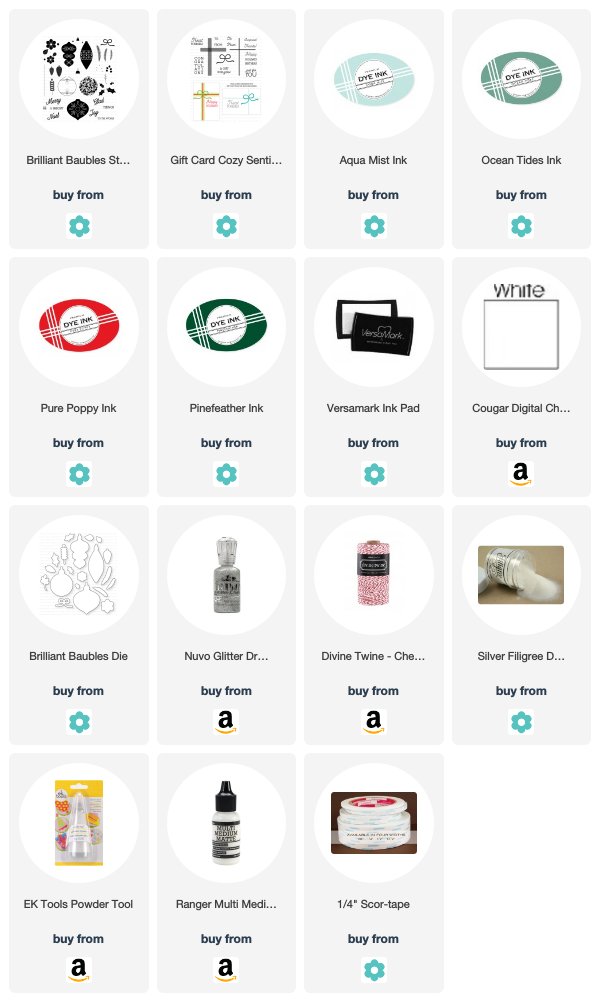
Supplies:
Shaped Ornament Tags


2 comments:
YAY for Festive Fridays!! I'm so happy you decided to do this Lizzie and now I'll definitely be looking forward to Fridays!! Your ornament tags today are FABULOUS and I can't wait to try and replicate them! I have the stamp set but not the dies...thinking if I just fold my cardstock and then fussy cut the simple shape I should be able to make it work. I'll post it on IG if it works! Thanks for the inspiration and have a great weekend Lizzie!! :0)
Love this new Festive Friday feature! Looking forward to more :-)
Post a Comment