Good morning, friends, and welcome back to Day 5 of the
Papertrey Ink September countdown. Today's post is a lengthy one, so I suggest you grab a cuppa get comfy. I have the pleasure of introducing you to Jennifer's new Penned Elegance: Christmas and Betsy's Seasonal Borders: Winter sets. Both are beautiful, sophisticated stamp sets that will make your holiday projects feel truly special. Let's get started!
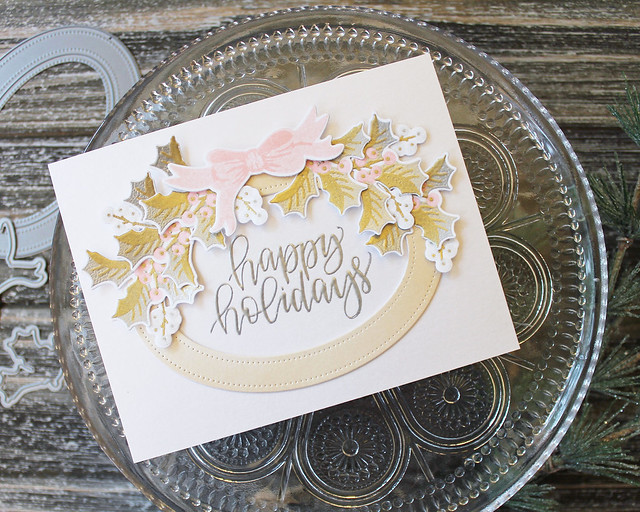
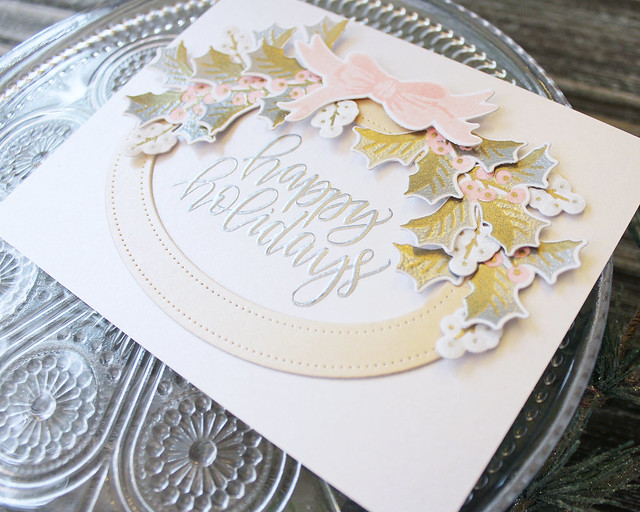
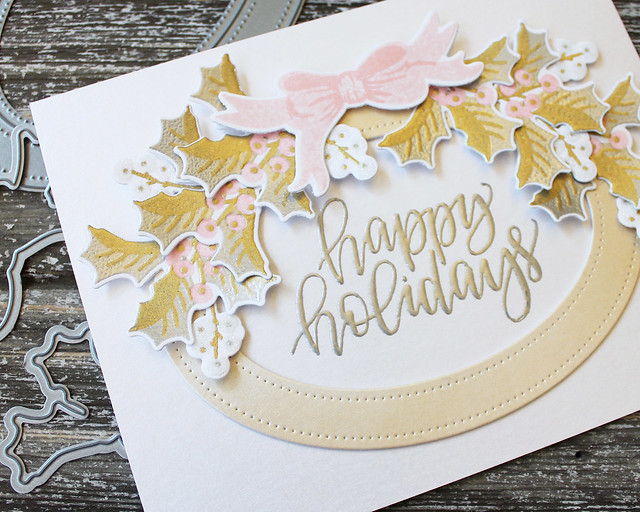
This first card is all about pastels and metallics! A little non-traditional, but lovely none the less.
I began by heat embossing the Penned Elegance: Christmas sentiment in silver onto a White Shimmer panel. I adhered that to a Sweet Blush card base and set it aside.
Next, I heat embossed several holly sprigs using gold and silver powder. It was a two-step process, but it actually went fairly quickly. I also heat embossed the berry stems in gold, stamped the bow, and then die cut all of those pieces. I used a glue pen to draw in the berries and embellished the stems with crystal glitter.
I die cut a medium Pierced Feature Frames: Oval from White Shimmer stock and sponged it with Classic Kraft ink. The result is a champagne gold effect that I just love! I adhered the frame into place and arranged the holly and berry sprigs, curving them a bit to add texture. Finally, I added the bow to the top with foam tape. The two-tone metallics on this card are truly awesome in real life.
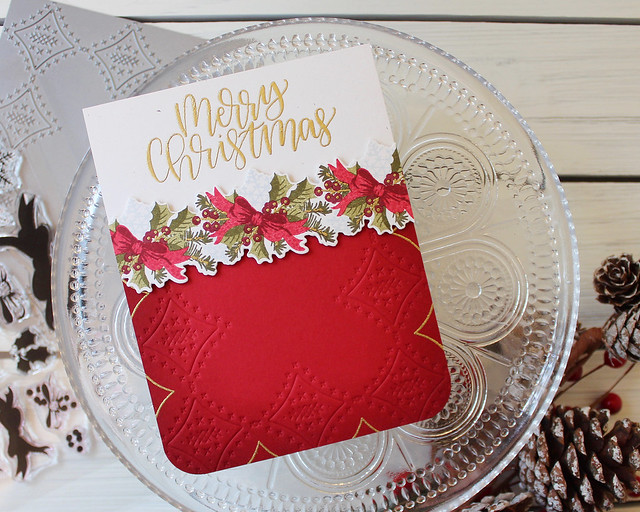
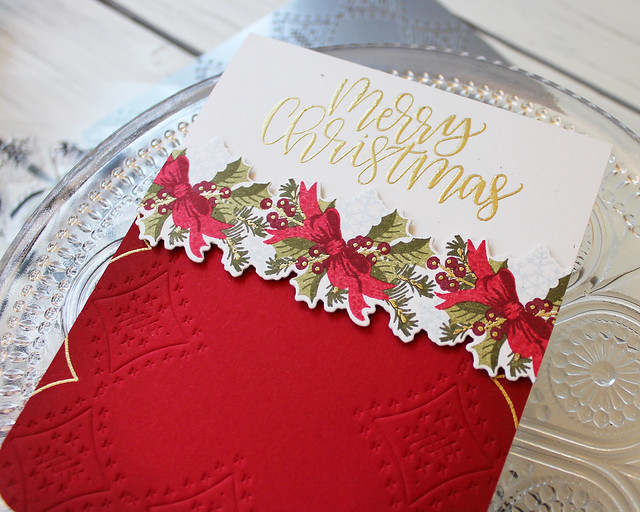
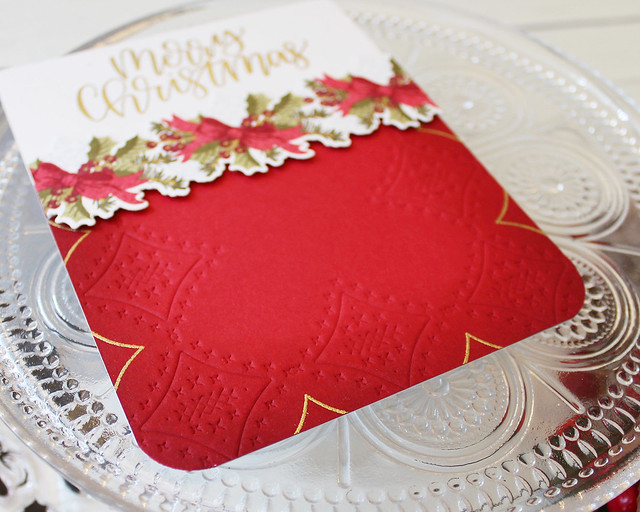
Next up, I have a fairly traditional Christmas card pairing these two sets with Dawn's new Sweet Stitching collection.
I started by stamping the Seasonal Borders strip onto a Rustic White die cut. I heat embossed one of the layers to add a hint of gold to the border.
Then, I sponged a piece of Pure Poppy cardstock with Scarlet Jewel ink and impressed it with the Sweet Stitching plate. I used the diamond detail from the coordinating stamp set to add another hint of gold to this panel. Just little touches, but they all tie together in the end.
Finally, I heat embossed the Penned Elegance sentiment onto a Rustic White card base. I adhered the Pure Poppy panel into place and then covered the raw edge with the botanical border. I rounded the bottom corners to give the final design a touch of softness. I really love the way this one turned out.
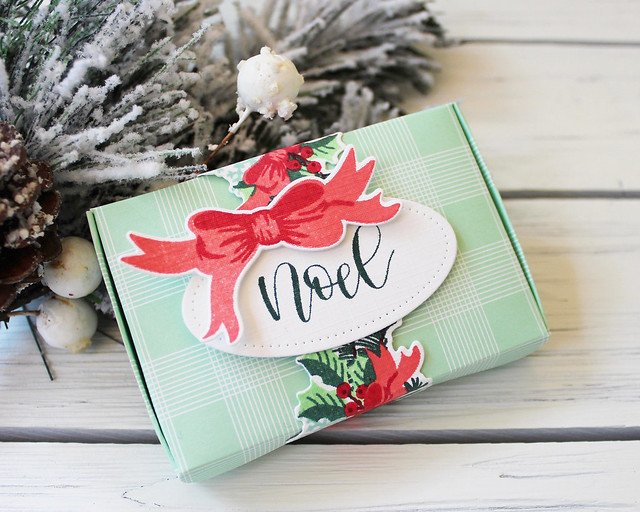
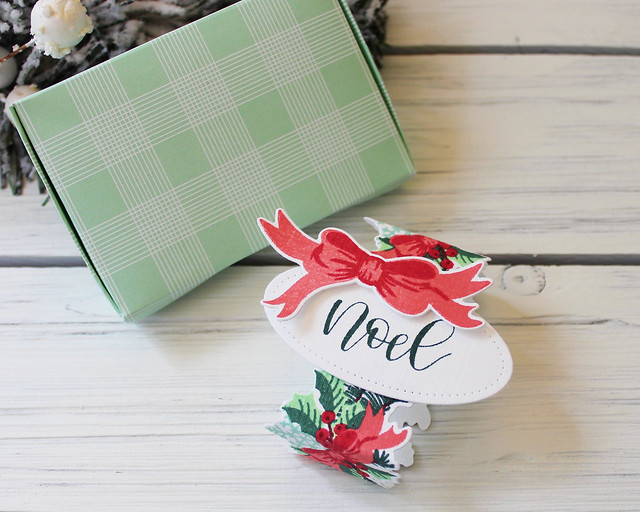
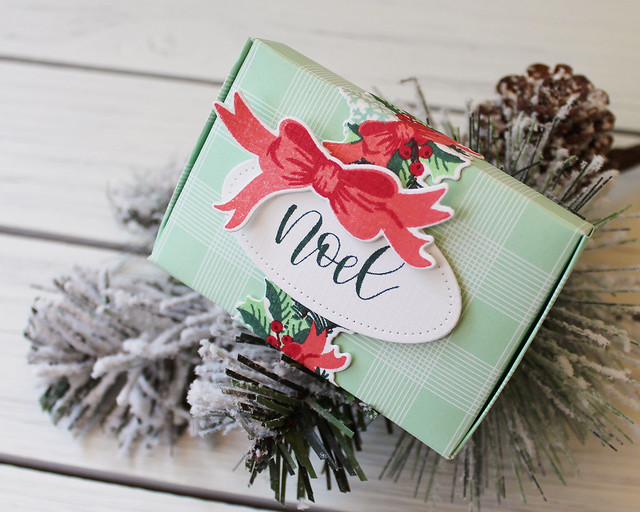
On to a gift box! I discovered that the Seasonal Borders: Winter strip is the perfect length to wrap around the Hinged Gift Card Box to create a belly band. Just secure the ends to a label or other die cut and you're good to go!
I began by die cutting and assembling the Hinged Gift Card Box from Bitty Big: Mint Julep patterned paper.
Then, I stamped the Seasonal Borders: Winter strip onto a Fresh Snow Linen die cut. I laid the strip upside down and used a pencil to mark where the edges of the box would fall. I scored along those lines so the folds would be nice and crisp.
The strip isn't quite long enough to adhere to itself when wrapped around the box, so you need a label or other die cut to secure the ends. I die cut a small Pierced Feature Frames: Oval and stamped the Penned Elegance greeting on the center mat. Then, I adhered the strip to the back of the oval. I added a bow to give the label a little dimension.
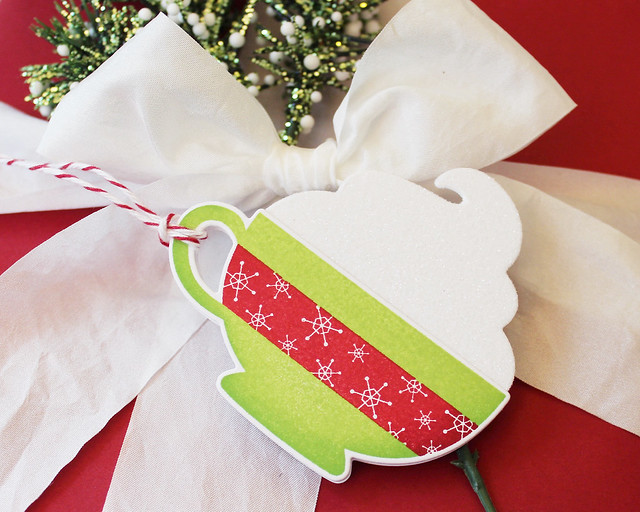
Now I have a couple of quick and easy tags to share with you. Like I mentioned the other day, tags are some of my very favorite holiday projects so whipping up a few tags was right up my alley.
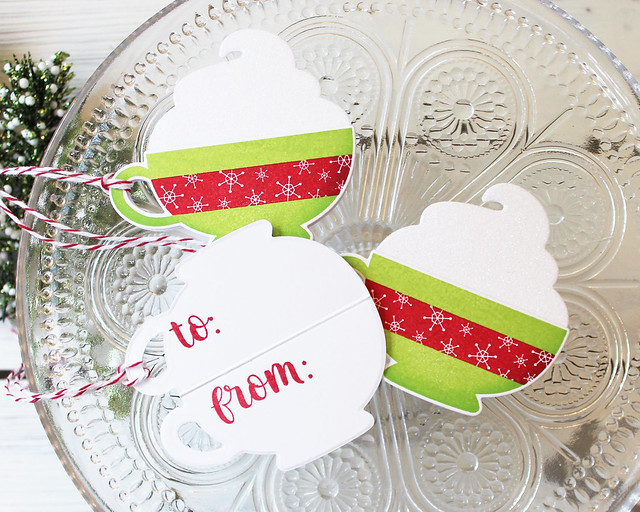
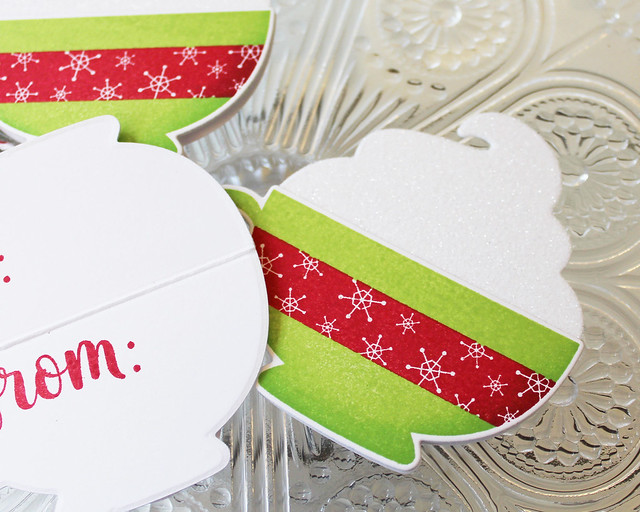
This first set is a mug shaped tag that I created with my new Merry Mug set. I began by stamping and die cutting the mugs. Then, I scored a piece of cardstock and cut the mugs again, making sure the fold was inside the top edge of the mug die. That created a folded mug shape. I stamped the to:/from: using the Keep It Simple: To & From set in Pure Poppy ink.
Next, I xyroned a piece of white cardstock and die cut it (sticky side up) with the whipped cream die. I removed the adhesive backing and stuck the whipped cream to the back of the stamped mugs (there's a 1/4" adhesive tab built in to the die cut shape to make this simple). I coated the rest of the exposed adhesive with crystal glitter.
Then, I adhered the folded mug to the back of the assembled piece. I tied cherry baker's twine around the handle and now the tags are good to go. I absolutely love these! They're so sparkly!
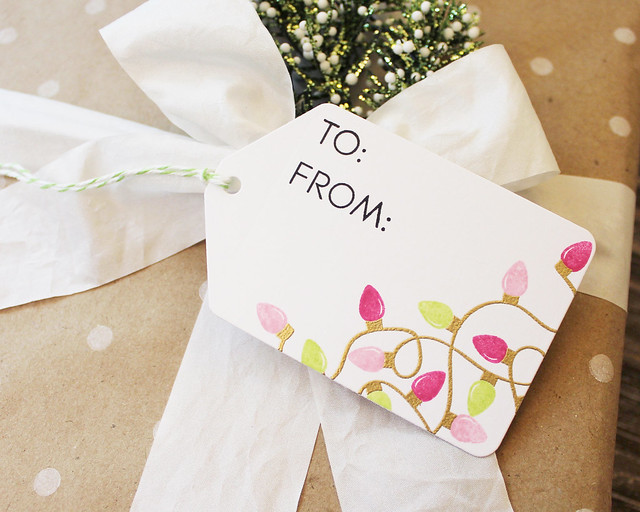
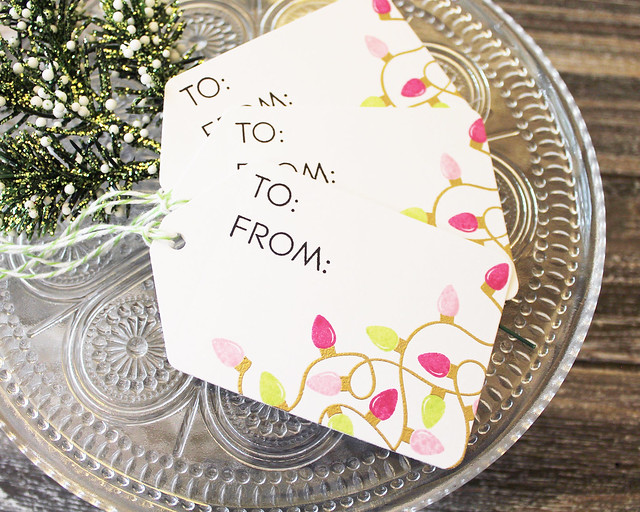
And lastly today I have a set of Christmas lights tags that I created with my new Corner Adorner: September set.
I began by heat embossing the bigger strand of lights onto white Tag Sale #10 shapes using gold embossing powder. Then, I added the bulbs with Raspberry Fizz, Lovely Lady, and Green Parakeet inks.
I followed up with the to:/from: using the same Keep It Simple set. Then, I tied the tags with apple baker's twine. These came together so fast and they'd be even quicker without the embossing (though I do really like the festive shine it adds).
Thanks for sticking with me through that super long post. I hope you've enjoyed it! I'll be back tomorrow with one last post, so be sure to check back. In the meantime,
Betsy,
Dawn,
Heather,
Laurie,
Melissa B,
Melissa P,
Michelle, and
Stephanie all have beautiful projects to share. See you tomorrow!
Supplies:
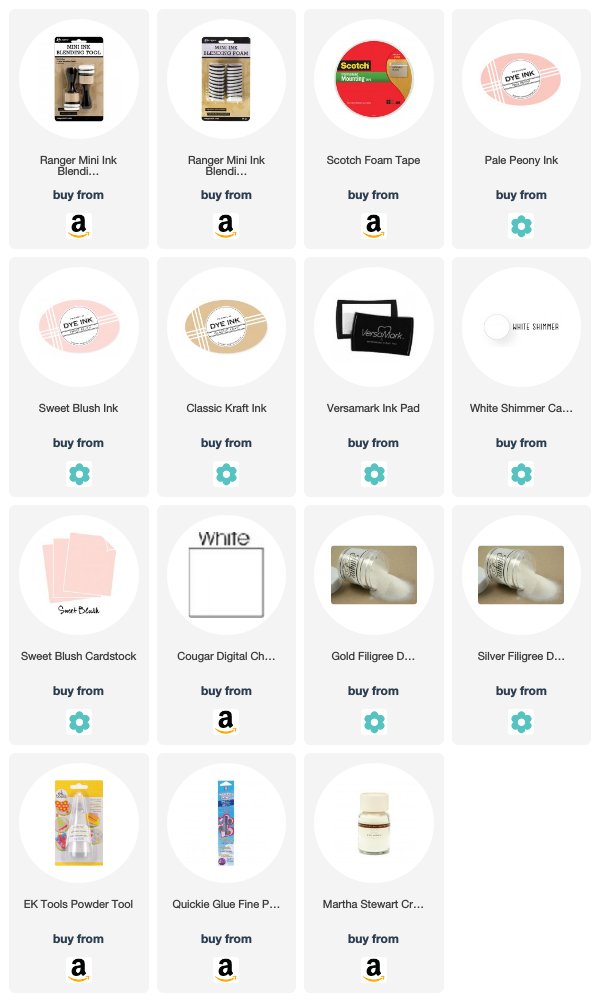
Happy Holidays Card
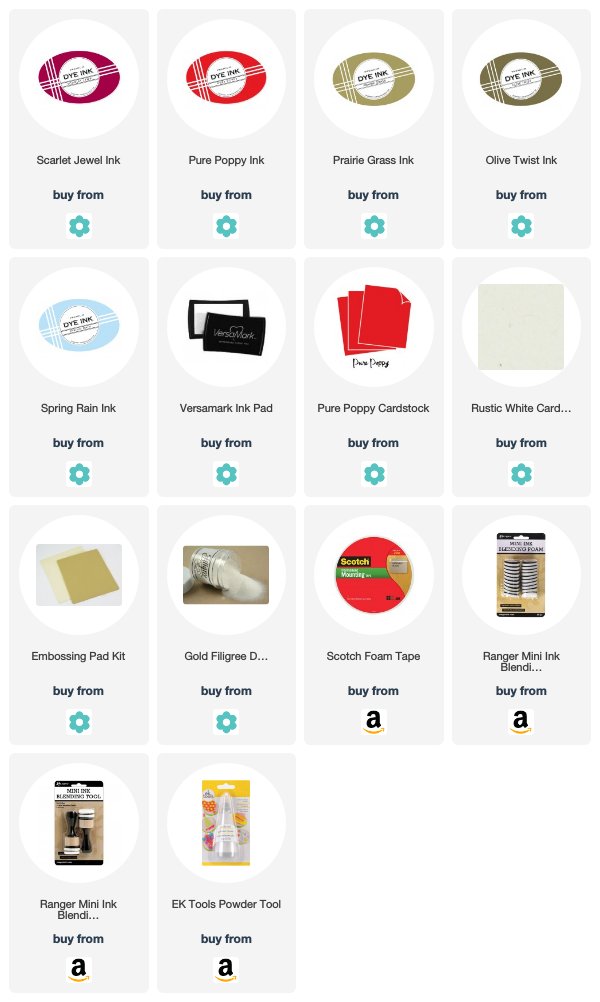
Merry Christmas Card
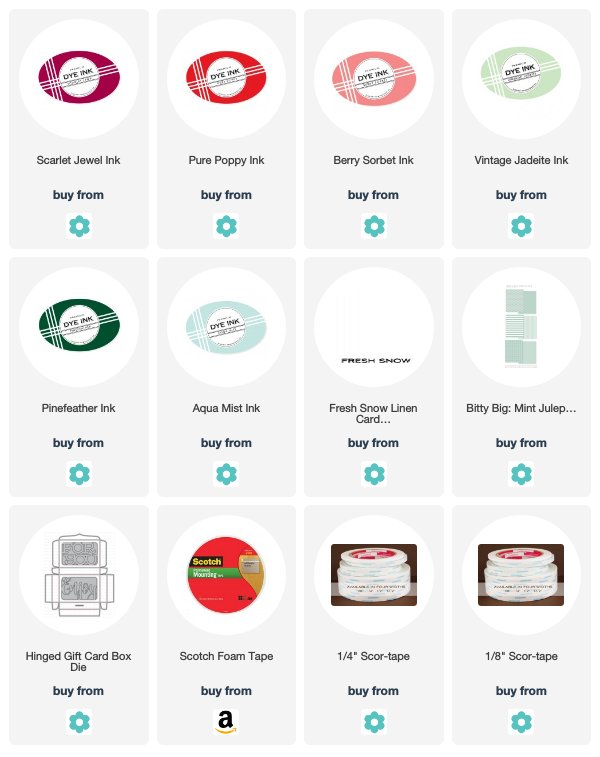
 Noel Gift Card Box
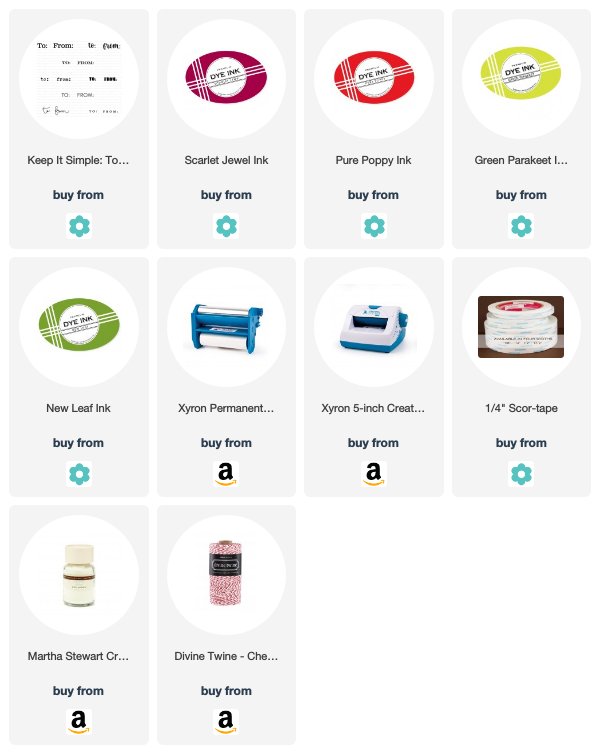
 Christmas Cocoa Gift Tags
 Christmas Lights Gift Tags


7 comments:
Your projects today were absolutely scrumptious!!! Thank you for the beautiful inspiration!
Thank you SO much for sharing all of your projects. I'm totally in love with your layout using the oval pierced frame. (In more than one post). I couldn't agree more with the beauty that embossing brings, especially @ Christmas. (Btw, I'm going to borrow your layout for some of my Christmas cards). Your color palette in your 1st card is stunning! It's going to be very hard to pick and choose which products I purchase, all of you did a FABULOUS job this release. Your corner adorners will make perfect tags, I think in quick time. Oh & the mug too. See! So hard to choose. Thank you for sharing all of your great tips, I learn alot. Also I wanted to thank you again about the size twine. I didn't want you to go to any extra trouble. Lizzie, you're an amazing artist, I hope you have a great day! :)
Your cards are absolutely GORGEOUS today Lizzie! LOVE the red and gold one with the border...SOOOO elegant! And your tags...oh but they make me happy and both of your sets are on my list to purchase tomorrow night!! I love making tags too!! Thanks so much for all your inspiration this week...you've outdone yourself and I've loved it all!! :0)
Stunning Happy Holidays holly card. It is so elegant. Thank you for all the inspiration.
Did you hear that gasp?! It was me--can't stop staring at those first 2 cards, Lizzie!
Sweet, Sweet projects today, Lizzie!
Nicee blog thanks for posting
Post a Comment