Good morning, friends, and welcome back to Day 4 of the
Papertrey Ink September countdown! We have a few very exciting new products to share with you today. Betsy's
Dashing Through The Snow Collection is going to knock your socks off! Dawn's
Say It Simply: Holly Jolly is another great sentiment die to make your holiday cards a breeze. Betsy's latest
Shape Shifters: Oval III is fabulous. And my
Glorious Globes works both with the globe stands or independently for even more design options. Let's take a closer look!
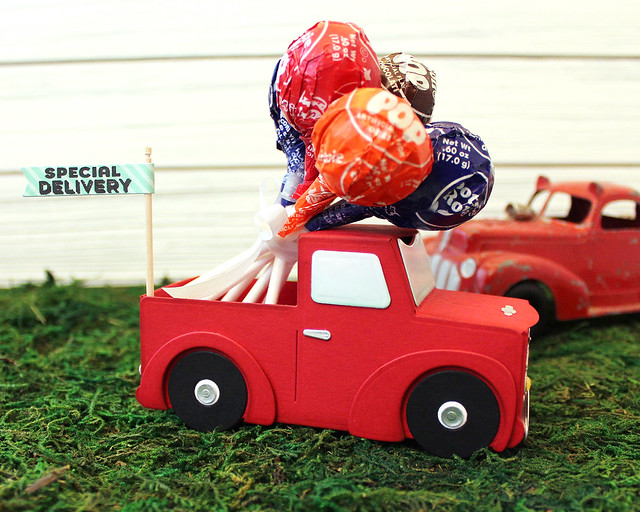
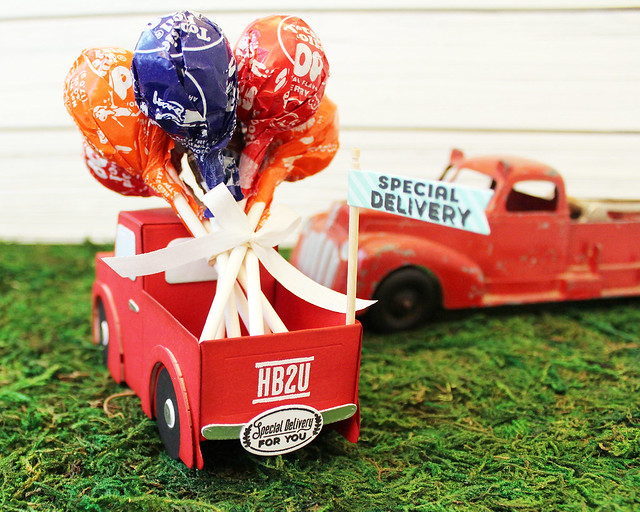
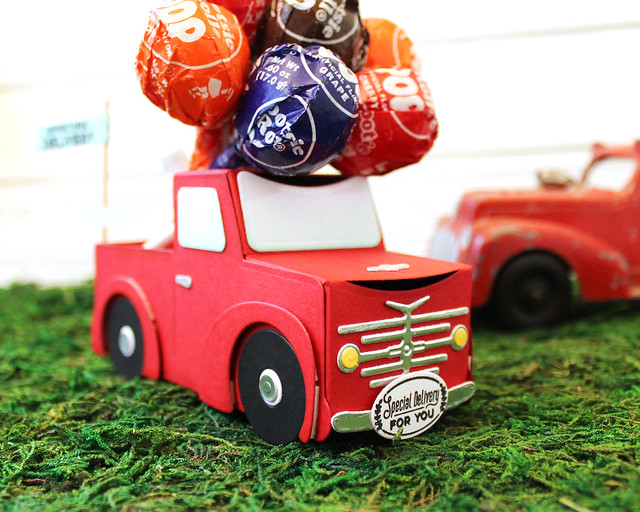
First up, I have a little birthday treat using Betsy's
Dashing Through The Snow: Pickup Truck die.
The collection that Betsy has designed is absolutely amazing and works beautifully for both holiday and everyday projects. My nephew has a birthday coming up fairly soon, so I decided to make him a little red truck hauling a bouquet of lollipop "balloons."
I began by die cutting the truck pieces from Pure Poppy, True Black (tires), Harvest Gold (headlights), Luxe Silver (bumpers, front grill, hubcaps, door handles), and white (windows, tires) cardstocks. I assembled the truck, lightly sponging Americana ink at each of the edges and corners as well as around the inner edge of the fenders. I just wanted to add a bit of depth rather than make it look like rust or wear so I kept it nice and light.
Then, I heat embossed the "HB2U" from Initial Sentiments: Birthday onto the tailgate. I also sponged Aqua Mist ink along the bottom edge of each of the windows. Then, I xyroned a piece of clear cardstock and die cut the windows a second time. I layered the clear windows over the sponged white windows to make them look real and then adhered them to the truck.
I added the other details to the truck with a mix of flat and foam adhesives. I used Glossy Accents to give the headlights shiny dimension. Then, I stamped the "special delivery" license plates and die cut them with the mini oval from the die collection. I also die cut a banner from the Wine Bottle Tag #2 and stamped it with the sentiment from the Dashing Through The Snow mini set. I attached that to a decorative toothpick and hot glued it to the truck bed. I gathered several lollipops into a bouquet and rubber banded them before tying a ribbon around them and laying them in the truck bed. I think Charlie will love it!
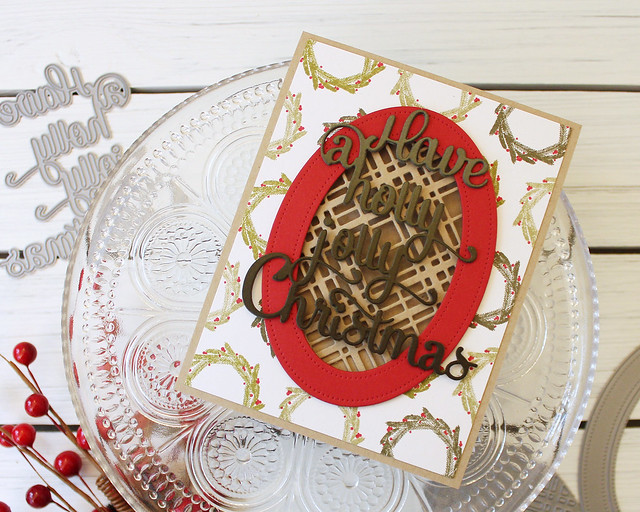
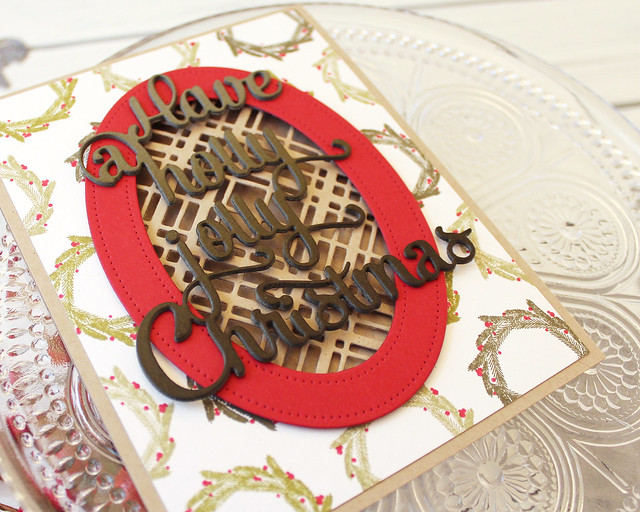
Next up, I have a card that combines Dawn's
Say It Simply: Holly Jolly die, my
Glorious Globes, and Betsy's
Shape Shifters: Oval III.
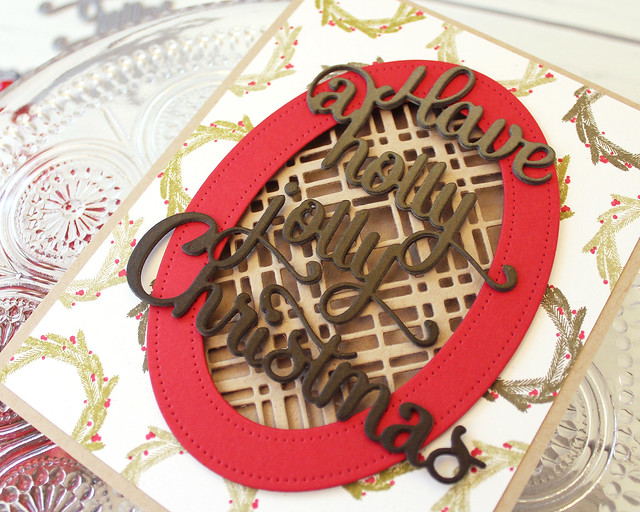
I began by stamping the wreath from Glorious Globes onto a Rustic White panel in Prairie Grass, Ripe Avocado, and Olive Twist inks. I followed up with the berries in Pure Poppy. I cut an oval in the center of that panel and set it aside.
I used the Shape Shifters: Oval III plaid inlay die to cut a window in a Classic Kraft card base and adhered the stamped wreath panel to the front. I die cut a medium Pierced Feature Frames: Oval from Pure Poppy and mounted that to the card front with foam tape.
Then, I xyroned a piece of Olive Twist and sponged part of it with Olive Twist ink to give it a gradient effect. I die cut the sentiment a few times, stacked them to make them nice and sturdy, and finally adhered the greeting to the front of the card, centered over the plaid window. The opening gives the sentiment a unique backdrop that doesn't distract from the message.
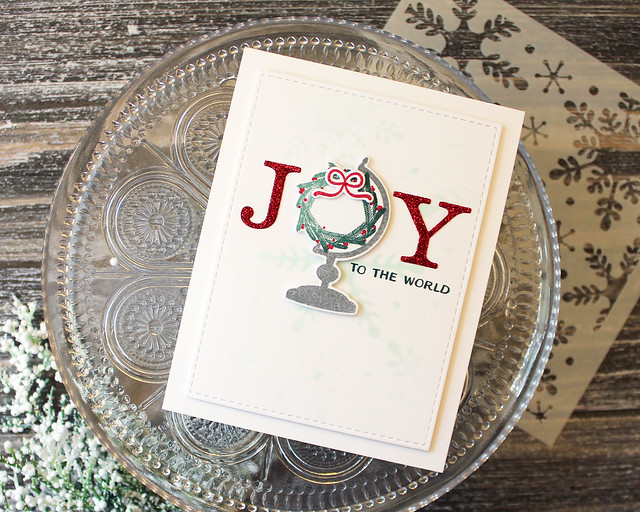
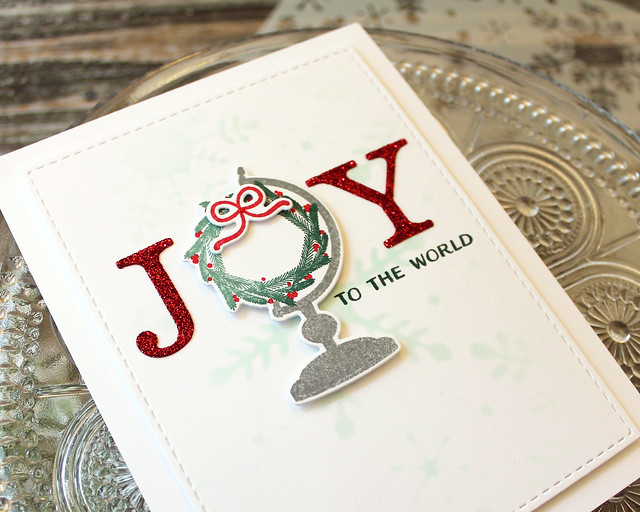
Last but not least today, I have another card made with this month's Glorious Globes. I paired it with the uppercase Bookprint Alphabet to spell out a seasonal greeting. I went with "JOY", but "NOEL," "HOLLY," "JOLLY," and "HO HO HO" would be other great options.
I began by using the Snowfall Style stencil to add a bit of a snowy background onto a panel of white cardstock. Then, I die cut it with the Noted: Simply Stitched A2 Vertical die to give the edges some interest.
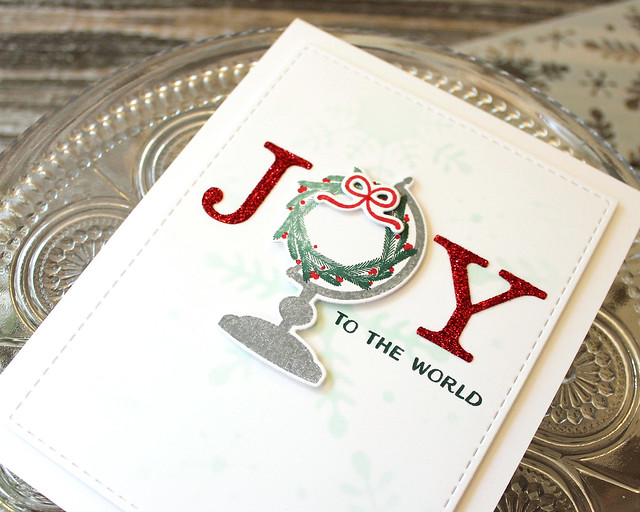
Next, I xyroned some Pure Poppy cardstock and die cut it (sticky side up) with the Bookprint letters. I covered those with red glitter and set them aside. I also stamped and die cut the wreath globe, adding a bit of dimension by sponging Pinefeather ink onto the Ocean Tides foliage.
I laid those out on the panel and stamped the greeting from Glorious Globes in Pinefeather ink. This sentiment is curved, but the beauty of clear stamps is that you can manipulate them to suit your needs. I just straightened this one to fit the space below my letters. I adhered the elements to the snowy panel with a mix of flat and foam adhesives and then adhered it to a white card base. It's a quick and simple card, but the glittered greeting really makes a statement!
Thank you so much for joining me today! I'll be back tomorrow with several more projects, so be sure to come back for those. In the meantime,
Amy,
Betsy,
Dawn,
Heather,
Laurie,
Melissa B,
Melissa P,
Michelle, and
Stephanie all have beautiful projects to share. See you soon!
Supplies:
Pickup Truck Birthday Treat
 Holly Jolly Christmas Card
 Joy To The World Card


3 comments:
Hi Lizzie! Gosh did I enjoy your amazing post today! I know Charlie will LOVE the truck. So many great ideas you added & I LOVE that you made it for a birthday. Plus it's been wonderful that your glorious gloves are so versatile. (That's what I love about the corner adorners too!). All of your special tips, like how you added the red glitter is such a big help. Thanks Lizzie, for an awesome release. It's going to make Christmas cards &tags extra fun this year! :)
Your truck takes the cake but the cards are exceptional too. I love the background you made with the wreaths from the globe set. That truck is awesome.
Great projects that beautifully showcase these new products.
Post a Comment