Good morning, friends, and welcome back for Day 3 of the
Papertrey Ink July countdown! Today is a group post and, boy!, do we have a treat for you! Do you have a sweet tooth? I sure do! And it doesn't get much sweeter than these new products! Betsy and Erin have truly outdone themselves creating stamps and dies that you're simply going to crave! Let's get to it!
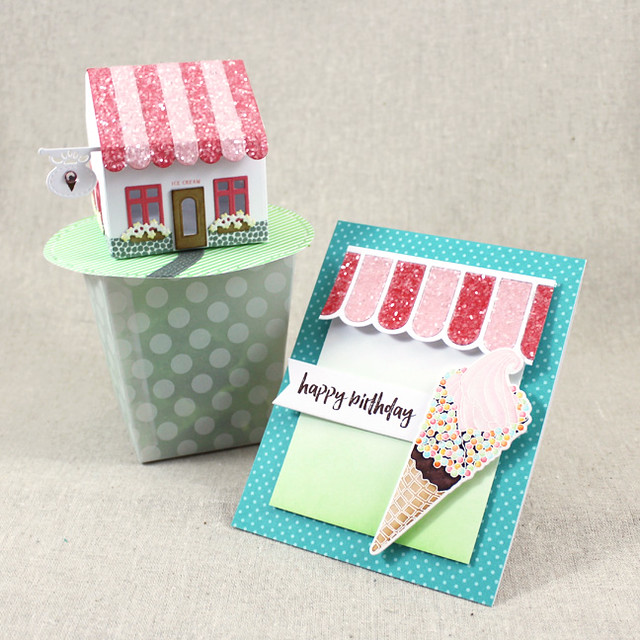
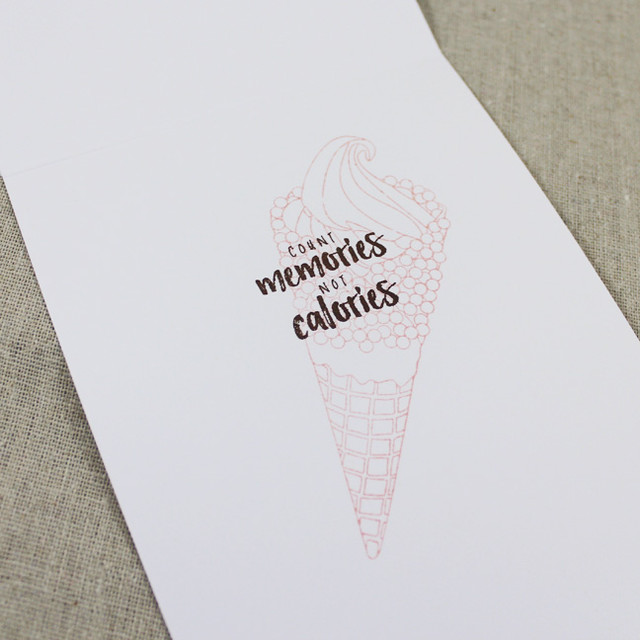
I wanted to create a birthday ensemble for an ice cream lover. Not everyone goes crazy for cake (it's hard for me to believe, but it's true), so I used the new Tiny Town: Sweet Shoppe and Colorful Treats set to make this coordinating card and gift box. Isn't that little ice cream parlor just the cutest?!
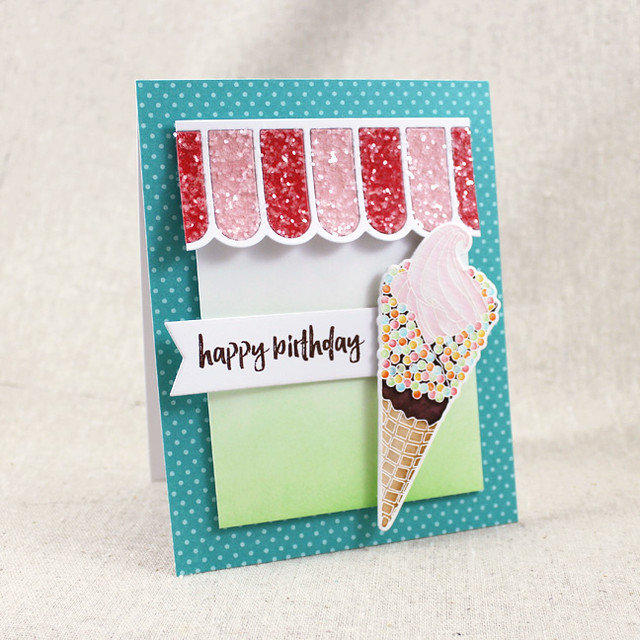
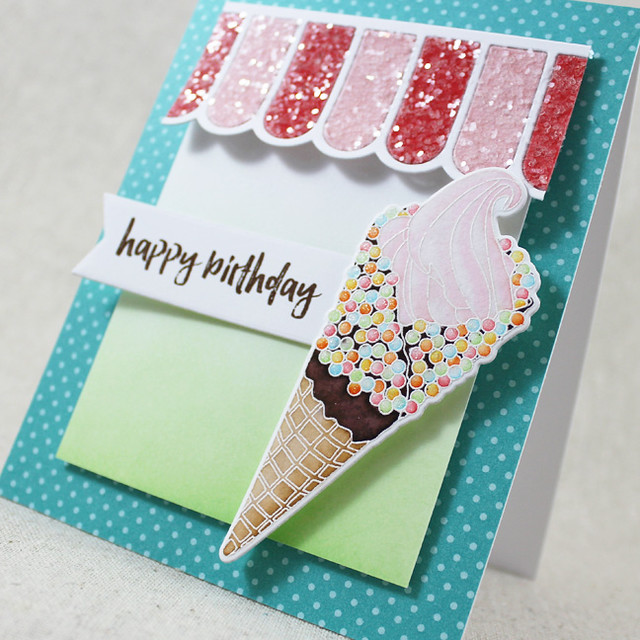
I began with the card. I heat embossed the ice cream cone onto watercolor paper with white powder and colored it with Zig Clean Color pens. I embellished the sprinkles with a Clear Spica pen to give them a bit of sparkle before setting the cone aside. Next, I trimmed a panel of white cardstock and sponged it with Vintage Jadeite ink. I then added a glittery, die cut awning that I created using the new Cover Plate: Awning. I mounted that panel with foam tape to a card front that I'd already covered with Hawaiian Shores Bitty Dot paper.
Next, I die cut a Number The Stars banner and stamped it with the birthday sentiment from Colorful Treats. I then added the ice cream cone and the sentiment banner to the card front with a mix of flat and foam adhesives.
As a final touch, I stamped a cone and sentiment inside the card to dress things up a little.
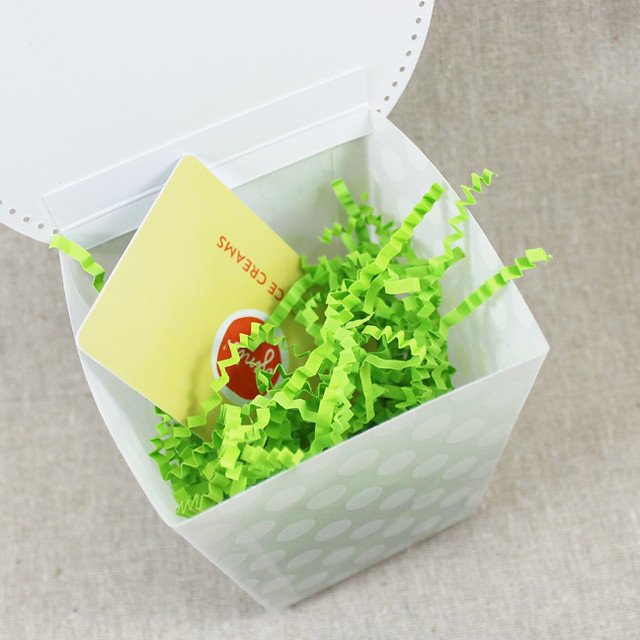
Next, I created a gift box to coordinate with the birthday card.
I began by die cutting the Popcorn Bucket die panels from Sheer Basics Polka Dot vellum. I trimmed about an inch from the top of each piece and assembled as normal before setting that aside. Next, I die cut the base of my ice cream parlor from white cardstock. I stamped a stone foundation around the bottom edge using the Petite Places: Walk In The Park mini set and added window frames, flower boxes, and a front door. The window boxes and front door are Kraft cardstock sponged with the new Cocoa Bean ink. The flowers are die cut from white and sponged with Harvest Gold and coated in fine glitter.
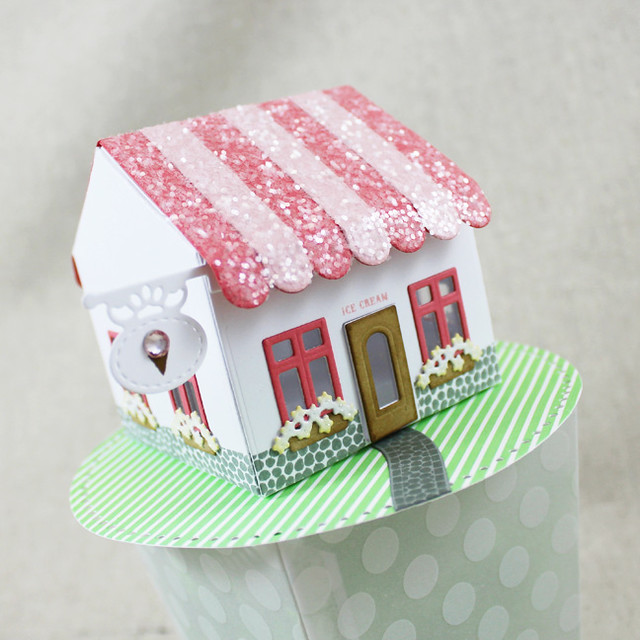
I backed the windows with clear cardstock for a realistic appearance and stamped "ice cream" (from Petite Places: Sweet Shoppe) above the front door before folding up my little building. Next, I added glittered, striped awnings using Pale Peony and Berry Sorbet cardstocks. I created the sign by masking off and stamping the tip of a star in Cocoa Bean and topping it with a colored-to-match rhinestone.
I die cut a circle base from Vintage Jadeite + White patterned paper and added it to the vellum box using a cardstock hinge. I added a stone walkway using Petite Places: Walk In The Park before adhering my ice cream parlor into place. I filled my little box with crinkle shred and tucked in a gift card to one of our favorite ice cream places. It just so happens that July is National Ice Cream Month, so this is a perfect gift for any July celebrant!
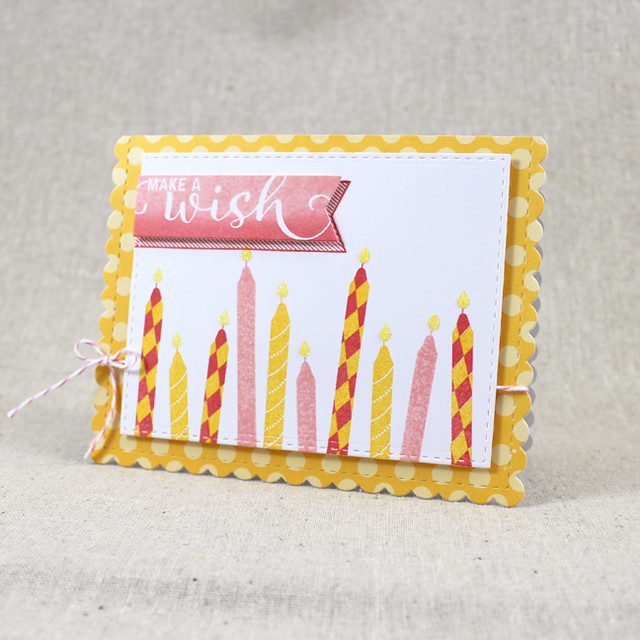
Speaking of birthdays, I also have a birthday card to share that I made by pairing Number The Stars with Wishes Come True.
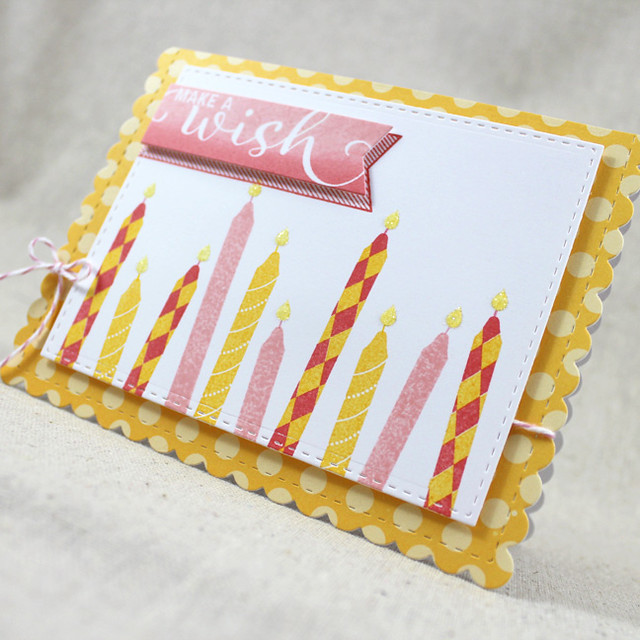
I began by die cutting a panel from the Noted: Scalloped A2 Die Collection from white cardstock. I stamped it with candles and the striped banner image from Background Basics: Galaxy using a Berry Sorbet, Pale Peony, Summer Sunrise, and Harvest Gold combo. I stamped and die cut the sentiment banner from Number The Stars and added that atop the striped banner with foam tape.
I then die cut a white card base using that same die collection. I also die cut a card front from Summer Sunrise polka dot paper and attached that to the white card front. I tied a baker's twine bow around the card base before mounting the candle panel with foam tape. As a final touch, I embellished the flames with fine crystal glitter. I love that sparkle!
Thank you so much for joining me today! I'll be back tomorrow with more of this month's release, but in the meantime make sure to
Nichole,
Amy,
Ashley,
Betsy,
Danielle,
Dawn,
Heather,
Kay,
Laurie, and
Melissa to see more of these fabulous new products.
Erin and
Maile are also sharing a few more peeks, so make sure to visit them, too! See you tomorrow!
Recipes:
Ice Cream Birthday Card
Stamps: Colorful Treats - Papertrey Ink
Cardstock: Berry Sorbet, Pale Peony, Hawaiian Shores Bitty Dot Paper - Papertrey Ink; Watercolor Paper - Ranger; white
Ink: Vintage Jadeite, Dark Chocolate, Pale Peony - Papertrey Ink; VersaMark - Tsukineko
Other: Colorful Treats Die, Cover Plate: Awning - Papertrey Ink; Foam Tape - Scotch; Chunky Crystal Glitter - Martha Stewart Crafts; Clean Color Pens, Clear Spica Pen - Zig; White Embossing Powder - Filigree - Papertrey Ink
Ice Cream Parlor Gift Box
Stamps: Petite Places: Sweet Shoppe, Petite Places: Walk In The Park; Background Basics: Galaxy (ice cream cone) - Papertrey Ink
Cardstock: Berry Sorbet, Pale Peony, Vintage Jadeite + White Patterned Paper, Sheer Basics Vellum, Classic Kraft, Stormy Sea, Clear Cardstock - Papertrey Ink; white
Ink: Stormy Sea, Pale Peony, Cocoa Bean, Harvest Gold - Papertrey Ink
Other: Tiny Town: Sweet Shoppe Die Collection, Popcorn Bucket Die, Stitched Circles Die - Papertrey Ink; Rhinestone - KaiserCraft; Chunky Crystal Glitter, Fine Crystal Glitter - Martha Stewart Crafts; Scor Tape; Xyron; Copic; Crinkle Shred
Make A Wish Card
Stamps: Number The Stars, Background Basics: Galaxy, Wishes Come True - Papertrey Ink
Cardstock: Summer Sunrise Polka Dot Patterned Paper - Papertrey Ink; white
Ink: Pale Peony, Summer Sunrise, Berry Sorbet - Papertrey Ink
Other: Noted: Scalloped A2 Die Collection, Number The Stars Banner Die - Papertrey Ink; Baker's Twine - Divine Twine; Fine Crystal Glitter - Martha Stewart Crafts; Foam Tape - Scotch


12 comments:
Love your projects, the creative ice cream sign, the glittered roof, making an ice cream gifter, how you assembled your card cone! Fun!
Oh sugar! Love that awning all glittered up...sugar, snow, or icing it all makes it look so good. This project has many details that make the the house so special and centerpiece worthy! Just spectacular !
The ice cream cone card and tiny shoppe are just gorgeous! I love that banner on the "make a wish" birthday card - goes perfectly with all the candles.
SUPER cute!
An adorable house and cards. I love all the details.
Not sure which one is my favorite!
Hi Lizzie,
What a Gorgeous creations for us too feast on! Thanks for inspiring us!
Cariños,
María Alba
Such cute projects to inspire us! The glitter and sequin adds the finishing touches to these darling little projects!
ADORABLE!!! I LOOOOVE that Ice Cream Cone---my FAVORITE! AND the way you did your little Ice Cream Shoppe....with the glitter on the roof & the stone wall...TOTALLY ADORABLE!!!!!!!!!!!!!! EVERYTHING ELSE LOOKS GREAT TOO!!!!!!!!!!!!!!!!!!!!!!!!!!! ;)
I want to eat this house and sugared card! :) love that chunky glitter it looks awesome! Gorgeous projects today!
Great stuff! That ice cream cone is a knockout!
Wonderful projects!
Post a Comment