

Good morning and welcome to the November Stitching Feature! I’m Lizzie Jones, your Stitching Ambassador, and this month I thought it would be fun to apply the same principle behind our Simple To Spectacular feature to some stitched ornaments. I’ve created three sets of ornaments that progress from a clean and quick design up to a more complex creation.

The purpose behind today’s post is to show you how easy it is to use things like sequins and beads or even buttons to take your creations to a whole new level. Not to mention how simply using the dies in different ways can give you so many unique looks and design options with a single die collection.
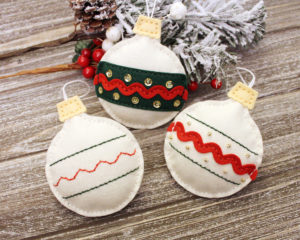
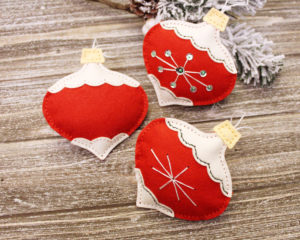
Let’s start with the round ornament from the Heirloom Ornaments 2 Die Collection. I wanted to create three variations on the ric rac style ornament, but you could go even simpler by cutting your ornament from patterned felt or reinforced fabric.
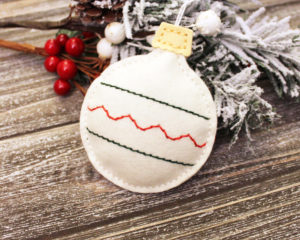
On the simple ornament I used the holes only ric rac band to create embroidery holes on my ornament. I let the colored floss do all the heavy lifting. This is a very simple design, but several of these hanging together would make quite a statement!
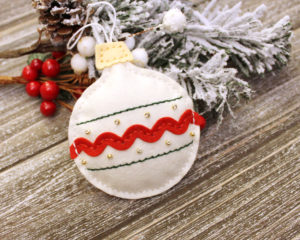
On the next step up, I added the felt ric rac and some gold seed beads, but I still kept the layers of felt to a minimum. The seed beads add a bit of shine and the ric rac gives a bit of texture and bolder contrast against the Vintage Cream base.
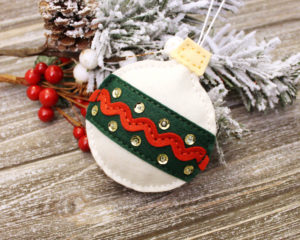
The spectacular version pulls out all the stops! Not only did I add the Pure Poppy ric rac (as I had on the intermediate version), but I incorporated the Pinefeather band as well. I also chose to bring in gold sequins and clear seed beads in place of the simple seed beads of the middle ornament. The sequins are bolder and they demand more attention. Plus, the shine is a lovely contrast against the dark green Pinefeather felt.
Next up, I have a set of the onion shaped ornaments from the same set of dies. Again, you could go even simpler with the simplest ornament, but I couldn’t help myself, so I added the optional scallops to each ornament. Just because you’re going simple doesn’t mean you can’t opt for an embellishment or two and build from that baseline. That’s the same reason I chose to use metallic threads on these ornaments. A little sparkle, especially when it’s as easy as including a silver thread, never hurt anyone!
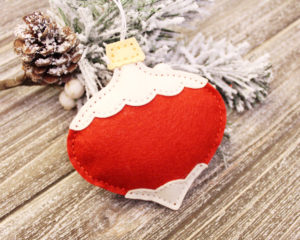
As I mentioned earlier, the simplest ornament uses the optional scallops. You could take it one step down by just embroidering them or even simpler by omitting them altogether. This is another classic ornament shape that would look amazing made from patterned felt or reinforced fabric.
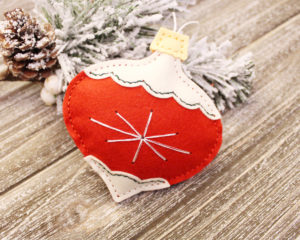
The middle ornament incorporates the central flare design as well as a contrasting stitch on the scallops. The green stitching draws attention to the scalloped design and defines it just enough.
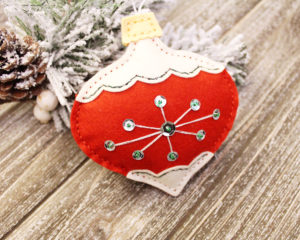
The spectacular version is similar to the intermediate, but this time I incorporated silver sequins and green seed beads to the flare design. The red and green color palette is quintessential Christmas and the metallic accents add a hint of luxury. If you wanted to adorn even further, you could add seed beads to the stitched scallops or perhaps a jingle bell dangling from the bottom tip. How festive would that be?!
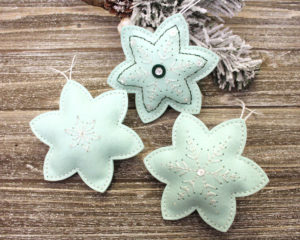
Finally today, I have a set of snowflake ornaments that I created using the Heirloom Ornaments 1 Die Collection. I will never stop loving this set of dies. There are so many possibilities! Once again, I used metallic thread on these ornaments just to help them sparkle in the twinkle lights. You can certainly stick with regular floss, but I think the metallic element is worth the effort. Metallic thread can be finicky, but using a single thread of metallic with two strands of regular floss makes it much more manageable.
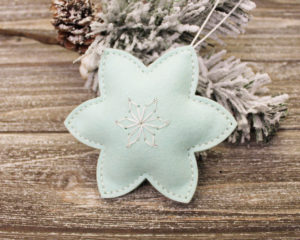
On the simplest version I used the holes only die for the small flare design to add the snowflake to the center. You can switch up how a die collection looks or works just by connecting the stitches in a different way. I used small clear, silver lined beads to embellish the ends of each branch of the snowflake. You can stitch your seed beads to the ends of the actual stitches in your design to secure them and keep them popping back through the holes in your design.
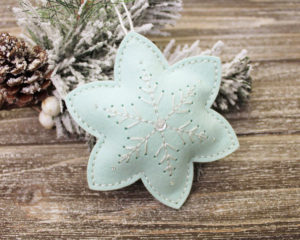
The next ornament in this line up swaps out the small flare/snowflake for the large snowflake die included in the set. I embellished this ornament with those same seed beads as well as white sequins. These sequins have a matte finish rather than a shiny finish, so they complement (rather than compete with) the sparkle of the seed beads nicely.
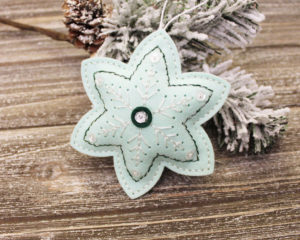
The spectacular ornament is all done up from head to toe! I used the same large snowflake design along with the outline border. I used a contrasting dark green stitch for the border and matched it with a small Pinefeather layer at the center of the ornament. I got a little more liberal with the sequins and I paired them with the same silver lined beads.
I hope today’s post has helped you see even more of the possibilities available to you when you’re creating your ornaments. Take a look through your paper crafting supplies to see if you might have notions already on hand that you can use for embellishments. Or maybe try incorporating metallic thread on your next ornament.
Thank you so much for joining me for this month’s Stitching Focus! Happy holiday crafting, friends, and have a wonderful week!
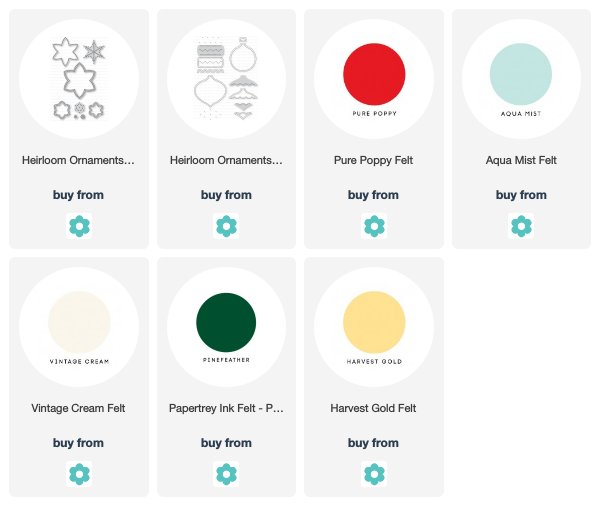
Supplies:
2 comments:
Hi Lizzie! I think your stitching projects just get prettier with every post. It will make your holidays even more special having a tree decorated with ornaments you've made. I also wanted to thank you. Not only for helping me with the crochet thread but going into detail, how you create your projects. I placed an order on Amazon today linking some of the products you've used, as an extra thanks. I hope you have a great week! Stef.
WOW you've done a tremendous amount of work here to illustrate the Simple to Spectacular techniques and all of these are totally Spectacular! I can just imagine a pretty Christmas tree with these ornaments hanging in the branches -- really lovely!
Post a Comment