Good morning, friends, and welcome back for Day 3 of the
Papertrey Ink November countdown! We're back today with two new stamp sets and a set of dies that you're definitely not going to want to miss. Betsy's
Fence Line: Winter set includes a snow man, garland, birds, and an evergreen to dress up her wooden fence. My
Sentiment Staples: Warmest Wishes covers all sorts of occasions, from a winter birthday to a wedding. And Dawn's new
Skinny Mini Banner Dies are the perfect complement for any sentiment set. Their versatility will truly make them a go-to tool for any cardmaker. Let's take a closer look!
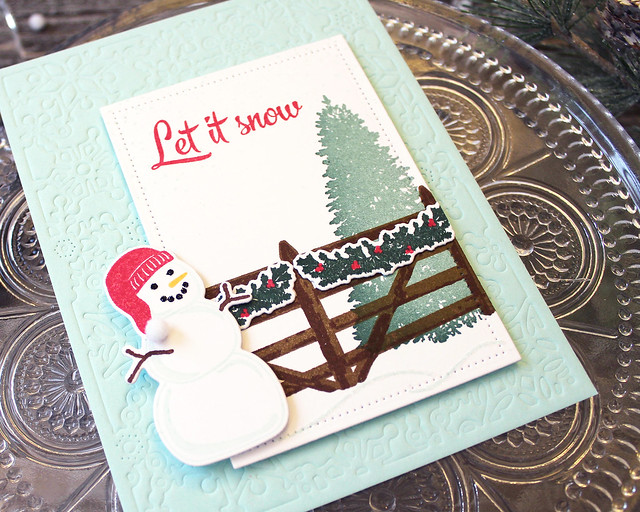
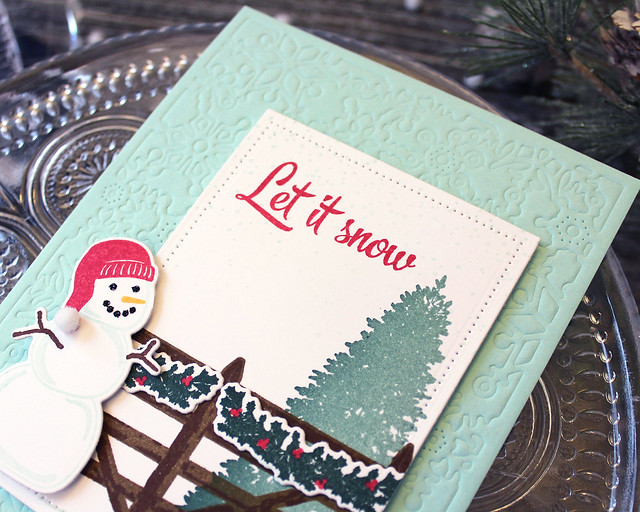
My first card today features Betsy's Fence Line: Winter set. I paired it with a few elements from my
Winter Window set and
Bold Borders: Flurries (which is back in stock!) to create a snowy scene.
I began by impressing the
Bold Borders: Flurries design into a piece of Aqua Mist cardstock using an impression plate sandwich. I adhered that to a white card base and set it aside.
Next, I die cut a focal layer using my new Nesting Basics: Rectangles Die. First, I stamped it with the tree from Fence Line: Winter using Ocean Tides and Pinefeather inks. Then, I layered the fence directly over top of that image using Dark Chocolate and Cocoa Bean inks. The snow drifts came next in Aqua Mist. I stamped the falling snow image and sentiment from
Winter Window before adding the pierced detail to the edges of that panel with my new Nesting Frames: Rectangles dies.
Once that panel was adhered to the card front with foam tape, I stamped and die cut the snowman from Fence Line: Winter. I used onyx glitter to accent the coal on his face and used a tiny pom-pom to embellish his hat. I also stamped and die cut the garland from the set. I adhered those to the fence and then attached my snowman. I gave the snow drifts a bit of sparkle with some crystal glitter before calling it done. Doesn't that little snowman look happy out in his element?
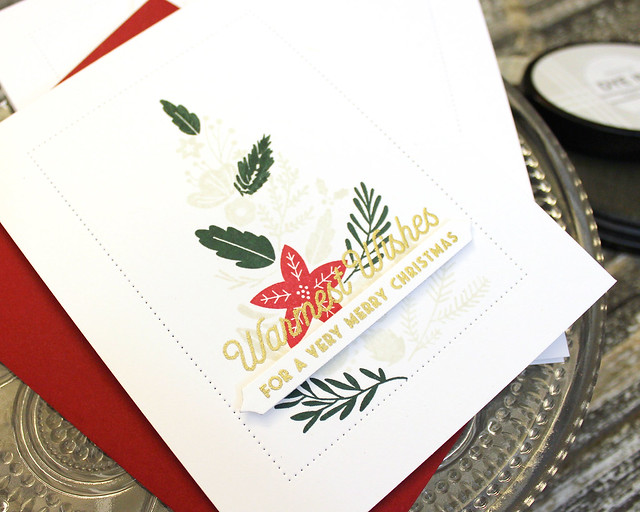
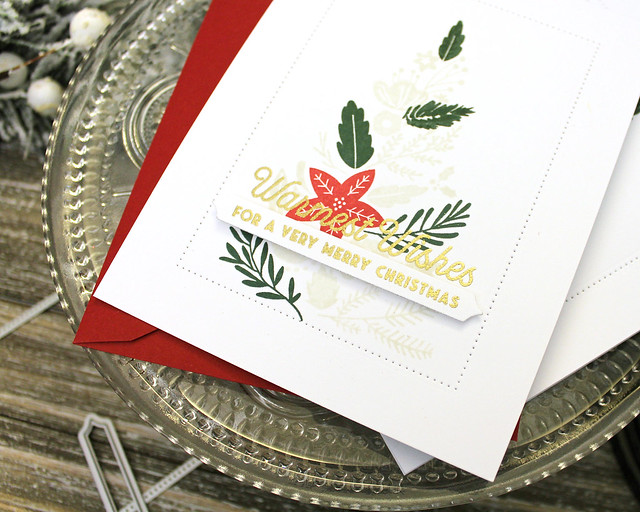
My second card today is actually a set of three that I put together super quickly by pairing Jennifer's Floral Fantasy: Christmas with my Sentiment Staples: Warmest Wishes mini set. This would make a great mass production design if you're into that sort of thing.
I began by die cutting the pierced frame into a white card base using my Nesting Frames: Rectangles dies. Then I stamped the large tree image from Floral Fantasy: Christmas in the center of that frame using Soft Stone ink. Next, I used a few select individual images from that set to stamp over the tree and add Pure Poppy and Pinefeather accents.
The top bough and the second from the top didn't have exact duplicates, so I used similarly sized and shaped stamps to cover the Soft Stone images. Then, I stamped and heat embossed my primary sentiment. I stamped several of the companion sentiments onto a piece of cardstock and embossed them all at once.
Then, I die cut them using a Skinny Mini Banner die and added them to the front of my cards with foam tape. If you have a stamp platform (like the Tim Holtz or Misti) doing multiples of this design is really, really easy. And cost effective too since they're just one layer with minimal die cutting!
Thank you so much for joining me today! I'll be back tomorrow with a couple of additional projects, but in the meantime make sure to pop in on
Betsy,
Dawn,
Heather,
Laurie,
Melissa B,
Melissa P,
Michelle, and
Stephanie. I'll see you in the morning!
Supplies:
Let It Snow Card
Very Merry Christmas Cards


2 comments:
Your second card today is a knockout. Love its pristine perfection!
Good morning! I'm SO looking forward to working with your newest rectangles. Not only for exact measurements but all the beautiful embossing examples I've seen. Anyway, your bold border embossing is so pretty and made for a perfect snowy background. Great idea! Your fence looks so real, Your second card is just gorgeous! So original, I love it. Next year I've made myself a promise to make Christmas cards throughout the year. I think the mass production is more like work. Your tips to make multi- card production were definitely noted by this fan. Hope you have a nice day, I'm getting ready to go feed the birds and squirrels. :)
Post a Comment