Welcome to this month's Papertrey Ink Simple To Spectacular feature! This month, Melissa, Lexi, and I are showcasing
Painted Poinsettias, a beautiful floral perfect for this time of year. My holiday cards might be heading out in the post soon, but I am still in need of seasonal thank you cards for after the gift-giving season.
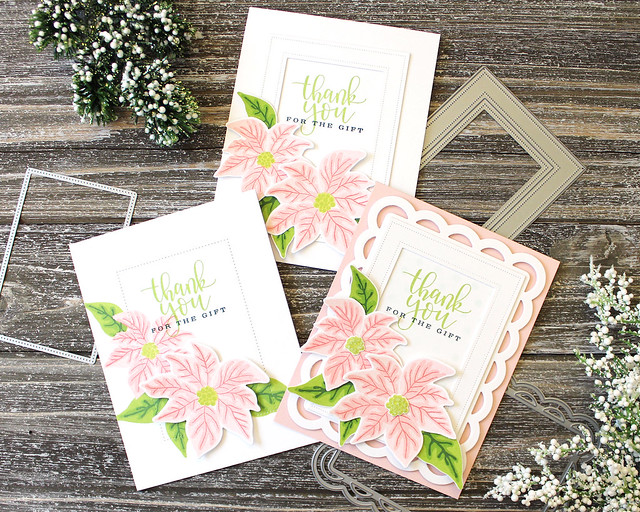
Today's Simple To Spectacular challenge seemed like the perfect opportunity to stock up on a handful of thank you notes. I gradually increased the layers of die cuts and texture to take a simple card and amp up the pattern and interest. This was a really fun challenge!
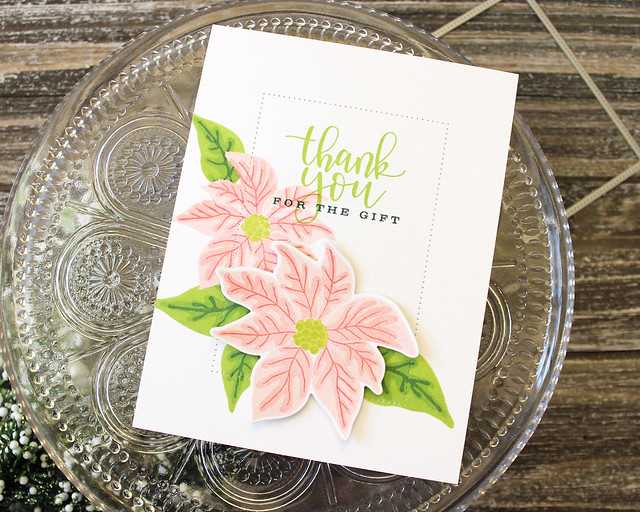
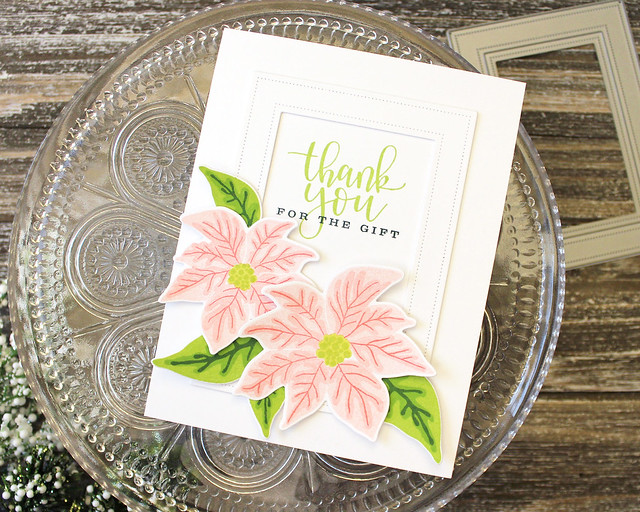
My Simple card uses a die cut
Nesting Frames: Pierced Rectangles die to draw the focus toward the center of the card. I stamped the smaller of the two poinsettias directly on the card base along with the leaves from the set.
Then, I stamped the sentiment onto the card front. The "thank you" is from
Penned Elegance and the "for the gift" is from the Painted Poinsettias set. I adhered the front panel to a Sweet Blush card base, so there's a bit of contrast between the front and inside of the card.
Then, I stamped and die cut the large flower and adhered it to the front of the card with foam tape. This single bit of dimension gives the simplest design a little bit of interest while still keeping things nice and clean.
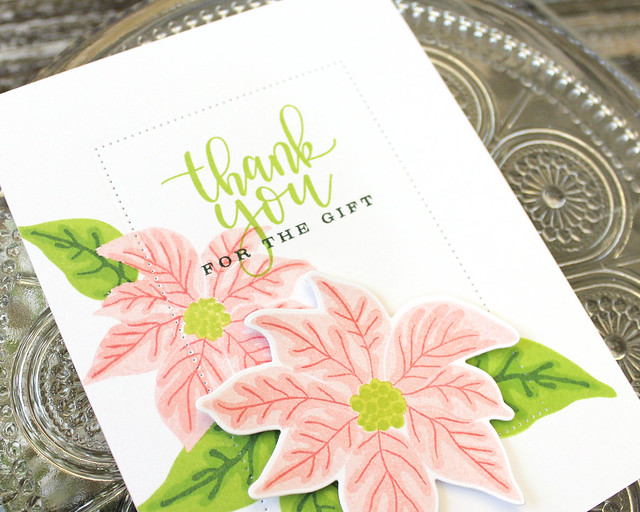
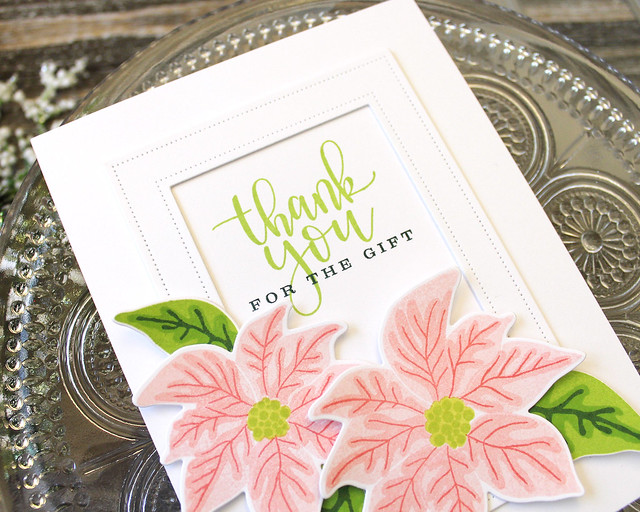
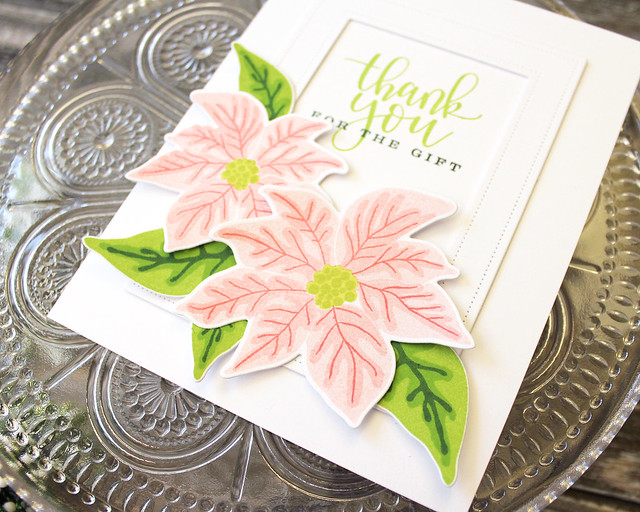
On the Intermediate card, I chose a more substantial frame to draw your eye in toward the center of the card. This time, I layered two
Pierced Feature Frames die cuts. Foam tape would have been too bulky, but the two layers of cardstock are just right.
I stamped my sentiment before adhering the front panel to a Sweet Blush card base and adhering the frame into place. Then, I stamped and die cut both the leaves and flowers from Painted Poinsettias set and arranged them along the frame.
I used a mix of flat and foam adhesives to add a nice variety of dimension. I love the fresh pink and green color palette against all that white!
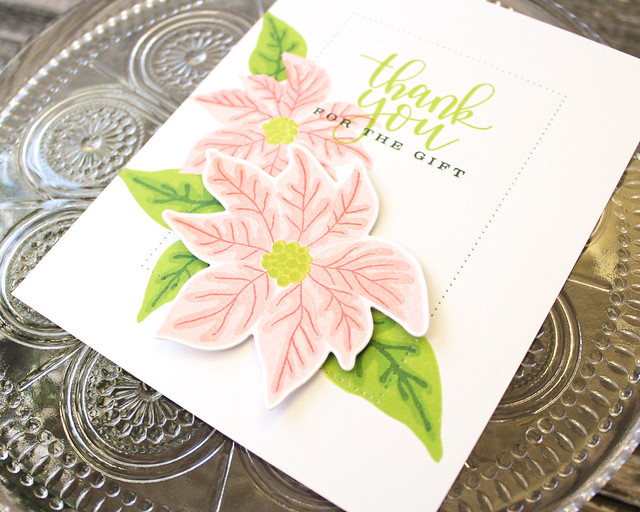
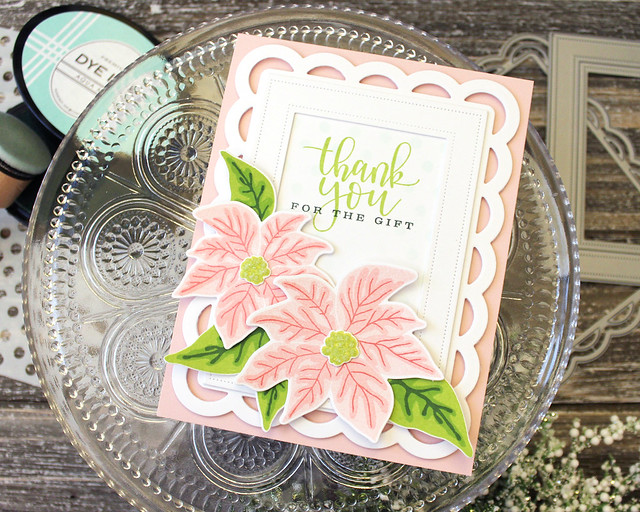
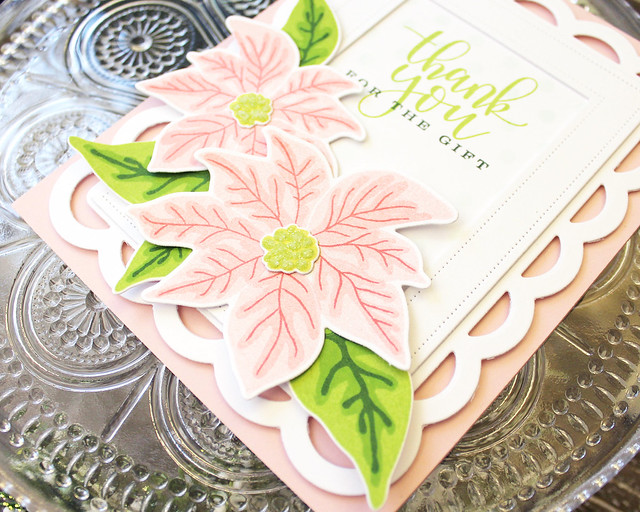
To amp things up on the Spectacular version, I layered the frames on a
Scallop Stackers: Medium die cut. But before I did that, I very lightly sponged on some polka dots using Aqua Mist ink and the
Stencil Basics: Dots stencil and stamped my greeting.
I adhered that whole panel to a Sweet Blush card base using foam tape. Then I used die cut flowers and leaves to embellish the frame.
This time though, I die cut the flower centers and glammed them up with a bit of clear glitter. The added sparkle is the perfect touch of holiday glitz for my seasonal thank yous.
Thank you so much for joining me today! I hope you've enjoyed this month's Simple To Spectacular and I'll see you again in a couple of days for Festive Friday. Have a good one!
Supplies:
Poinsettia Thank You Card Trio


No comments:
Post a Comment