Good morning, friends, and welcome to this week's
Papertrey Ink Design Team Tips! It's my turn to share today and I'm actually really excited about my projects. There are some stamp sets that are designed to represent a particular season or holiday, but with a little creativity we can make those sets into year-round favorites!
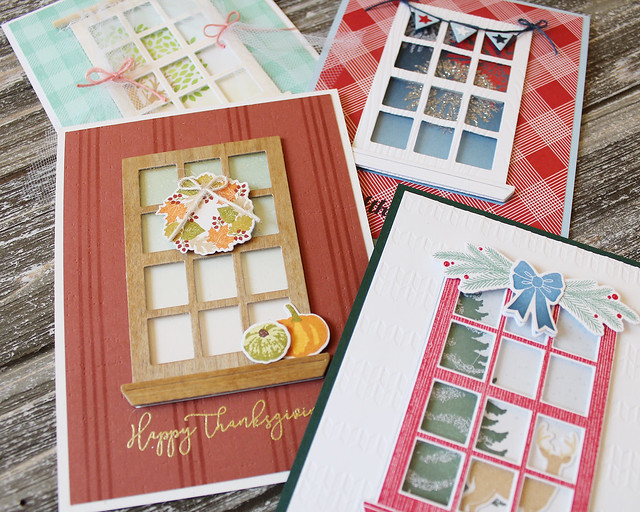
I thought it might be fun to challenge myself to create a series of all-season cards with the recent Winter Window set. It just took a few clever stamp and die pairings make this set an essential for creating any time of year!
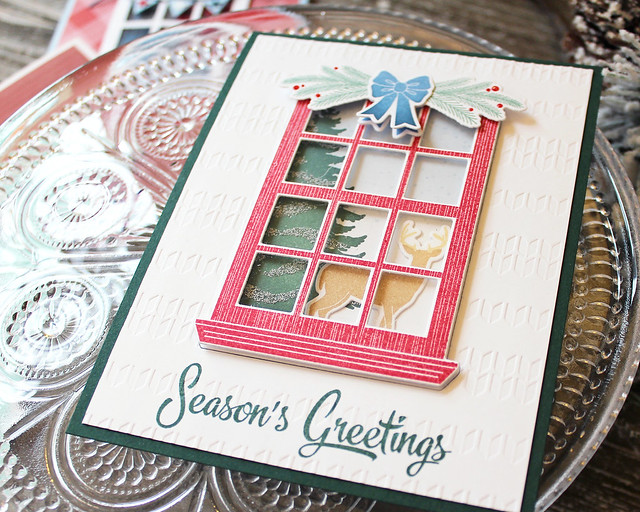
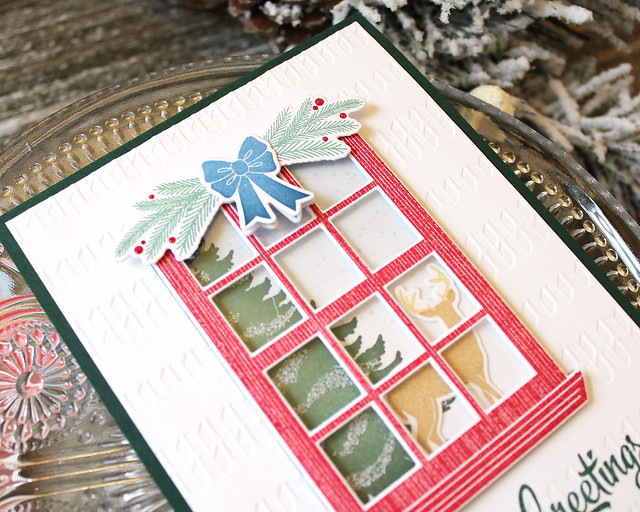
Let's start with the Winter project since that's the original intent of the set...to represent Winter. I simply used the set as designed for this card. I sponged a bit of Spring Rain ink onto a panel before die cutting the window. Then, I stamped my tree and embellished it with glitter. The stag came next.
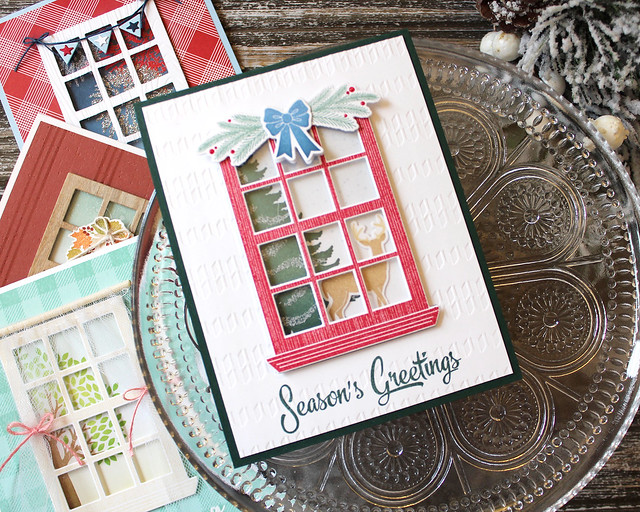
I inset that window die cut into a panel I had stamped with a sentiment and textured with the Striped Sweater Impression Plate. Next, I die cut and stamped a Pure Poppy window frame and backed it with a clear cardstock window to give the impression of glass. I adhered the window to the front of the card with foam tape and embellished it with the garland included in the set.
This card is a pretty straightforward use of the Winter Window set, but there are some things I specifically tried to keep in mind while creating. The color palette is one of those things. I kept with traditional holiday colors to make sure this card had a classic style.
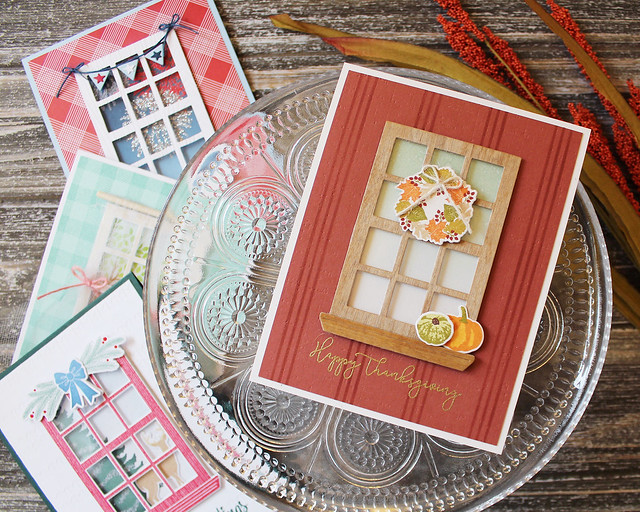
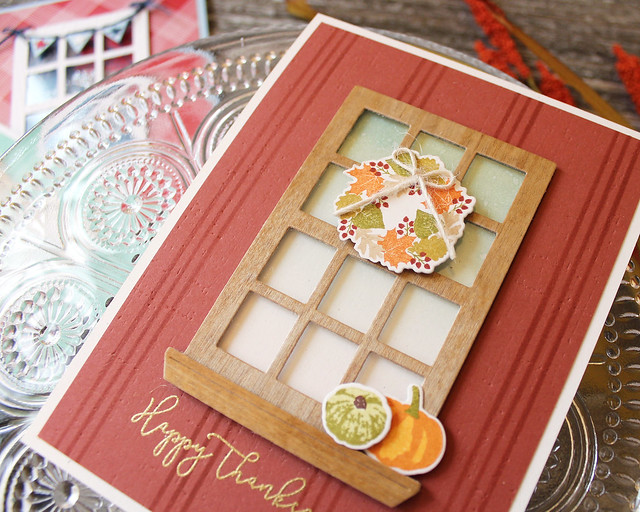
Next up, let's go with the Autumn Card. I paired Winter Window with the wreath globe from Glorious Globes: August and a greeting from Sentiment Staples: Thanksgiving to create a warm Thanksgiving card.
I started by sponging Ocean Tides ink onto my Rustic White card base. I flecked it with water to add some texture (and look a little more like what's happening right outside my real-life window as we speak). This time, I die cut my window from thin veneer that I stained with a Copic marker. You can stain veneer with any color of the rainbow if you have a nice, permanent marker to use (I suggest an alcohol based marker that will dry nice and quickly).
I used the Perfect Plaid stencil to add "wallpaper" stripes to my Americana layer before heat embossing my sentiment using gold powder and adding some subtle texture with the Linen & Canvas Impression Plate. I embellished my window with the aforementioned wreath and a couple of mini pumpkins from the Fence Line: Autumn set.
Don't be afraid to dig around in your collection to find images that are an appropriate scale to work together. You'd be pleasantly surprised at how many options you might come across!
Summer is next in the line-up and I had some fun with glitter on this one.
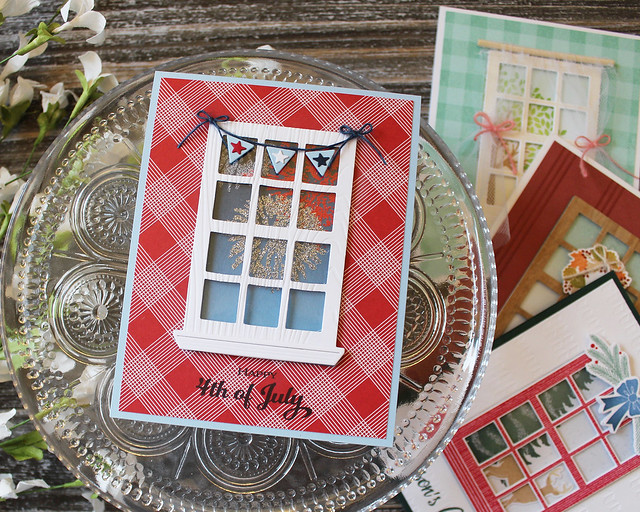
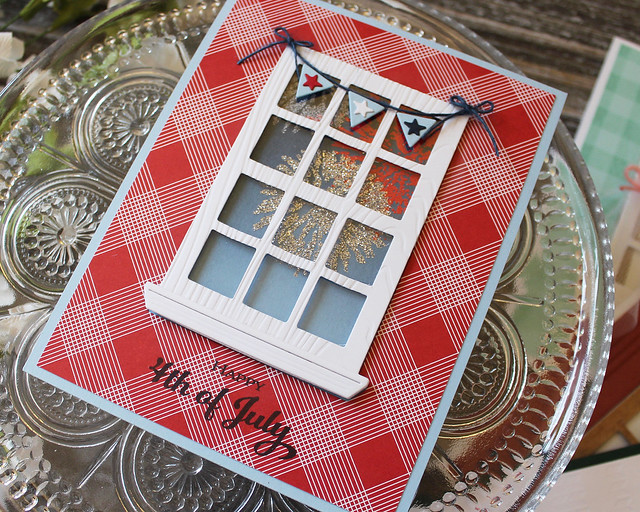
What's a common sight out our windows every 4th of July? Fireworks! And Kaboom was just the set I needed to give Winter Window a Summery twist. I began by sponging Enchanted Evening and Dark Indigo inks onto a Spring Rain card base. I set that aside to thoroughly dry while I assembled the rest of my components. I cut my window from white cardstock and gave it some texture with the Woodgrain Impression Plate (the mullions warped a little from the pressure, but not terribly).
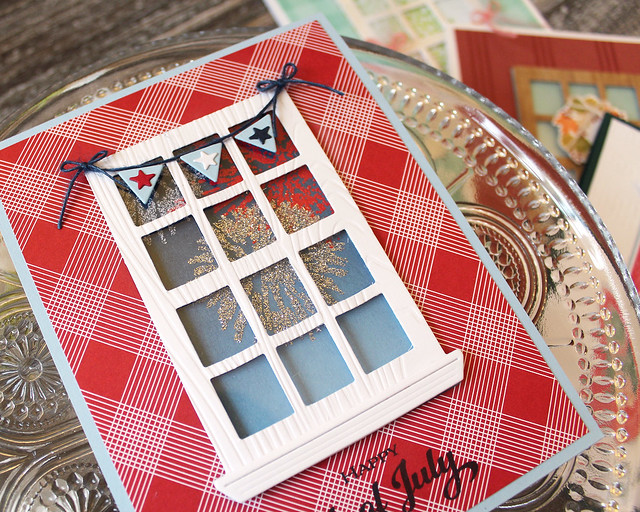
I created mini bunting with the Multiply die and stars cut using the Twinkling Trees die. I attached navy twine to the window frame and added the individual pennants with foam adhesive. By then my card base was dry. I heat embossed it with the Kaboom fireworks, using both colorful embossing powder and sticky embossing powder paired with glitter. I stamped a sentiment from Birthday Classics: July onto a panel of Bitty Big: Pure Poppy patterned paper and adhered it to the card. I used foam tape to attach my window into place.
When coming up with seasonal ideas, try and consider what holidays you would like to represent. Then have fun finding ways to depict those holidays!
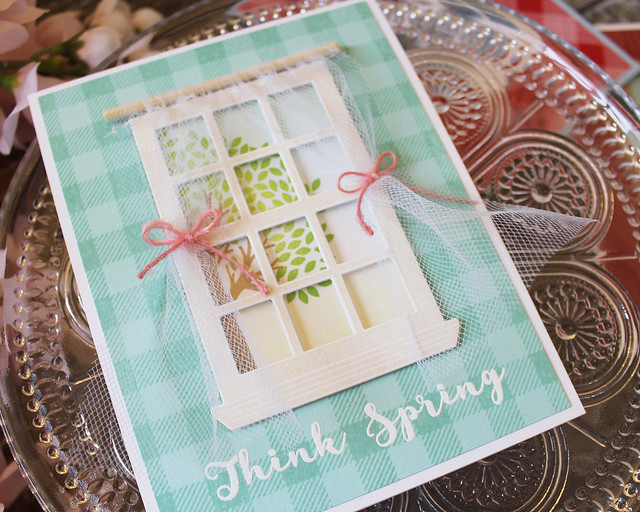
Lastly, I have a Spring version. I wanted to do something light and airy and the idea hit me. Curtains! I wanted to make tiny sheer curtains, so that's exactly what I did.
I began by sponging a white card base with both Aqua Mist and Harvest Gold inks. I wanted it to look like a crisp spring morning and I think the two colors in tandem worked well to convey the message. Then, I stamped the large, leafy tree from Through The Trees so that it would peek through the window die cut once it was adhered in place. I die cut and stamped a Fine Linen window and, as before, backed it with clear cardstock. Then, I stamped an Aqua Mist panel with the Background Basics: Super Gingham pattern.
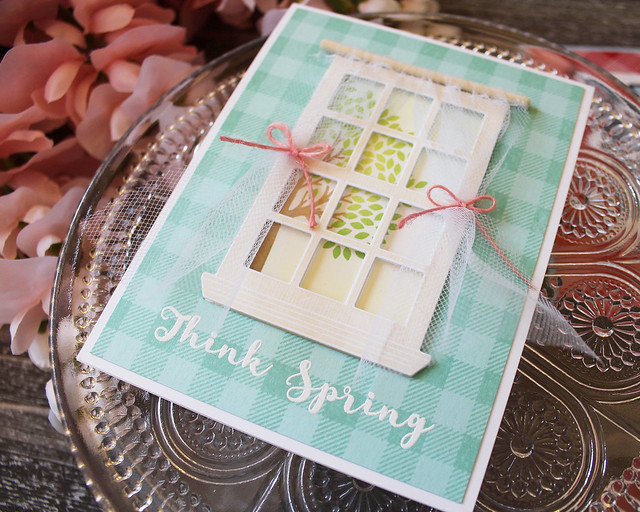
Once it was dry I heat embossed the greeting from Cutaway Tags: Spring and adhered the panel to my card base. I adhered the window into place with foam tape and set the card aside. To create the curtains, I cut a piece of wide twill to be around 5" long. I stitched it over on itself to create a pocket for the skewer and then secured the tulle with adhesive on the back of the skewer. I adhered it to the card front and then used pink twine to tie back the tulle and give it the appearance of genuine curtains.
If you don't have a particular holiday you're trying to portray you can get along with seasonal color choices and a sentiment that helps fill in the blanks.
So there you have it, friends! Even those seasonal sets have year-round use with a little ingenuity. I hope you've enjoyed today's post! I'll be back a little bit later today with a Festive Friday post so stay tuned for that. Have a wonderful weekend!
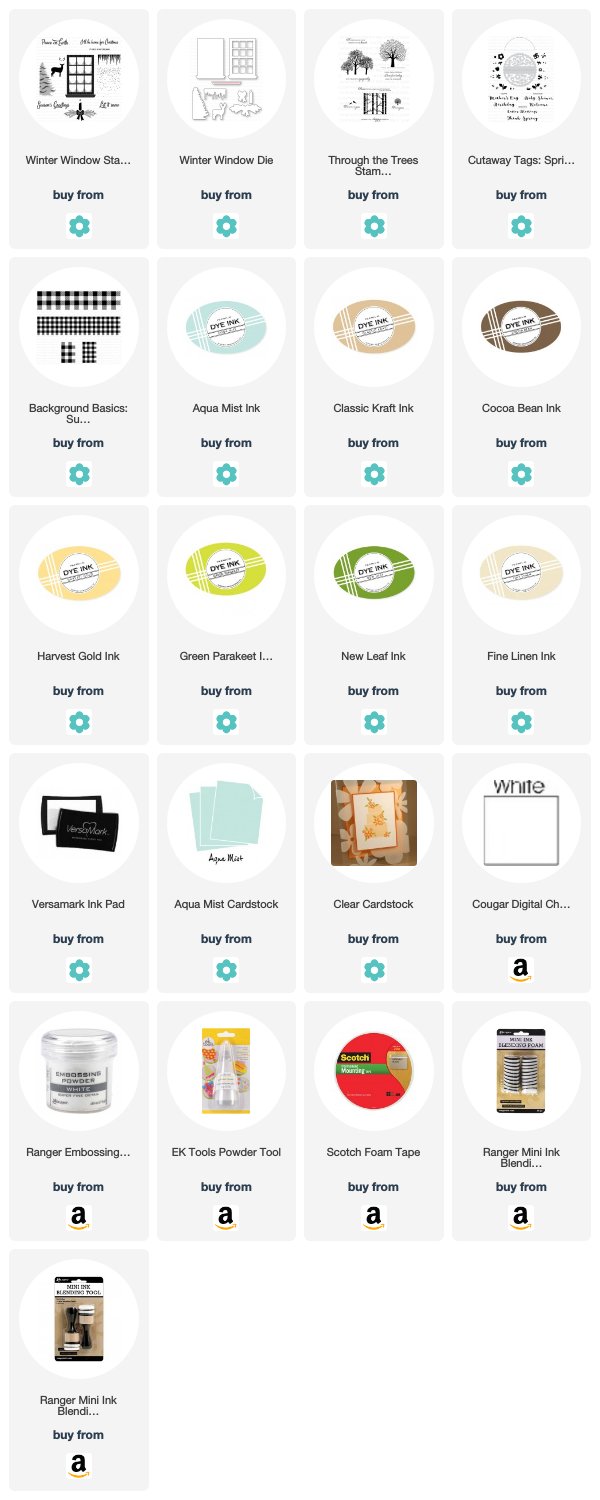
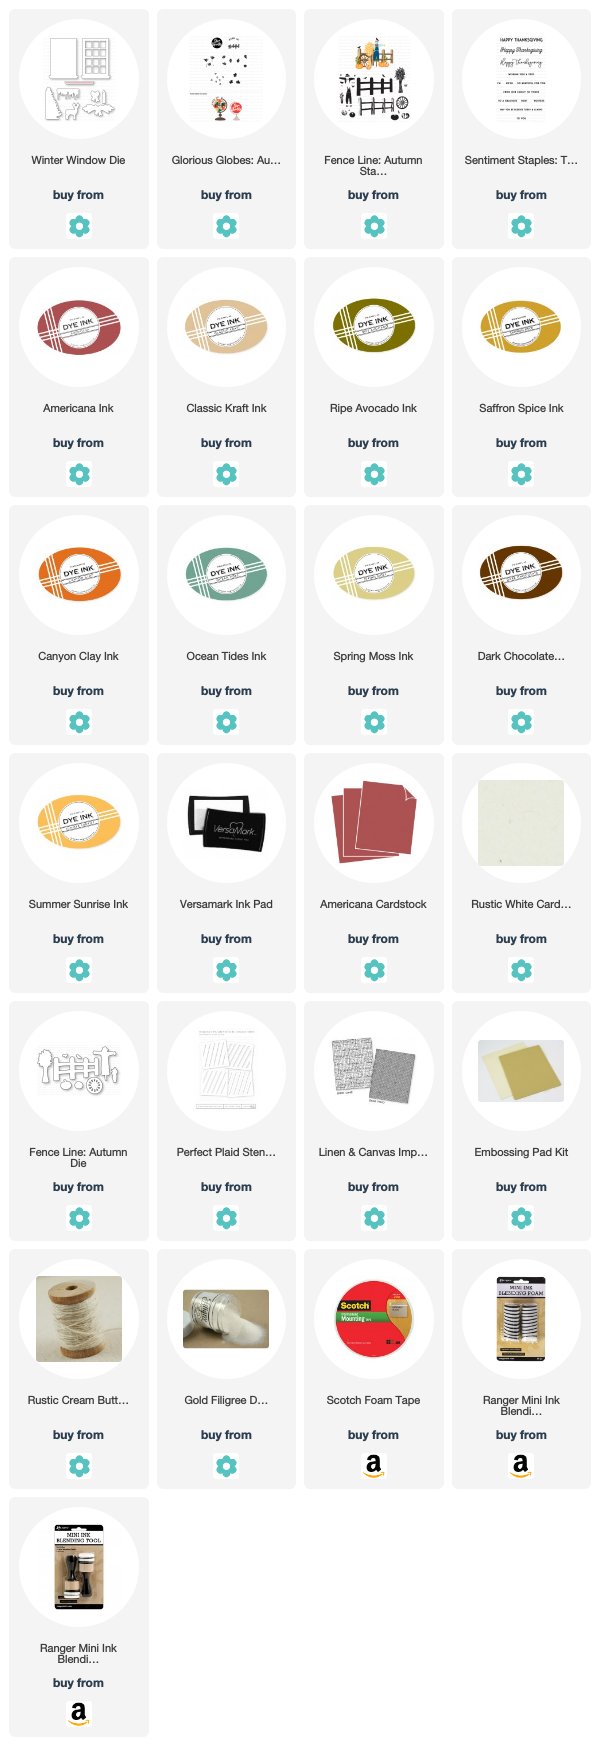
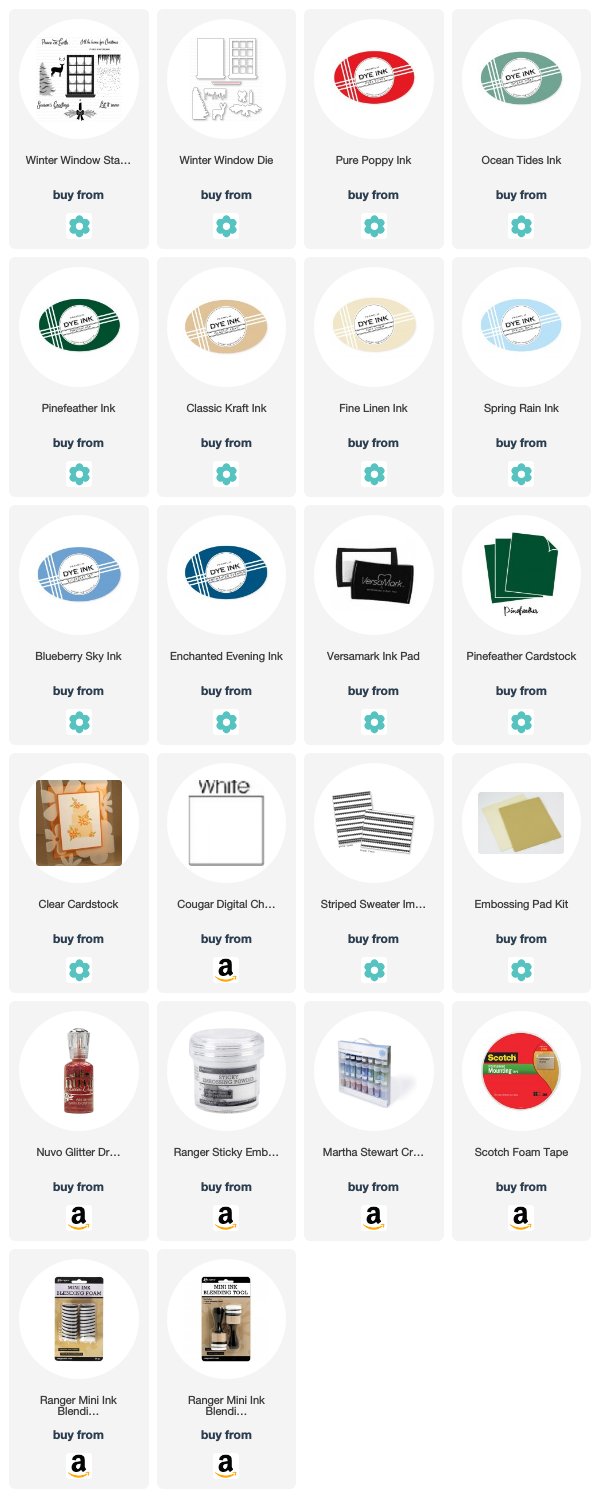
Supplies:
Think Spring Card
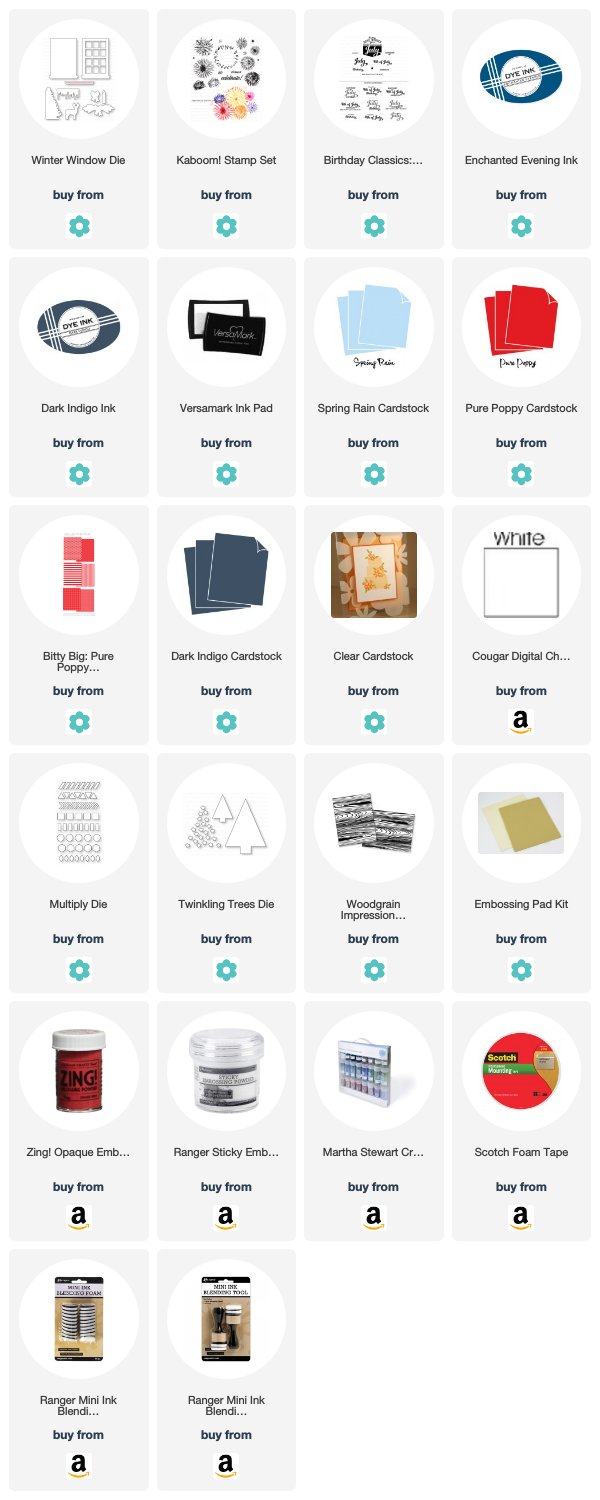
 Happy 4th Of July Card
 Happy Thanksgiving Card
 Season's Greetings Card


9 comments:
Love, love, love LOVE!!! Such a wonderful group of cards - all so lovely!!
Lizzie, your window cards are all simply gorgeous!
I absolutely love this post, Lizzie! You are so creative & talented! Every card is a gem, but must say I am smitten with the tulle curtains! Thanks for the inspiration!
Great cards - love the versatility of this set! Now I just have to wait for those dies get back in stock so I can order and start creating!!!
How adorable, I love the curtain idea - very clever and thanks for the inspiration.
Love 'em all, Lizzie! Such a lovely set of all four seasons.
Hi Lizzie! This is a wonderful post! I loved your winter window when I saw it during the release. I'm in full swing with my Christmas cards so I'll be using the stamp set for Christmas first. I just love it when a stamp set is this versatile. Thank you Lizzie for a great design and new inspiration! :)
OOOOH! That sweet card with the little lace curtains! The autumn window made of VENEER! I love how versatile this window is!
It's best to take part in a contest for one of the best blogs on the web. I'll suggest this web site! online casinos for us players
Post a Comment