Good morning, friends! I'm popping in today with
Dawn McVey and
Michelle Leone for this week's
Papertrey Ink Throwback Thursday feature. This week, we're revisiting Dawn's
Enclosed: Cupcake collection. Who doesn't love a cupcake, am I right?! The
Enclosed: Cupcake is such a great size for making a statement on the front of a project. You can keep it simple or dress it up as much as you like thanks to the coordinating embellishments. It's such a fabulous design and it was truly a joy to pull out and use again. I just may need to make a few more to have on hand for some upcoming birthdays!
When I started thinking about my project, I couldn't get the idea of a pretty floral baking cup out of my head. I know the baking cups are probably the least savored part of the cupcake experience, but that doesn't stop me from using decorative ones when I make cupcakes. So I thought today I would add a little baking cup whimsy to my project for today. That baking cup set the tone for my color palette.
I began by stamping a piece of white cardstock with the flowers and greenery from
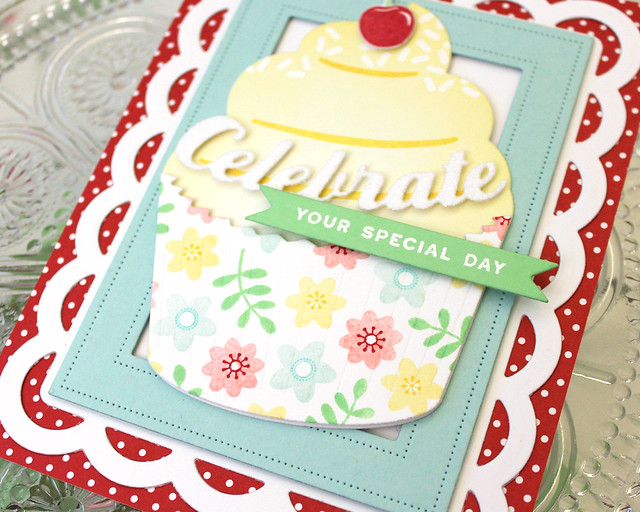
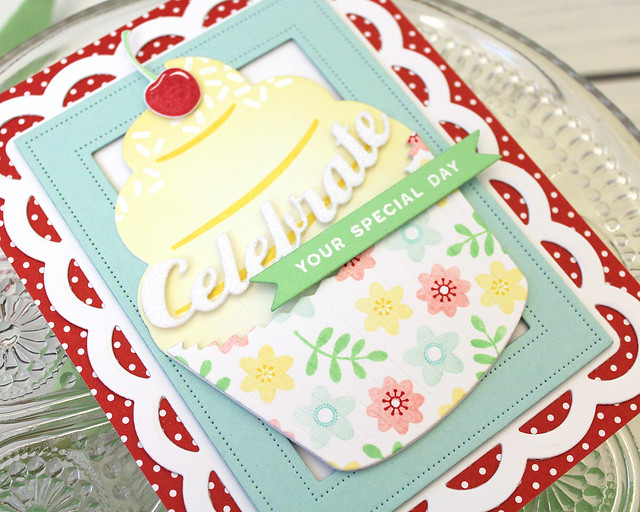
A Bit More: Butterfly Blooms. I die cut that with the baking cup die and set it aside. Next, I sponged a piece of white cardstock with Harvest Gold ink and die cut it with the solid cupcake die. I used the swirl lines from the coordinating mini stamp set to give my frosting a bit of interest. I also used the sprinkles from the same set to heat emboss white sprinkles on the top of the cupcake. I attached the baking cup to the cupcake and embellished with a stamped cherry before putting that aside for a moment.
Next, I built up my card base. I covered a white card front with Bitty Big: Pure Poppy paper and then attached a
Scallop Stackers: Medium shape and an Aqua Mist
Pierced Feature Frame. I adhered the cupcake in the center of the frames at a slight angle to give the design movement. Then, I xyroned a piece of white cardstock and die cut it with the outline cupcake shape. I trimmed out the "celebrate" greeting, removed the adhesive backing, and coated the die cut with glitter. I adhered that to the cupcake with foam tape and then added a Vintage Jadeite banner that I had heat embossed with the
Forest Floor: Summer sentiment. Isn't it just the cutest?! Dawn's fabulous set made it so easy!
Make sure to pop in on
Dawn and
Michelle today to see how they've used these stamps and dies today. Have a great one and I'll see you again soon!
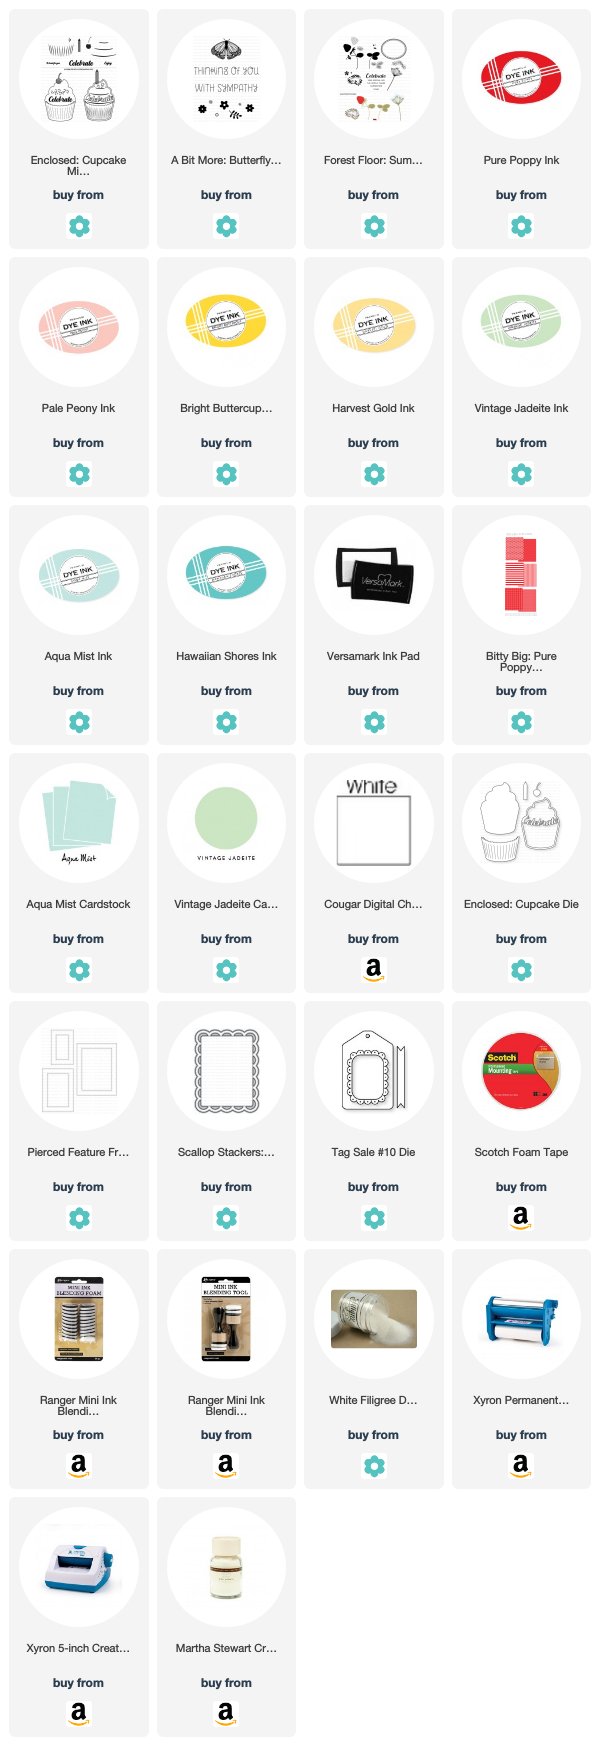
Supplies:
Celebrate Your Special Day Card


3 comments:
simply put... yummy!!
that's sooo cute <3
Sweet!
Post a Comment