Good morning, Friends, and welcome to the first
Papertrey Ink Design Team Tips of 2019! I wanted to kick off this year by sharing one of my all-time favorite ways to use my stamps and dies to create easy, super useful notes that don't take a ton of time. I love trying to recreate the look of boxed notes that I see in fancy stationery stores.
There's no reason to buy that expensive stationery when I can make something very similar with the supplies I already own! So today I'm sharing a few tips to create that upscale look with the stamps and dies you probably have in your own collection. Let's get started!
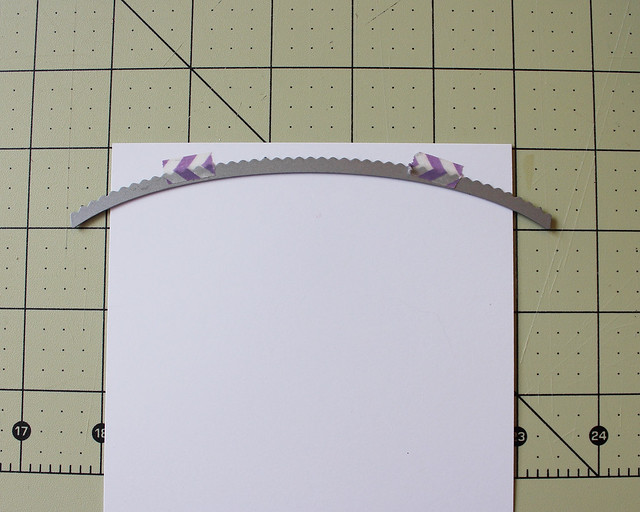
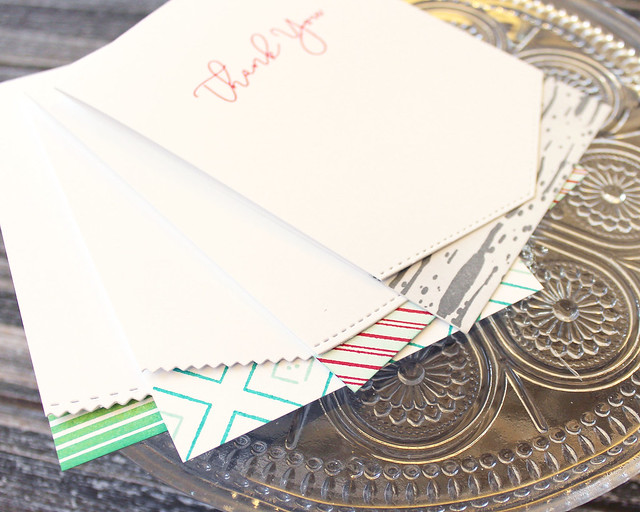
One of the things that sets the deluxe stationery store notes apart is the fact that they often have decorative die cut edges. Well, thanks to border and edge dies you can get the same effect! I like to cut down all of my card bases (these are all 4Bar size) and then do all of the die cutting at once. Using a gridded mat or pad of paper is a really wonderful way to make sure that your border dies are lined up properly. Just align your cardstock with the grid and place your die exactly where you want it to cut. Strips of washi tape can be handy to keep your die from shifting when you cut.

We have so many great background stamps at our disposal that we can use for the pattern strips on our notes, but some are really open patterns (meaning, there is a lot of white space between stamped areas). When using those backgrounds, I like to use a blending sponge to add a little "atmosphere" behind the stamped patterns. Again, this is when a gridded mat or pad of paper is incredibly useful. Just line up your cardstock and use the grid to place your mask. I really like
Post It Note Tape for this. It's white (so there's no transfer of color - which I've had happen with colored notes), it's fully adhesive (so it's not going to slip and ruin the effect), and it's super affordable (especially for how much you get).
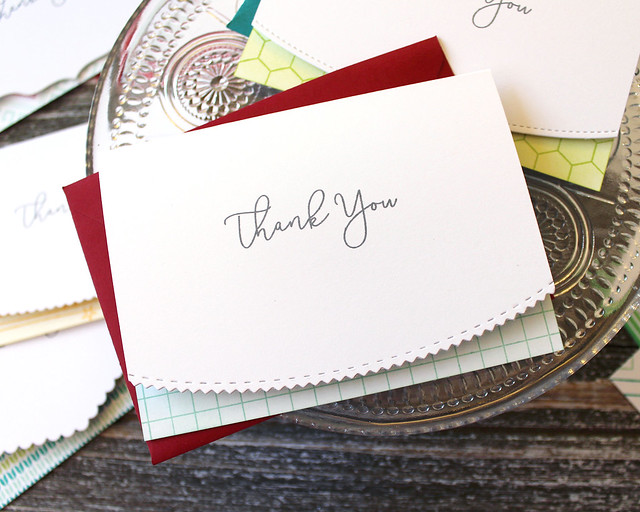
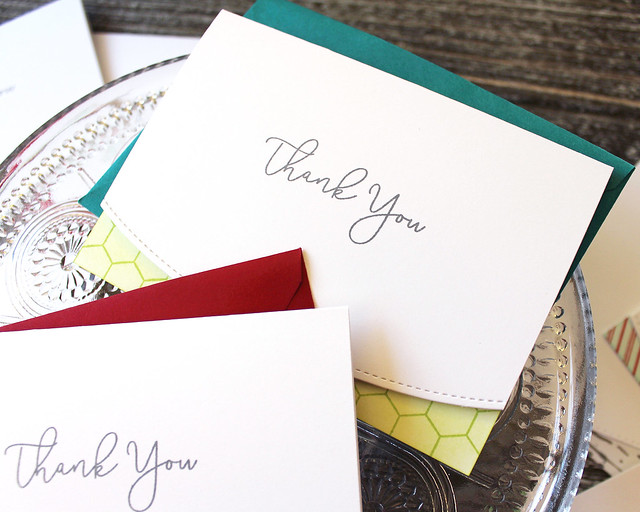
For these notes, I removed my mask before doing my stamping, but you could keep it in place if you wanted to use image stamps rather than background strips to create your patterns. I like to use gridline blocks to make sure the backgrounds are nice and straight, but a stamp platform would also be convenient. Another of the things I find so attractive about the stationery store notes is the fact that they're so fresh and clean, with few adornments. To capture that look the front of the notes are nice and uncluttered with a simply stamped greeting.
These notes say what they need to say and nothing more. The result is effortless and professional. I pair them with brightly colored envelopes so the crisp white pops when the envelopes are opened. I've heard from so many friends and family "When I opened up the mailbox and saw that bright envelope, I knew it was from you!" Sometimes it pays to splurge a little on the envelopes. These are from
Paper Source.
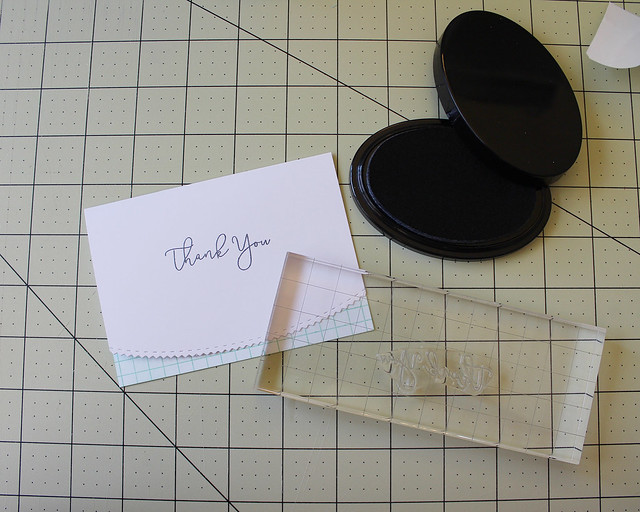
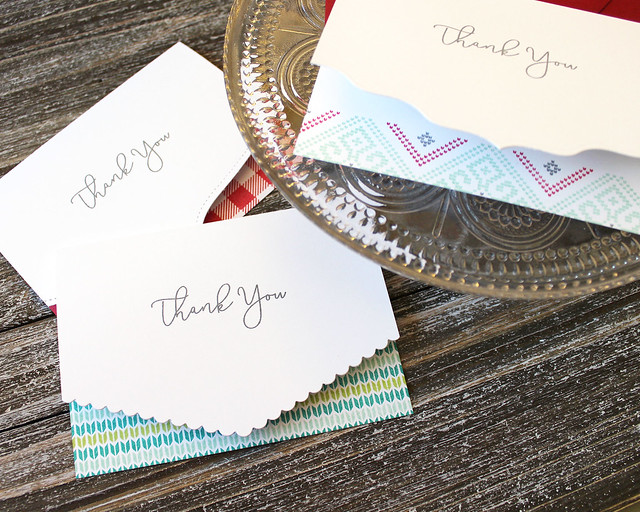
I also love that your recipient is going to be able to enjoy that bit of pattern whether your note is open or closed, since you're stamping onto the inside of the note itself. That bit of color and pattern can bring a lot of fun to an otherwise dry message. Maybe I'm just not that inventive a note writer, but "thank you for the gift card" can use a little jazzing up, ya know?!
You can also get this effect with patterned paper if you would prefer a more colorful pop of pattern, but I really love the smooth transition from stamped pattern to handwritten note. I think it gives a more professional finish, but both styles certainly have their place. And you'd be surprised how many of your background patterns have opportunities to add pops of color with complimentary images and layers.
Thank you so much for joining me today! I hope you've picked up a few tips and had a good time. I'll see you again soon!
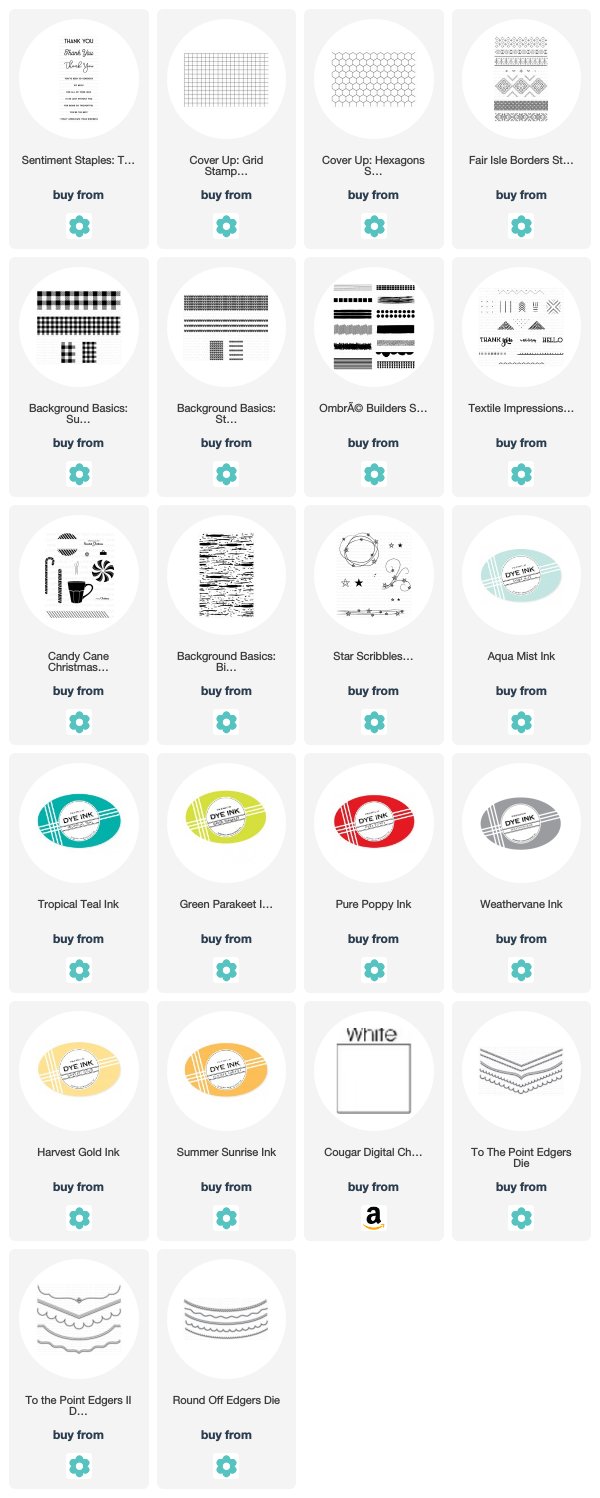
Supplies:
Peek-A-Boo Pattern Thank You Notes

13 comments:
BEAUTIFULLY DONE, Lizzie! After Christmas is the PERFECT TIME for this post! It's back to the rush of everyday living, & CAS is needed for our Thank You Cards! AND I also LOVE the CLASSIC LOOK of your cards too! There IS SOMETHING SPECIAL about the "Classic" look! (I ALWAYS thought that PTI was a "classic" kind of company after my first order years back.) ;) A BEAUTIFULLY DONE POST! THANKS LIZZIE! ;)(A set of these would make nice Valentines gifts too!) ;)
I love this idea! Sometimes less is more! I've got so many plans running through my head!!
Lizzie, these thank you notes are simple but elegant looking. I'm going to start making them now and give them as gifts throughout the year. Thanks so much for the idea and inspiration!!!!
Love these, Lizzie! Now I need to check my supplies to see what will work for background stamping. Yay, I’ve already got edger dies! Happy New Year and the best to you in 2019!
Can you show us the entire inside of the card? Did you leave a blank area for writing on the inside of the card?
Cindy, I only decorated the bottom 3/4-1" (depending on how much of the inside is visible once the decorative edge is cut off). You can sort of see on the final photo with the fair isle pattern. I hope that helps!
Thank you for this wonderfully inspiring post, Lizzie! Many years ago before I learned to stamp, I spent hours just browsing in stationary stores. I have a bunch of pictures I've taken that I want to case, but now I'm going to start with your idea--love every one of these!
Really really great! Love the idea to do blending instead of patterned paper which adds bulk. I bet this would also be super-cute as a vertical card with the fold and the die-cut/stamped area on the sides. I will definitely be trying this!
Hi there Lizzie! Perfect timing to share this post. I can remember a time when I wouldn't know how to make my thank you notes & especially so beautiful. It's because of designers like you Lizzie, that I'm able to make my own. And your patterned tips- they're the berries!! Love them! :)
What a great idea. I always need thank you notes. Thanks for the great idea!
Thanks for the beautiful examples, Lizzie! This is a great idea and I'll give it a try!
These are wonderful!
Beautiful CAS cards and design, love this way to stretch those sometimes-pricey background stamps and try some new color combos.
Post a Comment