
We happen to live on what used to be a Christmas tree farm, so when I saw On The Wagon I knew exactly what I wanted to do.
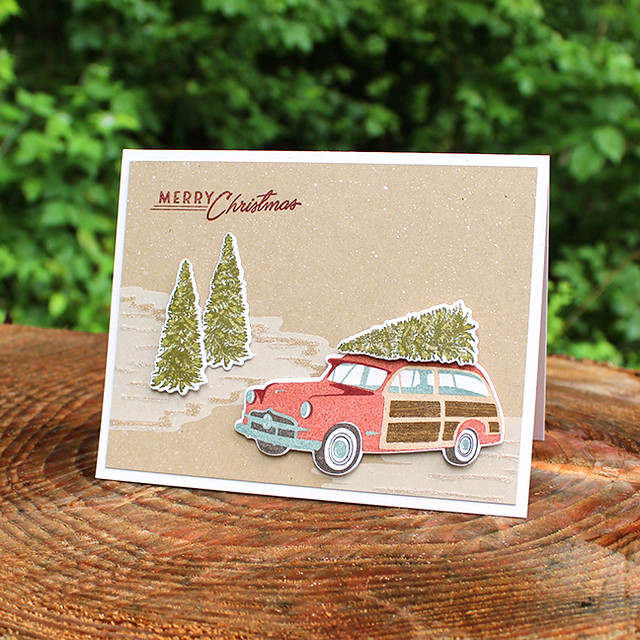
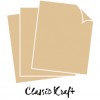
Then, I stamped a Classic Kraft panel with the snowbanks in Fresh Snow and the sentiment in Scarlet Jewel. Next, I speckled the panel with white pigment to look like snow. Handy tip: I used the stamp itself to mask the stamped sentiment rather than cutting one from paper. It doesn't get much easier than that.
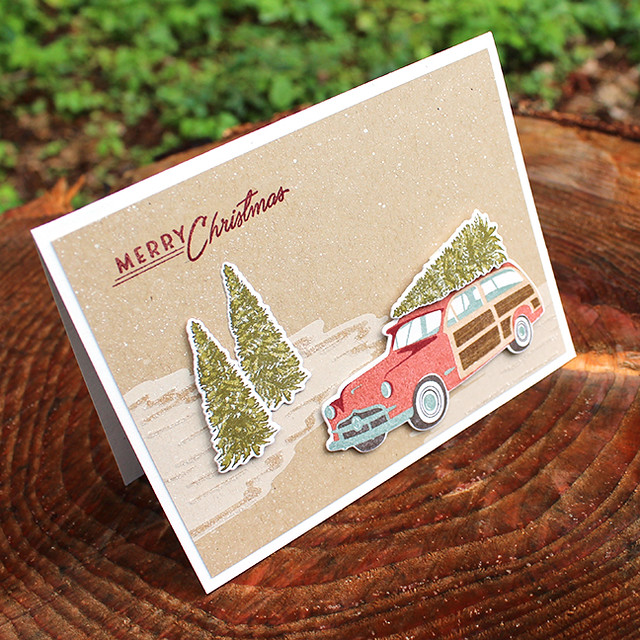
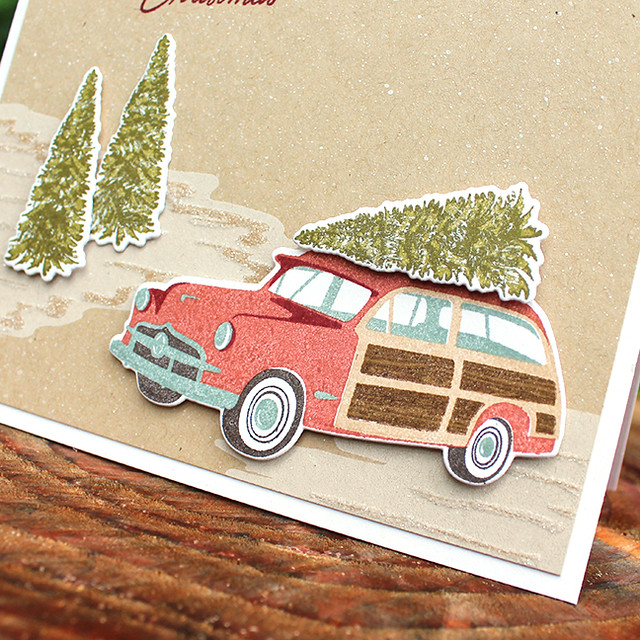
I adhered the Kraft panel to a white card base, embellished the snowbanks with glitter, and attached the station wagon with foam tape. Then, I die cut and stamped the trees. I added snow by stippling them with white pigment and then adhered them to my card. If you listen hard you can almost hear Dashing Through The Snow. Try to ignore the fact that it's 90º outside.
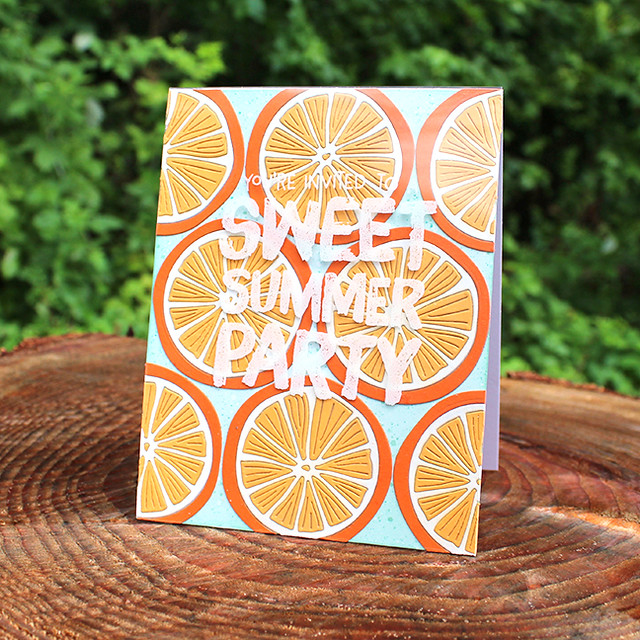
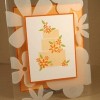
I began by sponging a white card base with Aqua Mist ink. I splattered the sponging with with clean water, Aqua Mist reinker, and Tropical Teal reinker to add some interest.
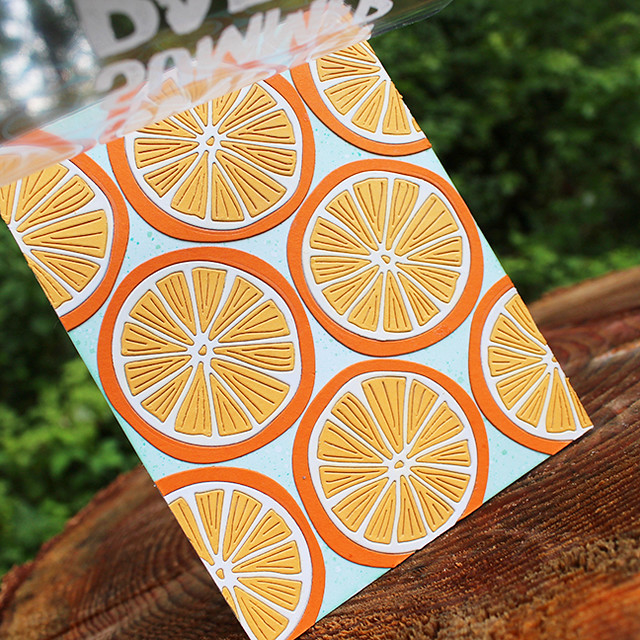
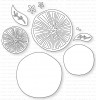
Next, I die cut solid oranges from Orange Zest cardstock and segmented oranges from Summer Sunrise and white cardstocks. I then die cut segmented oranges from the center of each solid orange to create a ring. I adhered the rings to my card front and set it aside for a moment.
Then, I sponged the white “pith” pieces with Lemon Tart ink to give them a slightly warmer appearance. I nested the piths and segments in the rings, adhering everything flat, and trimmed off any overhang. Next, I created a card from clear cardstock.

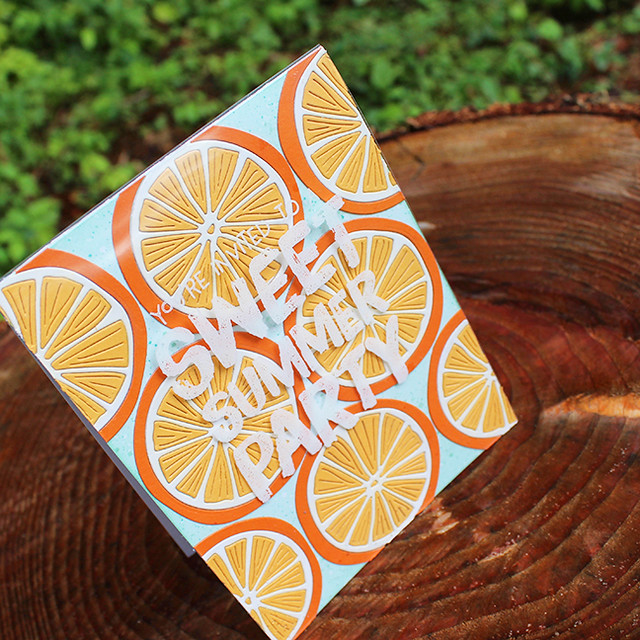
I stamped the Fruit Salad sentiment on the front using white solvent ink. Once it had dried, I adhered the clear layer over the top of the cardstock base with a narrow strip of adhesive on the back. I love how the oranges pop off that aqua background!
Thank you for joining me today! I'll be back tomorrow with more inspiration to share. In the meantime, make sure to check in on Betsy, Dawn, Heather, Keeway, Laurie, Stephanie, and Wanda for more projects with these wonderful new products. See you later, friends!
Supplies:


For my Fruit Salad project, I decided to create a bright and fun summer party invitation.
Supplies:


1 comment:
The orange party card is great! Loved all your cards from this release!
Post a Comment