Good morning, friends, and welcome back to Day 3 of the
Papertrey Ink January countdown! I'm back today introducing my
Bold Borders: Arabesque die and my
Sentiment Staples: Just A Note mini stamp set. These are both wonderful basics for any stamping collection and I'm certain you'll love them as much as I do. Let's get to the projects!
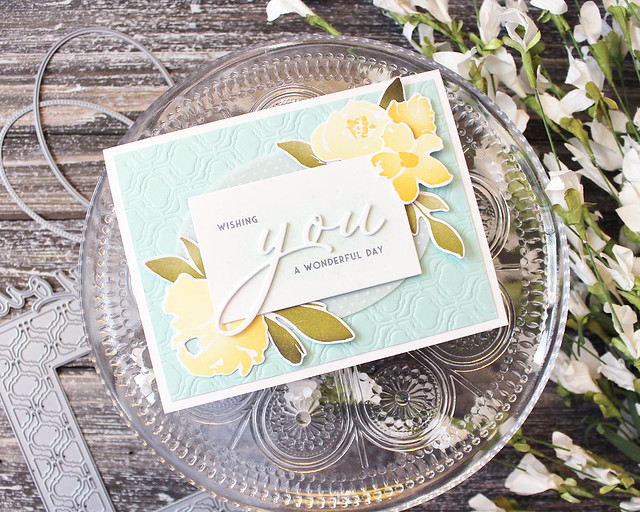
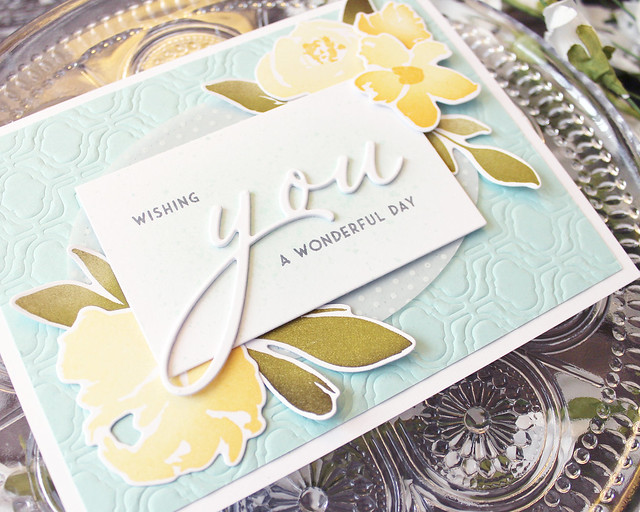
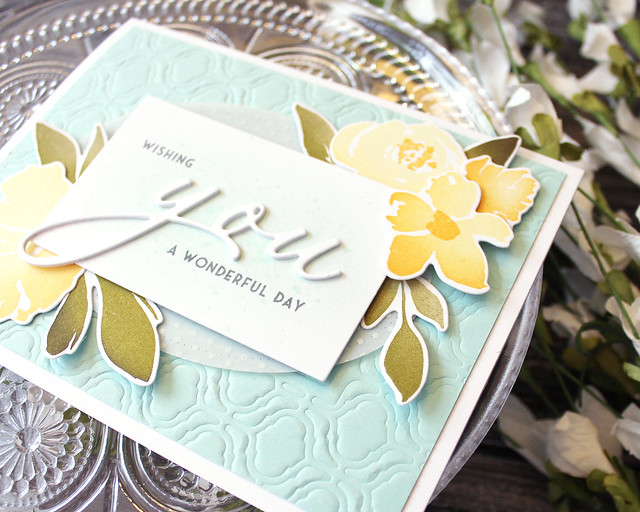
I'm kicking things off today with a card you may recognize from my sneak peek earlier this week.
I knew I wanted to use the Bold Borders as an impression plate, so I went ahead and ran it through my Cuttlebug with the impression plate sandwich to give the Aqua Mist layer a nice, deep impression. I adhered that panel to a white card base and set it aside.
Next, I die cut a central panel and sponged and splattered it with Aqua Mist ink. I stamped one of the sentiments from Sentiment Staples: Just A Note greetings in Weathervane ink, masking out the "you" so I could use the die included in the Bold Borders: Arabesque die. I die cut an oval of patterned vellum and adhered both of those to the center of the card front with flat and foam adhesives.
Then, I stamped flowers and leaves from the Botanical Bounty stamp set, blending colors to give them depth and dimension. I tucked the flowers and leaves around the rectangular sentiment panel, curving the leaves a bit to add texture to the arrangement.
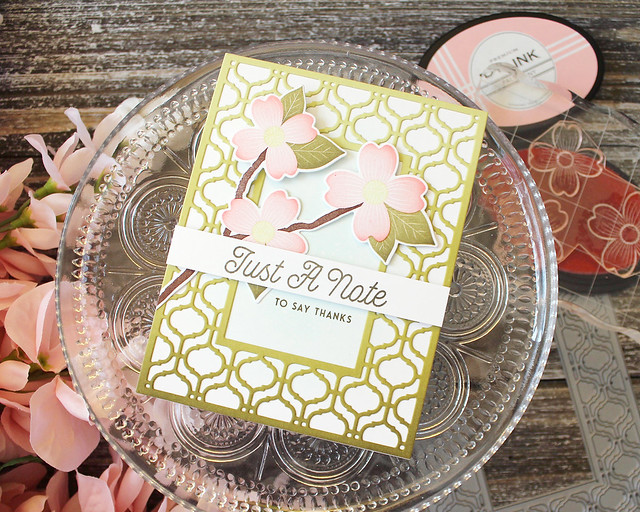
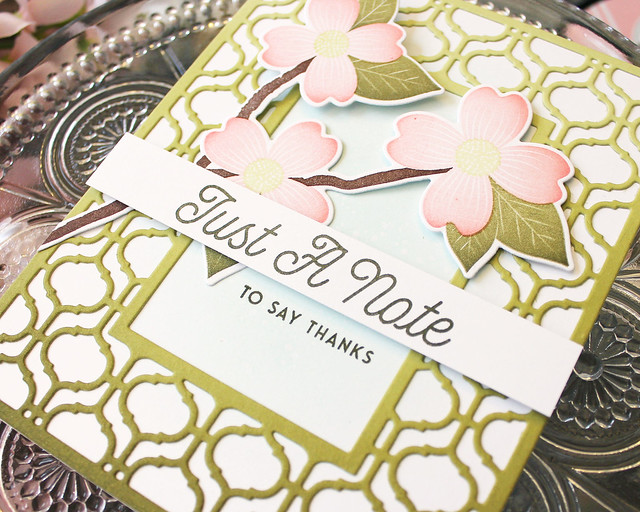
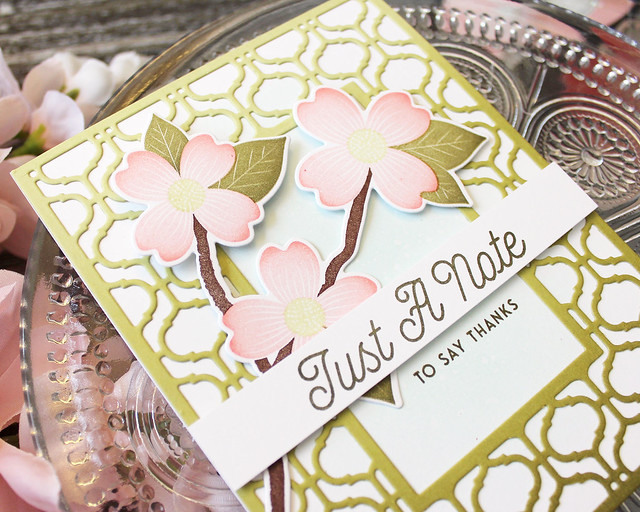
Next up, I've paired the new products from today with my Warm Regards stamp set from last year.
I began by sponging a panel of Spring Moss cardstock with Prairie Grass and Olive Twist inks. I xyroned the back and die cut it with the Bold Borders: Arabesque die and set it aside for a moment. Next, I sponged a bit of Aqua Mist ink onto a white card base. I speckled it with clean water and dabbed off the water droplets to give a dewy appearance.
Once that was fully dry, I stamped my companion sentiment from Sentiment Staples: Just A Note directly onto the card base using Olive Twist ink. I adhered the Bold Borders frame onto the front of the card base and set it aside.
Next, I stamped my dogwood blossoms. I blended together Sweet Blush, Pale Peony, and Berry Sorbet inks to give the blooms a natural appearance. I adhered the branch to the card front, using differing levels of foam tape to add dimension. Then, I stamped the sentiment from Sentiment Staples onto a strip of cardstock with Olive Twist ink. I used foam adhesive to adhere that to the card front right above the companion sentiment. I love the contrast of the Bold Borders against the white card base.
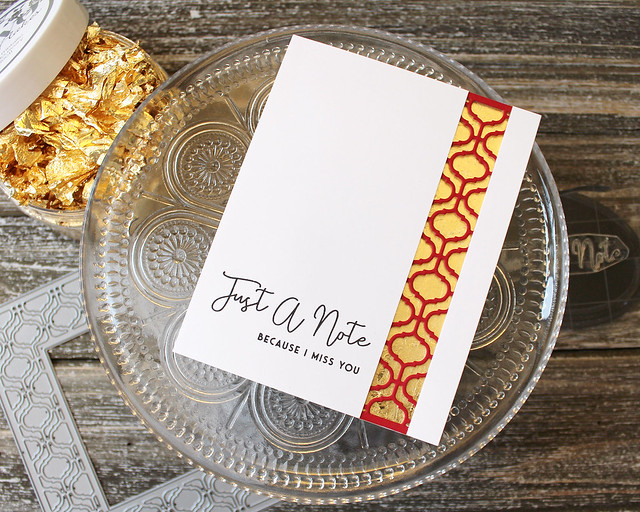
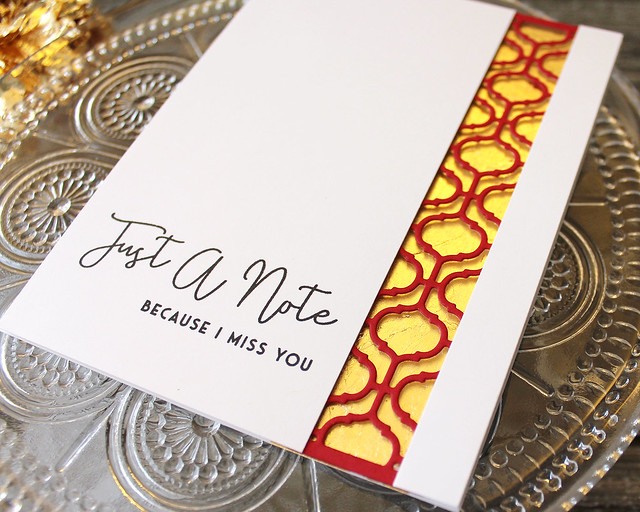
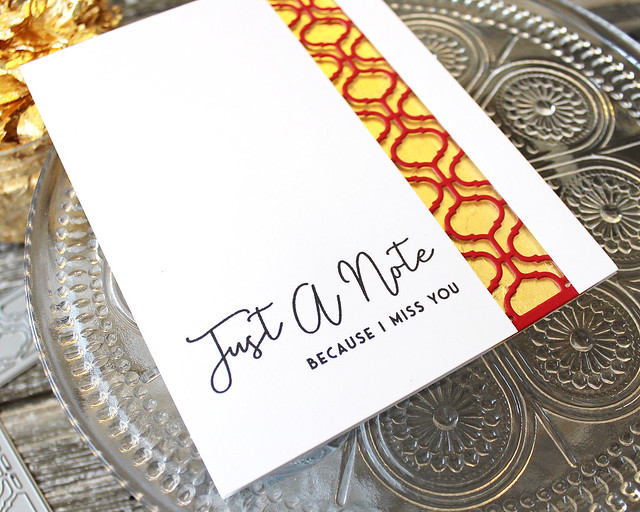
Last up today, I have a clean and simple design with a bold pop of gold leaf. It's so shiny!
I began by using a broad chisel pen to draw a rectangle of adhesive onto a white card base. I applied the gold leaf and then pressed the card base under a book to flatten it a bit (the adhesive gave it a slight curl).
While that was pressing, I cut a Bold Borders: Arabesque shape from Pure Poppy cardstock. I stamped one of the greetings from Sentiment Staples: Just A Note onto a panel of white cardstock using black ink before adhering that to one side of the Bold Borders piece.
I adhered another, narrower strip of white cardstock to the other side before attaching that entire piece to the gilded card base with foam tape. The effect is so cool, as the Bold Borders strip just hovers over that bright, metallic stripe.
That's all for me today! I hope you've enjoyed this look at the Bold Borders: Arabesque die and Sentiment Staples: Just A Note.
Steph is introducing Glorious Globes: January today, so I hope you'll pop over to her blog to take a peek.
Amy,
Betsy,
Dawn,
Kelly,
Laurie,
Melissa B,
Melissa P, and
Michelle are also sharing today, so make sure to visit them too. I'll see you back here tomorrow for Day 4!
Supplies:
Wonderful Day Card
 Note To Say Thanks Card
 Because I Miss You Card

8 comments:
Love your projects today! Thanks for sharing!
You really outdid yourself today, Lizzie! Love the new Bold Borders: Arabesque (I've loved every one of them so far) and the perfect Sentiment Staples: Just a Note. I'm pinning every project. Thanks for always inspiring!!!
Love your cards this morning Lizzie. I have enjoyed all of your Bold Borders products.
Hi Lizzie! I agree with Suzanne, you outdid yourself. The gold leaf idea is wonderful, have to give that a try. I’m a big fan of your Bold Borders, I nearly have them all. And the added word die was a big selling point for me. I love this month’s “you”. Perfect size and font!
Lizzie, I just love all your cards! You are such a great artist! I will definitely need to buy that Bold Borders die to make the exact card with Warm Regards!!
Love these additions to both the Sentiment Staples and Bold Borders line-ups. Beautiful projects.
Lizzie,
Your new die is gorgeous and you've highlighted it so well with your beautiful cards. The first one is the prettiest card I've seen in a long time! I just love the soft colors and classic design.
Hi Lizzy, I really like your designs and was wondering if you have a video on how you blend your flowers? Would love to see your technique!
Post a Comment