Welcome to today's post, friends! I'm popping in today to introduce you to my newest
Corner Adorner set for
Papertrey Ink (it's coming your way tomorrow, June 15th, at 10pm). I have three projects to share so show you just how versatile this set can be. Let's get started!
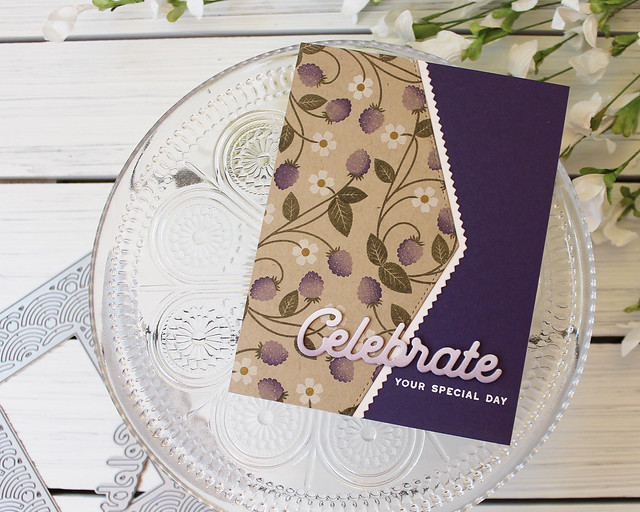
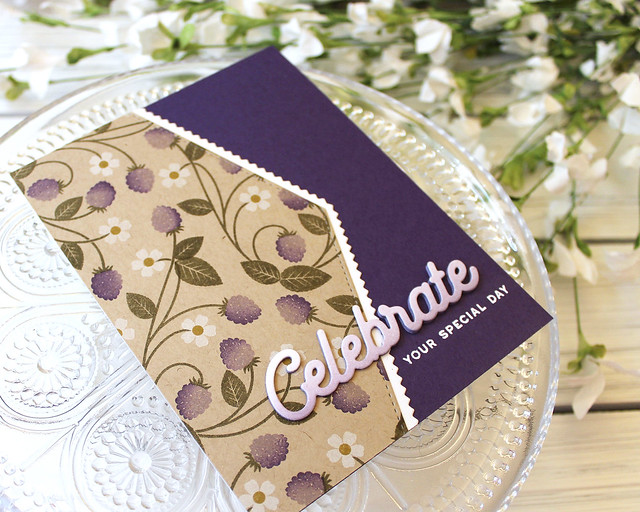
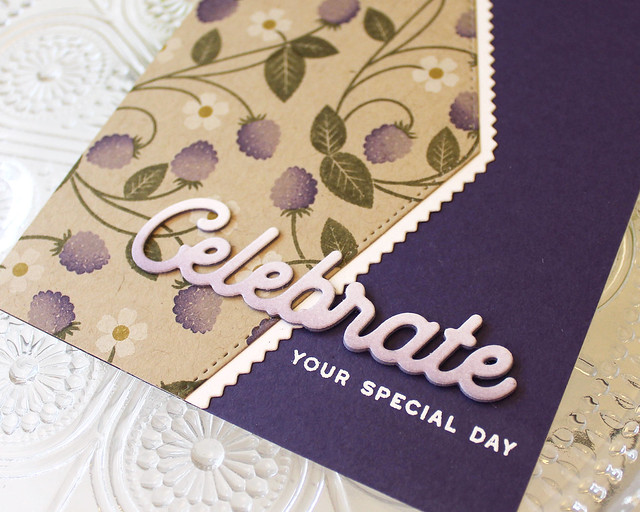
This month's Corner Adorner features a vine-y berry design that I'm really pumped about. The wild black raspberries growing on our property will be ripening in the next few weeks and I'm looking forward to getting out and picking my fill. So on this card, I chose to use the purples that remind me of those berries.
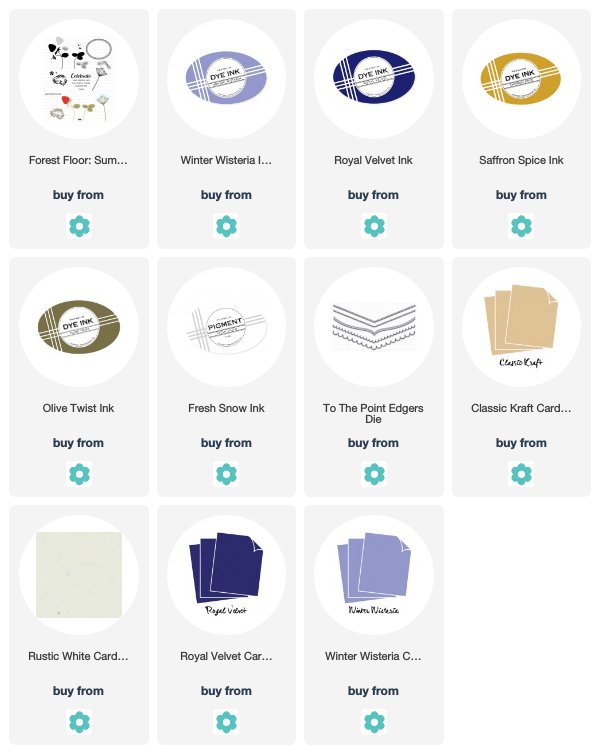
I stamped a Classic Kraft panel with the berries, rotating them to fill the space. I cut the edge with the To The Point Edgers die and layered it with a Rustic White mat. Then, I heat embossed a sentiment from
Forest Floor: Summer onto a Royal Velvet card front and adhered the berry panel into place.
Next, I sponged some Winter Wisteria ink onto Rustic White cardstock and die cut it with the "celebrate" sentiment die from Bold Borders: Wave. I also die cut the "celebrate" from Winter Wisteria and then stacked the die cuts, with the white one landing on top. To finish I just adhered the word die to the card front. Nice and simple!
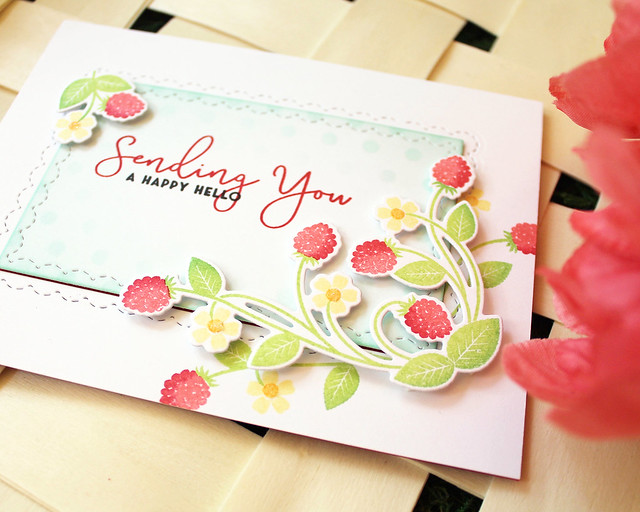
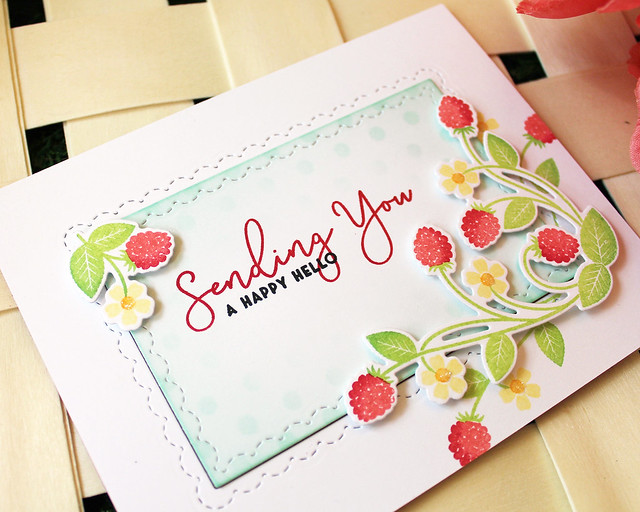
Next up, I have a card pairing Corner Adorner: June with Sentiment Staples: Sending You.
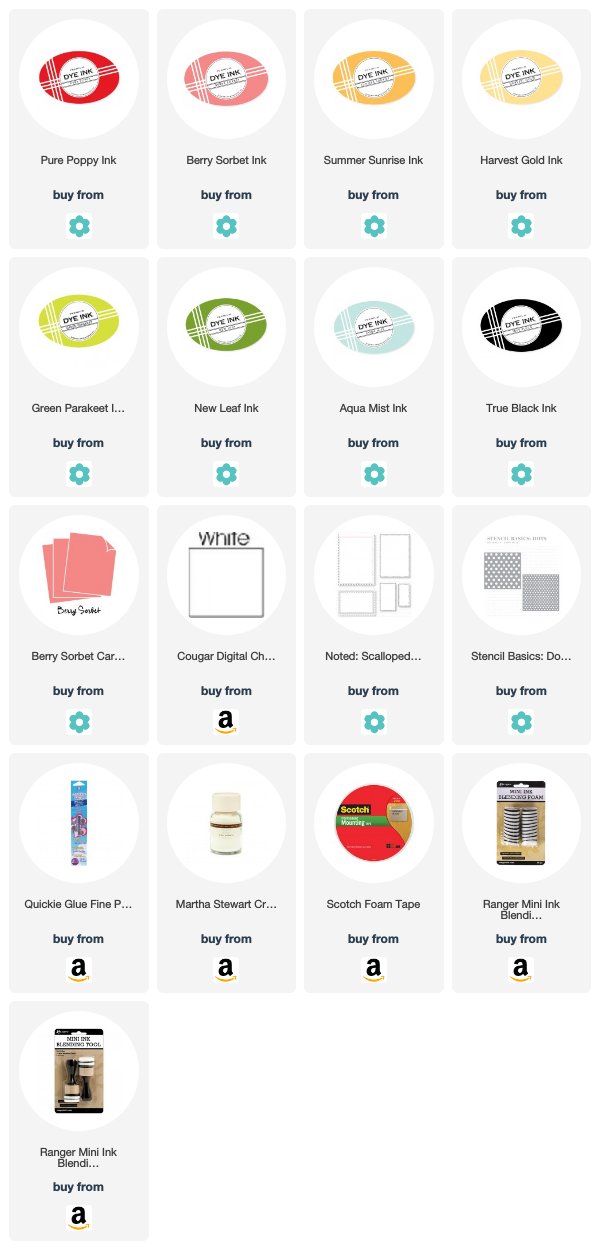
I began by die cutting a white panel with a die from the Noted: Scalloped A2 Vertical Die. I stamped a few vines and berries on the outer frame and sponged the inner piece with Aqua Mist ink. The layered stenciling and blending adds so much depth! Next, I stamped the Sentiment Staples: Sending You greeting in Pure Poppy and True Black inks.
Then, I stamped and die cut the large berry corner and the small berry sprig. I think it's easiest to stamp the vines, die cut, and then add the berries and flowers last. It just makes it so much easier to line up.
I adhered the frame and center panel to a Berry Sorbet card base, using foam adhesive under the center panel to give it a little depth. Then, I added the berry bits to the front of the card and embellished the center of each flower with clear glitter for sparkle. It's so bright and summery!
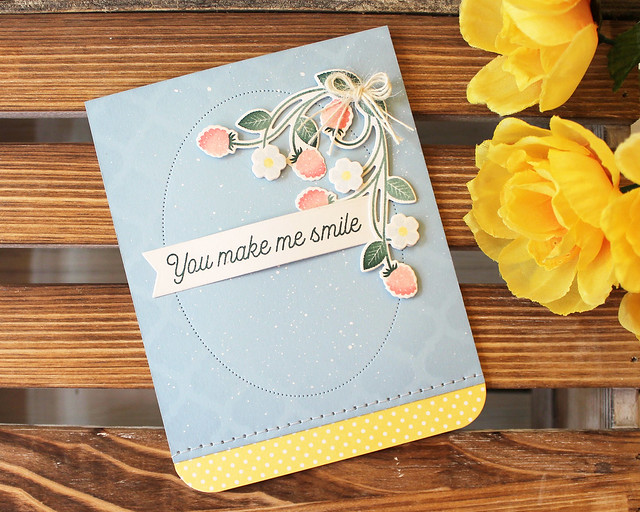
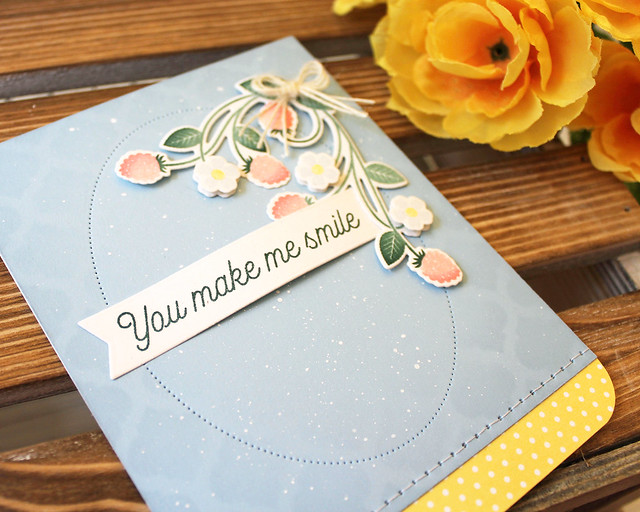
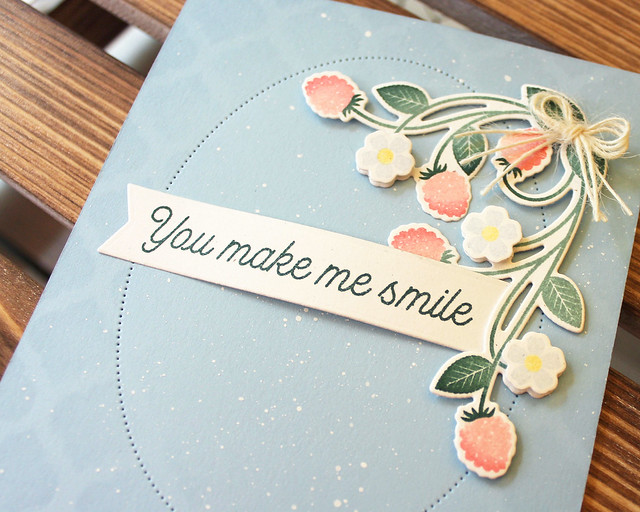
My last card from today gives the berries a softer, gentle look. I used pastels on the berries and flowers and more muted tones on the greenery to mellow things out a little.
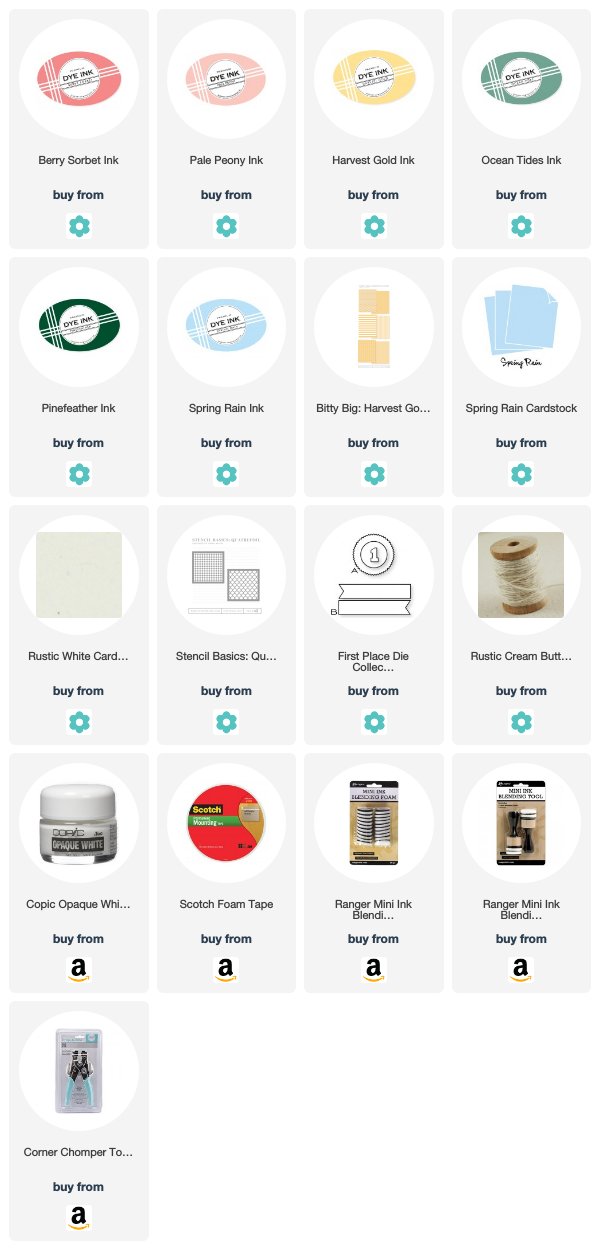
I began by lightly stenciling the Quatrefoil pattern using the Stencil Basics: Quatrefoil stencils. Then, I used the pierced oval from Betsy's new Shape Shifters: Oval II to define the center of the panel. I splattered the center of the panel with Copic Opaque White Pigment (side note: warm up the pigment by adding in a tiny bit of Summer Sunrise ink before doing your splattering).
Next, I stitched a piece of polka dotted Bitty Big: Harvest Gold paper to the bottom edge. After adhering that whole panel to a Rustic White card base, I rounded the corners. Then, I stamped and die cut the berry vines and adhered it to the front of the card with a mix of flat and foam adhesives.
Next, I stamped and die cut the flowers and adhered them over the integrated flowers for added depth. The sentiment was stamped on a banner from the First Place die collection and tucked the end under one of the vines. To finish it up, I simply adhered a twine bow over the leaves in the top corner.
Thank you so much for sharing your morning with me! Make sure to pop over and see what
Betsy,
Dawn,
Heather,
Kelly,
Laurie,
Melissa B,
Melissa P,
Michelle, and
Stephanie have to share with you. Have a wonderful day and I'll see you soon!
Supplies:
Your Special Day Card
A Happy Hello Card
 You Make Me Smile Card


4 comments:
This is my very favorite corner adorned. Love the sweet berries.
LOVE the berries! LOVE the Bold Borders! That Art Deco-y swoopy look is exactly my style. Thanks for this gorgeous inspiration, and for adding to my wishlist! Love your projects today!
This sweet berry set caught my heart the first moment I saw it in the sneak peek video. Each of your cards shows it off charmingly.
Hi Lizzie! Just love the depth and dimension you gave your berries and sweet flowers. Can't wait for this one!
Post a Comment