
Good morning, everyone, and welcome to this month's Stitching Feature for Papertrey Ink! I'm Lizzie Jones and I'm your Stitching Ambassador. Thank you so much for joining me this month. I'm going to do things a tiny bit differently this time around. Usually I showcase the many fabulous ways you can use one of our older stitching dies, but since we recently release the wonderful Stitched Gingerbread House Die I thought it might be fun to show you an easy way to make a keepsake that's both functional and just plain fun. Let's get to it!
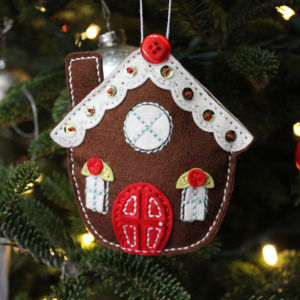
So I totally fell in love with all of the charming details included in this die. You can add windows with shutters and piping, a scalloped roof line, a chimney, and so much more! It's like confectionery architecture! I also love that this die is such a substantial size. That not only allows you to make an ornament or gift topper that will stand out, but you can also use this die as a gift card holder too! Yeah, yeah...I'm sure you're all really surprised that I turned another die into a gift card holder. But I'm always on the hunt for unique ways to present a gift card.
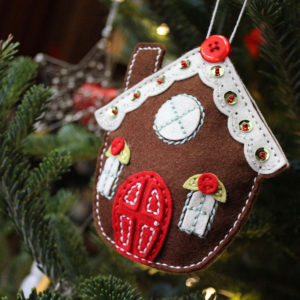
I'll be honest, the wrapping is my second favorite part of gift giving (it's barely edged out by the actual act of giving for the top spot). Gift cards don't typically move the needle for me when it comes to gift giving, but I know how much they're appreciated so I don't bother fighting it. I just have to make my own fun in the form of cute packaging! This fits that bill perfectly.
I used Dark Chocolate felt as my base because it reminds me of a good friend's gingerbread cookies that are super dark and rich. Having a reasoning for a color choice that's based on a real life relationship makes little gifts like this even more special. I used Pure Poppy to give my little house a door and Vintage Cream to add windows and a roof. The little leafy bits were cut from Simply Chartreuse and Pure Poppy as well.
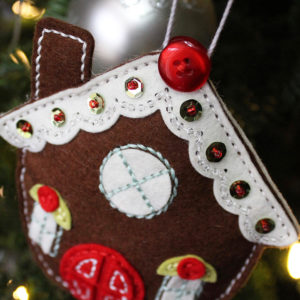
A note about thread counts. Usually I opt for two or three threads when I'm stitching, but on today's project I used the full six threads to do the piping around the windows and on the door. The reason being, it's supposed to resemble the piping on an actual gingerbread house. Going with fewer threads would have looked a little too thin for me, but it's absolutely a personal choice. I used a single thread on the scallops of the house roof since I knew I wanted to embellish the stitches with clear glass beads. The eye of the beading needle I use is too small to accommodate more threads. Since it's just a detail and not the outer seam, I'm not terribly concerned about longterm stability. The same goes for the red glass beads holding on the green sequins on the roof.
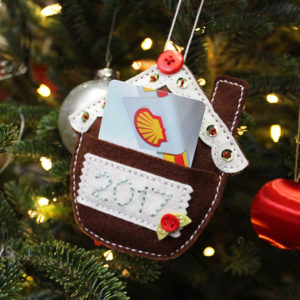
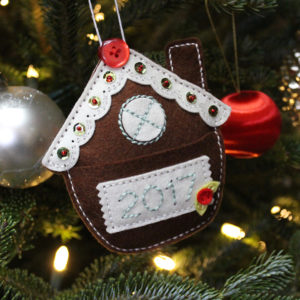
Now here's the trick to making this gingerbread house pull double duty. Simply cut an additional base gingerbread house shape and cut it straight across under the scalloped roof line. Then, just stitch as you normally would with the half-house tucked onto the the back. It creates a pocket that is perfectly sized for inserting a gift card for your recipient's favorite restaurant or store. Easy! I chose to dress up my pocket with a few additional details. I used the Stitched Pinked Edge Label Die Collection and the Stitched Years Die to create the label. Alternatively, you could include someone's name or initials on the label to make it even more personal.
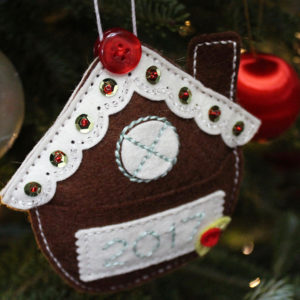
I repeated the beading, sequins, and round window on the back of the house to make sure there was some continuity of the design. You could certainly simplify the back of your ornament, but I like that extra bit of fancy sparkle from the beads and sequins. I stuffed the ornament with poly-fil before closing it all the way up (I used three threads on the outer edge stitching). I didn't stuff it too, too much because I wanted the back to stay relatively flat for the gift card pocket. If you weren't worried about that you could certainly stuff it so that it's a little rounder overall. I used white crochet thread for the hanger and topped the house with a Pure Poppy button. It reminds me of a big gumdrop plopped right there on top.
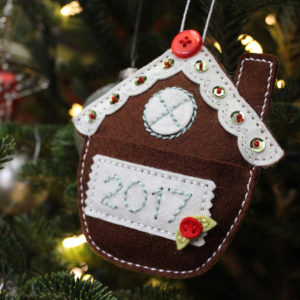
Well, that's all for me today! I truly hope you enjoyed today's stitching project as well as the fancy new blog. I'll see you again soon!
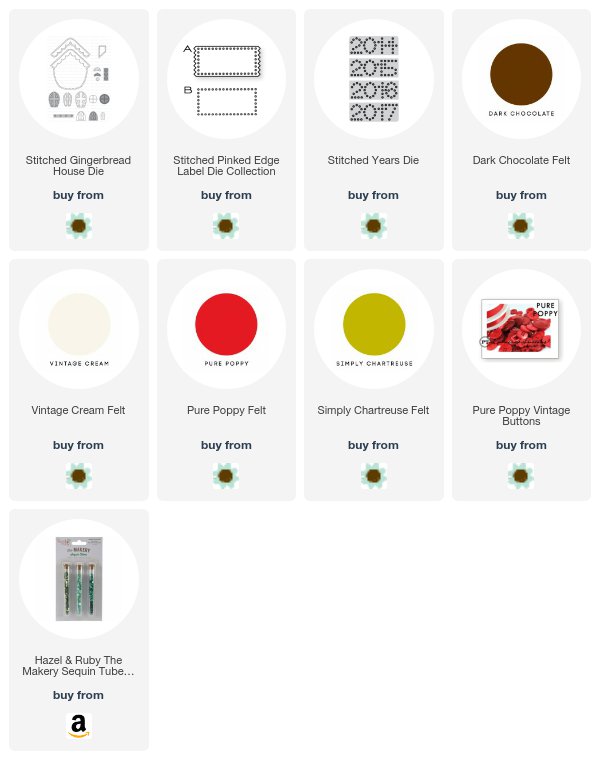
Supplies:
Supplies:

No comments:
Post a Comment