Good morning, friends, and welcome back for a fourth day of Papertrey Ink May release inspiration! I have two projects to share with you featuring sets designed by
Nichole Heady. The first is
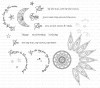
Sun & Moon, an intricately drawn celestial set that's absolutely gorgeous. The second is the newest installment in the Quoted series.
Quoted: Dream Big is wonderful for encouraging anyone that needs an extra boost, but I can imagine it being especially great for grads. All that said, let's get on to the projects!
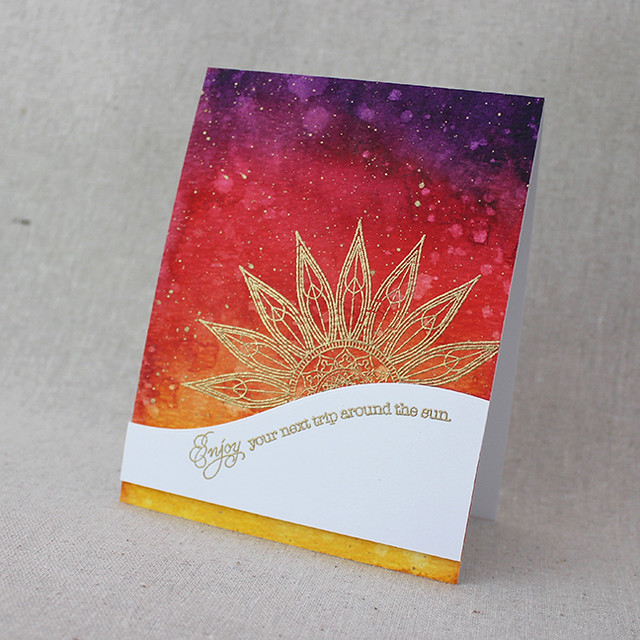
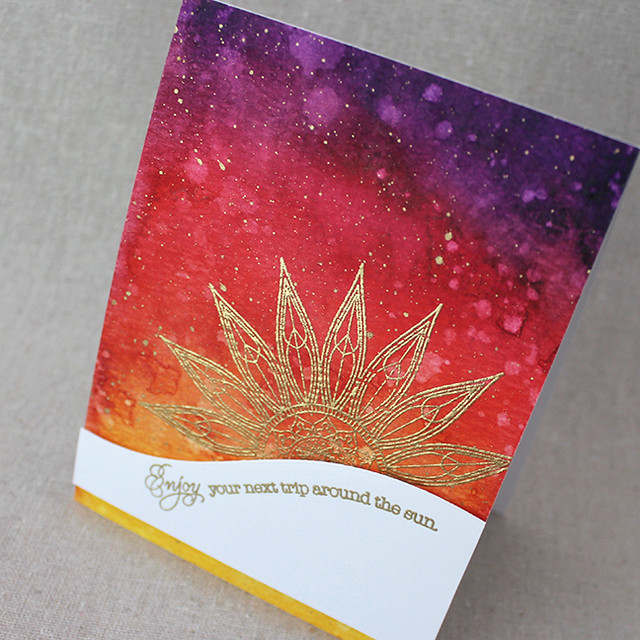
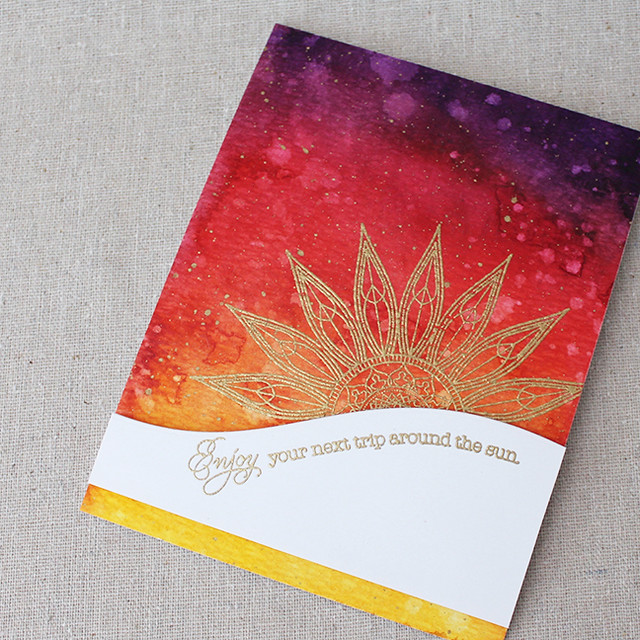
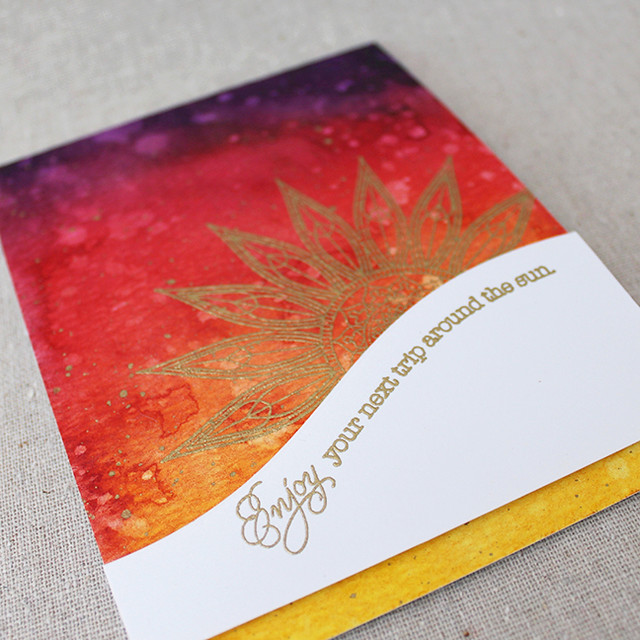
Like I said, the first set I'm showcasing is Sun & Moon. The set includes a handful of useful and beautiful sentiments. I chose to make a birthday card.
I began by taking a panel of watercolor paper and giving it a colorful wash. I used watercolors for this, but you may be able to get a similar look with reinkers if you prefer those. I allowed the background to dry and then I speckled it with clean water to reactivate small spots of color. Then I used a paper towel to remove that color and give a bit of a mottled look to the background.
Next, I splattered small speckles of gold paint onto the paper and left it alone to dry. Once it was completely dry (truly and completely), I heat embossed the sun onto the watercolor panel using gold detail powder. I adhered the watercolor panel to a white card base using strong adhesive (to help it lay nice and flat).
Then, I die cut a sentiment panel using the Sentiment Splits: Curve Horizontal Die. I trimmed it down to the size I wanted and heat embossed my sentiment, again with gold powder.
The sentiment I used was originally straight, so I curved it on my block to match the curve of the panel before I did my stamping. I finished up by adhering the sentiment panel to the card front with foam tape.
Supplies:
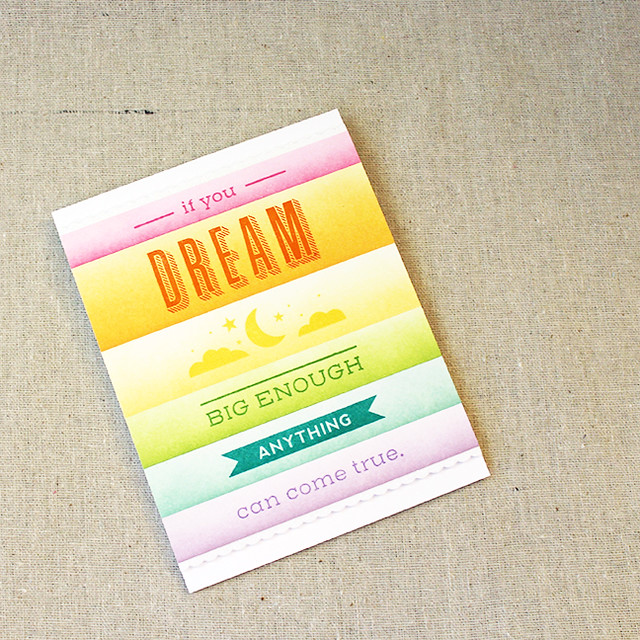
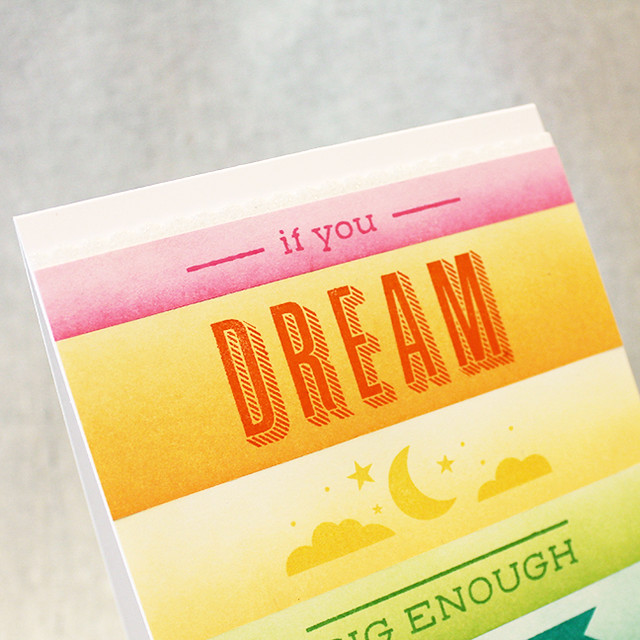
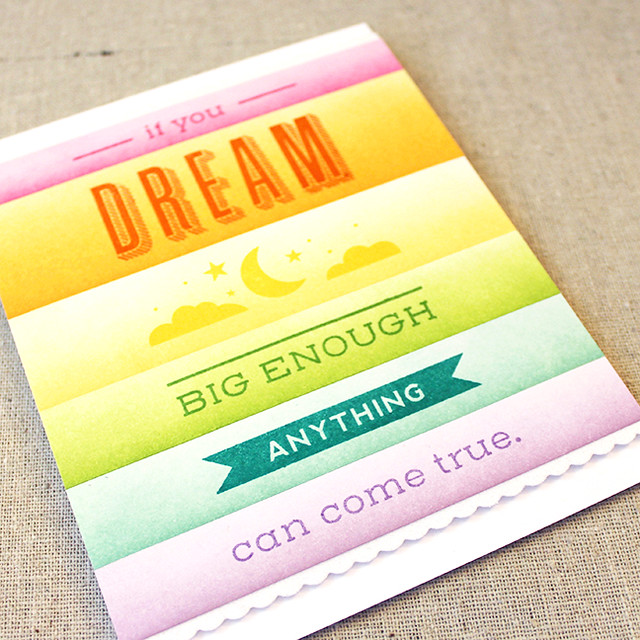
Next up I have a card made with Quoted: Dream Big.
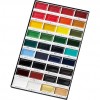
To start this card I cut strips of white cardstock and sponged each with a different ink color (in rainbow order).
Then, I stamped the portions of the sentiment onto each strip using a darker hue of the same color. I used a panel of self-adhesive paper to assemble the strips more easily.
Next, I die cut the Mix & Mat: Scallops rectangle from self-adhesive paper. I trimmed off the long edges, adhering them to the top and bottom of the sentiment panel, sticky side up.
Then I sprinkled crystal glitter onto the adhesive surface, pressing and burnishing a bit to make sure I got good contact. I brushed off the excess glitter and adhered the sentiment panel to a white card base with foam tape. I love that bright spectrum of color, don't you?
Supplies:
Thank you for joining me! Make sure to pop over to
Nichole's blog to see what other fresh inspiration she has in store. I'll see you again tomorrow!


No comments:
Post a Comment