Introducing Dapper Chap, The Perfect Plaid Stencil Collection, and The Shape Up Series: Tuxedo Die
Good morning, friends, and welcome back for Day 4 of the Papertrey Ink April countdown! Today I have the very great pleasure of introducing my new Dapper Chap stamp set, Perfect Plaid Stencil Collection, and Shape Up Series: Tuxedo Gift Card Holder Die. So much fun, dudely stuff to share! Why don't we just get to it and I'll spare you the yammering.
So Dapper Chap came about because my fella loves his bow tie collection (which weirdly went missing and we can't figure out where on Earth they could be - we've looked everywhere and can only find two of them).
Anyway...he loves bow ties and for years I've wanted a set that would work really well for him. Most of the tie sets on the stamp market are regular neckties and while those are quite nice, they aren't really a thing around here. So I got to sketching and came up with this selection of patterned bow ties (there's a solid one for those of you who prefer that sort of thing, too) and a very simple second step that adds a perfectly minimal detail. Happy sigh, friends.
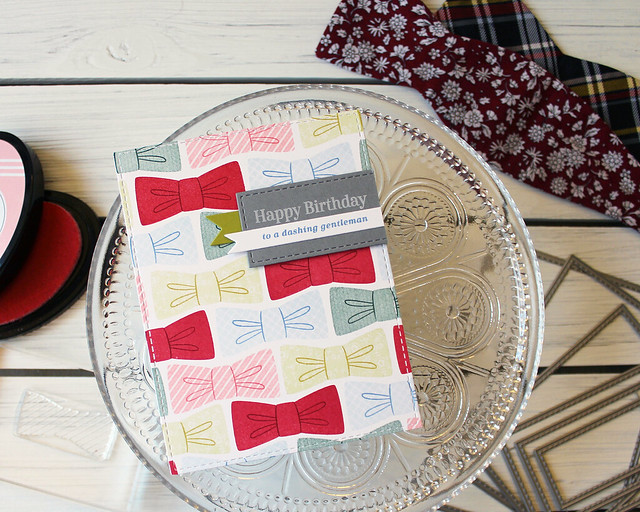
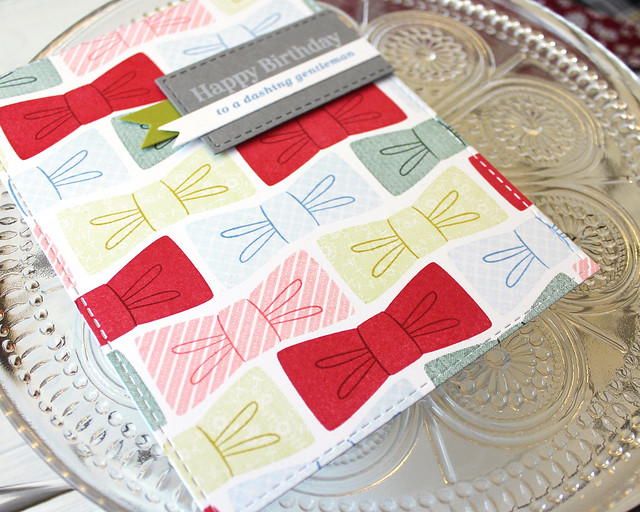
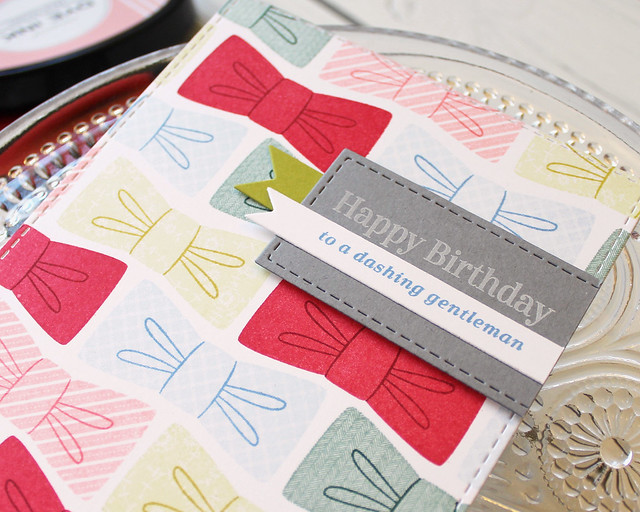
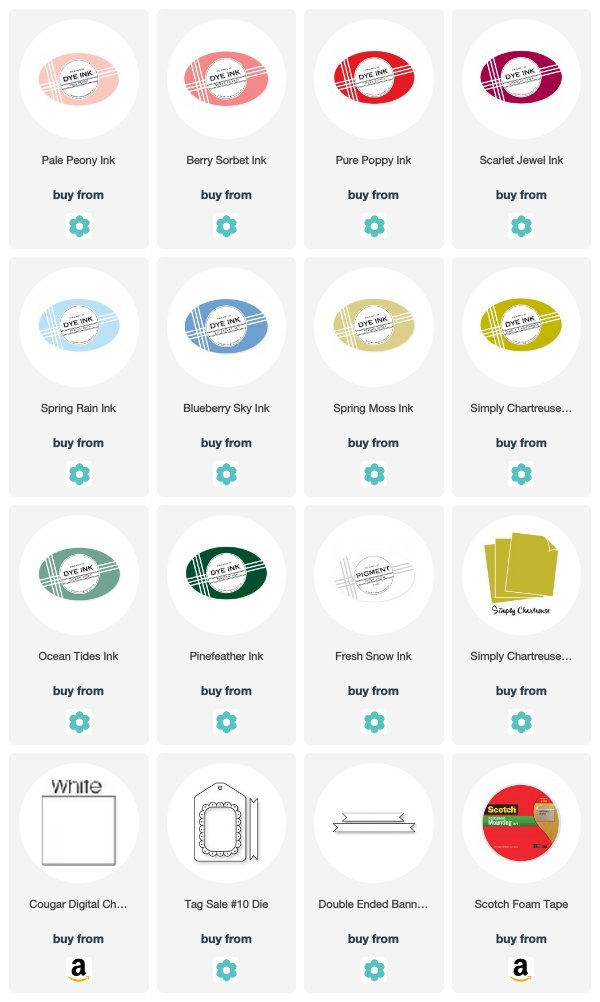
I stamped this background tie pattern with Sean's (missing) tie collection in mind. One of his favorites is a reversible pink tie with polka dots on one side and stripes on the other, so I knew from the outset that pink was going to be a part of the pattern. I stamped the ties onto a Noted: Simply Stitched A2 Vertical card front in offset rows.
Then, I die cut the smallest stitched rectangle in that same die collection from the new gray cardstock and stamped it with Fresh Snow ink. I die cut a small banner and stamped it with the companion sentiment in Blueberry Sky ink. I also die cut a Simply Chartreuse banner and layered all three pieces on the card front using a mix of flat and foam adhesives. The pattern really does the heavy lifting here and I really love that.
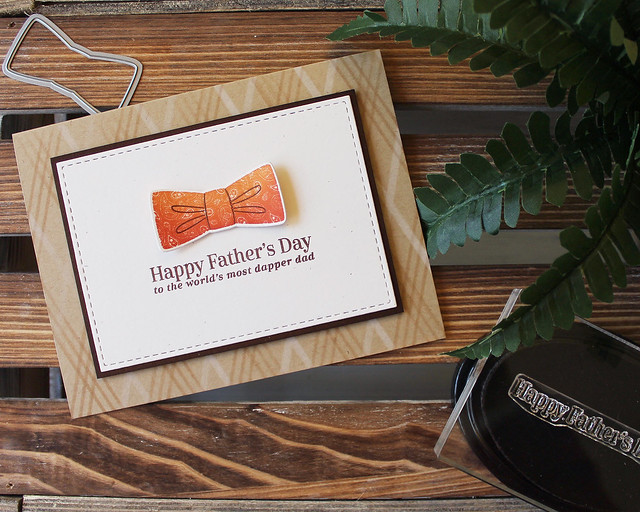
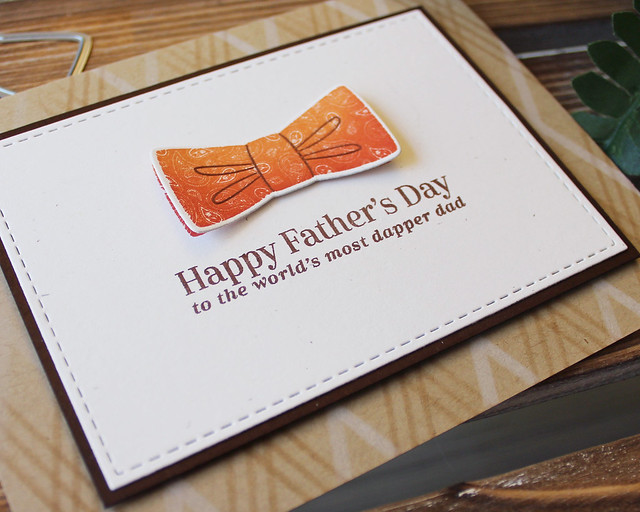
Next up, I have a simple Father's Day card that pairs Dapper Chap with the new Perfect Plaid Stencil Collection. This stencil collection makes plaid backgrounds a snap! You simply sponge, clean your stencil, and then flip it over to sponge the opposite stripes. Mix and match the stencils to create truly customized looks!
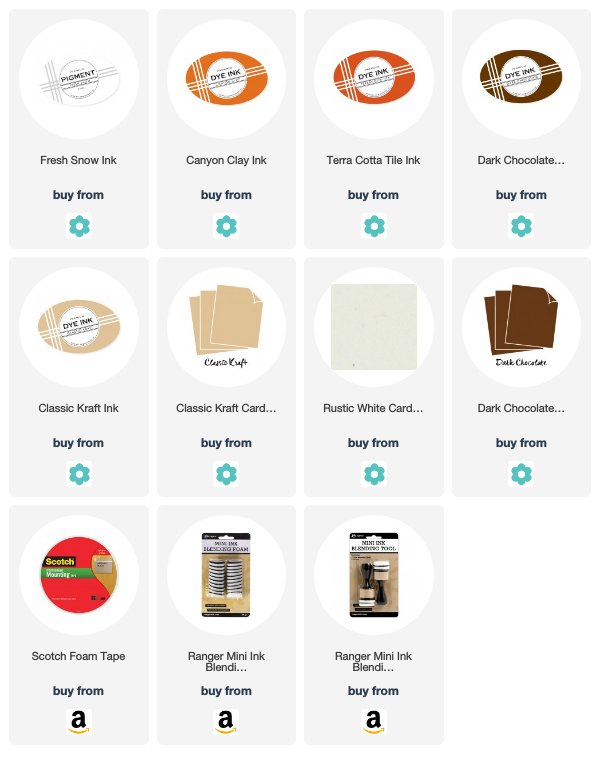
I began by stenciling my plaid pattern onto Classic Kraft cardstock. Then, I stamped and die cut my bow tie using Canyon Clay, Terra Cotta Tile, and Dark Chocolate inks.
I stamped a second bow tie and my sentiment on a Rustic White panel that I'd die cut with one of the stitched rectangles from the Noted collection. I matted the Rustic White panel with Dark Chocolate cardstock and mounted it to the card front with foam adhesive.
Then, I curved the loose bow tie a bit and adhered it over the stamped bow tie with dimensional adhesive. I wanted it to look like a real bow tie, and I think I pulled off the layered look that an actual bow tie gets once tied. So fun!
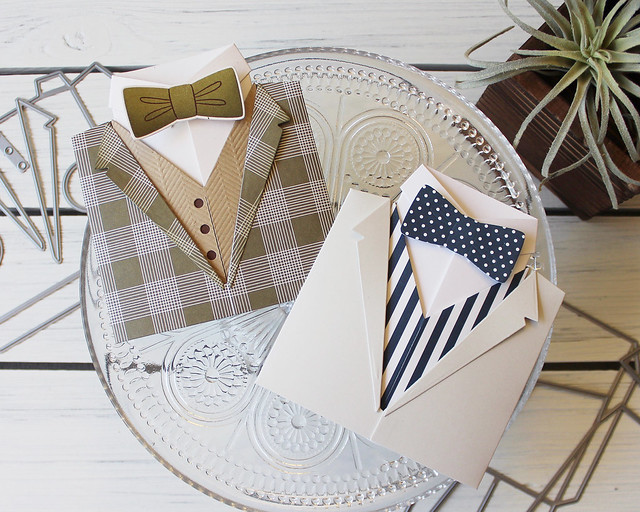
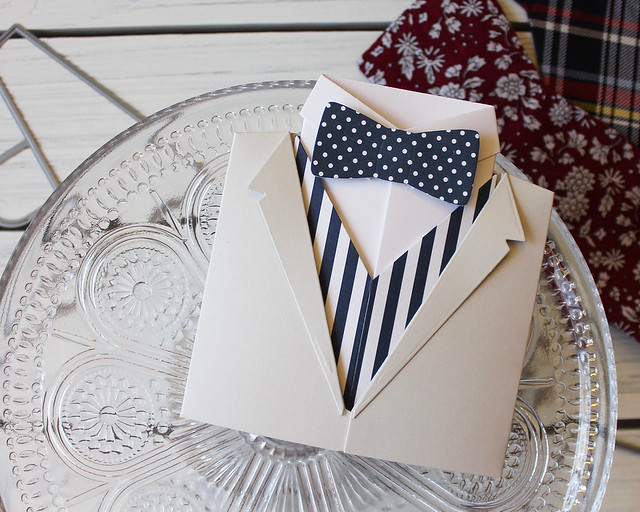
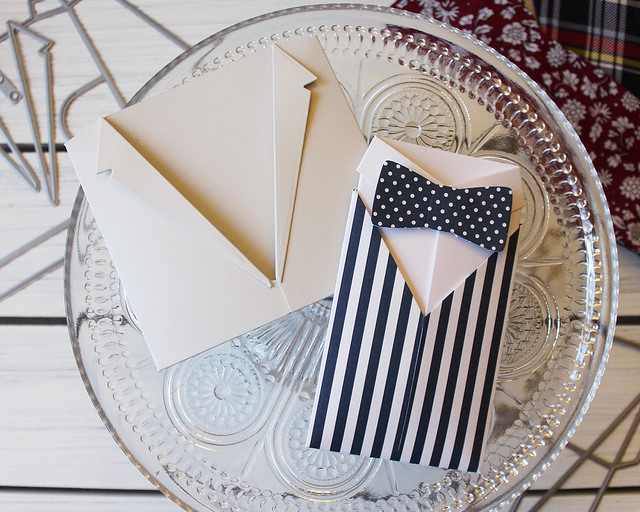
Last up, I have a couple of projects to share using the Shape Up Series: Tuxedo Gift Card Holder Die. Now, don't let the name fool you - this die does so much more than tuxedos (or even gift cards really)!
I put together a quick assembly video to show you just how easy it is to put one of these bad boys together. It's really not hard, but I will say that your adhesive is important. If you're not using a super strong adhesive (like ScorTape) you're not doing yourself any favors. I'm just being honest.
Here's the tutorial:
See! So easy!
For this tuxedo I used Soft Stone cardstock and Dark Indigo Bitty Big paper. I chose to leave off the optional buttons, but you could always add them if you wanted an extra detail.
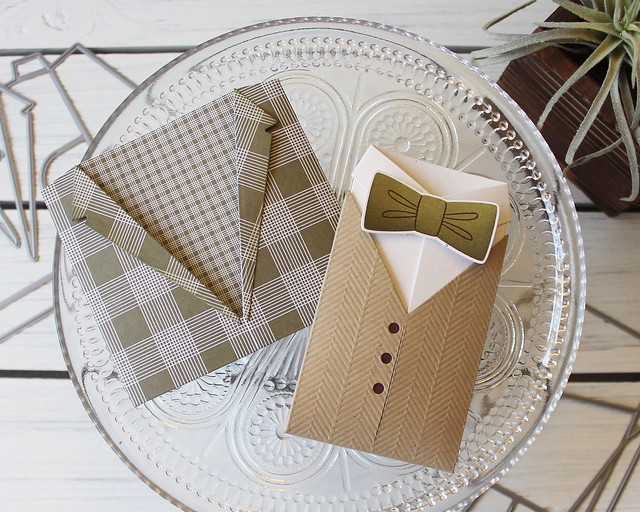
A gift card tucks into the shirt and the shirt tucks into the vest and the vest tucks into the jacket (with little semi-circular tabs to keep things secure). You could leave the whole package loose or you could adhere it to a card front if you so desired. Either way, it will fit nicely into a standard A2 envelope.
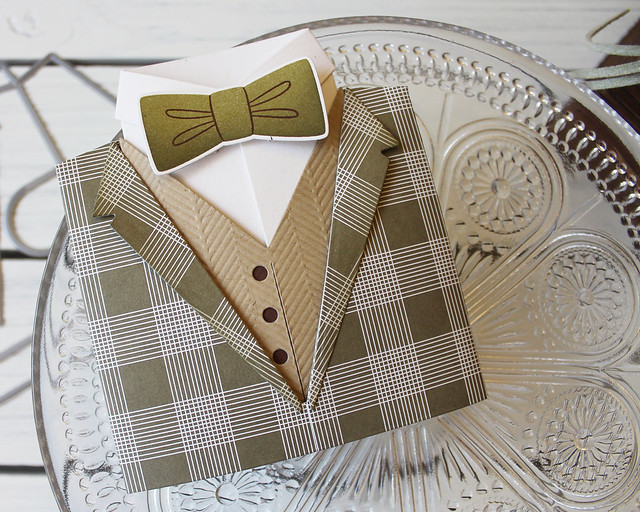
I've wanted to create a tweed suit since I designed this die, so that's what I had in mind with this project.
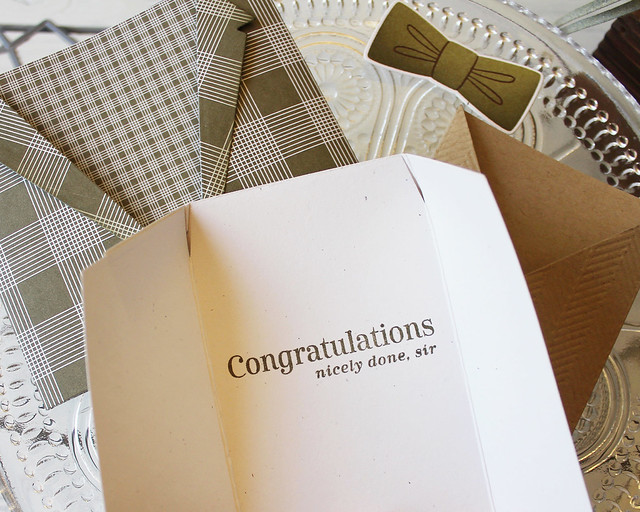
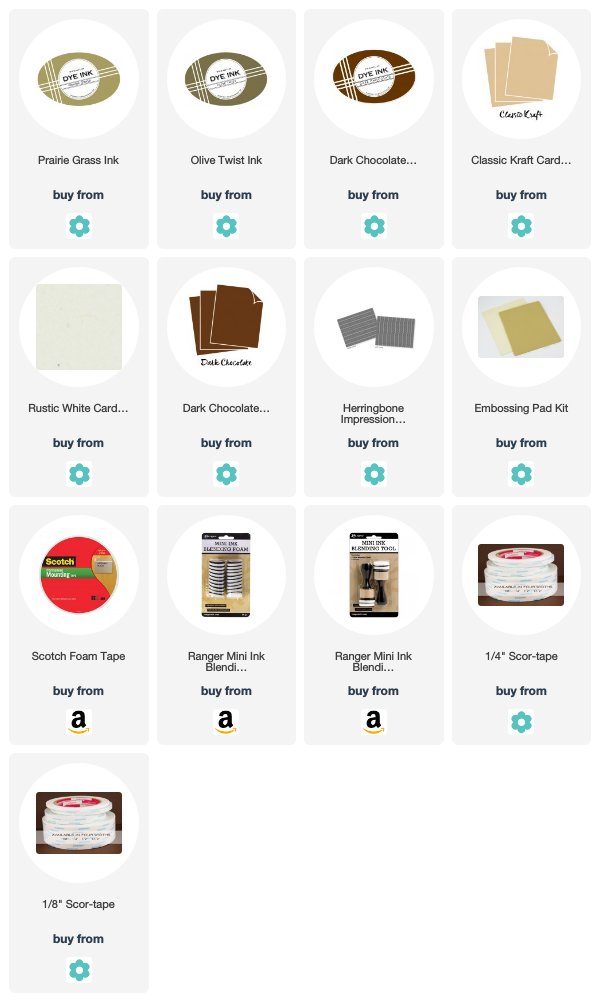
I used the new Bitty Big: Olive Twist patterned paper to create the jacket. I die cut the vest from Classic Kraft cardstock, also cutting the reverse of the buttons. Then, I used the Herringbone Impression Plate to give the vest a bit of texture (positioning the plate over just the front of the die cut) and backed the button area with Dark Chocolate cardstock.
I cut the shirt from Rustic White cardstock and stamped the Congratulations sentiment inside before adding the collar. Then, I stamped and die cut the solid bow tie from Dapper Chap. I used Prairie Grass, Olive Twist, and Dark Chocolate inks for that and then attached it to the shirt with foam tape.
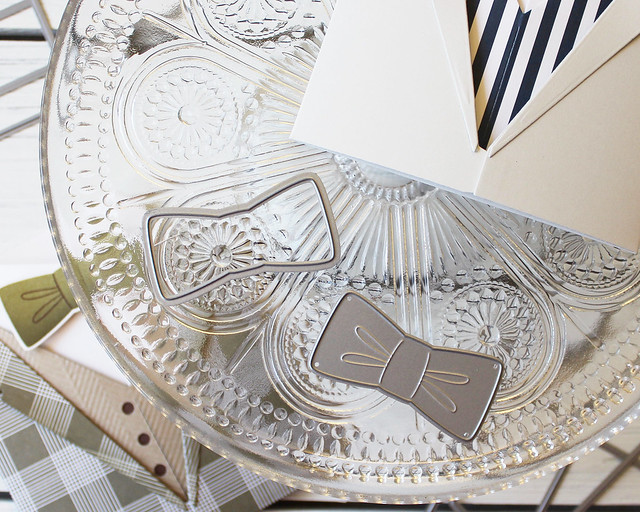
And just because I know someone will ask, yes, there are two bow tie dies. One comes by itself to coordinate with Dapper Chap. The other is part of the Tuxedo die collection. That one has embossed lines on the inside. They have the same outline, but the embossed line thing is different. Here's a photo so you can see them side by side.
I will say that the embossing shows up best when you use a metal shim to make sure you're getting enough pressure for the texture to transfer. Just an FYI.
Well, that's all I have for you today, friends. I truly hope you've enjoyed today's post. I love creating product that makes cards for fellas a little bit easier. Make sure to pop over to see whatBetsy, Dawn, Heather, Keeway, Laurie, Melissa B, Melissa P, Michelle, and Stephanie have in store for you today. Have a wonderful Friday! See you soon!


3 comments:
Awesome products!!!!! Amazing projects!!!!! Love the bow ties and suits! I can't wait to get these!
I keep seeing hair bows, Lizzie. It's great for a stamp set to do double duty.
Nice bblog you have
Post a Comment