Good morning and welcome to the first day of this month's
Papertrey Ink new release countdown! All of the new products you'll see over the coming days will be available on January 15th at 10pm ET. In the meantime, how about some inspiration?!
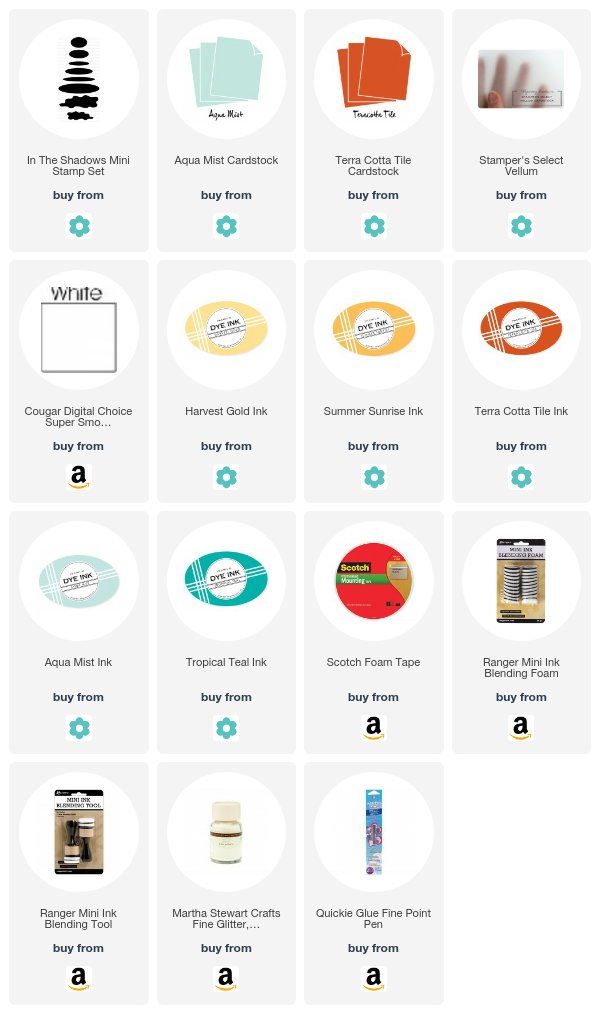
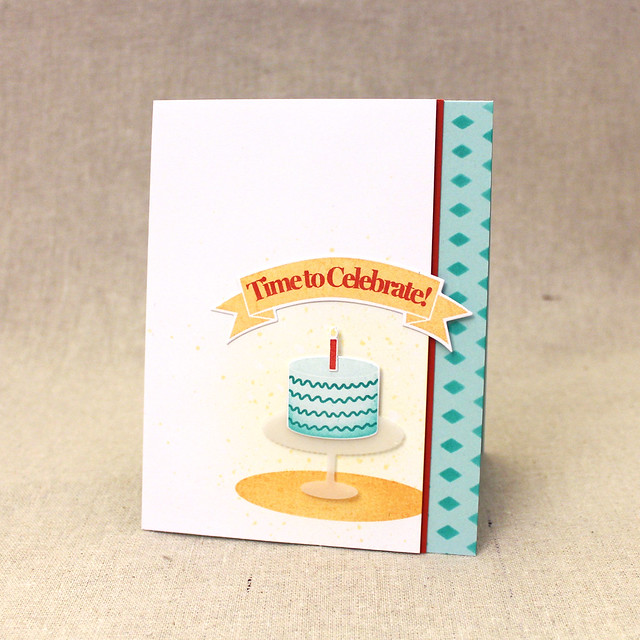
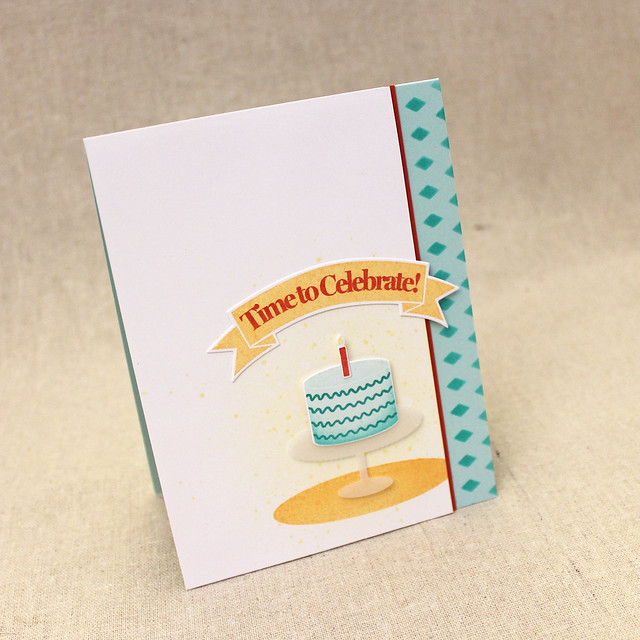
First up, I have a really fun birthday card made with Lexi Daly's
Fiesta Flag Birthday set. My nephew has an upcoming birthday, so I thought it might be fun to create a card for his big day.
I started by sponging and splattering a Harvest Gold background on white cardstock. I added a grounding shadow and set it aside.
Then, I stenciled the diamond pattern onto an Aqua Mist card base using Tropical Teal ink. I matted the edge of the white panel with Terra Cotta Tile cardstock before mounting that to the card front with foam tape.
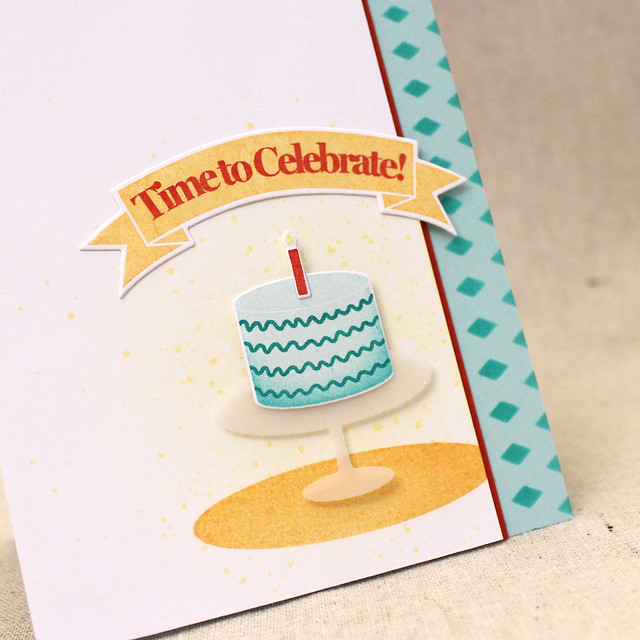
I stamped and die cut the cake, banner, and candle from white cardstock. The cake plate I cut from vellum to give it a little bit of a frosted glass appearance. I adhered those elements to the card front with a mix of flat and foam adhesives to give the card plenty of texture. I even added a tiny spot of glitter to the flake of the candle to make it shimmer.
Supplies:
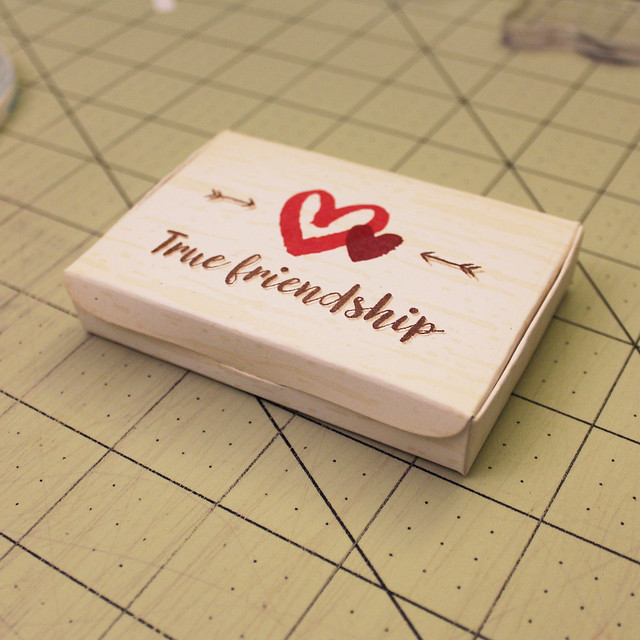
Next up, I have a couple of boxes and a set of tags made with my new
Hinged Gift Card Box Die.
This box is perfectly sized to fit a gift card, but it's also wonderful for other small gifts like handmade jewelry or felt hair barrettes.
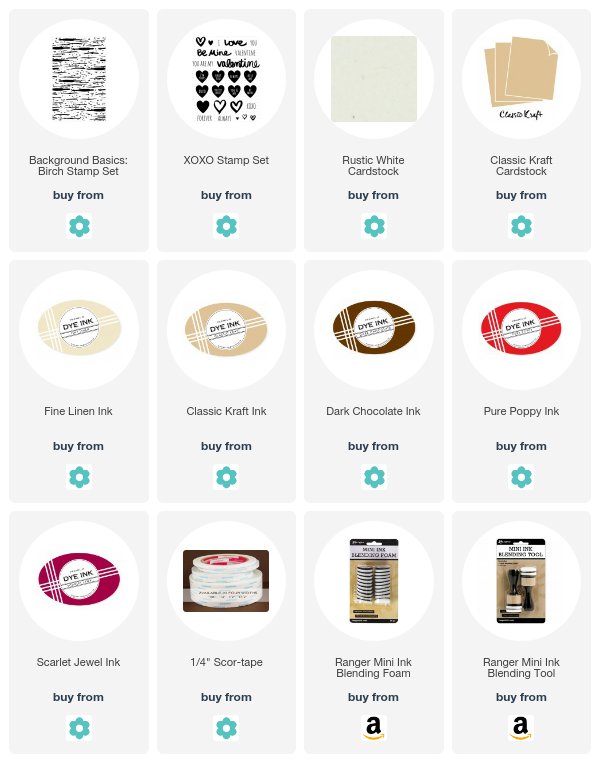
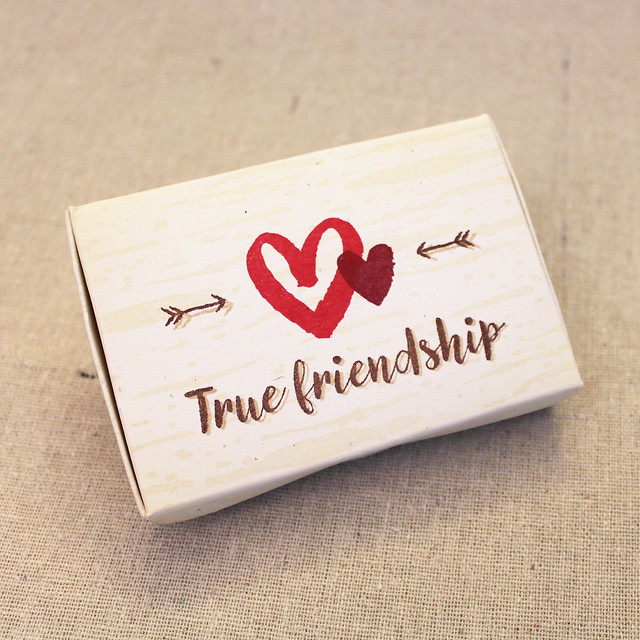
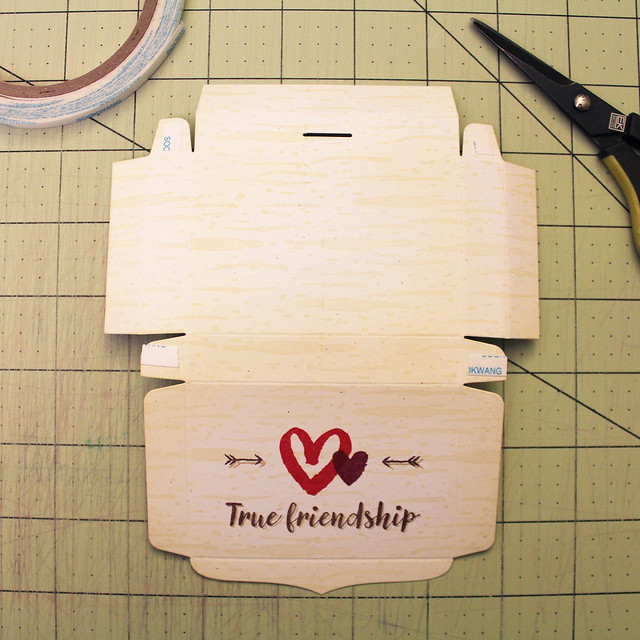
Let's start with the basic box first. I began by sponging a Rustic White die cut with Fine Linen ink. I used the Background Basics: Birch to add a pattern and then stamped the arrows and sentiment from the new
Quoted: Friendship. I stamped first in Dark Chocolate and then added an offset shadow with Classic Kraft. Then, I stamped two hearts from XOXO in Pure Poppy and Scarlet Jewel and assembled the box.
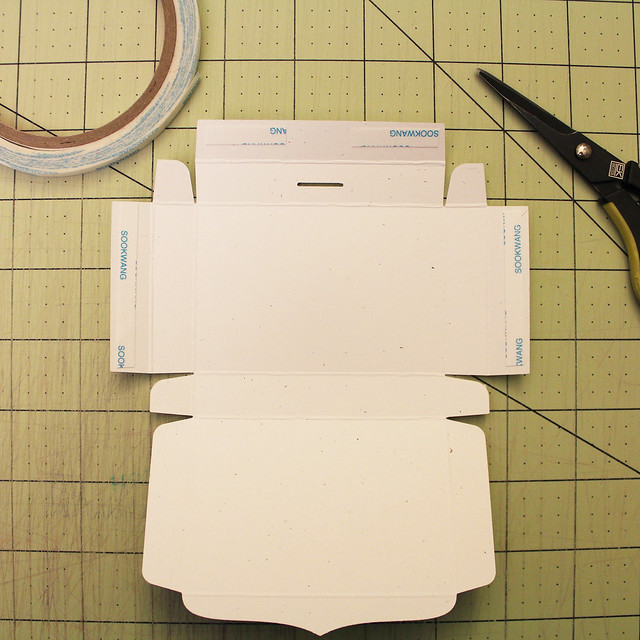
I added adhesive on the tabs on one side of the die cut...
...and the fold-over flaps on the other side. Be sure not to put adhesive in the center of the long, front flap or you'll have difficulty with the closure later.
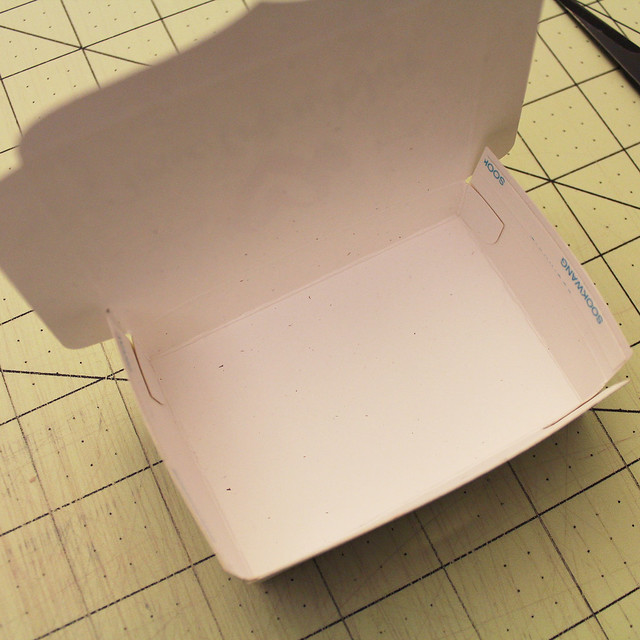
Then, I removed the adhesive backing and folded in the tabs.
The side flaps came next.
The front flap was last.
And then the top folds down, the sides tuck in, and the front slips into the slot closure. Nice and easy.
On the inside, I created a little insert to hold a pair of earrings. I just cut a rectangle and scored and folded the edges. I added a couple of holes with a pin to allow for the ear wires. Quick and easy!
Supplies:
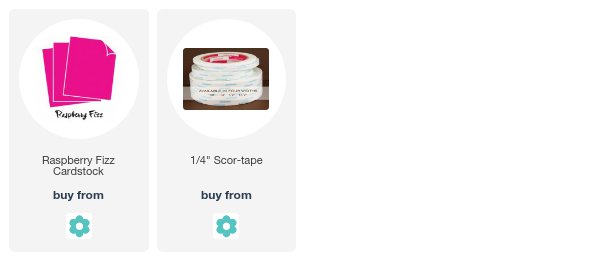
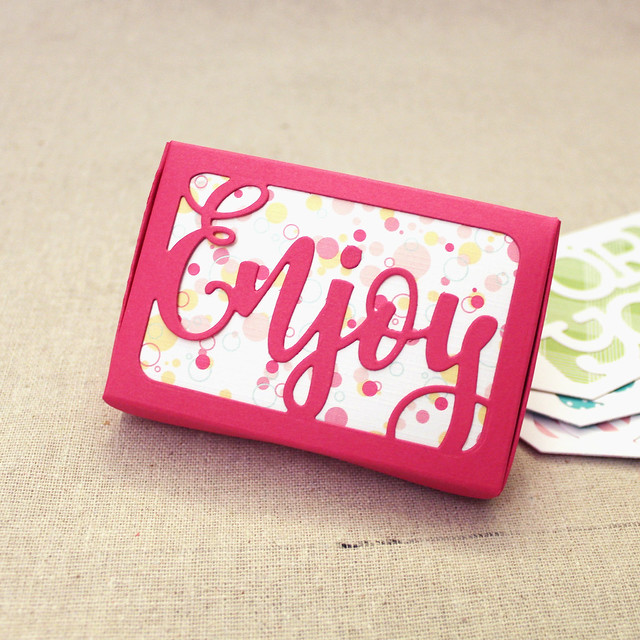
My second box uses one of the optional window cut-outs to give the top of the box a bit of interest.
I die cut the box from Raspberry Fizz cardstock and then ran it through a second time with the "Enjoy" window nested in the lid area. Next, I cut a panel of patterned paper and adhered it to the underside of the lid. Then, I just assembled as normal.
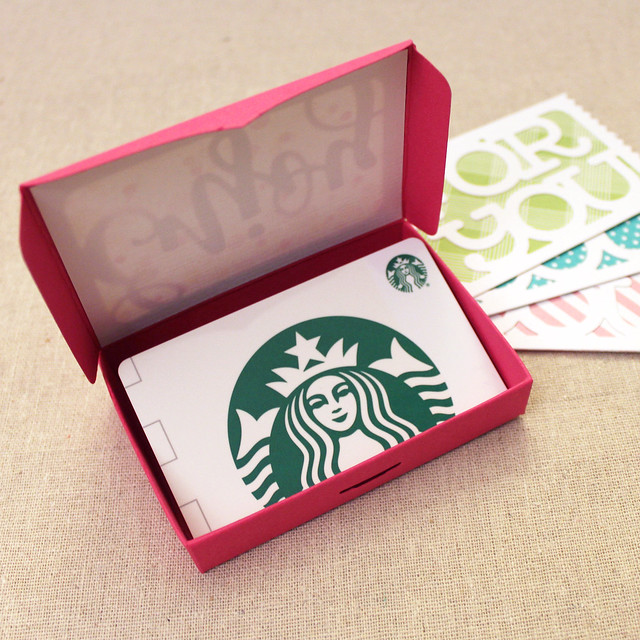
On the inside, I tucked a gift card. You could always write or stamp a message on the back side of the patterned paper panel. How fun is that?!
Supplies:
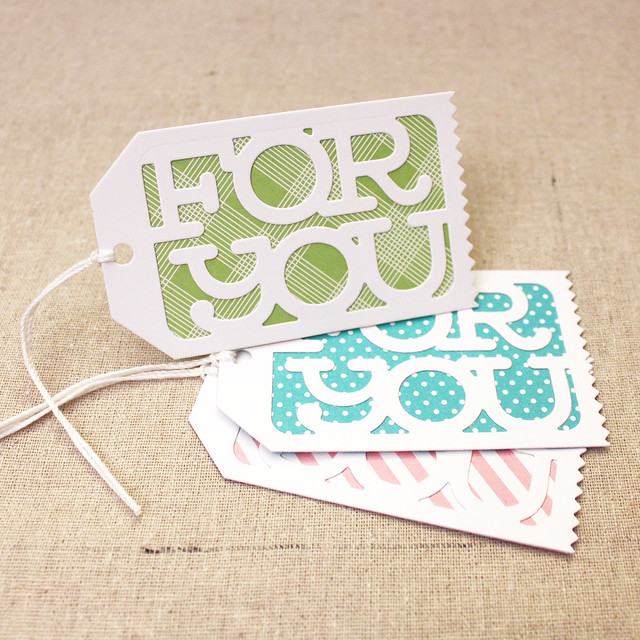
And one last project with these dies that's so quick and easy I sort of feel like I'm cheating.
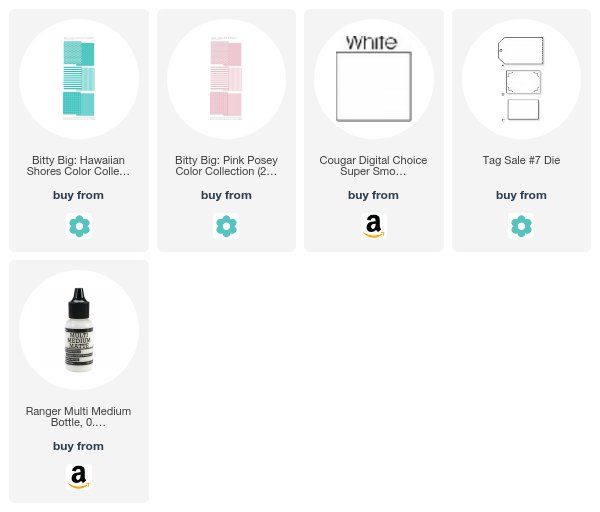
These tags are so cute and came together in a snap! I began by die cutting three white tags and three patterned paper tags using the Tag Sale #7 die. Next, I used the "For You" window die to cut a window into the white tags. Then, I adhered the patterned paper tags to the back of the white tags and added white crochet thread. That's all. So fast! You could whip up a batch (or taggle - right, Gina?) of these for a gift in no time!
Supplies:
That's all for me today, friends! Make sure to pop in on
Betsy,
Heather,
Keeway,
Laurie,
Melissa,
Michelle,
Stephanie, and
Wanda to see how they're using this month's new products. I think you might find some inspiration over on
Lexi's blog too, so be sure to visit her while you're hopping around. Have a great day, everyone!


8 comments:
The Box. You’re killing me. That is all.
Great projects! Thanks for the detailed instructions and tips for the gift box. It's a must have die for me. Can't wait for the release
Love your projects, Lizzie!! Your little hinged box is to "die" for!!
:)
Your cake card is super sweet. The hinged box can be used in so many ways, and I love that optional window cut out. Thanks for sharing your inspiration.
Raspberry Fizz! 💗
I love all your projects but the birch box is my favorite. And the cute tags look so easy.
Hi Lizzie! CONGRATULATIONS on your new box! This is a super easy design, holds different things and fun to decorate. I can't wait! Thx for the post and inspirational ideas!! Great job Lizzie! :)
Awesome, Lizzie! Your newly released products will be BIG hits. You showcased them well.
Post a Comment