Good morning and welcome back to Day 5 of the
Papertrey Ink December countdown. Today we're focusing on Valentine's Day! Coming up with cute, clever, and unique Valentines can be a challenge year after year. So Nichole and Betsy have designed some fantastic new products that will make it so much easier! Not only are these new stamps and dies adorable, but they're also so simple to use your kids can lend a hand.
Let's start with Betsy's
Dress Up Dolls: Puppy Love set.
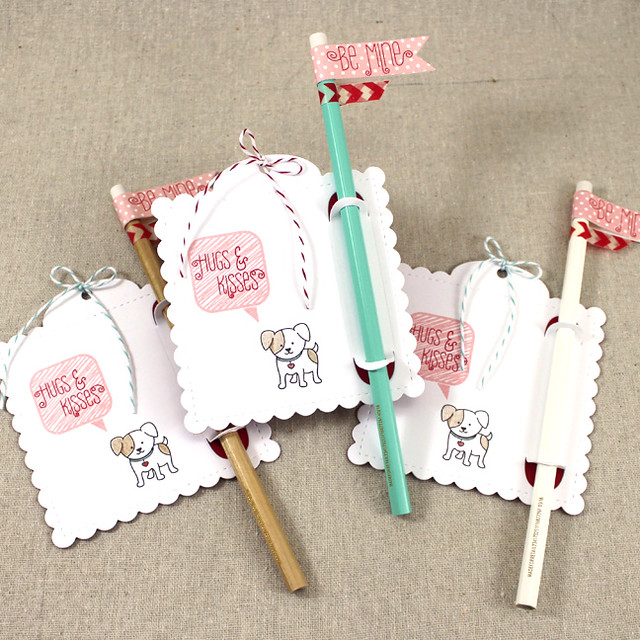
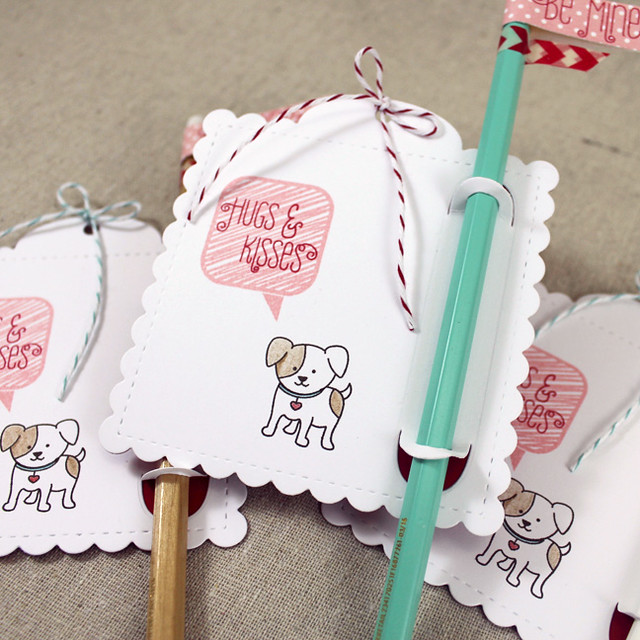
I wanted to keep these little Valentines super simple so you could crank out a whole classroom's worth in an afternoon. I started by stamping the Bubble Talk speech bubble and sentiment and puppy from Betsy's new set onto a Tag Sale Quilted shape. Then, I used the Write Stuff Holders Die to add the pencil holder.
Next, I colored the puppy very simply using colored pencils. I like to keep steps like coloring to a minimum whenever I'm mass producing and this is the sort of coloring that a kiddo may be able to handle after getting a little instruction.
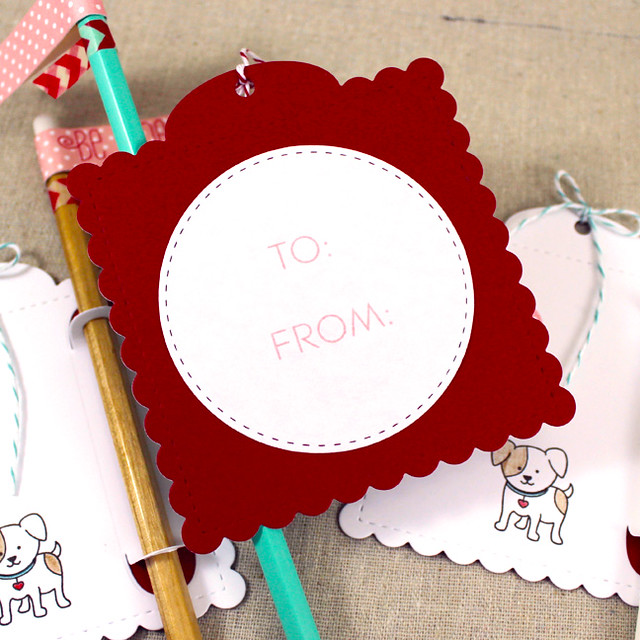
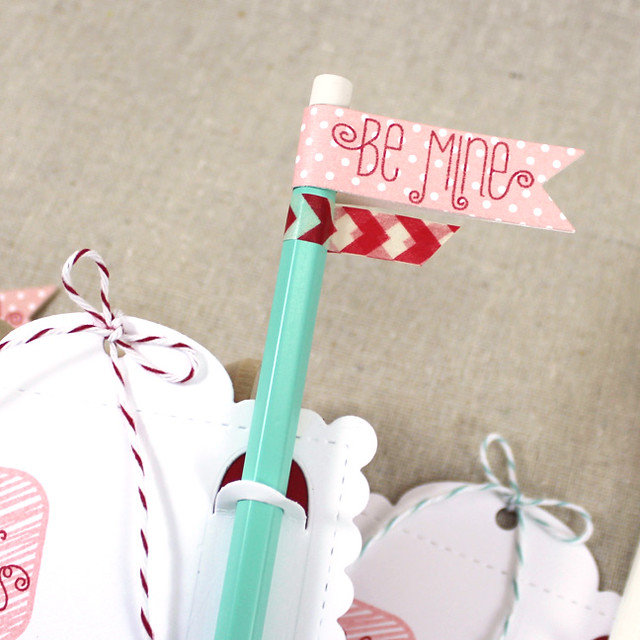
I adhered a second Tag Sale Quilted shape, this one in Pure Poppy, to the back of the first tag. This allows you to hide any scoring your cutting plate might have left behind and it also adds a little contrast behind the pencil holder. I tied a bow through the hole in the tag using baker's twine and added a "To:/From:" label sticker to the back. I dressed up the pencils with flags made from patterned paper and washi tape.
The paper flags were die cut using the banner in the new Jumping For Joy Card Dies and stamped with a sentiment from Dress Up Dolls: Puppy Love before being adhered to the pencils. You could have your kids help with the die cutting and with attaching the flags to the pencils. They could also be filling out the "To:/From:" labels while you're doing some of the more skillful elements. The nice thing about the White Adhesive sheets is that it makes labels like these a snap!
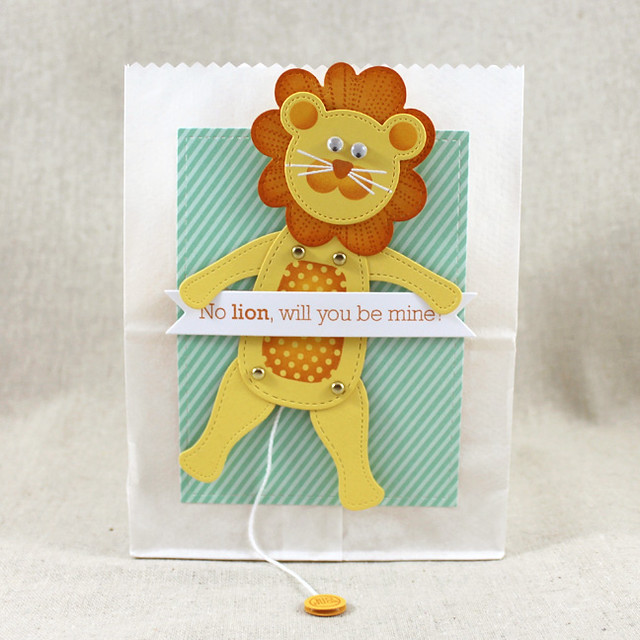
Next up I have a gift bag made with the new
Jumping For Joy collection. This collection includes a stamp set and dies that coordinate to create paper jumping jack toys. I remember these from childhood and I was so tickled to be able to put one together so easily.
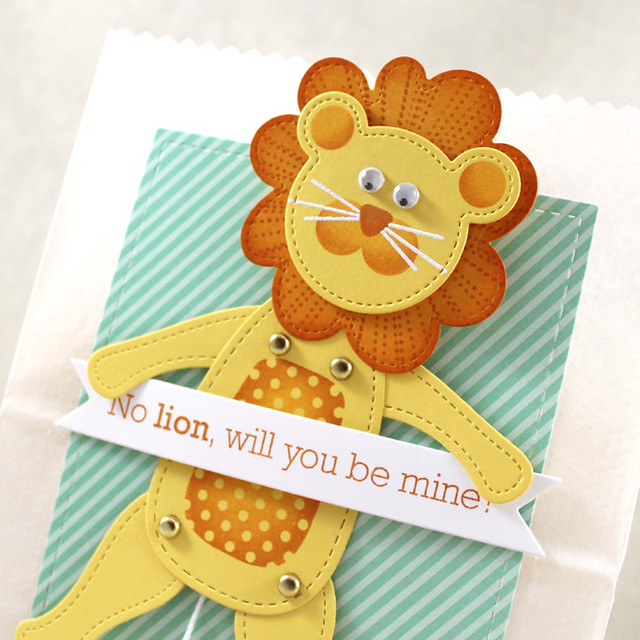
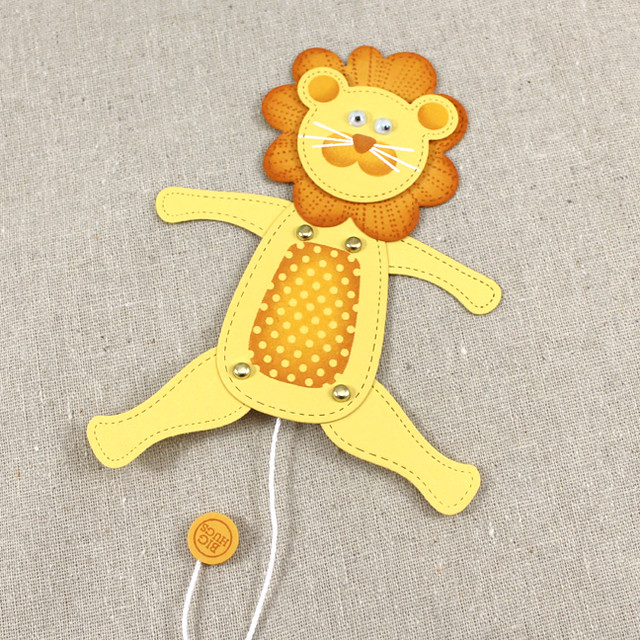
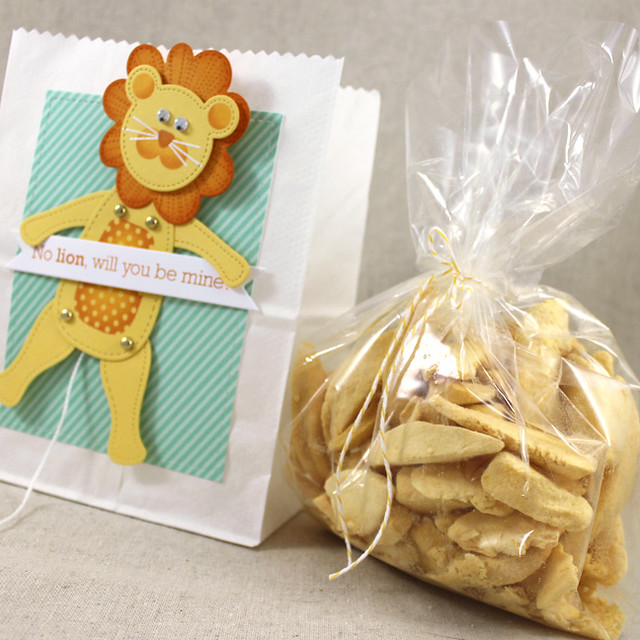
I began by creating my jumping jack. I chose to work with the little lion today. I began by die cutting all of the pieces from Harvest Gold and Summer Sunrise cardstocks. I added a bit of texture to the lion's mane by stamping one of the sunburst images from Shine in Canyon Clay. This is a step that honestly could be done by a child. I wasn't worried about making sure I was centered or anything and I stamped over areas a couple of times just to add a random effect. I also sponged a bit of extra ink around the edges to deepen things up a bit.
Next, I stamped the lion's face using Summer Sunrise and Canyon Clay inks. I also added google eyes for an extra playful touch. Then, I stamped the lion's belly using Summer Sunrise and Canyon Clay inks. I did some sponging, but it would look equally cute with just one color or the other. Once all of the details were stamped, it was time to assemble my jumping jack.
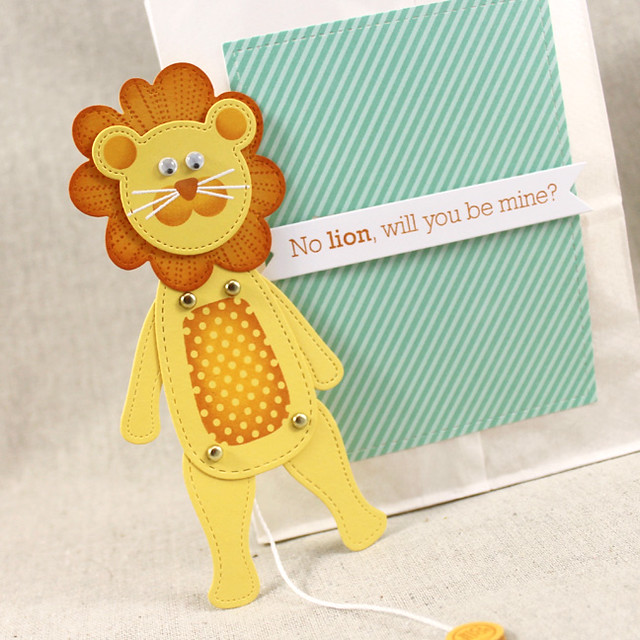
You need brads and string, but it really is fairly simple. Just attach the limbs with the brads and then tie each pair together with string, twine, or thread. Then use a separate, longer string to tie the arms to the legs and have enough left over for a pull cord. I added a little toggle at the end of my string with some die cut circles stamped with a greeting from Jumping For Joy. It all sounds much more complicated than it really is. Mine came together in about 5 minutes.
You've got to have a clever way to present your jumping jack, right? Enter the Jumping For Joy Card Dies! I die cut the main rectangle from Aqua Mist patterned paper and adhered it to a white paper lunch bag. Then I die cut the banner from white cardstock and stamped the sentiment in Canyon Clay. I adhered the banner to the slot on the Card Die using foam tape and then tucked my jumping jack through the openings.
I filled my treat bag with freeze dried peaches that I packaged in a clear cellophane bag tied with baker's twine. Other great healthy snacks might be trail mix, granola bites, freeze dried veggies, or fruit leather. And kids are great at helping portion out treats into bags - especially if they got to help choose the snack to be shared!
Thank you so much for joining me today. I hope to see you back here again tomorrow for this month's wrap up. In the meantime, make sure to pop in on
Nichole,
Amy,
Ashley,
Betsy,
Dawn,
Heather,
Kay,
Laurie S.,
Laurie W.,
Melissa,
Erin, and
Maile to see more inspiration. See you tomorrow!
Recipes:
Puppy Love Valentines
Stamps: Dress Up Dolls: Puppy Love, Keep It Simple: To & From, Bubble Talk - Papertrey Ink
Cardstock: Pure Poppy, Pale Peony + White Patterned Paper, White Adhesive Sheets - Papertrey Ink; white
Ink: Pale Peony, Pure Poppy, Smokey Shadow - Papertrey Ink
Other: Tag Sale: Quilted, Jumping For Joy Card Dies, Write Stuff Holders Die, Noted: Scalloped Square Die Collection, Red Chevron Washi Tape - Papertrey Ink; Teal, Cherry Baker's Twine - Divine Twine
No Lion Jumping Jack & Treat Bag
Stamps: Jumping For Joy, Shine - Papertrey Ink
Cardstock: Harvest Gold, Summer Sunrise, Aqua Mist Patterned Paper - Papertrey Ink
Ink: Summer Sunrise, Canyon Clay, Fresh Snow - Papertrey Ink
Other: Jumping For Joy Card Dies, Jumping For Joy Dies - Papertrey Ink; White Embossing Powder - Filigree; Gold Brads - Making Memories; White Crochet Thread; White Paper Lunch Bag; Google Eyes

1 comment:
Really sweet projects today, Lizzie! I also appreciate the healthy snack suggestions since I have one little who doesn't care for candy (or chips!!!). :)
Post a Comment