Good morning, friends, and welcome to the kick off to
Papertrey Ink's January countdown. Today I have the pleasure of introducing you to my two sets debuting this month,
Go For The Goal and
Background Basics: Splats (
all new products will be available on January 10th at 10pm EST).
Nichole,
Heather, and
Dawn will also be introducing these new sets today, so make sure to pop in and visit them, too! Let's get on to a few projects, shall we?
I'm going to go ahead and start with the Background Basics: Splats set. This set was inspired by one of my very favorite scarves (I have a little bit of a
thing for scarves) and I can't wait to explore all of the possibilities this set has to offer.
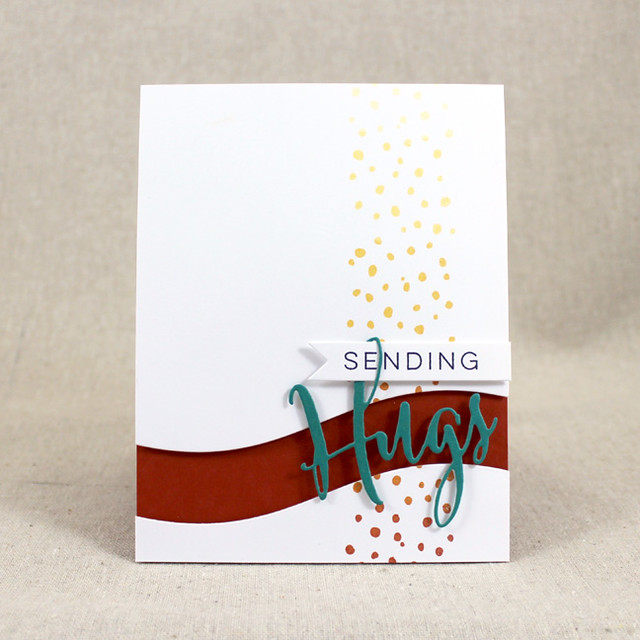
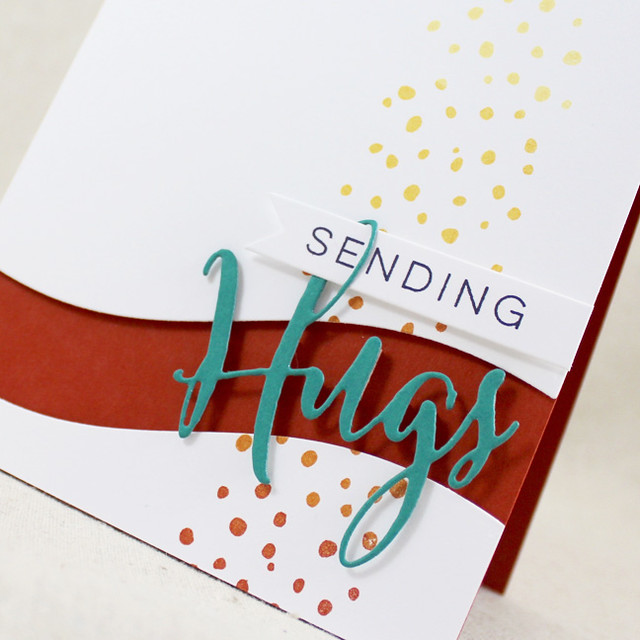
On this first card, I started by stamping a single row of dots onto a white panel. I inked it with Lemon Tart, Harvest Gold, Summer Sunrise, Canyon Clay, and Terra Cotta Tile to get the gradient of color. Next, I die cut the panel with the Sentiment Splits: Curve Vertical die and attached the pieces to a Terra Cotta Tile card base using foam tape.
Next, I die cut the script "Hugs" from Tropical Teal cardstock and attached it to the card front with additional foam tape. I die cut a Sketched Shapes banner from white cardstock and stamped it with the companion sentiment from Big Hugs before attaching it to the card base, also with foam tape.
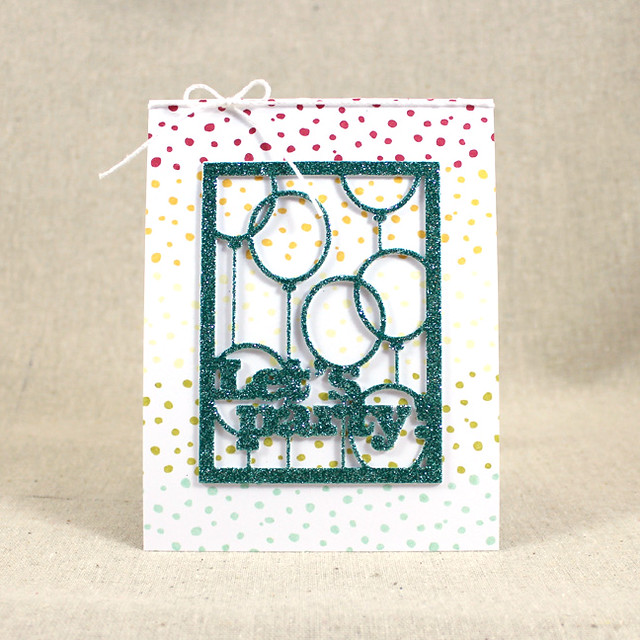
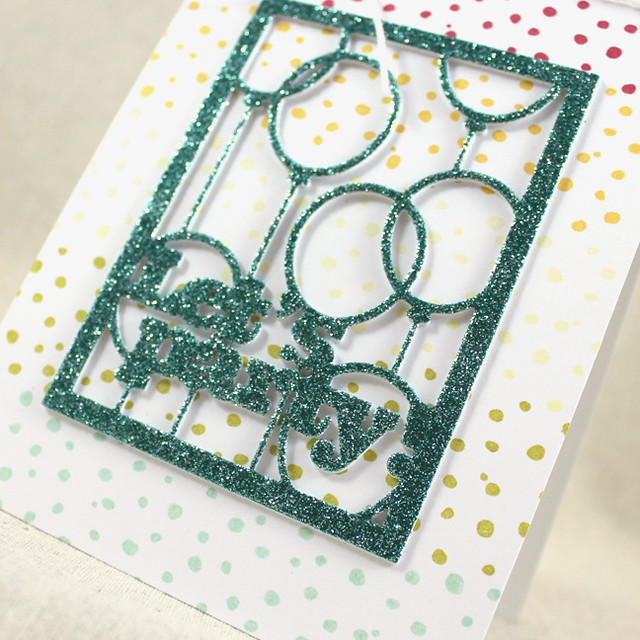
Next up I've used the Background Basics: Splats to create a rainbow behind a Text Block shape.
I began by stamping rows of dots onto a white card base using Pure Poppy, Summer Sunrise, Lemon Tart, Simply Chartreuse, and Aqua Mist inks. Next, I die cut a Text Block: Party Time shape from Tropical Teal cardstock and coated the front with glitter.
I layered that with three white Text Block shapes to give it some depth and then adhered the whole piece to the rainbow card base. I added a white crochet thread bow for an extra pop of softness. Easy as can be!
Now let's get to Go For The Goal! I played soccer (poorly) as a child. Truth be told, I was better at picking dandelions. Be you a scoring phenom or simply a fan, this set is for you!
I started my first card by masking off a circle on a white card base and sponging with Spring Rain ink. Next, I die cut a Simply Chartreuse circle and stamped it with Background Basics: Woodgrain to make it look grassy. I trimmed the circle in half(ish) with the Pinking Shears Border Die and then textured it with the Linen & Canvas impression plate for added texture. I then snipped the top edge with scissors to make it fringe. I heat embossed the sentiment onto the grassy circle using white embossing powder and attached it to the card front atop the sponged circle.
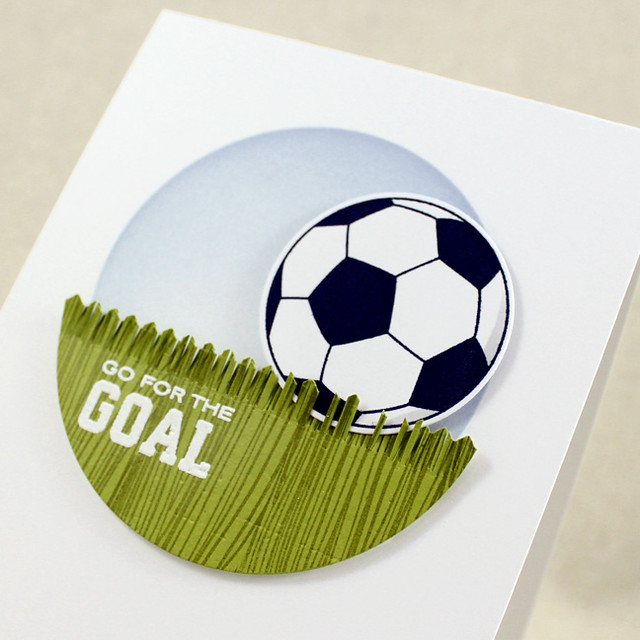
Next, I die cut a circle using the Limitless Layers: 1 3/4" Circle Die Collection and stamped it with the soccer ball using True Black ink. It felt a little bare, so I gave it some depth by adding a shadow using a T1 Copic on one edge. To finish up, I simply tucked the ball into the grass and attached it to the card front with foam tape. It's nice and simple and could be used to encourage your favorite soccer star, no matter their gender.
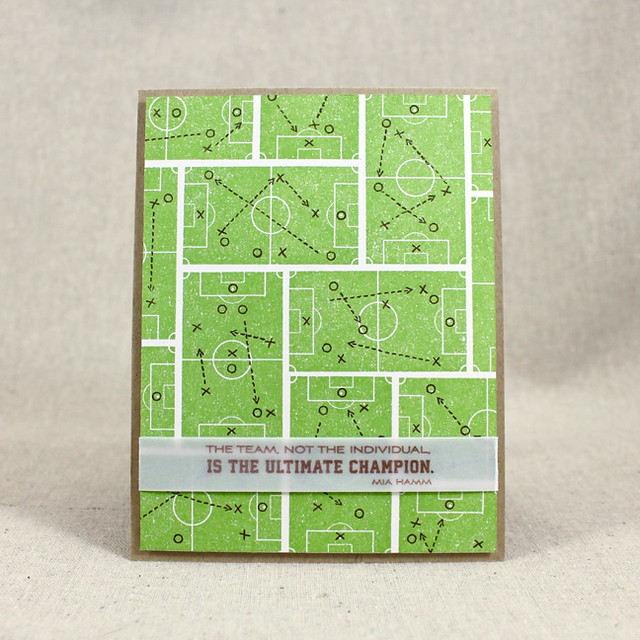
I have one last card to share with you today. I had a lot of fun playing around with the background on this one.
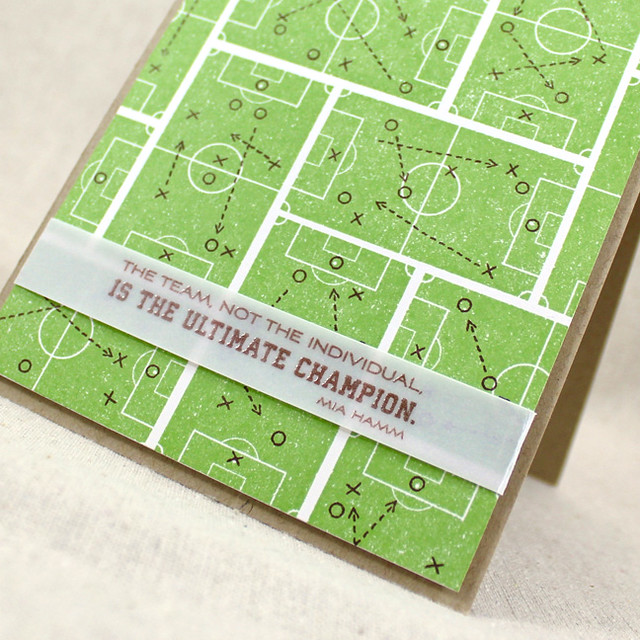
I began by repeatedly stamping the soccer field image onto a Rustic White panel using New Leaf ink. I then went back in and added the "x, " "o," and dashed line images with Dark Chocolate ink. Fair warning, I have no idea if any of these plays are even close to legit, but I had fun stamping them and that's really all that matters. The soccer field image has built-in texture, so the background didn't really need anything else to give it interest.
Next, I stamped the Mia Hamm quote onto a piece of vellum and heat embossed with clear powder. Because the ink doesn't dry quickly on the coated surface of the vellum I didn't even need to stamp a second time with sticky ink and this way the ink was sealed in. Hooray for double duty, am I right?! I wrapped the vellum around the background panel and attached it on the back to hide the adhesive. All I needed to do to wrap this one up was attach the panel to a Classic Kraft card base. Simple.
Ok, friends. That's all for me today. I hope you've enjoyed today's post! I'll be back tomorrow with more of
Background Basics: Splats and
Go For The Goal. I hope to see you then! In the meantime,
Nichole,
Betsy,
Dawn,
Heather, and
Erin all have posts to share with you today. See you soon!
Recipes:
Sending Hugs Card
Stamps: Background Basics: Splats, Big Hugs - Papertrey Ink
Cardstock: Terra Cotta Tile, Tropical Teal - Papertrey Ink; white
Ink: Lemon Tart, Harvest Gold, Summer Sunrise, Canyon Clay, Terra Cotta Tile, True Black - Papertrey Ink
Other: Big Hugs Die, Sentiment Splits: Curve Vertical Die, Sketched Shapes Die - Papertrey Ink; Foam Tape - Scotch
Let's Party Card
Stamps: Background Basics: Splats - Papertrey Ink
Cardstock: Tropical Teal - Papertrey Ink; white
Ink: Pure Poppy, Summer Sunrise, Lemon Tart, Simply Chartreuse, Aqua Mist - Papertrey Ink
Other: Text Block: Party Time - Papertrey Ink; Feldspar Glitter - Martha Stewart Crafts; White Crochet Thread; Xyron
Go For The Goal Card
Stamps: Go For The Goal, Background Basics: Woodgrain - Papertrey Ink
Cardstock: Simply Chartreuse - Papertrey Ink; white
Ink: Ripe Avocado, True Black, Spring Rain - Papertrey Ink - Papertrey Ink; VersaMark - Tsukineko
Other: Pinking Shears Border Die, Limitless Layers: 1 3/4" Circle Die Collection, Linen & Canvas Impression Plate - Papertrey Ink; Nesting Circles Die - Quickutz; Foam Tape - Scotch; T1 Marker - Copic; White Detail Embossing Powder - Filigree
Ultimate Champion Card
Stamps: Go For The Goal - Papertrey Ink
Cardstock: Rustic White, Classic Kraft, Stamper's Select Vellum - Papertrey Ink
Ink: New Leaf, Dark Chocolate - Papertrey Ink
Other: Clear Detail Embossing Powder - Filigree; Foam Tape - Scotch


16 comments:
Your soccer cards are great, appreciate the details you added for grass, but especially love your field card!
Lovely cards soccer ones are so adorable!
Wow, Lizzie, awesome cards! I did not expect to love your new Splats Background stamp set, but I do :) Your hugs card is totally fabulous.
Fabulous cards, Lizzie! I adore your "hugs" card and, while I know nothing about soccer, I still love your very creative soccer cards.
Really great cards, Lizzie. Each one is uniquely different and so creatively done. Your work always inspires me. Than you!
Fabulous cads and products. LOVE the confetti images :-)
Lizzie, these are fantastic! Love that first card...the gradient splats are fun and live the color scheme. As for your last card, I have no idea if those plays are legit, either, but the card is!!! 😀 Great designs!!!
Love all your sports sets. Please come out with a Basketball one!!
That first card is awesome! Those splats are too cute!
The Background Splats are such fun. Looking forward to adding this set to my cart.
Adorable cards.I had convinced myself that I did not need soccer stamp sets. You have changed my mind.
Hi Lizzie,
SWEET CARDS!!!
Cariños,
María Alba
Just love these, Lizzy. Now, to find some soccer lovers!
Your set is so inspirational for both the team and coach! Thanks!
Too cute!!
Hi Lizzie,
Wonderful array of creativity!!!
Cariños,
María Alba
Post a Comment