Tuesday, October 1, 2019

A Care-A-Van Of Holiday Cuteness from The Greetery

Good morning, friends! We're jumping right back in with Day 2 of The Greetery's holiday countdown (all of the new products will be available on Friday, October 4th at 10am on The Greetery's website)! This release has a little something for everyone, from elegant and sophisticated to charming and cheerful. Today's intros land somewhere toward the "joyful squeal" end of the spectrum.

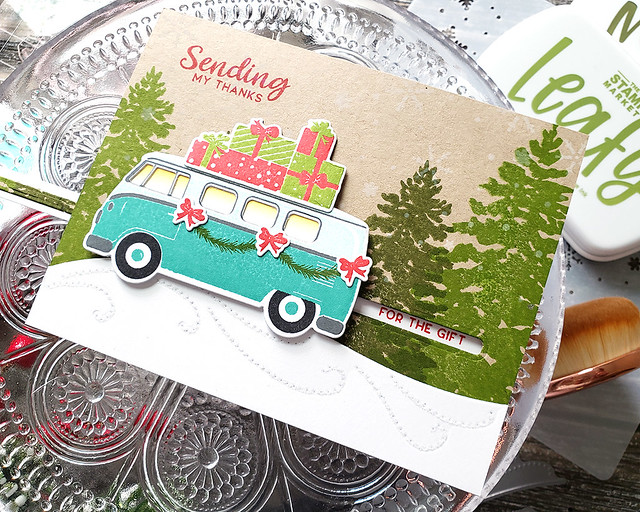
When I first saw the Christmas Care-A-Van set, I couldn't stop thinking about how fun it would be to use on a slider card. So that's exactly what I did!

LizzieJones_TheGreetery_October2019_ChristmasCareAVan_DriftingDie_Fir&Foliage2_SendingMyThanksSliderCard

I stuck with holiday colors on this card, but the sentiment would also be perfect for a birthday thank you, too, with a quick color swap. I used the bumper from the Happy Hippie Van die (that you'll see in just a minute) to create the slider. Pro tip: You have to cut a couple of times to make the bumper fit all the way across the card, but if you start cutting at the left, all of the seams are hidden under the van!

LizzieJones_TheGreetery_October2019_ChristmasCareAVan_DriftingDie_Fir&Foliage2_SendingMyThanksSliderCard3

I created the background with the Fir & Foliage 2 set and the new Frosty Flakes Stencil. And, surprise, surprise...the Drifting Die has made another appearance. I truly cannot stress how much I love this die. It's a wonderful grounding element for this time of year! And, you know, a little glitter embellishment on the wispy swirls never hurt anybody.

LizzieJones_TheGreetery_October2019_ChristmasCareAVan_DriftingDie_Fir&Foliage2_SendingMyThanksSliderCard2

The sentiment for today's card comes from the Sentiment Suite: Thank You stamp set that debuted last release. I love that you reveal the rest of the sentiment by simply pulling the tab and moving that adorable van across the card. Oh my word...it's a delight!

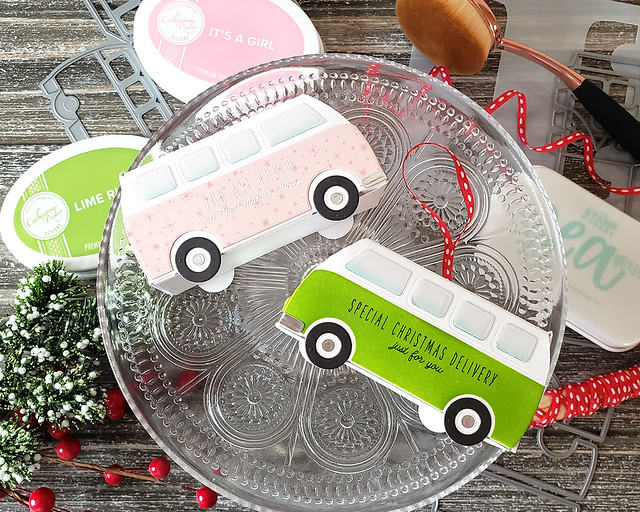
Next up, I have a couple of sweet mini vans to share. One is a gift box and the other doubles as a holiday ornament. How fun is that?!

LizzieJones_TheGreetery_October2019_ChristmasCareAVan_HappyHippieVans1

Now, I think it's important to mention that not only is Betsy a design genius, but she's also thoughtful as well. She understands that budgets only stretch so far, so she designed the Happy Hippie Vans with two different options for embellishment.

LizzieJones_TheGreetery_October2019_ChristmasCareAVan_HappyHippieVans2

One is an additional die that will cut the decorative panels on the sides of the van. The other is a more affordable stencil that gives you the option to blend on the panels instead. I did one of each today so you could see the difference.

LizzieJones_TheGreetery_October2019_ChristmasCareAVan_HappyHippieVans3

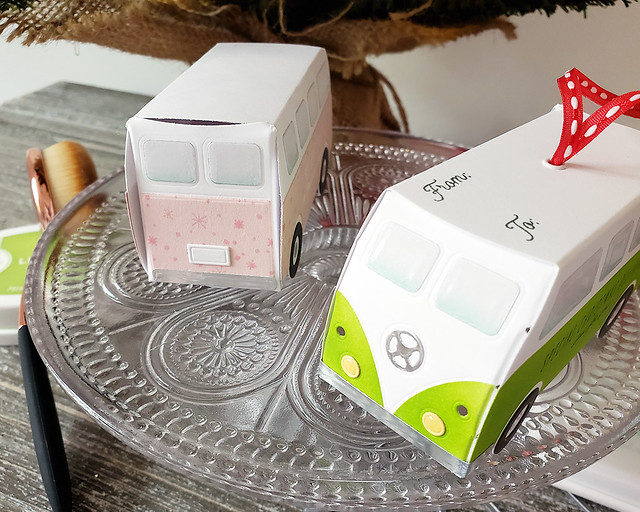
I die cut the main van shapes from white cardstock. The pink van uses the die cut decorative panels while the green van uses the stencils. All of the other elements (tires, windows, etc.) are part of the main die. I used silver adhesive paper and clear cardstock to create realistic chrome and glass details on both vans.

LizzieJones_TheGreetery_October2019_ChristmasCareAVan_HappyHippieVans4

These vans are a great size for small gift items or candies. Jewelry and lip balm would be perfect for a feminine option. Shock the heck out of your teenager by giving them keys to their "new enough" car. Or I'm sure cash rolled into a tube and tied with ribbon for gas money would be much appreciated. I wasn't able to get a gift card to fit with the back closed, but a paper gift certificate could be rolled or folded to fit. So many options!

LizzieJones_TheGreetery_October2019_ChristmasCareAVan_HangingHappyHippieVanOrnament

I used sentiments and images from Christmas Care-A-Van to decorate the sides of both vans. Then, I set an eyelet in the top of the green van and threaded ribbon through to make it an ornament. How cute would this be hanging from your tree?!

I hope you've seen something today that put you in a festive holiday mood. I sure am! I'll be back in a couple of days to share more from this release, but in the meantime there are some lovely ladies ready to wow you with their creations:

I'll see you back here on Thursday with a few more projects that I think you'll love! Until then!

Supplies:
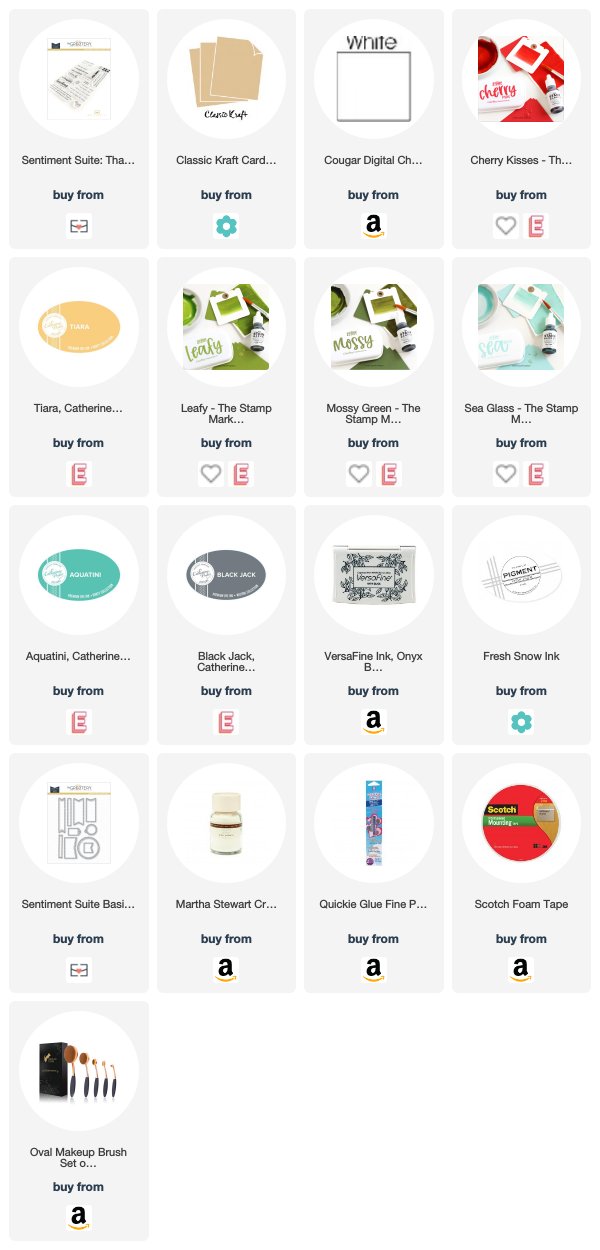
Sending My Thanks Slider Card

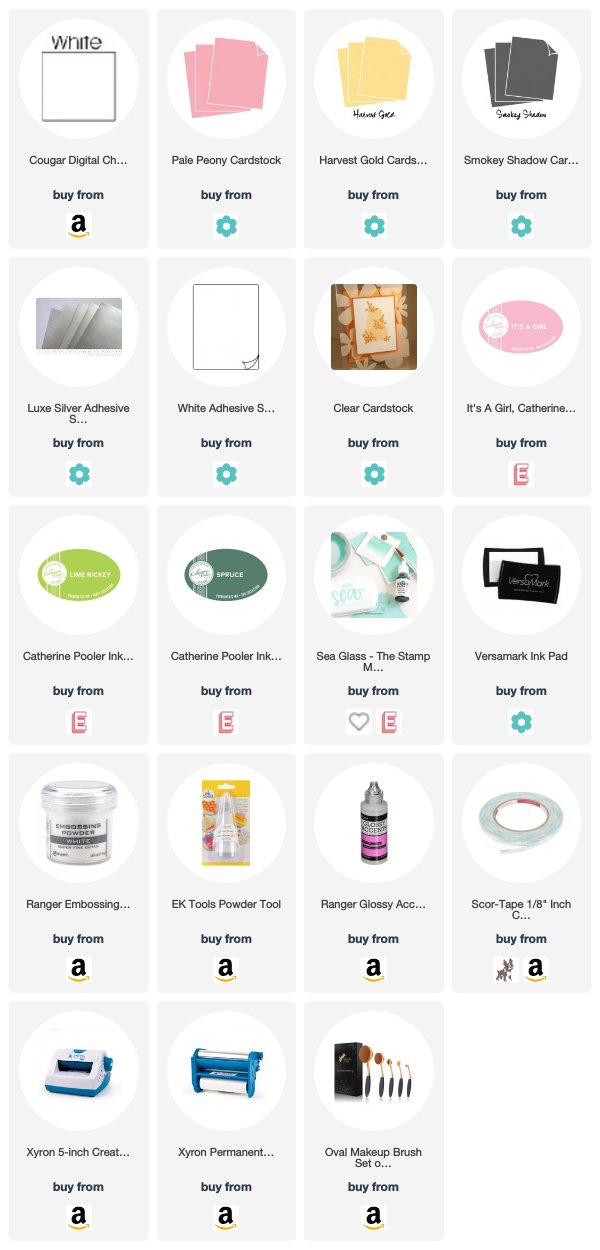
Christmas Happy Hippie Vans
Monday, September 30, 2019

Creating The Magic Of Christmas Eve with The Greetery

Good morning, friends, and welcome to the kickoff day for The Greetery's holiday release countdown (all of the new products will be available on The Greetery's website on Friday, October 4th at 10am)!

LizzieJones_TheGreetery_October2019_ReleaseDay1Cards

The next few days are packed with gorgeous new products that make creating for the holidays an absolute joy. Truly. Some of these new goodies are going to be staples in my collection for a very long time. Let's get to it!

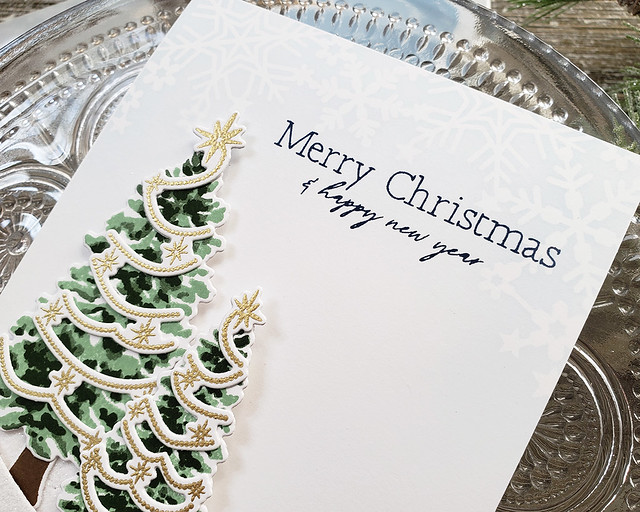
I generally like to try and keep my holiday cards on the simple side. I'm often rushing and sending a ton, so simpler designs work better for me on a number of levels. This card is no exception.

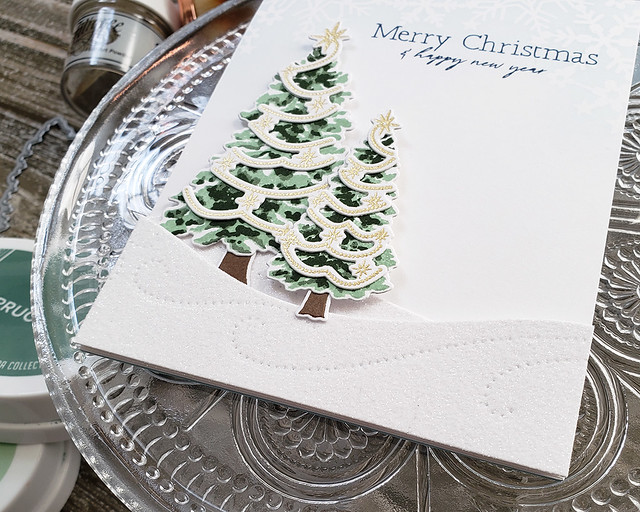
LizzieJones_TheGreetery_October2019_Fir&Foliage2_TreeTrimmings_DriftingDie_FrostyFlakesStencil_MerryChristmasCard1

I used the new Fir & Foliage 2 set for the evergreens and the new Tree Trimmings set to add gold embossed garland.

LizzieJones_TheGreetery_October2019_Fir&Foliage2_TreeTrimmings_DriftingDie_FrostyFlakesStencil_MerryChristmasCard3

The delicate and subtle snowflake pattern along the top edge is thanks to the new Frosty Flakes Stencil. I am totally in love with how that stencil transformed the white space on this card without making it busy or overly fussy.

LizzieJones_TheGreetery_October2019_Fir&Foliage2_TreeTrimmings_DriftingDie_FrostyFlakesStencil_MerryChristmasCard2

Now, I may like simple design at the holidays, but I am also a proud glitter monster this time of year. Glitter all the things! These snow banks, created with the new Drifting Die, are just the tip of my glitter iceberg, people. They are sparkly, sugar-coated goodness and I'm not the least bit sorry about it. I do try and minimize transfer for my recipients by adding a layer of Xyron adhesive before die cutting and then burnishing the glitter once it's applied.

Next up, I have a card that might look a tad on the plain side until you realize it's also a shaker! I love incorporating interactive elements when I can, so this was a really fun card to create.

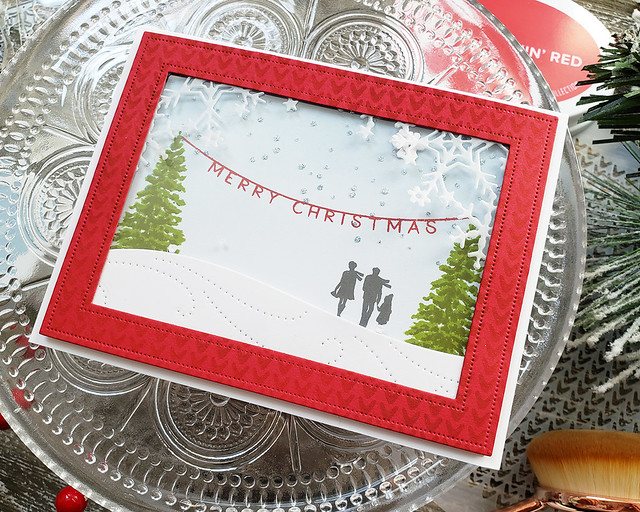
LizzieJones_TheGreetery_October2019_ChristmasEve_DriftingDie_FrostyCornersDie_MerryChristmasShakerCard1

I used the Christmas Eve set for this card. This set includes the charming multi-step church you've probably already peeked elsewhere, but I wanted to use some of these smaller elements to create a sweet little woodland scene.

LizzieJones_TheGreetery_October2019_ChristmasEve_DriftingDie_FrostyCornersDie_MerryChristmasShakerCard2

I used another of the Drifting Die shapes to create a ground (and a place for my snowflake confetti to hide). The lacy snowflake decorations in the corners of my frames are the new Frosty Corners Die. I used the same die to create the aforementioned confetti from regular white cardstock.

LizzieJones_TheGreetery_October2019_ChristmasEve_DriftingDie_FrostyCornersDie_MerryChristmasShakerCard3

The Knit Wits stencil from the last release came in handy to add some texture to my frame and I used a bit of Cararra Marble glitter and a glue pen to embellish the snowflakes (because glitter). Isn't it a dreamy scene?

There you have today's introductions, friends! See anything that really speaks to you? I'm telling you, run, don't walk to get those Drifting Dies. Seriously. I'm going to have a hard time putting those bad boys down.

Thank you so much for joining me today! I hope you'll come back tomorrow to see what I have up my sleeve for Day 2 of the countdown. In the meantime these lovely ladies have more inspiration to share:

I'll see you tomorrow! Have a great day!

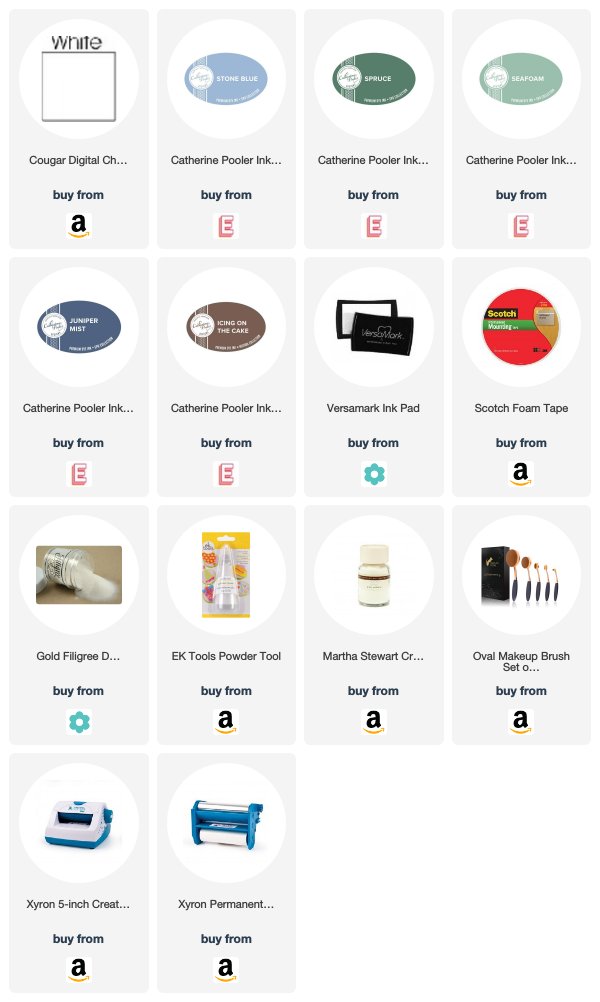
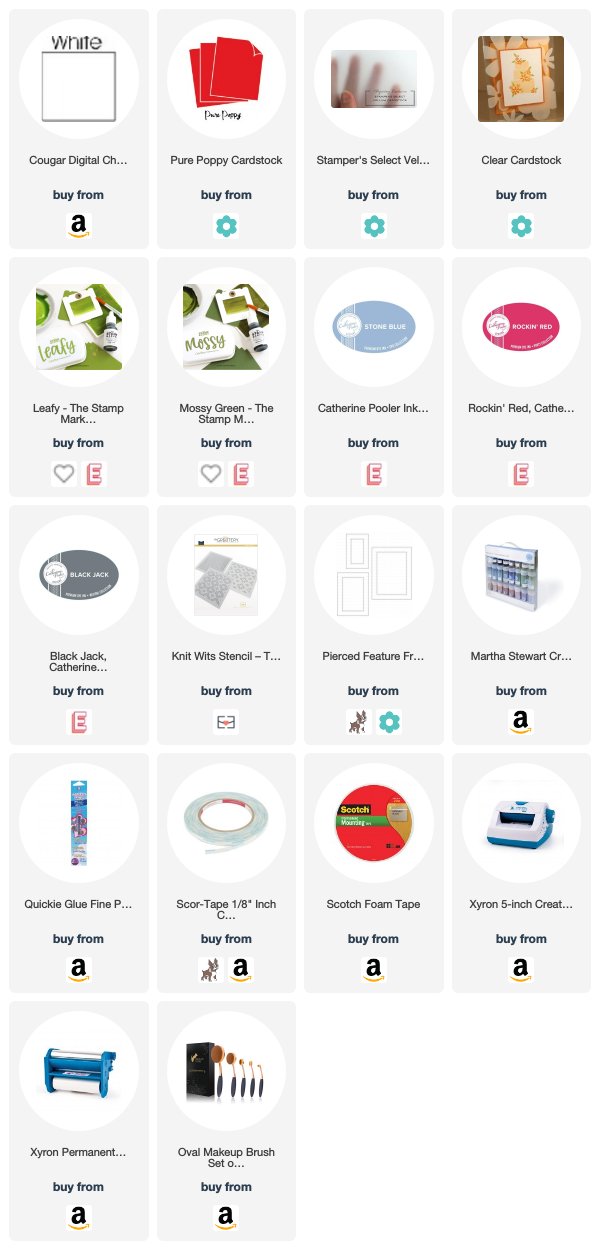
Supplies:
Merry Christmas & Happy New Year Card


Merry Christmas Shaker Card

Thursday, August 22, 2019

Grab A Cup Of Joe With The Greetery

Good morning, friends! I'm back today with even more Autumn goodness coming your way from The Greetery this month (the new release will go live on their website tomorrow, August 23rd, at 10 am ET).

LizzieJones_TheGreetery_August2019_Day4Cards

Today is all about enjoying a warm cuppa and snuggling in a cozy sweater. Two of my very favorite things!

My first card today features the latest Katie's Cuties set. This one is called Getting Cozy and it includes a trio of sweet characters that are sure to steal your heart. I paired the set with a new favorite, the new Knit Wits stencil (you may have noticed a sneak peek of this stencil on my card the other day).

LizzieJones_TheGreetery_August2019_AutumnIsHereCard_1

I started by stamping the knitting critters (say that five times fast) and colored them with a mix of Copics and Prismacolor Pencils. I laid down base color with the markers and then shaded with the pencils. It gives a little bit of a picture book vibe that I really love!

LizzieJones_TheGreetery_August2019_AutumnIsHereCard_2

I blended a warm background onto a white card base and layered it with a dark green panel that I stenciled with that great knit pattern. There is a second stencil that fills in all of those open spaces, but I wanted to keep the background a little simpler this time around so I just opted to use one.

LizzieJones_TheGreetery_August2019_AutumnIsHereCard_3

I heat embossed the sentiment and added "varsity sweater" style stripes to the top of the card. I attached the critters to the card with foam tape and called it good. I'm really loving that pop of orange from the stripes!

Next up, I have a card featuring the Cozy Cup collection. The layering options in this set give it such incredible depth and detail that I can barely stand it. I'm more of a tea girl myself, but you better believe I am going to use the heck out of this set all winter long!

LizzieJones_TheGreetery_August2019_LetsGetTogetherCard_1

I wanted it to look like my coffee cups were resting on an actual table, so I whipped out some real wood paper for my background. It actually is a natural birch color, so I embossed my sentiment and then blended dark brown ink over the whole panel to "stain" it my desired color.

LizzieJones_TheGreetery_August2019_LetsGetTogetherCard_3

I used ink blending to add color to the knit coasters and adhered them to the card front, trimming off any overhang. I thought it would be super fun to have the two cups together, already enjoying each other's company.

LizzieJones_TheGreetery_August2019_LetsGetTogetherCard_2

For my mugs, I went with burnt oranges in keeping with the Autumn theme, but these mugs look gorgeous in any color you can imagine. The little pop of bluey-green foliage is a nice complement to those bold, warm colors. Honestly, the shading in this set makes it effortless to create a project with such dimension. It's going in heavy rotation around here for sure!

Thank you so much for joining me for the last few days! It has been so much fun to share in your enthusiasm for these new products. They truly do not disappoint!

LizzieJones_TheGreetery_August2019_Day4Cards_CloseUp

Make sure to pop in on the other ladies creating with these fabulous products today and I'll see you again soon! And, pssst...don't forget to leave each of them a comment for your chance to win a gift certificate to The Greetery!

Kay Miller
Laurie Willison
Dawn McVey
Heather Nichols
Keeway Tsao
Angelica Conrad
Wanda Guess
Norine Borys

Supplies:
Autumn Is Here Card

Let's Get Together Card

Wednesday, August 21, 2019

Bottling Up Autumn's Beauty with The Greetery

Good morning, friends, and welcome back to another release intro day for The Greetery's August lineup (the new products will be available on Friday, August 23rd on The Greetery's website)! First off, thank you all so much for your kind words yesterday. I'm still working from a temporary set up and I feel a little rusty, so your sweet messages were very much appreciated.

LizzieJones_TheGreetery_August2019_Day3Cards

I'm back today to introduce a few new fabulous products coming soon that are sure to become staples in your crafty collection. The new Mason Jar Fillers Stencils are a must have to give you even more possibilities with the Just Mason Around set. And the Budding Beauties: Autumn images are perfect for creating stunning seasonal arrangements.

LizzieJones_TheGreetery_August2019_SendingMyThanksCard_1

I began this card by watercoloring a bit of a ground on a watercolor panel and then stenciled the new foliage image. I added a Just Mason Around jar and filled it with sprigs of seasonal botanicals from Budding Beauties: Autumn.

LizzieJones_TheGreetery_August2019_SendingMyThanksCard_2

The sentiment comes from Sentiment Suite: Thank You. I'm sure this is a set I'll turn to again and again. Thank you cards are one of my most needed categories and I can always use new greetings to convey my appreciation.

LizzieJones_TheGreetery_August2019_SendingMyThanksCard_3

I attached the focal panel to a wine-colored card base to help tie together the berries and the twine on the jar. That peek of the base around the very edge of the panel is just enough.

My second card today incorporates those same botanicals from Budding Beauties, but this time I paired them with the new Bottled Up stamps. I truly love these bottles! I can see pairing them with the jar for a homespun pantry feel or giving them a spooky, potion vibe for a Halloween card. Cute!

LizzieJones_TheGreetery_August2019_AutumnBirthdayCard_1

I began by die cutting the Halfsies shapes, using Post-it tape to keep them together while I stamped the plaid background (just connect them on the back, easy). I blended those pieces with ink to give them a warm, autumnal feel and attached them to a neutral card base.

LizzieJones_TheGreetery_August2019_AutumnBirthdayCard_2

I stamped the bottles and botanicals, opting to fill only one of the bottles to keep things from getting too busy. The other bottle I simply adorned with the string detail from the set.

LizzieJones_TheGreetery_August2019_AutumnBirthdayCard_3

For the greeting, I stamped a bottle label with a message from the Bottled Up set. I chose a birthday sentiment, but there are all sorts of useful options. I'm so happy with the warm tones in this card. I can't wait to give it to someone special!

LizzieJones_TheGreetery_August2019_Day3CloseUp

That's all for me today, friends. Thank you so much for joining me! I'll be back tomorrow with even more to share, but in the meantime, these talented ladies have gorgeous work to share:

Kay Miller
Laurie Willison
Dawn McVey
Heather Nichols
Keeway Tsao
Angelica Conrad
Kelly Lunceford
Norine Borys

Have a wonderful day and I'll see you tomorrow!

Supplies:
Sending You Thanks Card


Autumn Birthday Card

Tuesday, August 20, 2019

A Bounty Of New Autumn Products From The Greetery

Good morning, friends, and welcome to today's August introduction post for The Greetery (all of the new products I am sharing today will be available on The Greetery's website Friday, August 23rd at 10am ET)!

LizzieJones_TheGreetery_August2019Cards_Day2

This month is all about autumn and I am absolutely here for it! I love all things autumn. Cozy sweaters, colorful leaves, expressions of gratitude, crisp air...I could go on and on! Rather than wax poetic though, how about I share a couple of projects instead, eh? Let's go!

My first card today pairs the new Bountiful Wreath set with the Harvest Home collection. I am so smitten with that gorgeous wreath! You could use it to frame a sentiment or a little scene like I did today.

LizzieJones_TheGreetery_August2019_HeartsComeHomeCard_1

First, I stamped the wreath using a bundle of fall colors. I used a sponge to add a bit of depth here and there. Betsy makes it so easy to create these incredible images with just a few simple impressions. Once my wreath was complete, I used the inner wreath die to cut the center from the image and set that panel aside.

LizzieJones_TheGreetery_August2019_HeartsComeHomeCard_2

Next, I added a little sponged and speckled sky to my card base before stamping the sentiment and grassy hill. I added a little white house to my scene. I just used two of the layers for the house, but there is a third if you want to add extra color.

LizzieJones_TheGreetery_August2019_HeartsComeHomeCard_3

I stitched a knit strip to the bottom of the wreath panel and tied on a twine bow before attaching that whole piece to my card base with foam tape. Then, I used a bit of Glossy Accents to embellish the berries in the wreath and give them a hint of shine. I can't wait to use this wreath again soon. It makes such a statement!

My second card uses the Harvest Home collection on its own. I love how many options Betsy included for building little scenes and I knew exactly what I wanted to do with this set the second I saw it.

LizzieJones_TheGreetery_August2019_Gather&GiveThanks_1

I used the barn this time to create a farmyard scene. I kept the stamping pretty simple to create a nice clean and simple design (though I did do a little sponging on the sky to add depth). I framed the scene with a pierced oval to give it a subtle border.

LizzieJones_TheGreetery_August2019_Gather&GiveThanks_2

I heat embossed the sentiment from the set onto bold, bright red cardstock to tie into the color of the barn and then used one of the dies from the Sentiment Suite Collection to trim the ends and give them subtle points. I used that same bright red to mat my focal layer before attaching it to a kraft card base.

LizzieJones_TheGreetery_August2019_Gather&GiveThanks_3

I love that Betsy included accessories like the windmill, hay bales, and fencing so that you could really customize your scenery. Those tiny hay bales are so cute!

LizzieJones_TheGreetery_August2019Cards_Day2_CloseUp

Well, that's all I have to share with you today, friends. I'll be back tomorrow with even more to share from this month's The Greetery release. I hope you'll check back, but in the meantime, these talented ladies have plenty to share. And don't forget to leave comments every step of the way for your chance to win a gift card! See you soon!

Kay Miller
Laurie Willison
Dawn McVey
Heather Nichols
Keeway Tsao
Angelica Conrad
Kelly Lunceford

Supplies:
Hearts Come Home Card


Gather Card