
Last year these glittered bow tags were some of my favorites that I did the entire series. So I thought it would be fun to recreate something similar with new product from The Greetery. I totally love the Fit To Be Tied die and I just knew it would make lovely statement tags.
Quick tip: Often I just go for whatever colors appeal to me in the moment, but for these I looked at my wrapping paper collection and chose colors that I thought would coordinate nicely with a couple of the papers I have on hand. It's fun to wing it, but sometimes these things are more useful with a few extra minutes of planning.
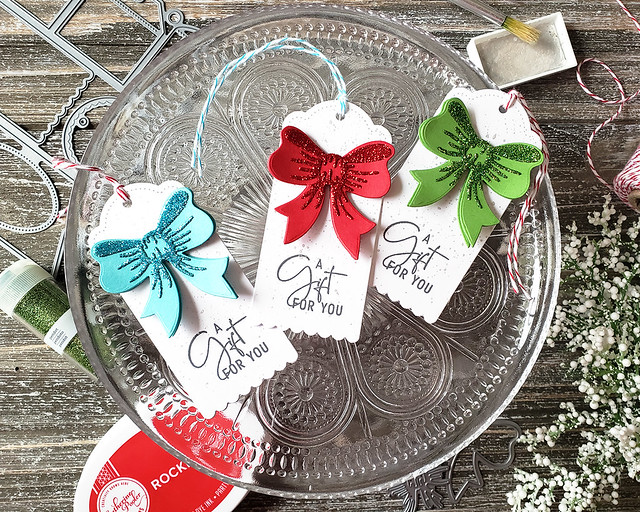
I cut the bows (two of the solid parts, one of the detail xyroned on both sides) and set them aside. Then, I die cut the long, scalloped die from the Speed Tagging set. You could use more than one shape to do these tags in order to get a quicker result, but I just cut smaller pieces of white cardstock and die cut only the area I needed for the tags I wanted.

I splattered three of the tags with silver watercolor and stamped the sentiment when the paint was dry (it just took a few minutes since the speckles were so small). On the other three, I added the "to:" and "from:" in ink colors that would coordinate with the bows on the front of the tags. I adhered the tags together. Then, I tied each one with baker's twine and set them aside.
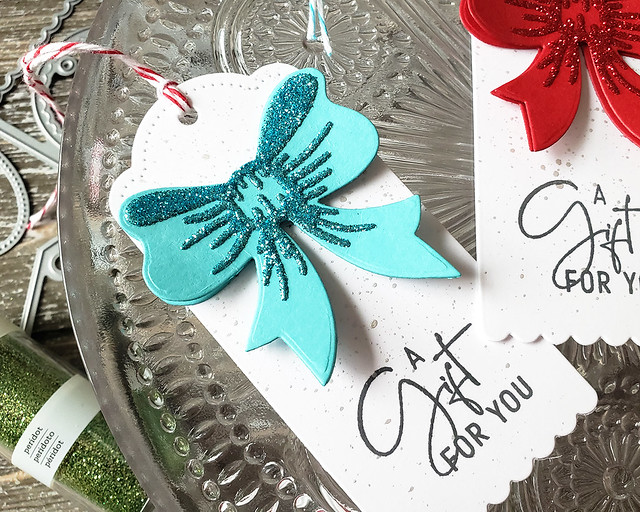
Next, I attached the bow detail pieces to their respective solid counterparts and removed the Xyron backing to expose the adhesive underneath. I sprinkled each bow with a matching glitter and burnished it into the adhesive to make sure there was as little transfer as possible later on. I curved the bows a bit with my fingertips and attached them to the additional solid bows with foam tape. The second bow just gives a bit of depth. I adhered the fully assembled bows to the tags and voila!
I love this style and I'm sure I'll be doing it again in the future! Thank you so much for joining me this week. Enjoy the rest of your weekend!
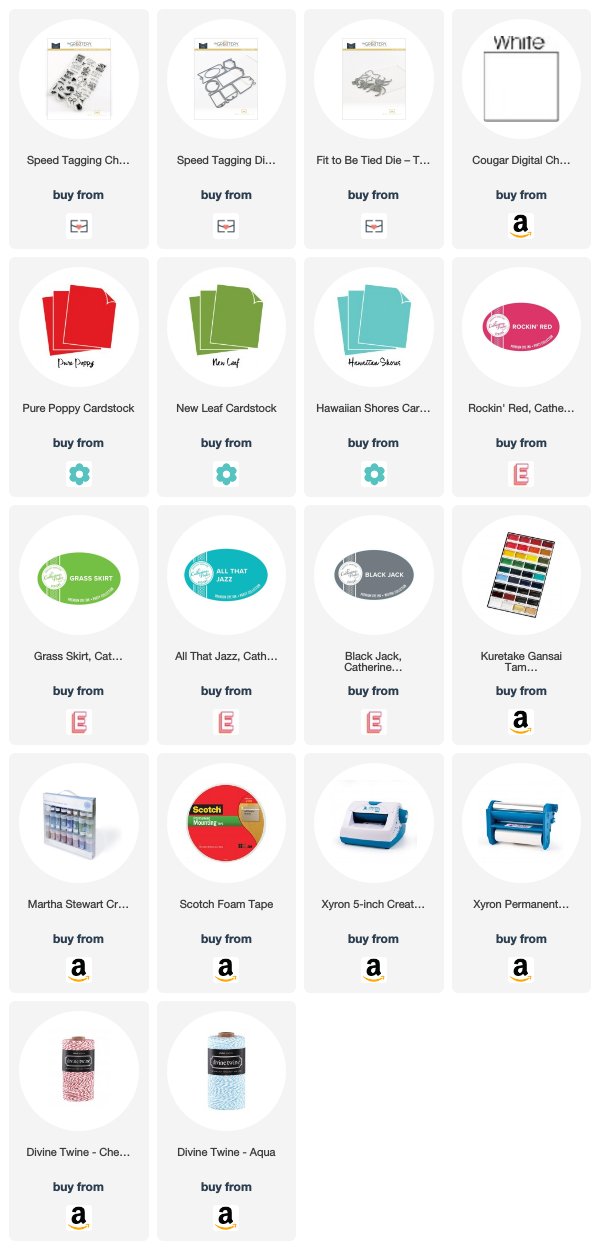
Supplies:
Gift Bow Tags
Gift Bow Tags
2 comments:
Lizzie, the bows dies from The Greetery is over the top amazing! Your tags are the cutest ever. The bows are so classy and fun to make.
Hi Lizzie! I remember during the release of these bows, how realistic yours looked ( with the mistletoe) because you added glitter to the detail portion. Your tags are beautiful! Beautiful! And your tip for coordinating with our wrapping paper seems so simple, but I haven’t done that. I will now. I can’t thank you enough for sharing your Festive Friday’s, I’m such a fan and it’s so inspiring! 😊🎀
Post a Comment