Good morning, everyone, and welcome to Day 2 of the
Papertrey Ink December countdown! I'm back today to introduce you to my new
Love In Bloom stamp set. This $18 set features a blooming heart image that comes together in four stamped layers. I have to be honest, I'm totally smitten. I've been enjoying experimenting with color palettes and embossing. I hope you love it as much as I do! So let's get on to a few projects so you can see it in action.
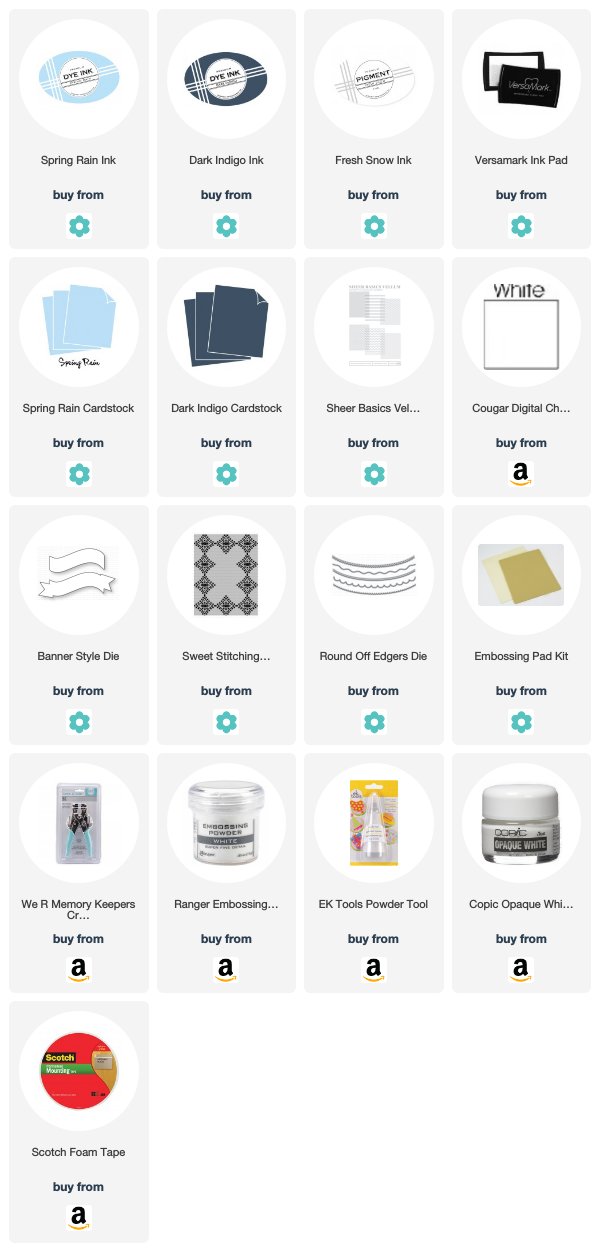
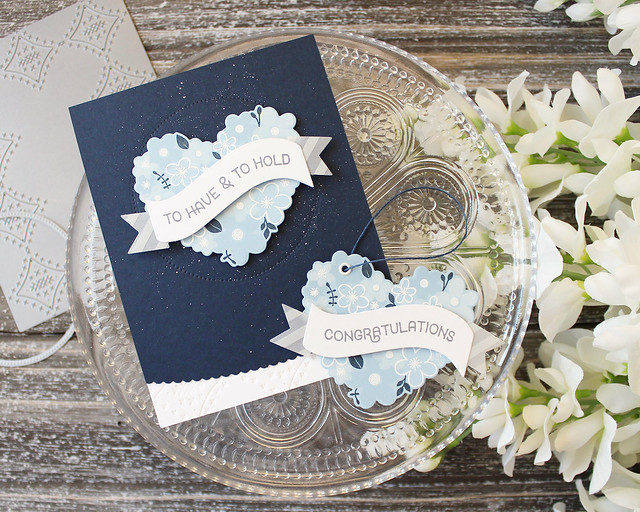
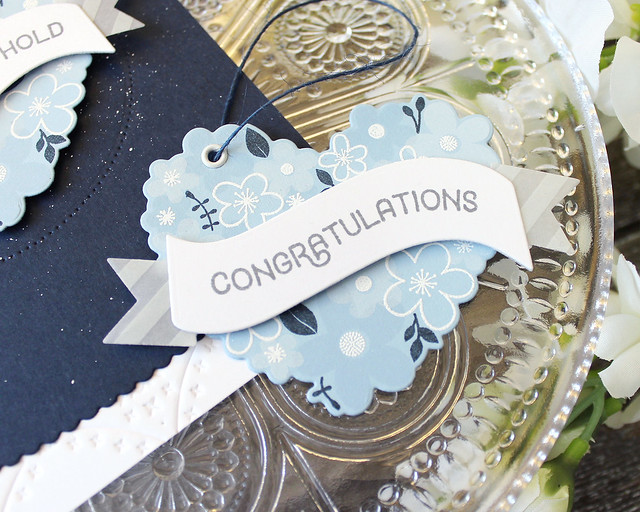
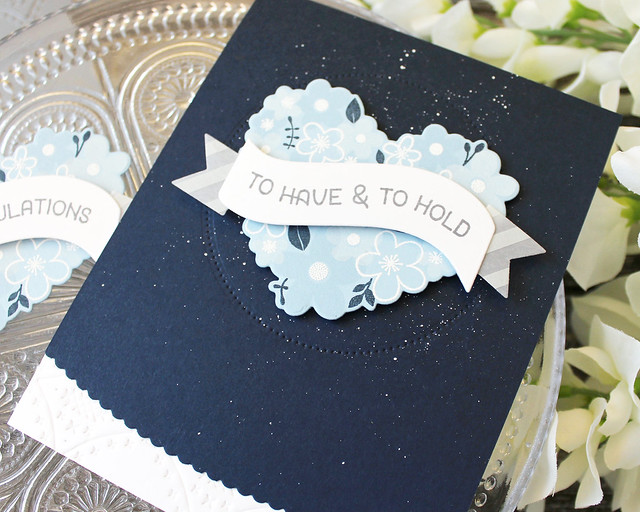
My first project today is a wedding ensemble in monochromatic blues. The color is soft and dreamy and I can't get enough.
I began by stamping my heart focal point. I learned that it's easiest to line things up if you choose a layer as a starting point, die cut after that one layer, and then use the die as a guide (it's only really relevant if you're planning to die cut eventually). I stamped the Spring Rain layer first. Then followed up with the Dark Indigo leaves, white embossed details, and finally, the Fresh Snow flowers.
Next, I stamped two of the greetings from the set onto Banner Style die cuts. The stamps are naturally straight, so I followed the curve of the banners when I put the stamps on the block. I die cut the tails of the banner from Sheer Basics patterned vellum and adhered them to the back of the stamped pieces. I layered one onto a heart for the focal point on my card. The other I used to create a coordinating tag. I just punched a hole in one of the flower centers and set it with a white eyelet before tying it with navy twine.
To complete my card, I die cut a pierced circle frame into a panel of Dark Indigo cardstock and splattered that panel with Opaque White pigment. Then, I die cut the bottom edge with a Round Off Edgers die and adhered that panel to a white card base that I had textured with the Sweet Stitching Impression Plate. I just mounted my heart in the center of the circle with foam tape to finish it off. Now I just need someone to get married so I can give this to them!
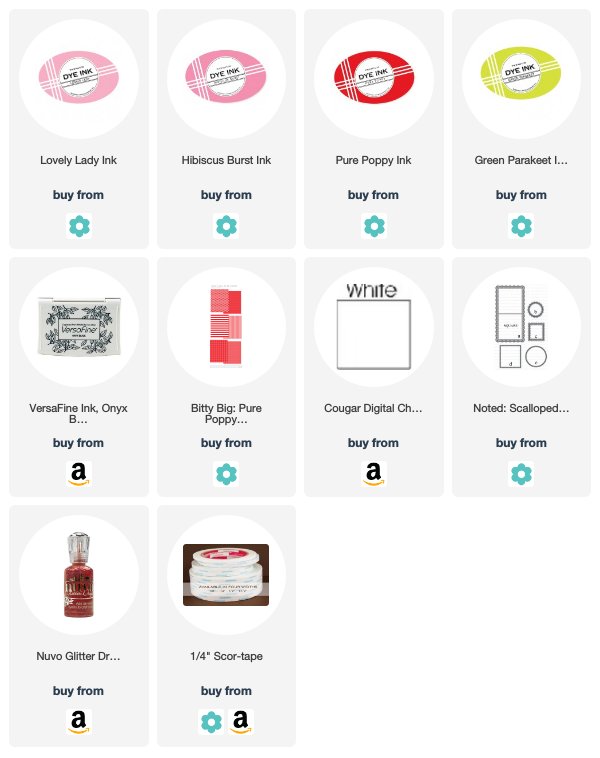
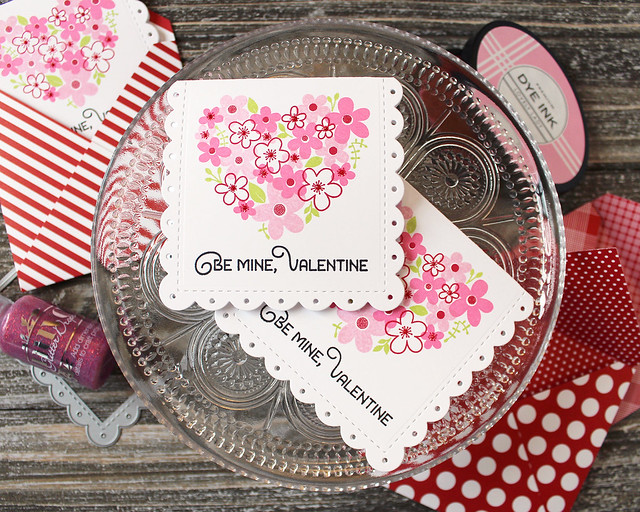
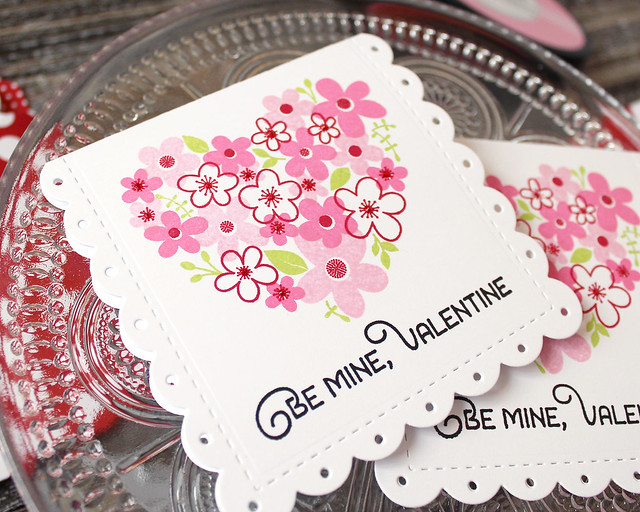
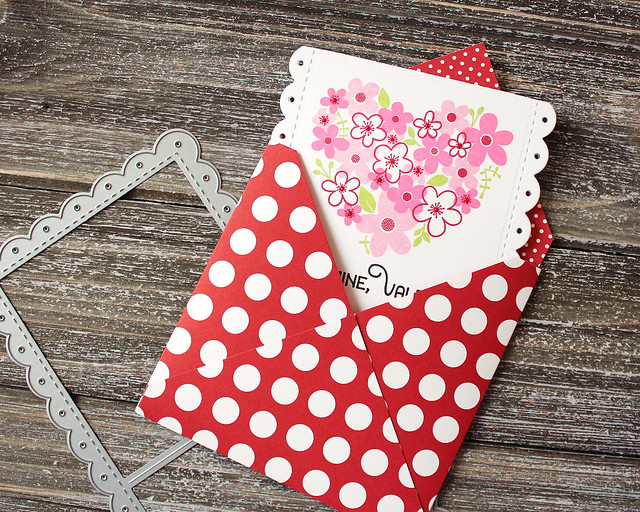
My second project is a little trio of classroom Valentines. You can whip up a batch of these minis in no time at all, especially if you have a stamp platform at your disposal.
I began by die cutting a few scalloped bases using the Noted: Scalloped Square Die Collection. Then, I stamped my hearts using Lovely Lady, Hibiscus Burst, Pure Poppy, and Green Parakeet inks.
I followed up by stamping the sentiments with black ink and embellishing several of the flower centers with Nuvo glitter drops. They're simple and sparkly! And they would be fairly easy to do with a little assistant.
I felt like my Valentines needed some cheerful envelopes, so I made my own out of Bitty Big: Pure Poppy paper, but you could always use 4" envelopes instead. Aren't these cute though?!
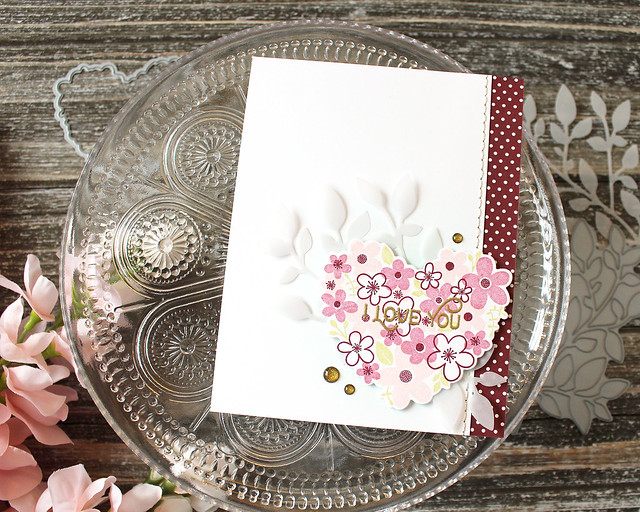
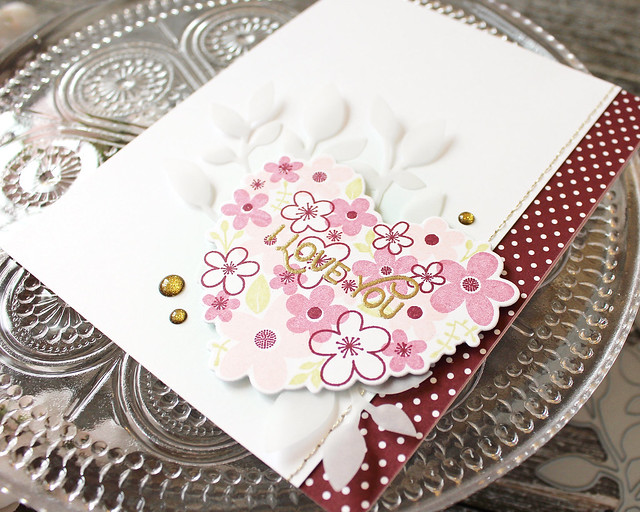
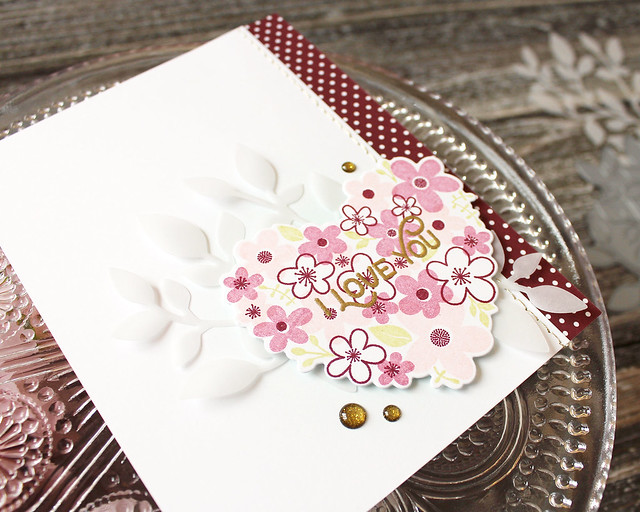
My last project today is a romantic card for anytime. There's no wrong time to surprise the one you love with a card just because.
I began by stamping my flower using Sweet Blush, Autumn Rose, Scarlet Jewel, and Spring Moss inks. Then, I gold embossed the sentiment directly onto the center of the heart and set it aside.
Next, I sponged a white panel with a bit of Aqua Mist ink and stitched it to a strip of Bitty Big: Scarlet Jewel paper using gold thread. I adhered that panel to a Sweet Blush card base before attaching a few vellum branches.
I adhered my heart over the branches using foam tape and embellished with a few gold enamel dots. The soft, muted tones of the heart are so graceful and the pops of gold give the whole card a more glamorous feel. I truly love how this set can take on such different styles depending on the colors you choose.
Well, that's all I have to share with you today. I hope you've enjoyed this first peek at Love In Bloom. It will be available on Saturday, December 15th at 10pm along with the rest of the December release. In the meantime, make sure to visit
Betsy,
Dawn,
Heather,
Kelly,
Kimberly,
Laurie,
Lexi,
Melissa B,
Melissa P, and
Michelle to see even more of today's introductions. I'll see you back her tomorrow!
Supplies:
Love In Bloom Wedding Ensemble
 Be Mine Classroom Valentines
I Love You Card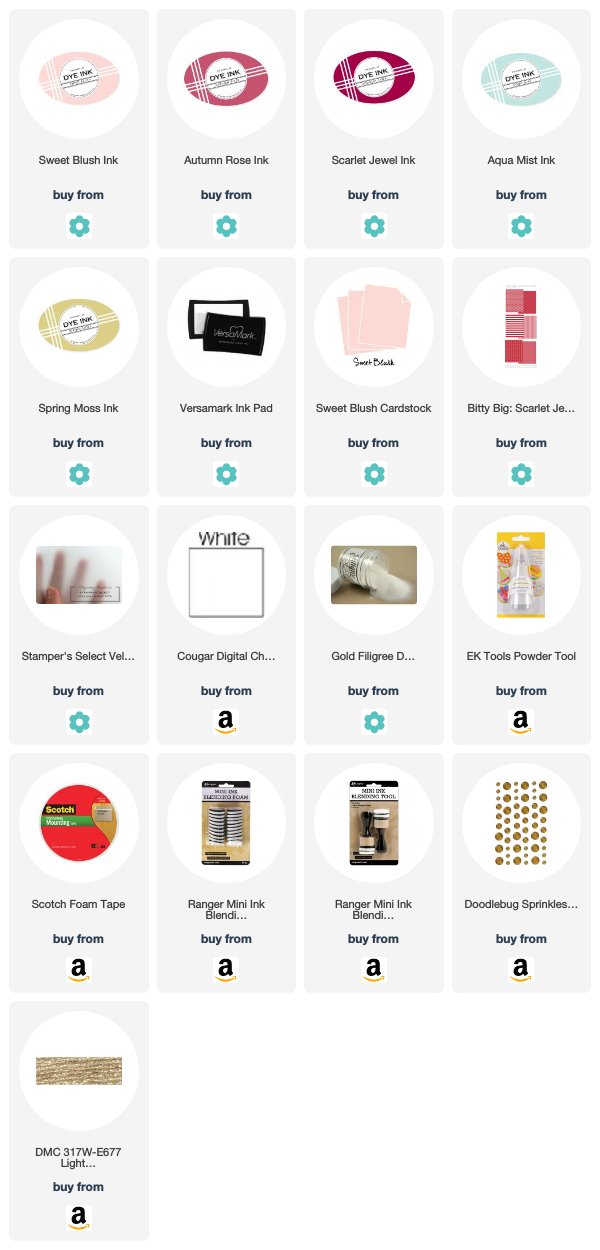

4 comments:
Lizzie, your new Love in Bloom is amazing! Especially in blue!!! Love the idea of 4 layers!
Love this new stamp set!
I love the notecards with the Love in Bloom set. And I’ve tried over a year now to purchase the Noted square scalloped die. Do you know if these will ever be restocked? I am enjoying using the Love in Bloom set!
Post a Comment