

Good morning and welcome to this month’s Stitching Focus! I’m Lizzie Jones, your Stitching Ambassador and I am so excited to be here sharing with you today! In the spirit of holiday preparation, I thought it might be fun to look at the variety of ways you can use the Stitched Tag Die to create tags made from felt, paper, or a combination of both! Let’s take a closer look at the product I’m featuring today.
The Stitched Tag Die is a handy, two-part tag that can be stitched together to create a pocket. It’s perfect for gift cards, money, lip balm (especially when stitched out of felt), and more! You can even cut your tags out of cardstock or patterned paper and opt to not stitch the holes, giving a super cute eyelet effect all along the outside edge. Let’s take a closer look at some past projects!

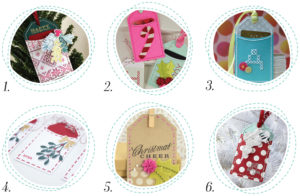
I paired the Stitched Tag Die with Fair Isle Borders and Spruce & Sprigs to create this gift card holder. The contrasting cardstock layers make the gold embossed sentiment and gold stitching really pop. And by using the rock & roll technique I was able to give the stamped pattern a bit of added depth.
Erin’s felt tags are not only cheerful, they’re reusable too! She used the Seasonal Stitching: Candy Cane, Seasonal Stitching: Holly, and Stitched Holiday Words dies to give her felt tags holiday flair.
Laura emblazoned the front of her tag with a Cross Stitch Alphabet monogram and Bitty Button Stacks flowers. The patterned paper adds such playful charm peeking out from the bottom layer of her tag!
Ashley’s tag-within-a-tag construction is totally unexpected and super cute! She slipped Tag Sale #3 die cuts into the pocket of her Stitched Tags, stamping both with seasonal foliage to make them coordinate. Her tags also go to show how sweet an alternating stitch can look on these tags. Often doing every other stitch is all that is really needed to secure a pocket and the results are totally delightful.
Nichole also kept to every other stitch on her Seasonal Stitching: Holly tag. The stamped polka dots help ground her holly and the Painted Poinsettias sentiment adds sophistication and class. She stitched her pocket to the back of her tag, giving her more space to add a festive design to the front. So clever!
And lastly this month, I created this gift card holder tag with images of my beloved mercury glass ornaments dancing through my head. The What The Doodle: Ornament stamp set dressed up my tag and gave me the opportunity to incorporate plenty of silver embossing and glitter (both of which are seasonal requirements in my book).

So as I sat and pondered this month’s post, I thought it would be fun to try the stitched tag in a few different ways (by the way, the tag just went out of stock over the weekend – after I already had my projects done, of course – and I have been assured they will be getting it back as soon as possible). While I’m usually drawn to stitching projects made from felt, I had actually only ever used this die with cardstock. This seemed like the an ideal time to explore the possibilities and switch things up.
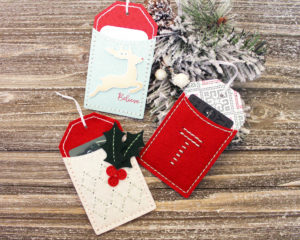
I decided to create one tag entirely out of felt, one tag entirely out of cardstock, and one hybrid between the two.
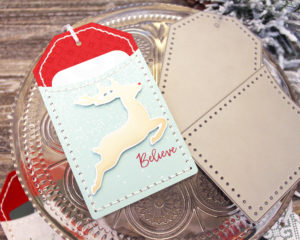
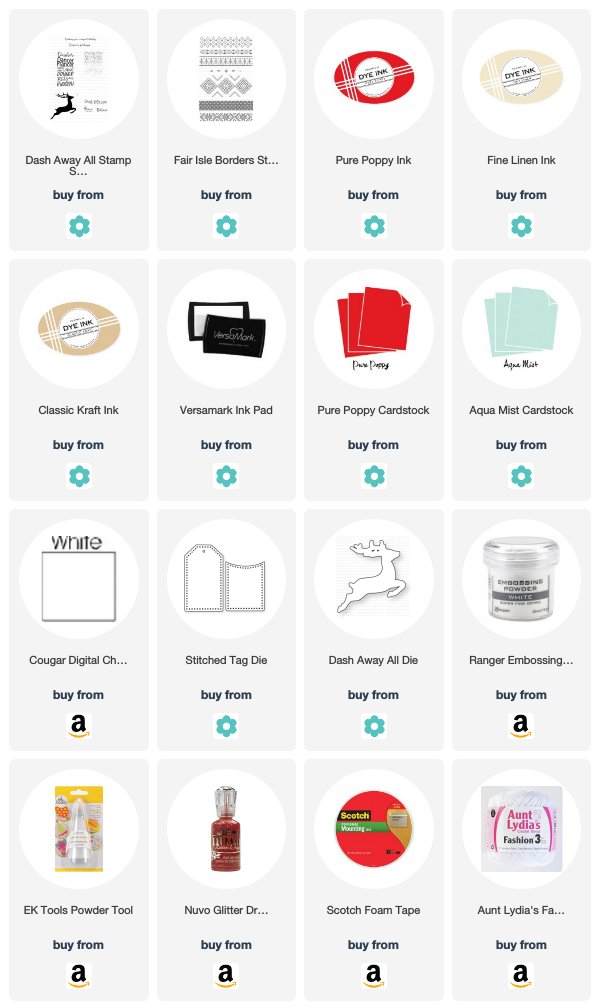
Let’s start with the all cardstock tag. I love that the stitching adds a unique texture and contrast detail along the edge of these tags. Not to mention the pocket is just plain handy. I cut the back of this tag (the full, tag-shaped piece) from Pure Poppy cardstock and stamped it with a background from Fair Isle Borders. The front of the tag, I die cut from Aqua Mist cardstock and stamped with images from Dash Away All. I heat embossed the snow so it would be nice and bright white. Then I did my stitching and adhered the deer with foam tape. I embellished its nose with Nuvo glitter drops to add just a hint of sparkle. This is the most rigid of the tags. I definitely wouldn’t try to put anything with much bulk inside this pocket.
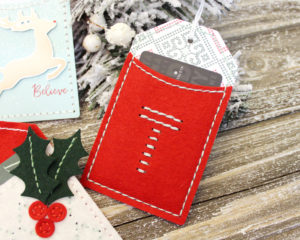
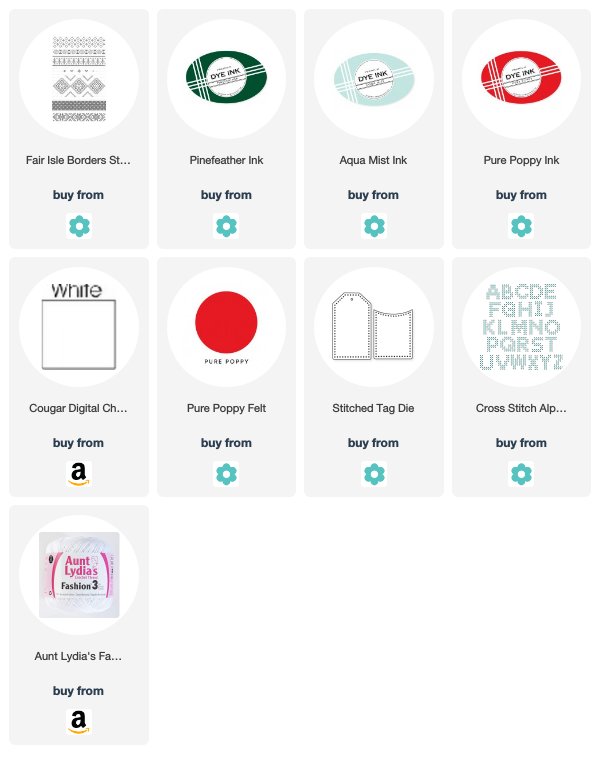
Next, I have the hybrid. I cut the back from white cardstock and stamped it with a Fair Isle Borders pattern. I cut the front from Pure Poppy felt and used the Cross Stitch Alphabet to add a monogram. I wanted the monogram to be a bit more contemporary though, so I stitched straight lines rather than the traditional crosses. It’s a nice contrast in style when compared to the Fair Isle. I also chose to use a contrasting thread to give a border effect to the tag. It’s a detail that’s fairly subtle, but it really pops against the red felt. This tag has a nice mix of rigid (from the cardstock) and soft (from the felt pocket). You could probably get away with multiple gift cards (like dinner and a movie or makeup and clothing) tucked into this pocket together. Maybe even a mini chocolate bar, but only if your recipient has been on the good list.

Finally, I have a tag made from all felt. I used Pure Poppy felt for the back and Vintage Cream for the front. Then, I used the Phone Case Details Die Collection and Seasonal Stitching: Holly Die to dress it up. I chose to use the flat berries, but there are poofier, more dimensional berries available, too.
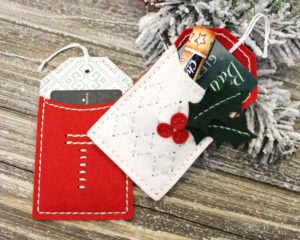
This is by far the softest and most pliable tag. You could tuck all sorts of small items into this tag, from jewelry to lip balm. I even tried tucking a lip balm in with a gift card and it totally worked!
I’m looking forward to tying these tags on to packages or even hanging them on the tree for my recipients to find on Christmas morning. In my grandpa’s later years he would hide gift envelopes for everyone in the tree (instead of buying gifts). I can imagine this is exactly the sort of thing he would have liked to use year after year instead of bland, white envelopes.
I hope you have enjoyed today’s post! Maybe it has inspired you to try your hand at tags of your own or even just encouraged you to try a die with a new material. I can honestly say I genuinely enjoyed this little challenge I set for myself and I’m so glad I gave it a whirl!
Supplies:
Believe Tag
Believe Tag
Monogram Fair Isle Tag
Felt Holly Tag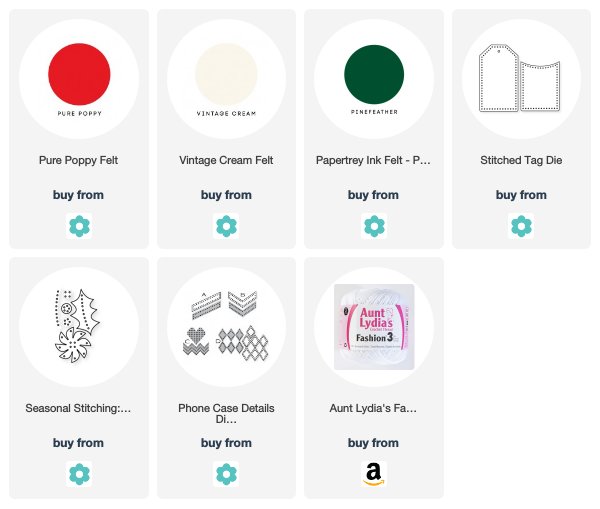
No comments:
Post a Comment