Thursday, December 27, 2018

Throwback Thursday - Shape Up: Snowman Accessories

Good morning and welcome to this week's Papertrey Ink Throwback Thursday feature! This week, Betsy, Michelle, and I are sharing projects using the Shape Up: Snowman die and the coordinating Shape Up: Snowman Accessories stamp set. I love that the snowman die can be used for both holiday and more universal winter projects alike. In fact, it's the perfect collection for creating a special birthday card for a sweet little girl I know!

LizzieJones_PapertreyInk_ThrowbackThursday_ShapeUpSnowman_WinterBirthdayCard4

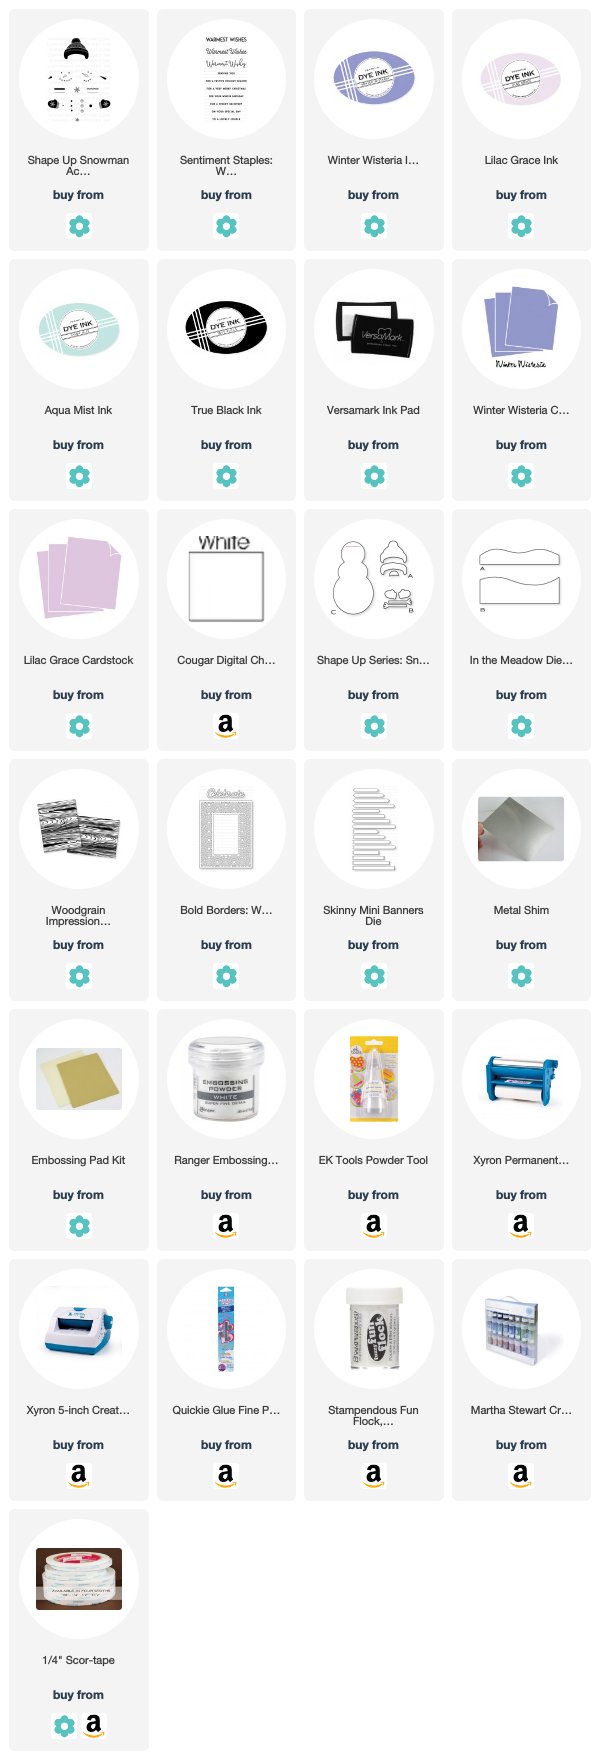
I started by cutting the full snowman body from white cardstock. I sponged a tiny bit of Aqua Mist ink along the outer edges. I stamped the face and buttons and used a pink colored pencil to add subtle rosy cheeks to my snowman. Next, I die cut the arms from wood veneer and the mittens and hat from white cardstock. I stamped the mittens and hat using Winter Wisteria and Lilac Grace inks. The little girl I made this card for is three and WAY into purple, so these colors felt light and feminine, but still in her favorite color palette.

LizzieJones_PapertreyInk_ThrowbackThursday_ShapeUpSnowman_WinterBirthdayCard2

Next, I xyroned a piece of white cardstock and die cut the In The Meadow snow drifts, sticky side up. I textured one of the snow drifts with the Woodgrain Impression Plate and then coated them both with glitter. I adhered the snow drifts to the bottom of the snowman to create a little base that would stabilize the card when it was standing open. To create the tented element, I folded a piece of cardstock and die cut through both sides, keeping the fold intact. I adhered the folded snowman to the back of the decorative snowman to make it stand up.

LizzieJones_PapertreyInk_ThrowbackThursday_ShapeUpSnowman_WinterBirthdayCard3

Then, I die cut the "celebrate" word using the Bold Borders: Wave die from Lilac Grace cardstock and stacked them before adhering them to the snowman. I also heat embossed the greeting from Sentiment Staples: Warmest Wishes onto a Winter Wisteria Skinny Mini Banner die cut and adhered both to the snowman body. As a finishing touch, I embellished the snowman face and buttons with black glitter. It gives them sparkle and who doesn't love sparkle on their birthday? I also embellished the pom pom on top of the snowman's hat with Fun Flock for a bit of realistic texture. It's so cute and I hope the special birthday girl loves it!

LizzieJones_PapertreyInk_ThrowbackThursday_ShapeUpSnowman_WinterBirthdayCard

Thank you so much for joining me today! I'll see you again soon!

Supplies:
Your Winter Birthday Card

Friday, December 21, 2018

Festive Friday: Snowflake Tags

Festive Friday Banner

Good morning, friends, and welcome back to the final Festive Friday! Can you believe that Christmas is almost here? It has been so much fun to share these tags with you week after week. And I'm definitely all set for this year as a result (and maybe even next year, too). For this last week, I have some big, glittery snowflake tags to share. Best to end things on a sparkly note, wouldn't you say?

LizzieJones_FestiveFriday_SnowflakeTags

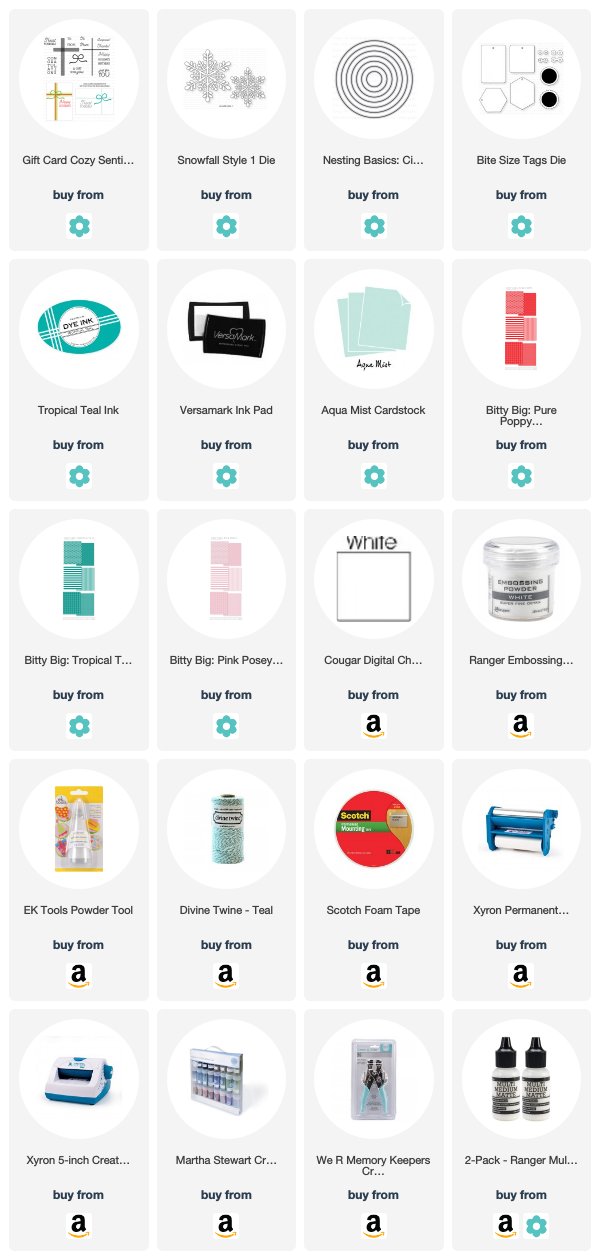
I began by xyroning white cardstock and die cutting it with the Snowfall Style 1 snowflakes (the big ones) with the sticky side up. I peeled off the adhesive backing and sprinkled the surface with glitter. Then, I die cut the scalloped medallion shapes using the Bite Size Tags die. I heat embossed the sentiment from Gift Card Cozy Sentiments in the center of the circles with white embossing powder and set those pieces aside.

LizzieJones_FestiveFriday_SnowflakeTags2

Next, I die cut three patterned circles and three Aqua Mist circles using the Nesting Basics: Circles die. I stamped the "To:/From:" in Tropical Teal on the cardstock circles and then adhered one of each together, keeping the "bad" sides together. I adhered the snowflakes to the patterned side of the circles and added the scalloped pieces to the centers with foam tape.

LizzieJones_FestiveFriday_SnowflakeTags3

Finally, I punched a hole in each snowflake and tied each with baker's twine. Yes, I may have accidentally punched a hole in the wrong leg of the Tropical Teal tag, but I think it makes the tag hang at a jaunty angle, so I'm not mad about it.

Thank you so much for joining me through this series. I hope you've had as much fun as I have! I wish you all a very happy and safe holiday filled with love and laughter. Be well and I'll see you again soon!

Supplies:
Snowflake Tags

Friday, December 14, 2018

Festive Friday - Fun With Die Cut Alphas!

Festive Friday Banner

Hello, friends! It's Festive Friday and this week I have a set of cute, quickie tags that I made pairing the new XO Skinny Mini Tags and the Smooth Alphabet. These tags are such a great size! They're perfect for smaller boxes or bags, but they're still plenty big enough to fit all the vital information. Let's get to it!

LizzieJones_FestiveFriday_DieCutAlphaTags

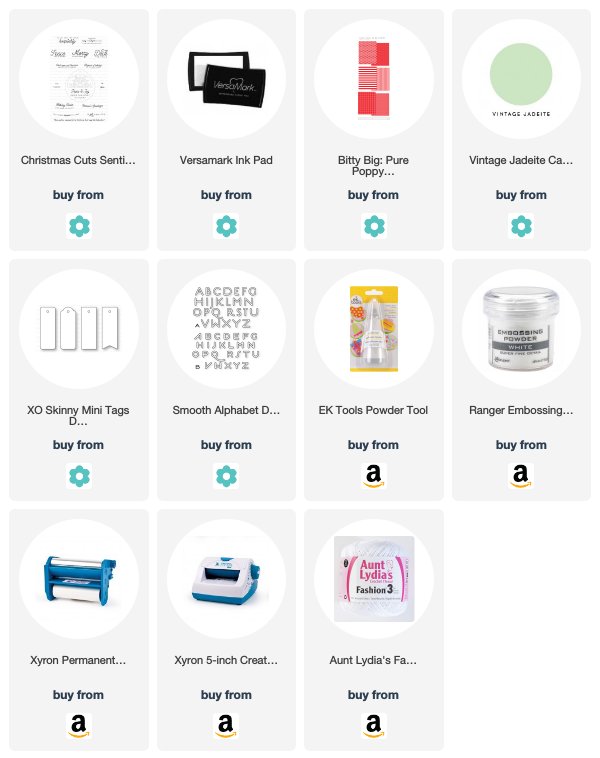
I began by xyroning a few pieces of Bitty Big: Pure Poppy patterned paper. You may have noticed that I really like to cut this plaid pattern on a bias, but the pattern is actually printed straight. That means I have a whole lot of little triangles of patterned paper hanging around and these tags were a fantastic way to use up some of those scraps. I die cut the tags from the patterned paper and then used the Smooth Alphabet (I used mostly the lower case) to cut the words and monogram from the tags.

LizzieJones_FestiveFriday_DieCutAlphaTags2

Then, I die cut the tags again, this time from Vintage Jadeite cardstock. I heat embossed the "To:/From:" from Christmas Cuts Sentiments with white embossing powder before removing the adhesive backing from the patterned paper tags and sandwiching the two together. I finished the tags off with a bit of white crochet thread. I really love how clean and graphic these are while still being fun and colorful!

I hope you've enjoyed this week's Festive Friday! Only one Friday left before the big day!

Supplies:
Die Cut Alpha Tags

Introducing Bear Hugs, Shape Shifter: Oval 4, and You Make My Heart Soar

Good morning and welcome back to Day 5 of the Papertrey Ink December countdown! The team is introducing a handful of products from Betsy Veldman today that will be perfect for Valentine's Day and beyond! Bear Hugs is a super sweet set with imagery and greetings for birthday, baby, and more. Shape Shifters: Oval 4 has a heart mat with an arrow border and modern chevron window. And You Make My Heart Soar includes heart-shaped balloons that would be suited to birthdays or other celebrations. You're sure to love it all!

First up, I have a card pairing Bear Hugs with the Shape Shifters: Oval 4 die.

LizzieJones_PapertreyInk_December2018_BearHugs_ShapeShiftersOval4_ILoveYouCard

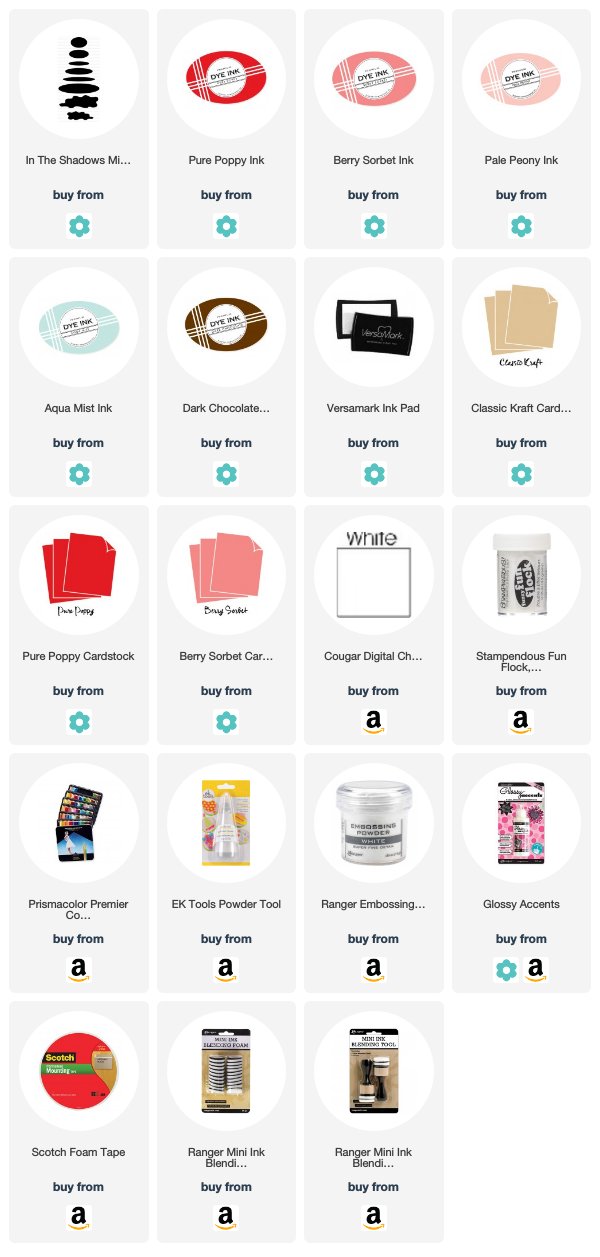
I began by using the window die from the Shape Shifters: Oval 4 to cut a stencil into a piece of vellum. I used that stencil to sponge a pattern onto a Pure Poppy card base. I set that aside while I created my focal panel.

LizzieJones_PapertreyInk_December2018_BearHugs_ShapeShiftersOval4_ILoveYouCard3

I stenciled a burst of "love" onto a white panel using the heart stencil from the Sunshine & Rainbows Make It Market Mini Kit. Then, I stamped the grounding oval from In The Shadows and sentiment from Sentiments Staples: I Love You. I stitched the top and bottom edges of the panel and adhered it to the card base with foam tape.

LizzieJones_PapertreyInk_December2018_BearHugs_ShapeShiftersOval4_ILoveYouCard2

Then, I stamped and colored my bear. I really like to color, but I feel like I rarely have time to really dig in to an image with pencils or markers. I wanted to color this bear though, so I took a little bit of a shortcut by stamping him onto Kraft cardstock. Then, I used Prismacolor pencils and mineral spirits to add just a hint of color and shading. I added flocking to his belly and Glossy Accents to his nose to give him a bit more interest (since I had kept the coloring so simple). Then, I stamped and die cut a little heart to tuck into his arms. I left it loose to make it a bit more interactive. This little bear is so darn cute!

Next up, I have a card made with Betsy's You Make My Heart Soar stamp set.

LizzieJones_PapertreyInk_December2018_YouMakeMyHeartSoar_HeartSoarCard

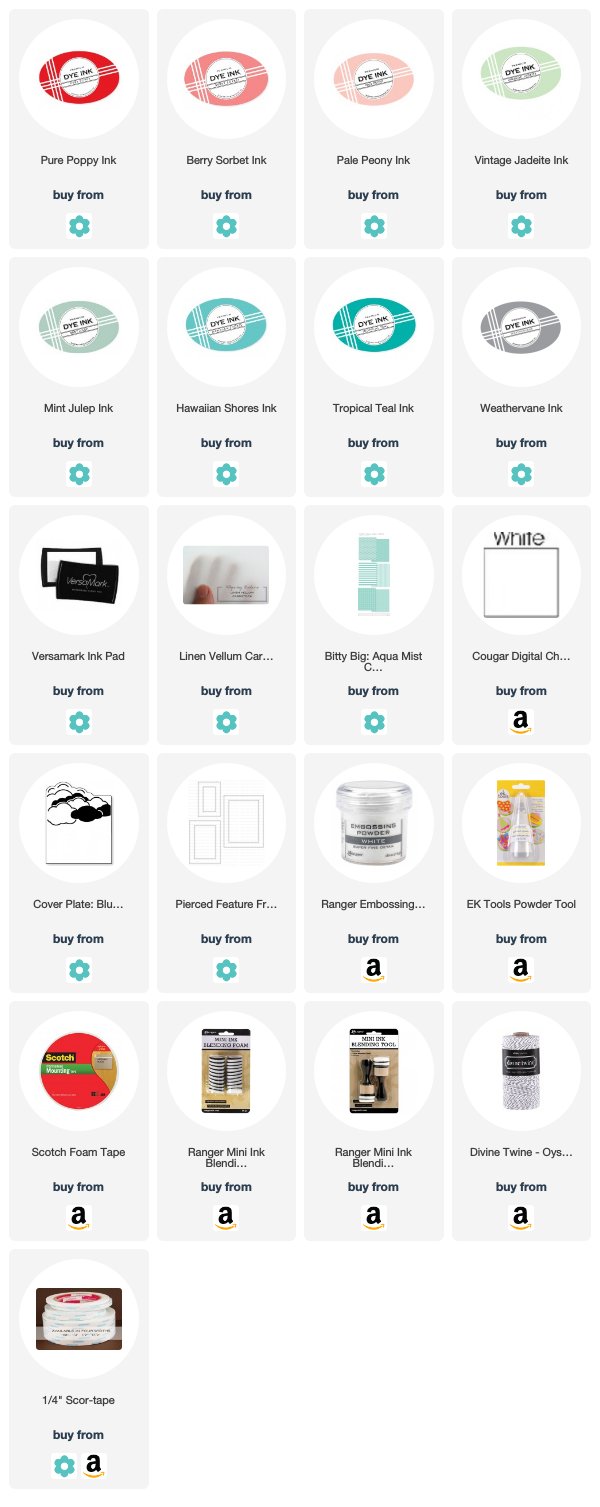
I began by die cutting the clouds from Linen Vellum and adhering them to the back of a Pierced Feature Frame (this is the large). Then, I heat embossed the sentiment from the set onto Bitty Big: Aqua Mist patterned paper and stamped the balloon strings before adhering that to the frame as well. I mounted that framed panel to a white card base using foam tape.

LizzieJones_PapertreyInk_December2018_YouMakeMyHeartSoar_HeartSoarCard2

Next came the balloons. I stamped the balloon bouquet in Berry Sorbet sponged with Pure Poppy and then added additional balloons over top to add a bit more color and dimension. I have a Pale Peony and Berry Sorbet balloon, a Mint Julep and Vintage Jadeite balloon, and a Hawaiian Shores and Tropical Teal balloon.

LizzieJones_PapertreyInk_December2018_YouMakeMyHeartSoar_HeartSoarCard3

I used a mix of flat and foam adhesives to assemble the balloon bouquet and then adhered it to the front of the card with foam tape. I added the baker's twine bow as a fun bit of texture and softness. I'm loving the lighter, taffy-colored tone of these balloons. Oooh! They'd be great for a baby. That just occurred to me. I love a set that has so many uses!

Thank you so much for stopping by today. I'll be back a bit later with a Festive Friday post, but in the meantime Betsy, Dawn, Heather, Kelly, Kimberly, Laurie, Melissa B, Melissa P, and Michelle have more to share. See you again soon!

Supplies:
I Love You Card


Heart Soar Card

Thursday, December 13, 2018

Introducing XO Skinny Mini, Corner Adorner, Bold Borders, and Glorious Globes

Good morning, friends, and welcome back to Day 4 of the Papertrey Ink December countdown! I'm back today with a couple of projects showcasing a handful of fun new products coming your way on December 15th. We have Rebecca's XO Skinny Mini stamps and tag dies and my Corner Adorner: December, Bold Borders: Love, and Glorious Globes: December sets to share today. Let's take a closer look!

On today's first project, I have a set of four Valentine treat boxes embellished with Rebecca's sweet tags.

LizzieJones_PapertreyInk_December2018_XOSkinnyMini_CornerAdorner_ValentineTreatBoxes

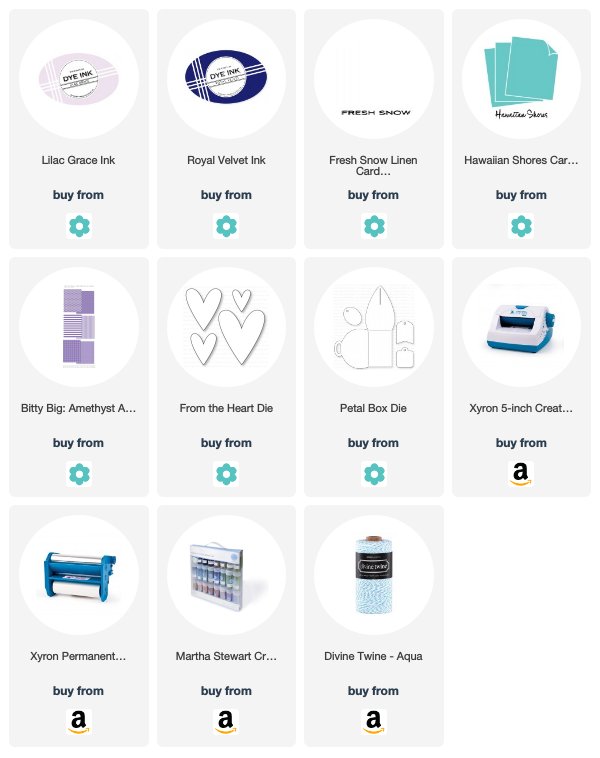
I began by die cutting a set of tags from Fresh Snow Linen cardstock. I stamped each tag with an image (or partial image) from the Corner Adorner set in Lilac Grace ink. Then, I added XO Skinny Mini sentiments in Royal Velvet.

LizzieJones_PapertreyInk_December2018_XOSkinnyMini_CornerAdorner_ValentineTreatBoxes2

Next, I xyroned a piece of Hawaiian Shores cardstock and die cut the hearts using the From The Heart die. I punched holes for threading baker's twine before applying glitter to the face of the hearts.

LizzieJones_PapertreyInk_December2018_XOSkinnyMini_CornerAdorner_ValentineTreatBoxes3

I die cut the Petal Boxes from Bitty Big: Amethyst Allure paper and assembled them with Scor-tape for a nice, strong hold. Then, I stacked a glittered heart and a tag for each box and tied them to the handles with baker's twine. This would be a quick project to do with older kids who want to give thier friends a treat. Maybe fill the boxes with lip balm or a friendship bracelet or a few truffles. Fun!

Next up, I have a card made with Bold Borders: Love and Glorious Globes: December.

LizzieJones_PapertreyInk_December2018_GloriousGlobes_BoldBorders_YouMeanTheWorldCard

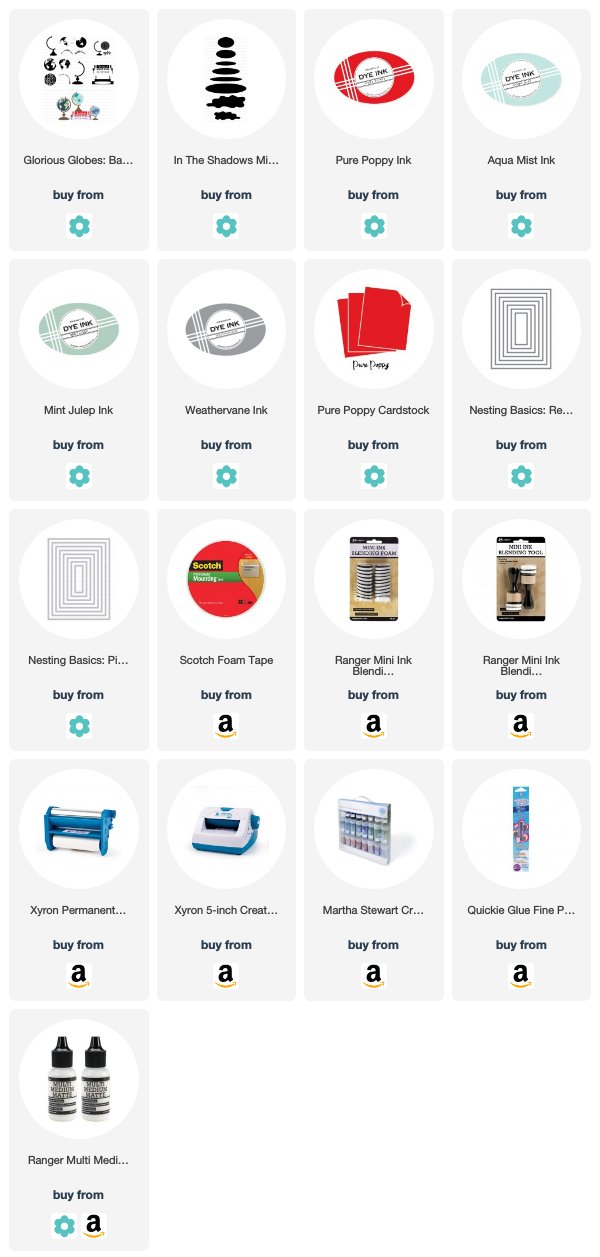
I began by preparing my card front. I covered a white card base with Pure Poppy cardstock and applied a Bold Borders: Love die cut from the same color cardstock. Then, I glittered a few of the leftover hearts and used them to fill in a handful of the spaces in the border. I really love the texture and spots of sparkle these hearts add!

LizzieJones_PapertreyInk_December2018_GloriousGlobes_BoldBorders_YouMeanTheWorldCard2

Then, I die cut a center panel using the Nesting Basics: Rectangles and added the pierced detail using the Nesting Basics: Pierced Rectangles die. I stamped a ground using the In The Shadows set in Aqua Mist and set it aside. Next, I die cut and stamped my globe. I found it easiest to line up the overlapping hearts by using the die cut shape as a guide. I lay the globe on the center panel and stamped the sentiment before attaching the globe with foam tape and embellishing the red hearts with glitter.

LizzieJones_PapertreyInk_December2018_GloriousGlobes_BoldBorders_YouMeanTheWorldCard3

I adhered that panel to the front of the card with foam tape and set it aside. Then, I xyroned a piece of white cardstock. I sponged part of that strip with Aqua Mist ink and then die cut three of the "Love" words, keeping the ombré one on top. I attached that greeting to the front of the card at a slight angle to give the card a bit of movement.

That's all for me today, friends. Thank you so much for joining along. Make sure to visit Betsy, Dawn, Heather, Kelly, Kimberly, Laurie, Melissa B, Melissa P, and Michelle to see more of this month's release. See you tomorrow!

Supplies:
Valentine Treat Boxes


You Mean The World Card

Wednesday, December 12, 2018

Introducing Everyday Elixir Labels, From The Heart, and Sentiment Staples: I Love You

Good morning, friends, and welcome back for Day 3 of the Papertrey Ink December countdown! Today the team is sharing a peek at my new Everyday Elixir Labels set, Sentiment Staples: I Love You, and Rebecca's From The Heart set. All three are $5 mini sets that will give you a lot of love for such a little investment. Let's see them in action, shall we?

My first card today is a get well card that I created pairing Everyday Elixir Labels with the original Wicked Elixir stamp set that it was designed to complement.

LizzieJones_PapertreyInk_December2018_EverydayElixirLabels_NestingCircles_SpeedyRecoveryCard

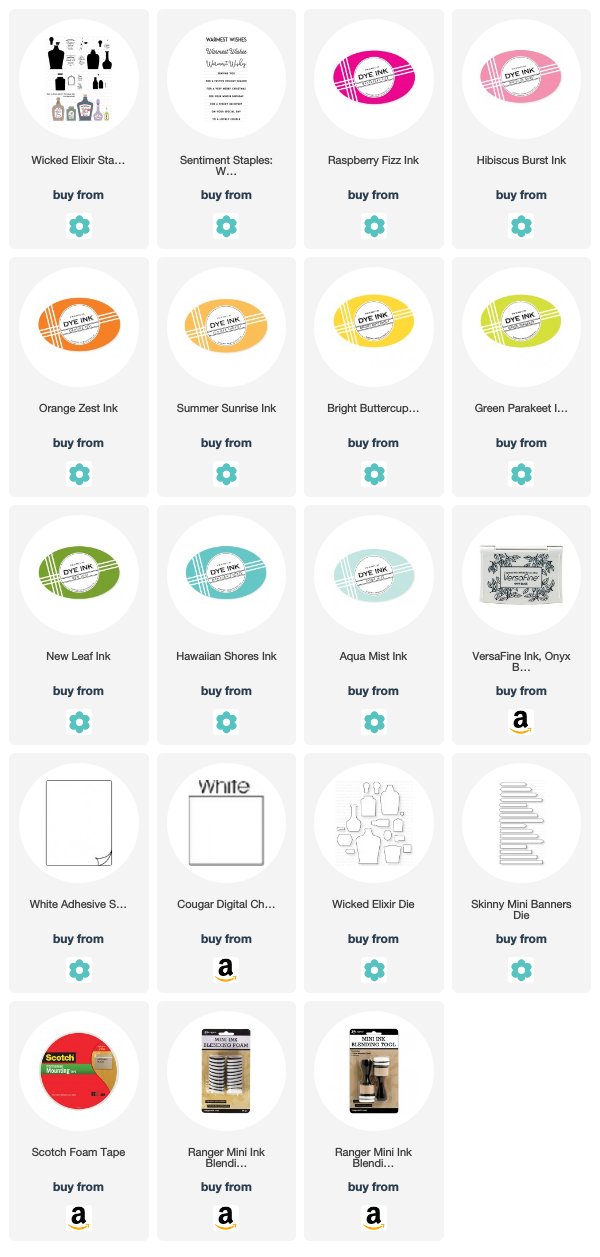
I began by stamping the bottles in a variety of colors. Then, I stamped the "prescription/snake oil" labels onto White Adhesive paper and die cut all of those pieces with the coordinating dies. I stuck the labels onto the bottles and set them aside.

LizzieJones_PapertreyInk_December2018_EverydayElixirLabels_NestingCircles_SpeedyRecoveryCard2

Next, I die cut a circle from a white card front and used a Nesting Basics: Pierced Circles die to add the pierced detail around the opening. Then, I stamped the greeting from Sentiment Staples: Warmest Wishes below the window using black ink. I sponged some Aqua Mist and Hawaiian Shores inks onto a white card base and stamped a few details before adhering the window panel into place.

LizzieJones_PapertreyInk_December2018_EverydayElixirLabels_NestingCircles_SpeedyRecoveryCard3

Then, I die cut a "shelf" from wood paper using a Skinny Mini Banner die. I adhered it to my card front with dimensional adhesive and then arranged my bottles atop the shelf. Such a cheerful card is sure to brighten an ailing friend's day.

Next I have a card pairing Rebecca's From The Heart stamp set with my Sentiment Staples: I Love You. This is one of those cards that's so sweet and simple and comes together so quickly it almost feels like cheating. But that's the beauty of these sets together...you don't need to make a big production out of things to get a really great card.

LizzieJones_PapertreyInk_December2018_FromTheHeart_SentimentStaples_TheOneForMeCard

To begin, I stamped the hearts from Rebecca's set in Sweet Blush and Pure Poppy inks across a white panel. I started with the Pure Poppy heart and worked outward. That way I was sure to get the perfect placement for my focal point.

LizzieJones_PapertreyInk_December2018_FromTheHeart_SentimentStaples_TheOneForMeCard2

I die cut the pierced circle around the red heart and stamped the Sentiment Staples: I Love You greeting in the center. Then, I simply adhered the panel to a Classic Kraft card base. That's really it. No fluff or extra sparkly things. Sometimes the best things come in classic, uncomplicated packages.

Thank you so much for joining me today! Make sure to visit Betsy, Dawn, Heather, Kelly, Kimberly, LaurieMelissa B, Melissa P, and Michelle to see more of this month's release. See you tomorrow!

Supplies:
Speedy Recovery Card


The One For Me Card

Tuesday, December 11, 2018

Introducing Love In Bloom

Good morning, everyone, and welcome to Day 2 of the Papertrey Ink December countdown! I'm back today to introduce you to my new Love In Bloom stamp set. This $18 set features a blooming heart image that comes together in four stamped layers. I have to be honest, I'm totally smitten. I've been enjoying experimenting with color palettes and embossing. I hope you love it as much as I do! So let's get on to a few projects so you can see it in action.

My first project today is a wedding ensemble in monochromatic blues. The color is soft and dreamy and I can't get enough.

LizzieJones_PapertreyInk_December2018_LoveInBloom_NestingCircles_WeddingEnsemble

I began by stamping my heart focal point. I learned that it's easiest to line things up if you choose a layer as a starting point, die cut after that one layer, and then use the die as a guide (it's only really relevant if you're planning to die cut eventually). I stamped the Spring Rain layer first. Then followed up with the Dark Indigo leaves, white embossed details, and finally, the Fresh Snow flowers.

LizzieJones_PapertreyInk_December2018_LoveInBloom_NestingCircles_CongratulationsTag

Next, I stamped two of the greetings from the set onto Banner Style die cuts. The stamps are naturally straight, so I followed the curve of the banners when I put the stamps on the block. I die cut the tails of the banner from Sheer Basics patterned vellum and adhered them to the back of the stamped pieces. I layered one onto a heart for the focal point on my card. The other I used to create a coordinating tag. I just punched a hole in one of the flower centers and set it with a white eyelet before tying it with navy twine.

LizzieJones_PapertreyInk_December2018_LoveInBloom_NestingCircles_ToHave&ToHoldCard

To complete my card, I die cut a pierced circle frame into a panel of Dark Indigo cardstock and splattered that panel with Opaque White pigment. Then, I die cut the bottom edge with a Round Off Edgers die and adhered that panel to a white card base that I had textured with the Sweet Stitching Impression Plate. I just mounted my heart in the center of the circle with foam tape to finish it off. Now I just need someone to get married so I can give this to them!

My second project is a little trio of classroom Valentines. You can whip up a batch of these minis in no time at all, especially if you have a stamp platform at your disposal.

LizzieJones_PapertreyInk_December2018_LoveInBloom_ClassroomValentines

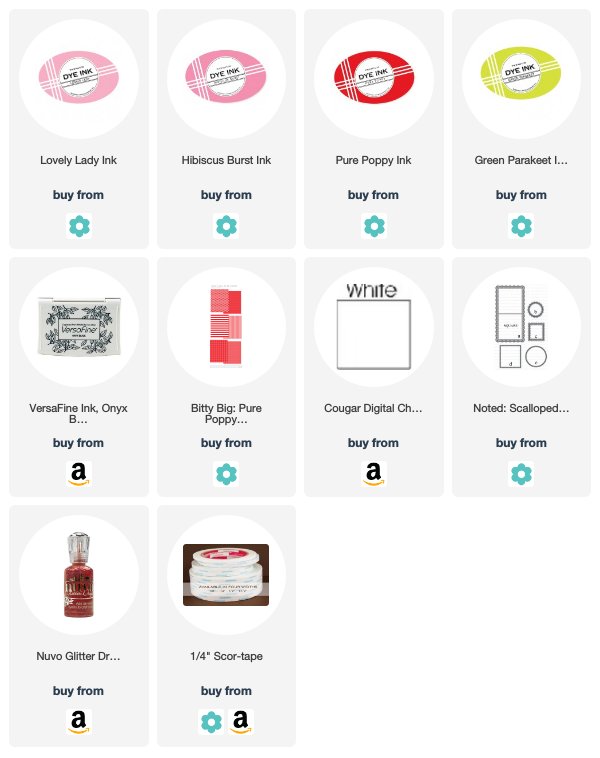
I began by die cutting a few scalloped bases using the Noted: Scalloped Square Die Collection. Then, I stamped my hearts using Lovely Lady, Hibiscus Burst, Pure Poppy, and Green Parakeet inks.

LizzieJones_PapertreyInk_December2018_LoveInBloom_ClassroomValentines3

I followed up by stamping the sentiments with black ink and embellishing several of the flower centers with Nuvo glitter drops. They're simple and sparkly! And they would be fairly easy to do with a little assistant.

LizzieJones_PapertreyInk_December2018_LoveInBloom_ClassroomValentines2

I felt like my Valentines needed some cheerful envelopes, so I made my own out of Bitty Big: Pure Poppy paper, but you could always use 4" envelopes instead. Aren't these cute though?!

My last project today is a romantic card for anytime. There's no wrong time to surprise the one you love with a card just because.

LizzieJones_PapertreyInk_December2018_LoveInBloom_ILoveYouCard

I began by stamping my flower using Sweet Blush, Autumn Rose, Scarlet Jewel, and Spring Moss inks. Then, I gold embossed the sentiment directly onto the center of the heart and set it aside.

LizzieJones_PapertreyInk_December2018_LoveInBloom_ILoveYouCard2

Next, I sponged a white panel with a bit of Aqua Mist ink and stitched it to a strip of Bitty Big: Scarlet Jewel paper using gold thread. I adhered that panel to a Sweet Blush card base before attaching a few vellum branches.

LizzieJones_PapertreyInk_December2018_LoveInBloom_ILoveYouCard3

I adhered my heart over the branches using foam tape and embellished with a few gold enamel dots. The soft, muted tones of the heart are so graceful and the pops of gold give the whole card a more glamorous feel. I truly love how this set can take on such different styles depending on the colors you choose.

Well, that's all I have to share with you today. I hope you've enjoyed this first peek at Love In Bloom. It will be available on Saturday, December 15th at 10pm along with the rest of the December release. In the meantime, make sure to visit Betsy, Dawn, Heather, Kelly, Kimberly, Laurie, LexiMelissa B, Melissa P, and Michelle to see even more of today's introductions. I'll see you back her tomorrow!

Supplies:
Love In Bloom Wedding Ensemble

Be Mine Classroom Valentines


I Love You Card
Monday, December 10, 2018

Introducing Words To Live By: Happiness and Text & Texture: Bokeh

Good morning, friends, and welcome to Day 1 of the Papertrey Ink December countdown! Today we're kicking off five days of fun-filled crafty goodness with Betsy's newest Words To Live By and Text & Texture sets.

LizzieJones_PapertreyInk_December2018_WTLBHappiness_T&TBokeh_HappinessIsKnowingYouCard

This month's Words To Live By is all about happiness and it is packed with greetings that I'm sure you're going to love and use all the time. Her Text & Texture: Bokeh will give your projects and incredible bokeh effect with just a couple of simple impressions. I've yammered on enough. Let's get on to a project!

LizzieJones_PapertreyInk_December2018_WTLBHappiness_T&TBokeh_HappinessIsKnowingYouCard3

I began by stamping the bokeh pattern onto a few different colors of cardstock. I set up the stamps in two stamp platforms so it was a snap to do several at once. Next, I used my new Nesting Basics: Circles and Nesting Frames: Circles to cut bits and pieces from each panel. I added them to a card front in a variety of ways, overlapping here and there.

LizzieJones_PapertreyInk_December2018_WTLBHappiness_T&TBokeh_HappinessIsKnowingYouCard2

Then, I xyroned a piece of True Black cardstock and die cut a few of the Words To Live By: Happiness greetings. I layered them and embellished the top one with Onyx glitter. I also heat embossed the companion sentiment onto vellum and die cut it with a banner die from my Wine Bottle Tag #2 die. I adhered the banner to the front of the tag, hiding the adhesive under the Words To Live By die cut. This card may be simple, but it's brimming with unique pattern and texture and I couldn't be happier.

Thank you so much for joining me today! Make sure to pop in on Betsy, Dawn, Heather, Kelly, KimberlyLaurie, Melissa B, Melissa P, and Michelle to see even more of today's introductions. I'll see you again tomorrow with more of this month's release!

Supplies:
Happiness Is Knowing You Card