Good morning, friends, and welcome to another Throwback Thursday feature with Papertrey Ink! Happy Thanksgiving to those of you in the United States and Happy Just Because to those of you joining me from elsewhere.
Dawn,
Laurie, and I are showcasing
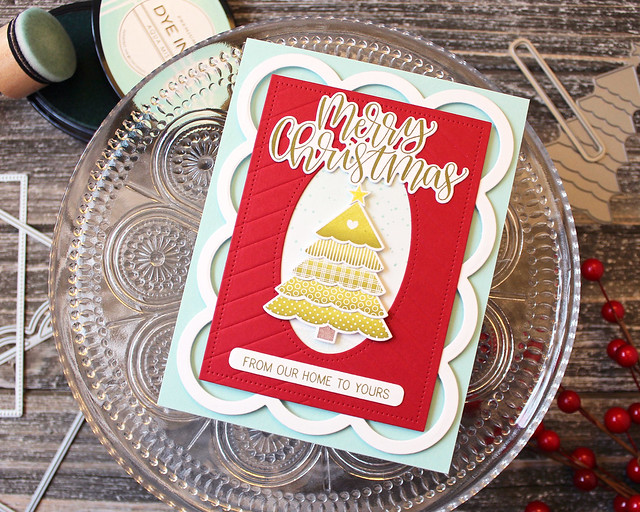
Polka Dot Parade #9 today. This week's challenge was a super fun one, for sure! There's something so charming and sweet about the Christmas tree from Polka Dot Parade #9. It's also a great size for both cards and tags alike, so you really can't go wrong. I paired it with some more recent products to give it a refresh and I'm just tickled at how it turned out!
The tree in this set incorporates a lot of pattern, so I went the texture route to give my frames and layers loads of interest.
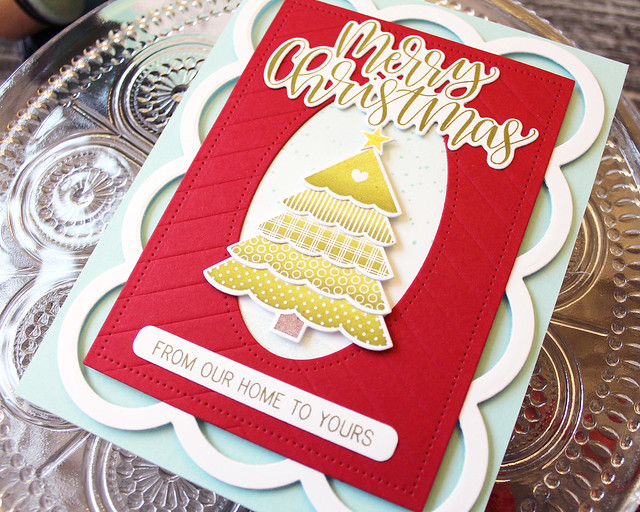
I began by stamping my tree parts. I used a blending sponge and a stamping platform to add depth to each layer using Simply Chartreuse and Ripe Avocado inks. I stamped the star in Bright Buttercup and a second generation (meaning I stamped off once before stamping on my die cut) Dark Chocolate trunk to round out the tree image.
Next, I created the frame I wanted to use to draw the eye in toward my tree. I began by impressing the
Cover Plate: Center Stage into a piece of Pure Poppy cardstock using and impression plate sandwich and the
embossing pad kit. Then, I die cut it with a
Nesting Basics: Rectangle die and the oval window from my
Folded Pocket Tag Die to create the frame shape. Then, I went back and cut in the pierced detail using my
Nesting Frames: Pierced Rectangles Die. I layered that over a
Scallop Stackers: Large die cut that I sponged with a bit of Aqua Mist ink and stamped with some
Winter Window flurries. I also added an Aqua Mist grounding oval from
In The Shadows that I covered with glitter for some sparkle.
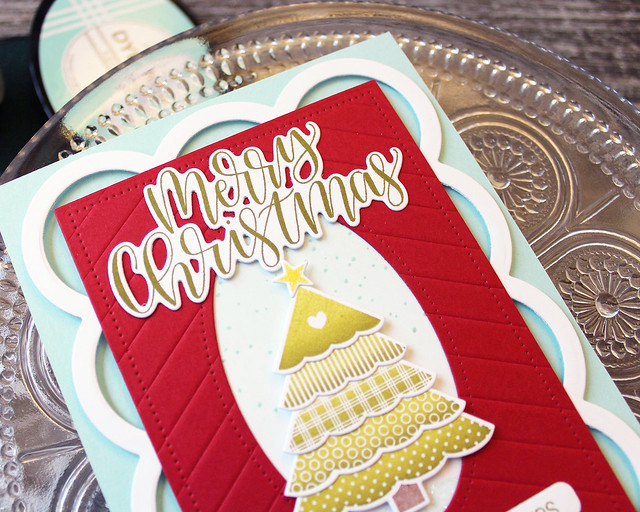
I mounted that central piece to an Aqua Mist card front with foam tape before adhering my tree in the center of the oval. I overlapped the layers of the tree ever so slightly to give it a subtle tiered look. I glittered the star and added that to the top of the tree. Then, I stamped and die cut the
Penned Elegance: Christmas greeting and adhered it above the tree. I also stamped the sentiment from
Polka Dot Parade #9 and die cut it with one of the new
Skinny Mini Banners Dies before adhering it in place. I'm so happy with how this turned out! That little tree is just adorable!
Thank you so much for joining me today. I hope you have a safe and happy holiday weekend. Don't go getting in any crazy Black Friday brawls and I'll see you again soon!
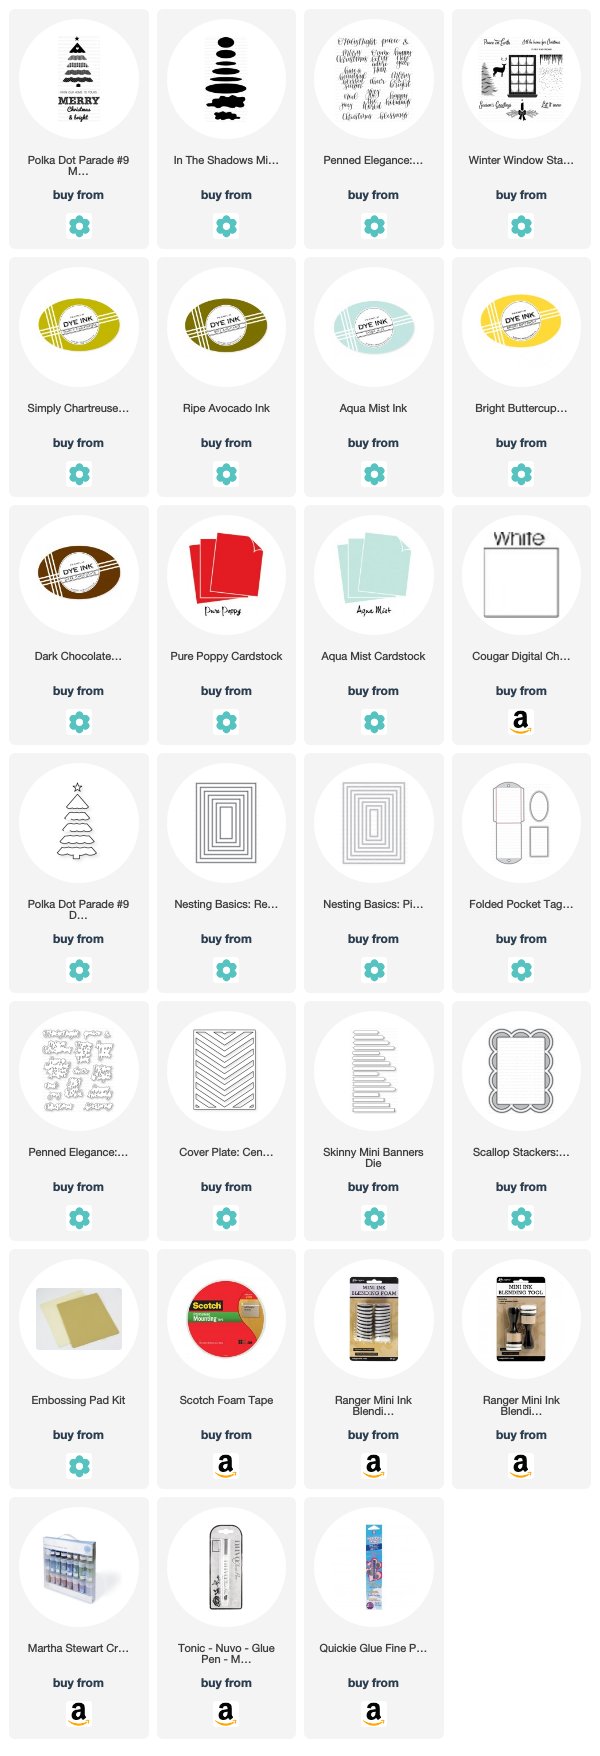
Supplies:
Merry Christmas Card

No comments:
Post a Comment