Good morning, all, and welcome back for Day 5 of the
Papertrey Ink September new release countdown! I'm back today with a couple of projects showcasing my new stamps and dies coming out this month (
just a reminder: all the new products I'm sharing in today's post will be available on the Papertrey Ink website at 10pm Eastern time on September 15th). Let's get to it!
Nichole and
Stephanie are featuring the
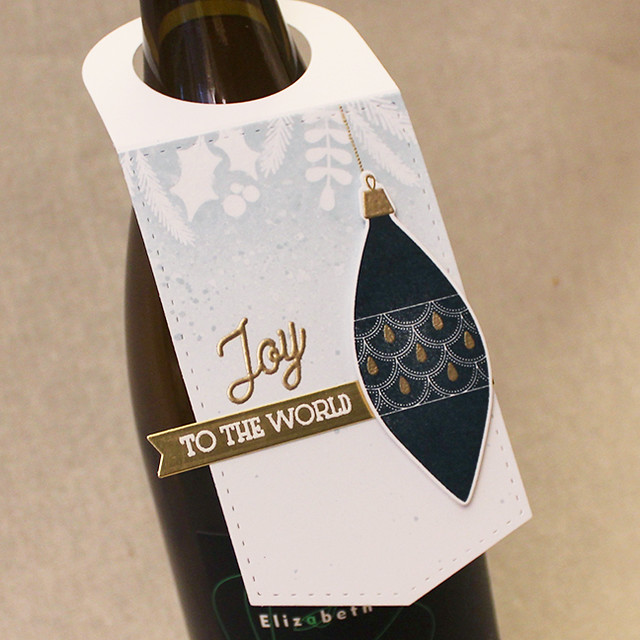
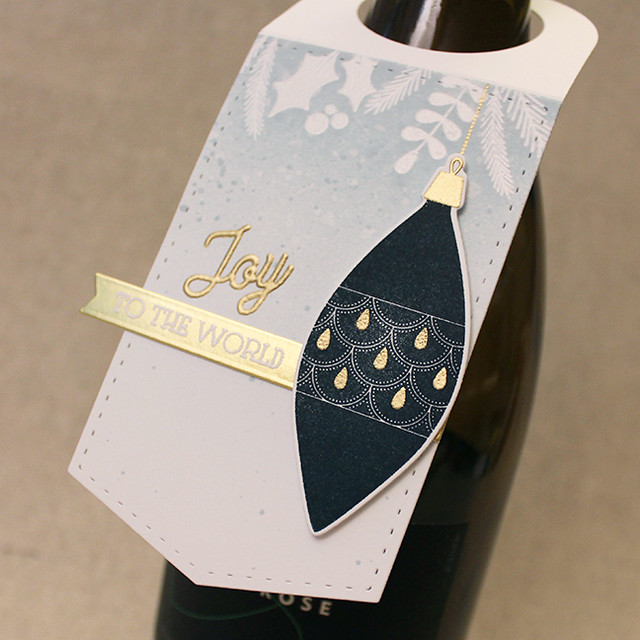
Wine Bottle Tag #2 Die today, so I thought it would be nice to start with a wine bottle tag.
I began by heat embossing the foliage and ornament hanger from
Brilliant Baubles onto a piece of white cardstock. I sponged over the embossing with Spring Rain ink before die cutting the tag shape. Then, I sprinkled clean water and Spring Rain reinker over the tag to add a bit of texture to the sponging.
Next, I embossed the "Joy" sentiment in gold on the tag. Then, I applied a piece of Luxe Gold Adhesive Sheet to a scrap of white cardstock. I die cut that with the narrow banner die and heat embossed it with the remainder of my phrase. I adhered that to the wine tag with flat adhesive.
Then, I stamped and die cut the ornament using Dark Indigo ink. I heat embossed the ornament cap and the teardrop details before adhering it to the tag with foam adhesive. I love the elegant touch the gold gives!
Supplies:
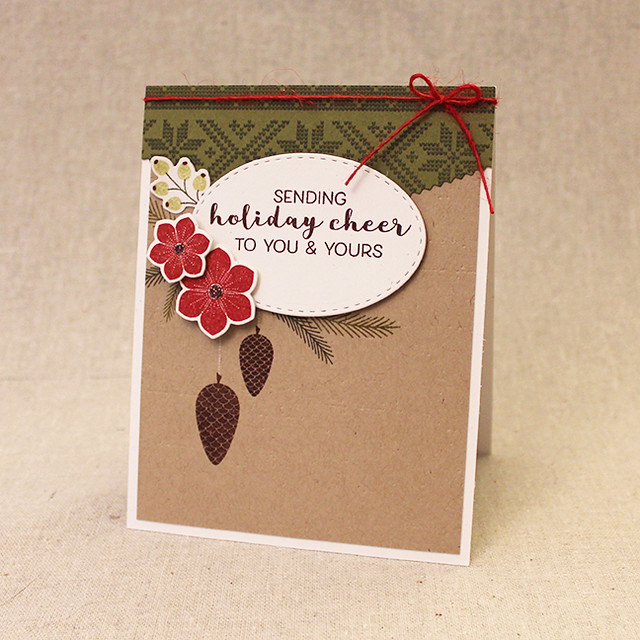
Next up, I have a card made with images from
Brilliant Baubles and a sentiment from
Very Merry.
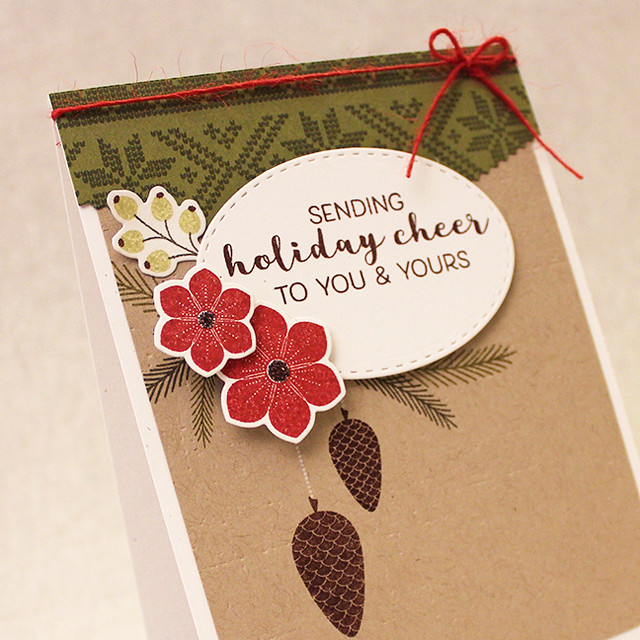
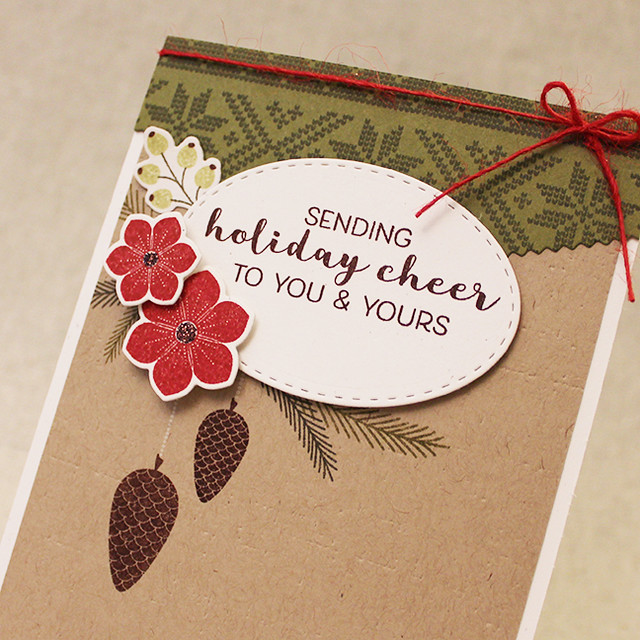
I began by die cutting an oval from Rustic White cardstock and stamping it with my sentiment. Then, I stamped a Fair Isle Borders pattern onto a piece of Ripe Avocado cardstock using Olive Twist ink. I die cut that with one of the To The Point Edgers dies and set it aside.
Next, I stamped the Brilliant Baubles pine boughs and pine cones onto a piece of Classic Kraft cardstock. I textured that with the Linen & Canvas Impression Plate and adhered it to a Rustic White card base. I also stamped and die cut the poinsettias. I achieved that brick red color by stamping once in Americana followed by a second time in Pure Poppy. That subdued the Pure Poppy color just enough to match the rustic vibe of this card perfectly.
I adhered the Ripe Avocado layer to the card front and then mounted the sentiment oval with foam tape. I added the poinsettias with more foam tape and the berry sprig with flat adhesive. Then I tied on a twine bow and embellished the flower centers with a bit of Brownstone glitter. I can't wait to send this one to someone special this holiday season!
Supplies:
Thank you all so much for joining me today! Make sure to visit
Nichole and
Stephanie to see more of the Wine Bottle Tag #2 Die.
Betsy,
Heather, and
Wanda also have projects to share, so you'll definitely want to check in with them too. Have a wonderful day, everyone!


6 comments:
I have really enjoyed all of your projects this release these last two in particular. I'm excited to acquire some of these new goodies.
Lizzie, your wine tag is PERFECTION!
Beautiful inspiration!
Great projects, Lizzie! I love your style.
That wine tag will now be featured in the dictionary to illustrate the word 'elegant.' Totally gorgeous!
Lovely projects! I really like your rustic Christmas card =)
Post a Comment