Good morning, friends, and welcome back to the
Papertrey Ink September new release countdown (
just a reminder: all of the new products will be available on the Papertrey Ink website at 10pm Eastern time on the 15th)! I'm back today sharing a couple of projects with my
Gift Card Tabs dies. There are two versions - one with a pinked edge and one with a scalloped edge. They work similar to the Double-Ups dies in that you have a base area that impresses into your cardstock while another part of the die actually cuts. I really like that you can use these on the inside of cards or on the outside of a Front & Center mini gift bag to secure a gift card (or even a note or mini card in the case of a gift bag). The impressed area is meant to highlight the gift card without being too flashy or bold. I also chose to make the tabs the only part that actually cut so you could use these dies inside a card without having to add a second layer of cardstock. And, since the tabs are flat, these dies are great for sending gift cards through the mail! Without further ado, let's get to the details.
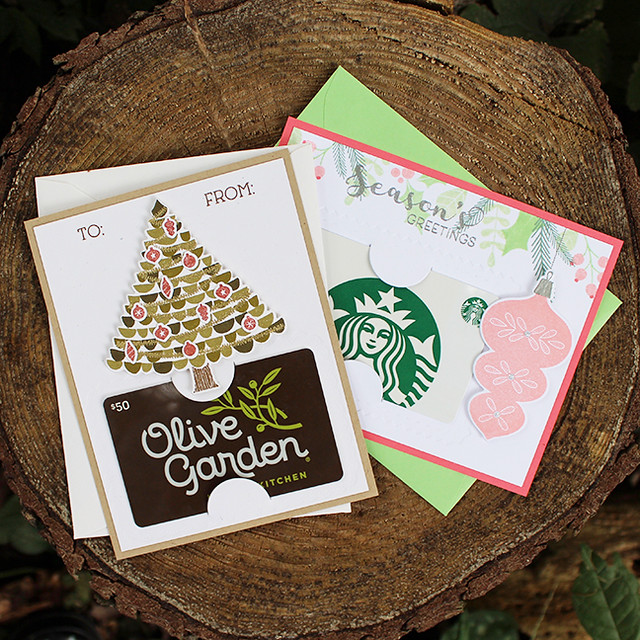
I have one gift card holder using each of the Gift Card Tabs dies today. I kept them flat cards for simplicity's sake (and because the flat cards are a little easier to photograph), but you could certainly use these dies in a folded card too.
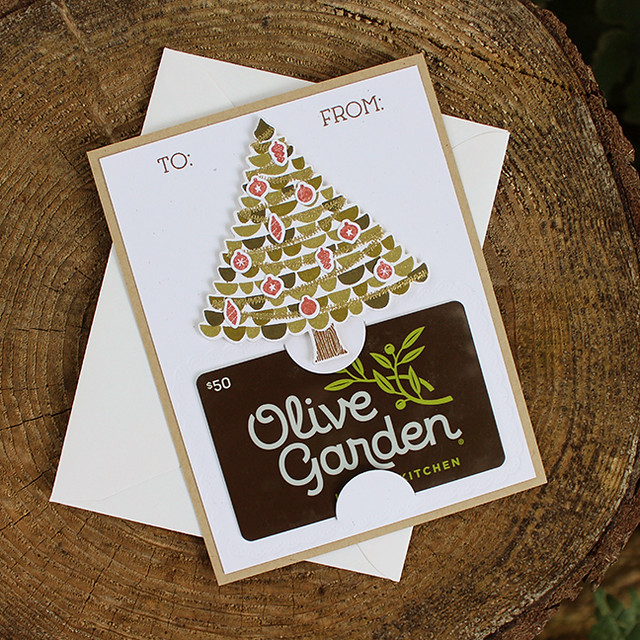
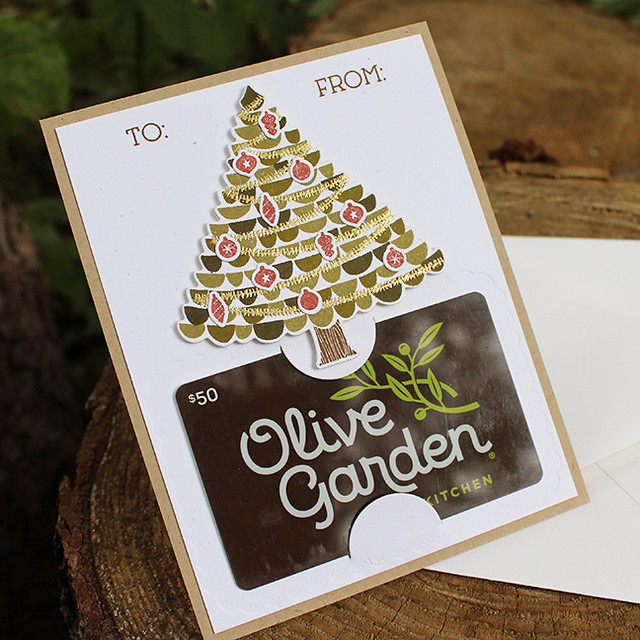
Let's start with the Christmas tree version. I used the scalloped tabs die on this one.
I began by die cutting the
Gift Card Scalloped Tabs die into a panel of Rustic White cardstock. Then,
while the die was still in place, I ran it through my die cut machine a second time using an impression plate sandwich. That makes the impression nice and deep and textured. I stamped that layer with the "To:" and "From:" from
Gift Card Cozy Sentiments and adhered it to a Classic Kraft panel cut to fit into an A2 envelope.
Next, I stamped and die cut the tree from
Very Merry. I used Prairie Grass, Ripe Avocado, and Olive Twist inks to give the tree a more rustic vibe. Then, I heat embossed the tinsel with gold powder and decorated the tree with Americana ornaments. I like that it has a masculine feel while still being cheerful and festive.
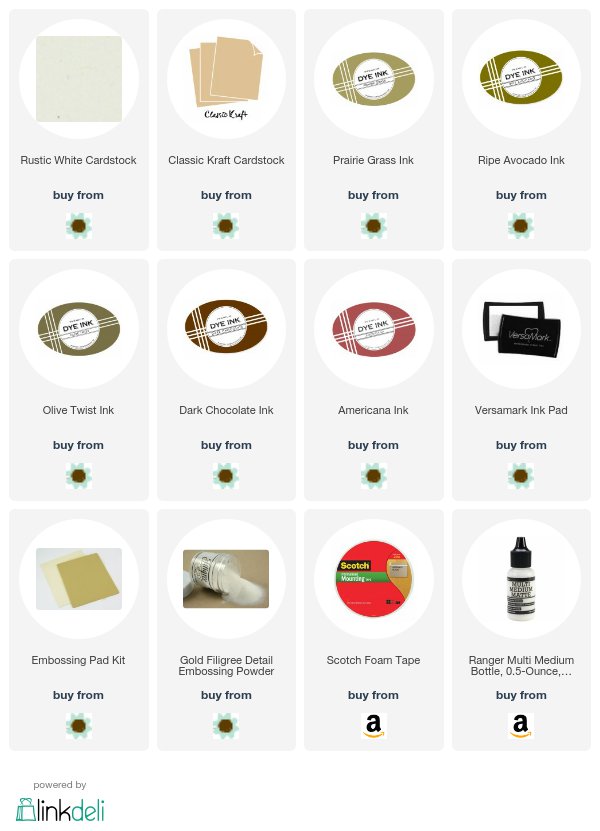
Supplies:
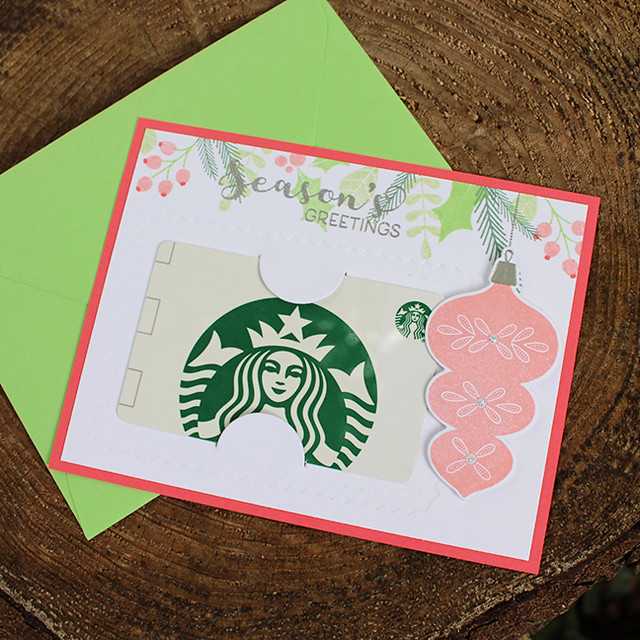
I also have a horizontal version that I created with the pinked tabs die.
I began by die cutting the
Gift Card Pinked Tabs die into a piece of white cardstock. Then, just as with the first one, I used my impression plate sandwich to get a nice, deep impression.
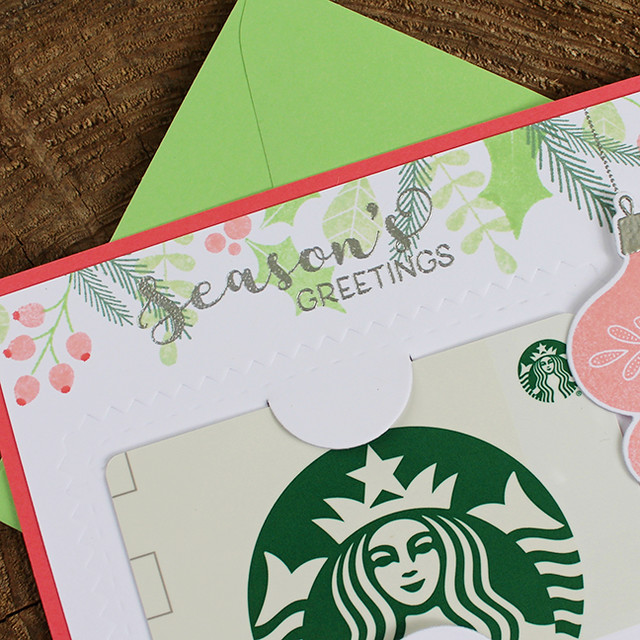
Next, I stamped the foliage from
Brilliant Baubles along the top edge of the white panel. I heat embossed the sentiment (from Very Merry) and the ornament hanger using silver powder and then adhered the panel to a Berry Sorbet layer.
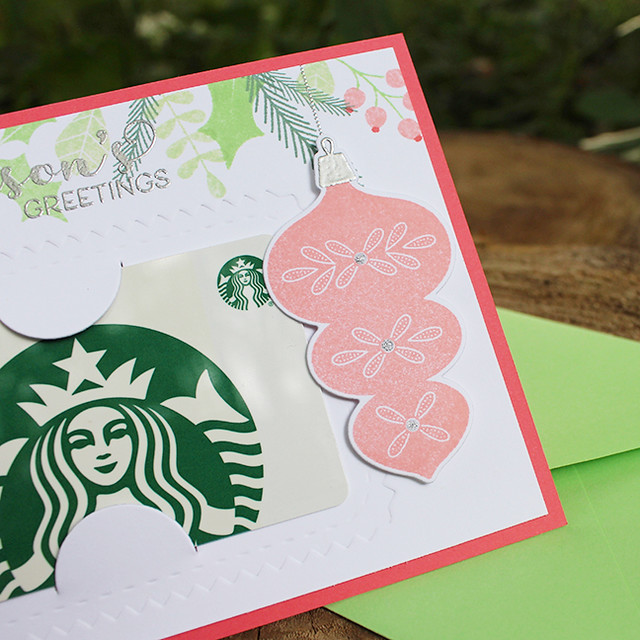
Then, I stamped and die cut the ornament using Pale Peony ink. I heat embossed the cap and adhered the ornament to the card with foam tape, being sure to only add the tape to the right side of the ornament so a gift card could slide underneath it. I embellished the ornament with Silver Moondust glitter drops from Nuvo. I love it! It's a little bit girly, but you could make this same design a touch more gender neutral with slightly different colors just as easily.
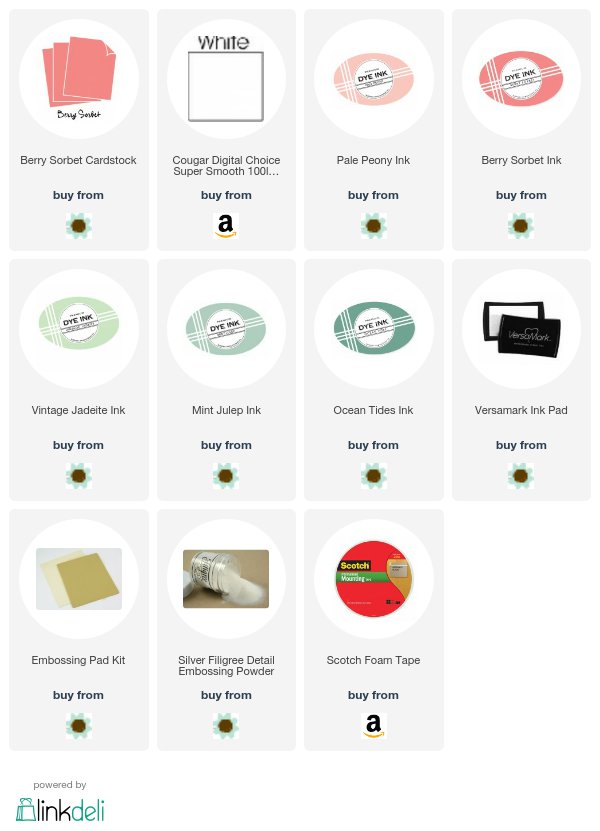
Supplies:
Thank you so much for joining me today. I'll be back with even more of this month's release tomorrow, so be sure to check here in the morning. In the meantime,
Nichole,
Betsy,
Heather, and
Melissa all have projects to share with you today. Have a wonderful day, everyone! See you soon!


1 comment:
Cute gift cards!
Post a Comment