Good morning, friends, and welcome back for more
Papertrey Ink September release inspiration. I'm back today with a couple of additional projects featuring the
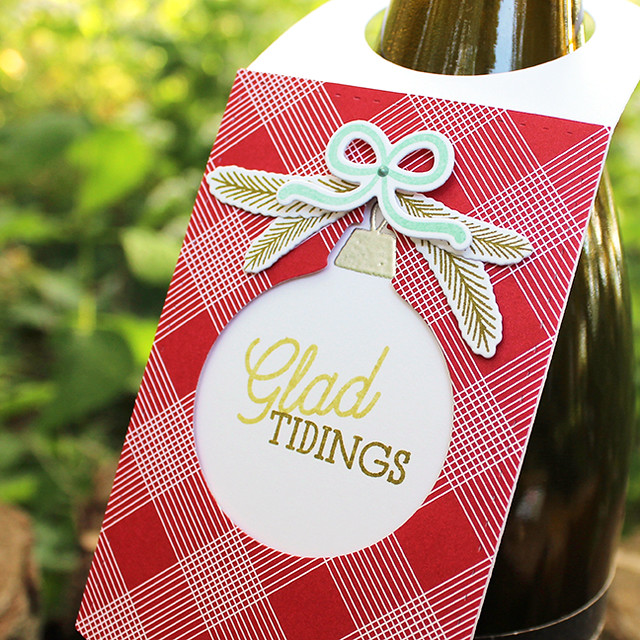
Wine Bottle Tag #2 Die. I have a wine bottle tag and a card to share, so let's get to it!
Let's start with the tag. I love using die cut negatives and I thought the
Brilliant Baubles dies would be perfect for this.
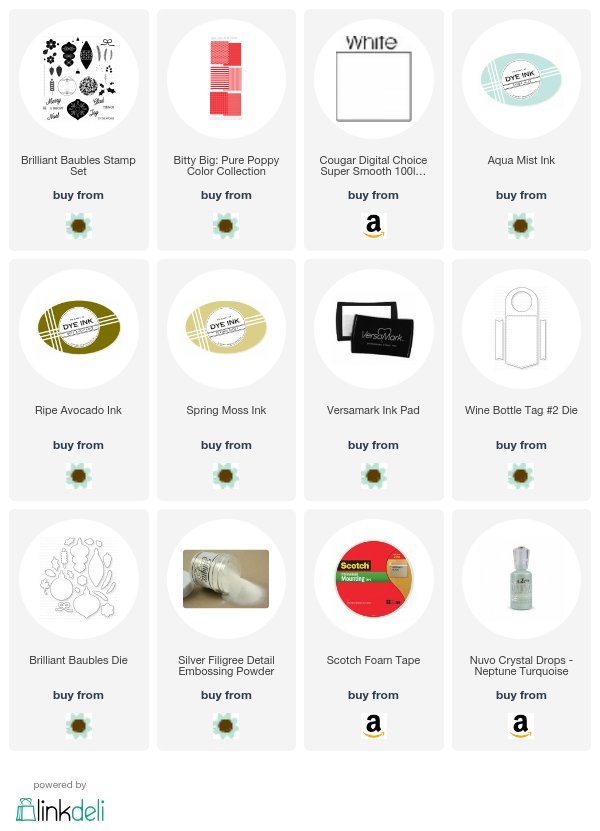
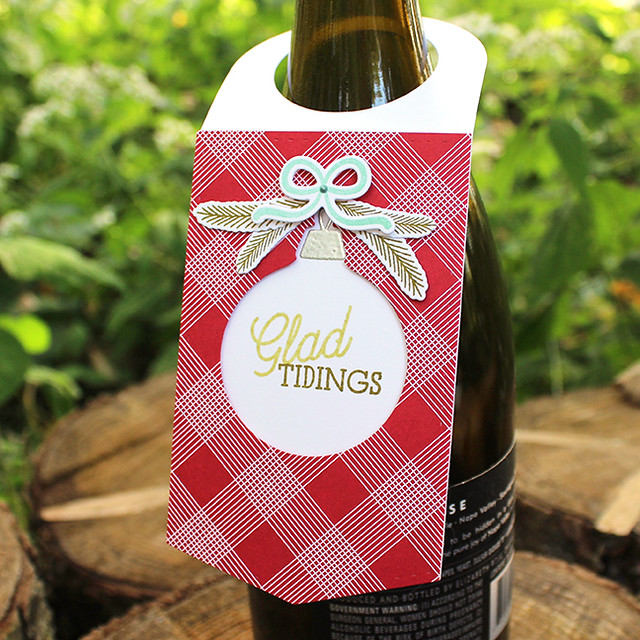
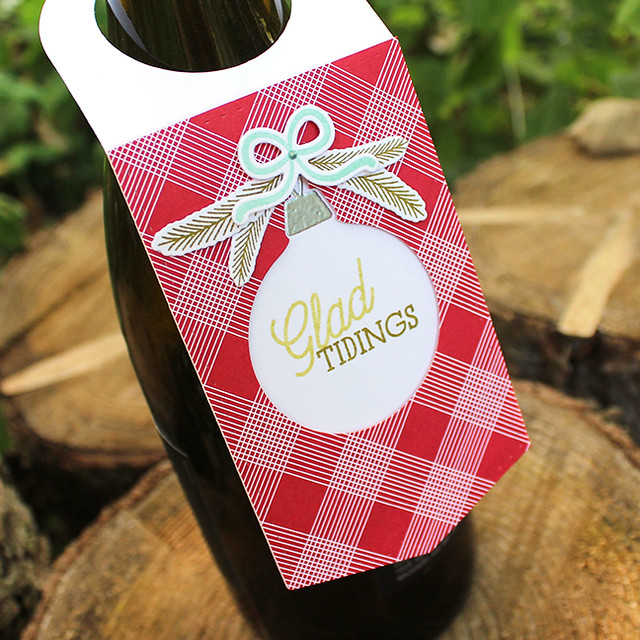
I began by die cutting one tag from white cardstock and one from Bitty Big: Pure Poppy paper. Then, I die cut the round ornament from the patterned paper tag and trimmed it right at the score line.
I placed that tag over the white tag and used it as a guide to stamp the ornament cap and sentiment, both from Brilliant Baubles. Then I stamped and die cut the pine boughs and bow from Brilliant Baubles.
I adhered the patterned tag to the white tag with dimensional adhesive and then attached the pine boughs and bow with flat and foam adhesives. I added a small dot of Nuvo crystal drops to the bow for a knot detail.
Supplies:
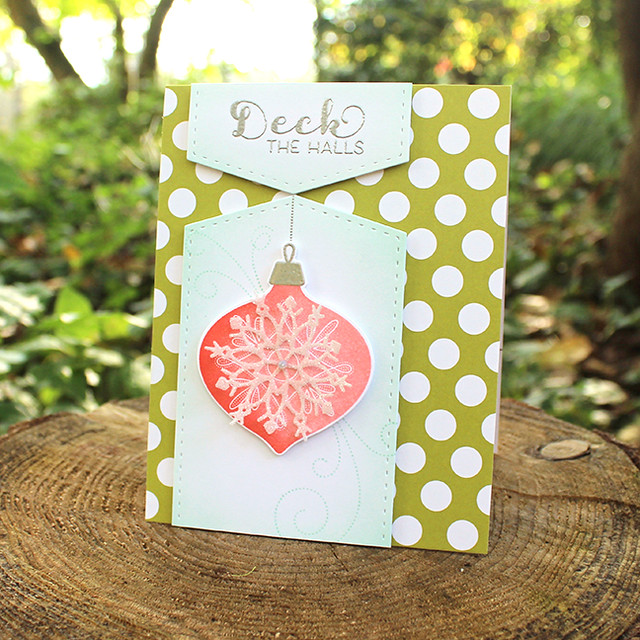
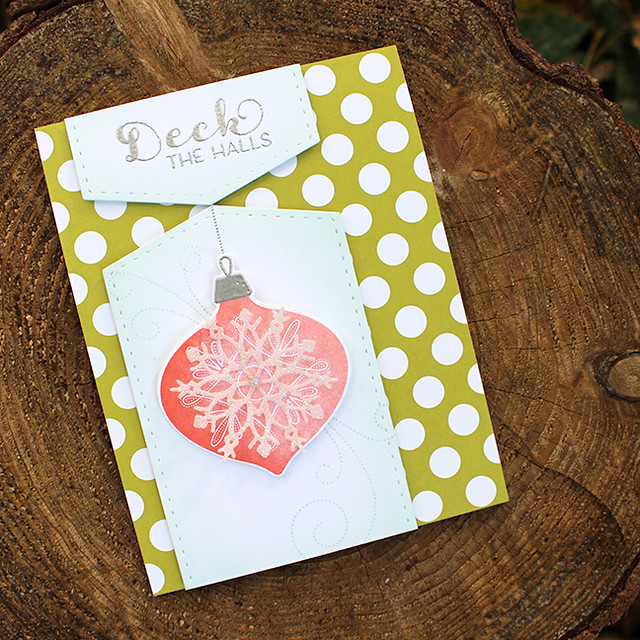
Next up, I have a card using the
Wine Bottle Tag #2 as a decorative layer.
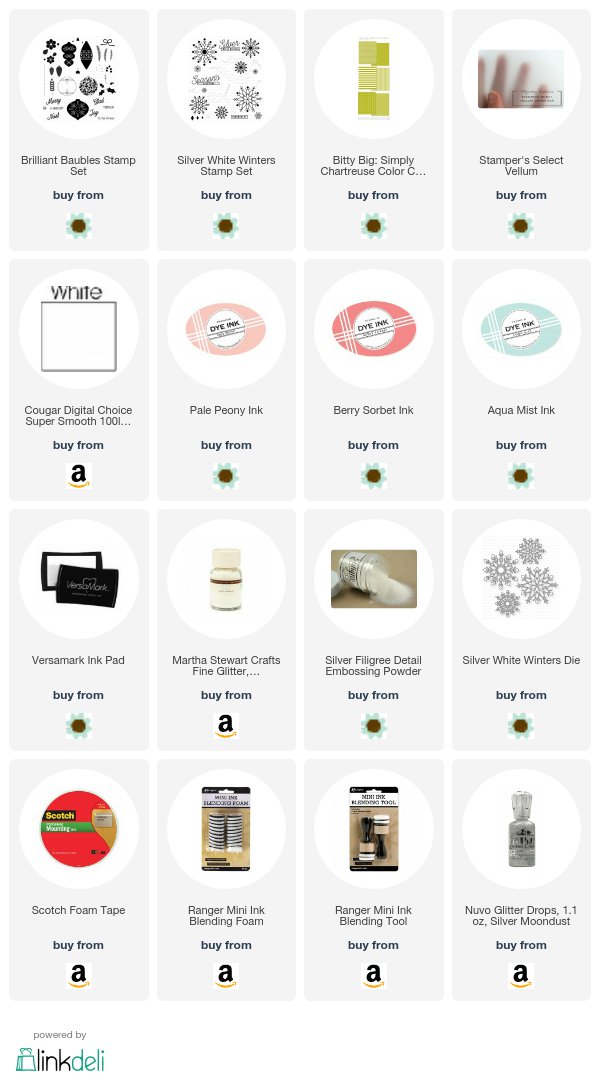
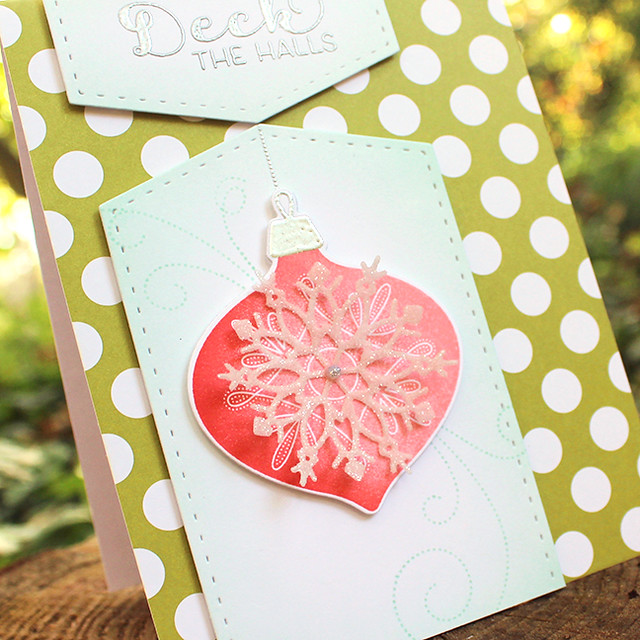
I began by cutting two white tags and sponged them lightly around the edges with Aqua Mist ink. I stamped the swirls from
Silver White Winters onto the larger tag using Aqua Mist ink. Then, I heat embossed the ornament hanger onto the tag using silver powder. I also heat embossed the sentiment from
Very Merry onto the smaller tag piece.
Next, I covered a white card base with a panel of Bitty Big: Simply Chartreuse polka dot paper. I used foam tape to adhere the tag pieces to the card front and set it aside. Next, I stamped and die cut one of the ornaments from
Brilliant Baubles using Pale Peony and Berry Sorbet inks.
Then, I xyroned a piece of vellum and die cut it (covered sticky side up) with one of the Silver White Winters snowflakes. I removed the adhesive backing and sprinkled the sticky surface with Crystal glitter and adhered it to the center of the ornament.
I added the ornament to the card front and used a small dot of Nuvo glitter drops in the center of the snowflake to disguise the adhesive. It's so sparkly!
Supplies:
Thank you so much for joining me today! I hope you've enjoyed the last several days of inspiration. Make sure to visit
Betsy,
Dawn,
Heather,
Laurie,
Melissa,
Michelle,
Stephanie, and
Wanda for more projects with this month's release. See you soon, everyone!



1 comment:
Lizzie, your wine tag design would also make an awesome card. I love everything about this tag. Your sweet card design is also very cool using the wine tag as you did. Love your style!
Post a Comment