Good morning, Papertrey Ink fans, and welcome to the kickoff of the September new release countdown! I have
so much to share with you this month. I can't wait to show you everything, but I'm going to start by introducing
Brilliant Baubles (please note: all of the new product coming out this month will be available on September 15th at 10pm eastern time on the Papertrey Ink website). This set was inspired by my collection of embellished mercury glass ornaments. I have quite a few of them and I pick up a handful of new ones (and sometimes more than a handful) every year. They're my little seasonal indulgence and I absolutely love them. This way, I get to have them on my cards as well as my tree! The set includes five ornaments as well as poinsettias and foliage to dress up your baubles. Let's get on to the projects, shall we?
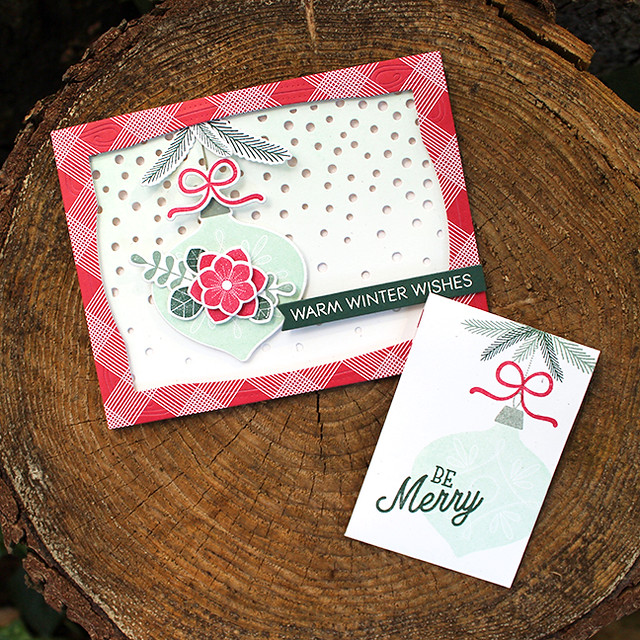
First up, I have a card and gift card holder ensemble to share.
I began with the card, so let's start there!
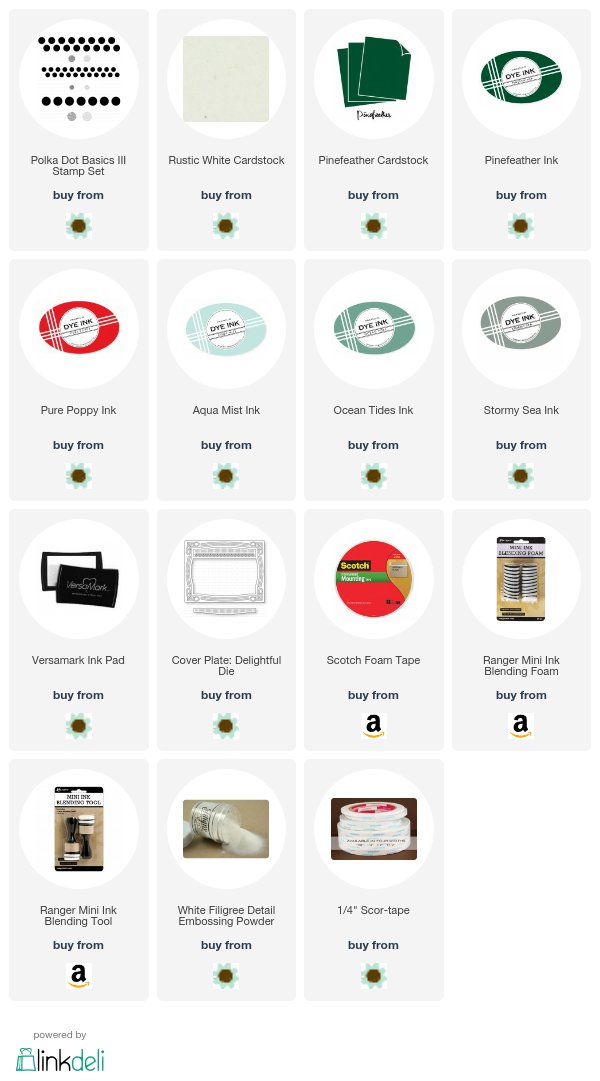
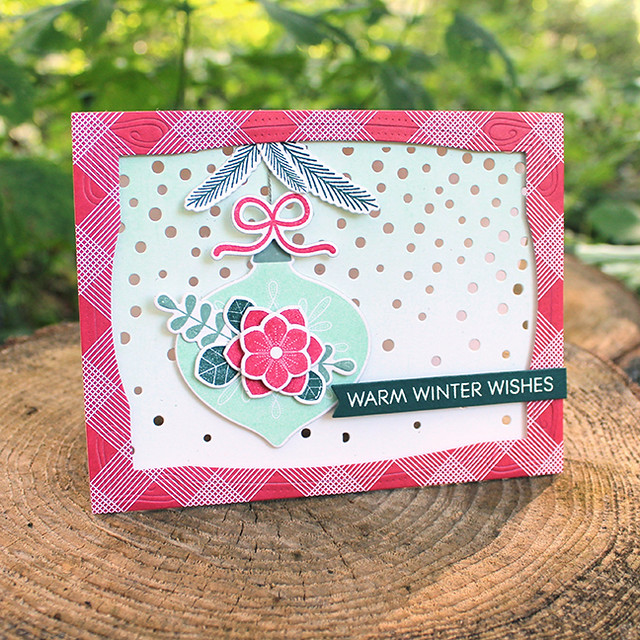
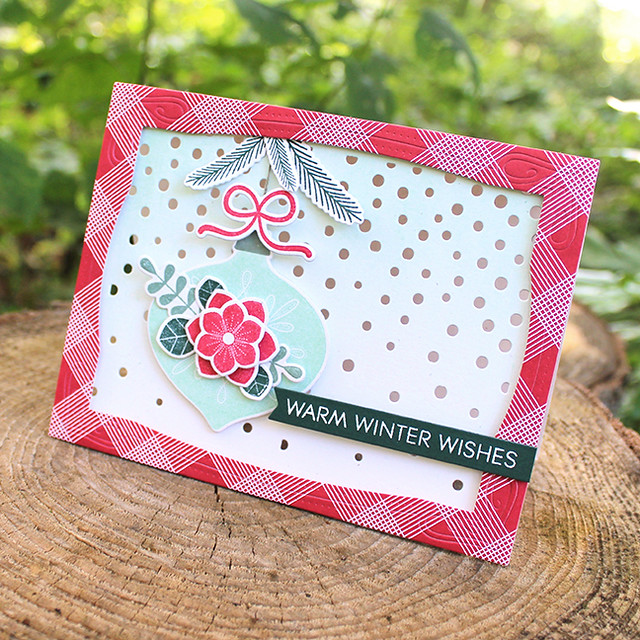
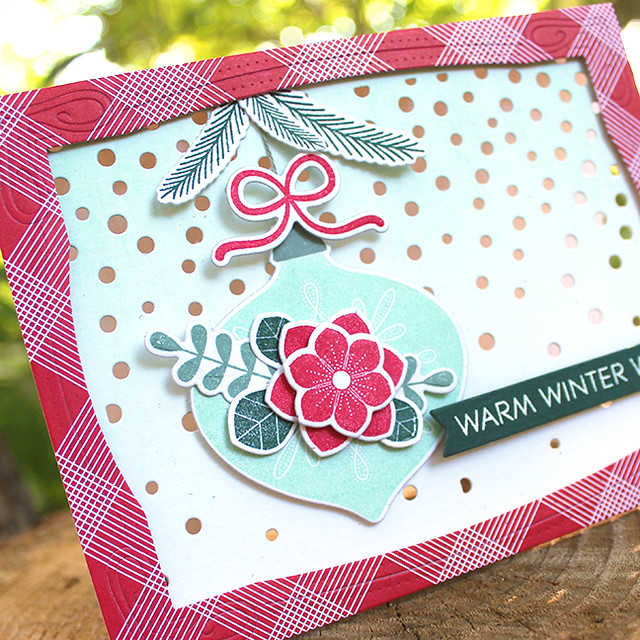
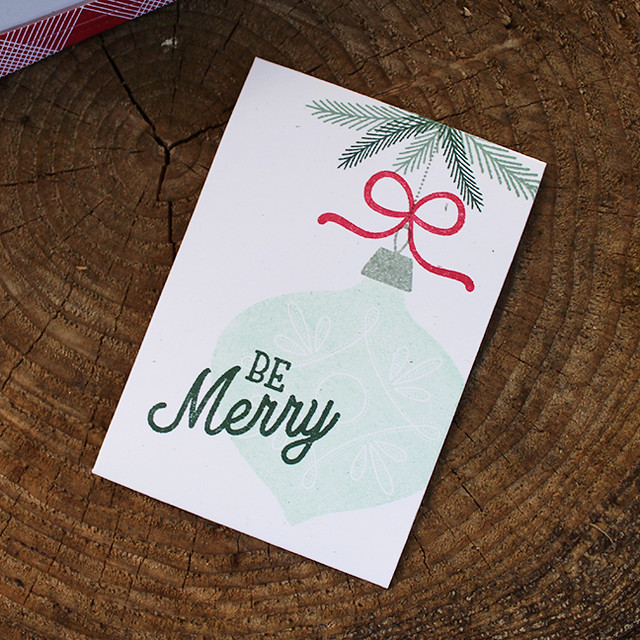
I sponged Aqua Mist ink onto a Rustic White card base and die cut it with the falling snow insert in the new Mix & Mat: Berry Boughs die. Next, I die cut a frame from the Bitty Big: Pure Poppy paper using the Cover Plate: Delightful die.
Next, I stamped and die cut the onion-shaped bulb from Brilliant Baubles. I also stamped and die cut several of the foliage elements as well as the bow. I used a piece of DMC floss to add a hanger for my ornament to the front of the card and then adhered the plaid frame using foam tape.
Then, I layered the flowers, leaves, and bow on the ornament for a dimensional embellishment. Lastly, I heat embossed the sentiment from the new
Keep It Simple: Winter Wishes set onto a Pinefeather banner I cut with my new Wine Bottle Tag #2 die (more on that very soon). I adhered that banner to the frame to finish up the card.
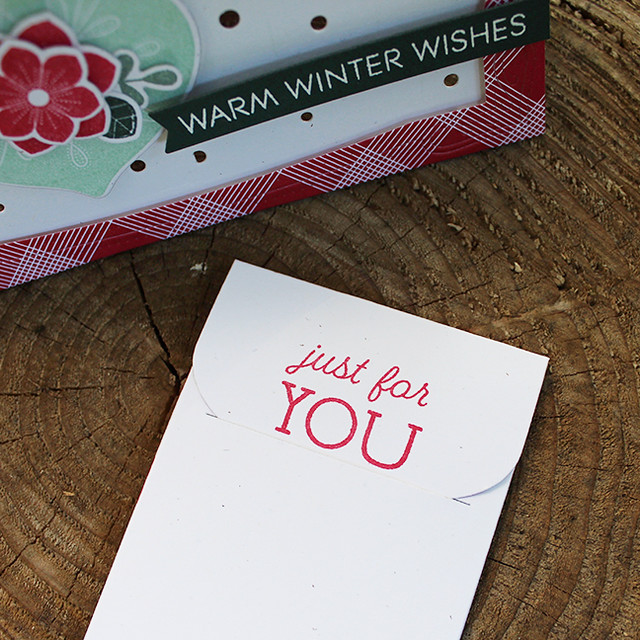
I wanted to create a coordinating gift card holder using my new
Gift Card Cozy Die (more on this soon, too). I die cut the gift card holder from Rustic white cardstock and then stamped the same ornament on the solid side using the same ink colors.
On the back flap, I stamped a sentiment from my new
Gift Card Cozy Sentiments stamp set.
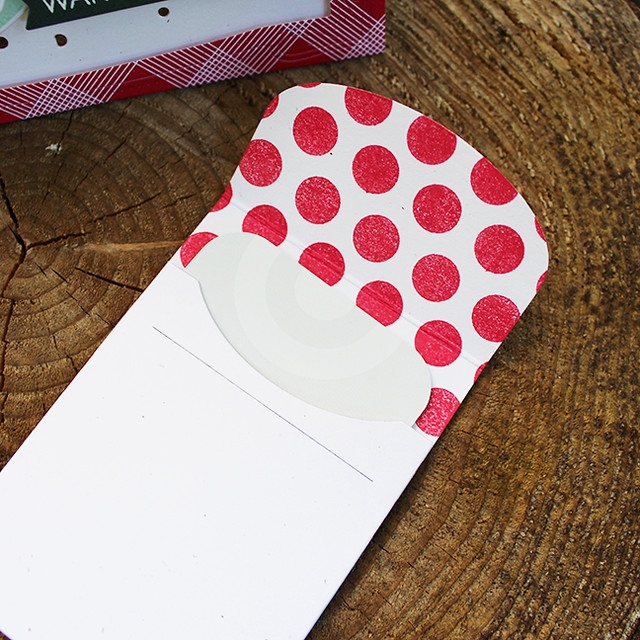
Then on the inside, I stamped polka dots using the smallest dots from Polka Dot Basics III. I love the pop of pattern and color on the inside of the Gift Card Cozy!
Supplies:
Next up, I have a project using that new
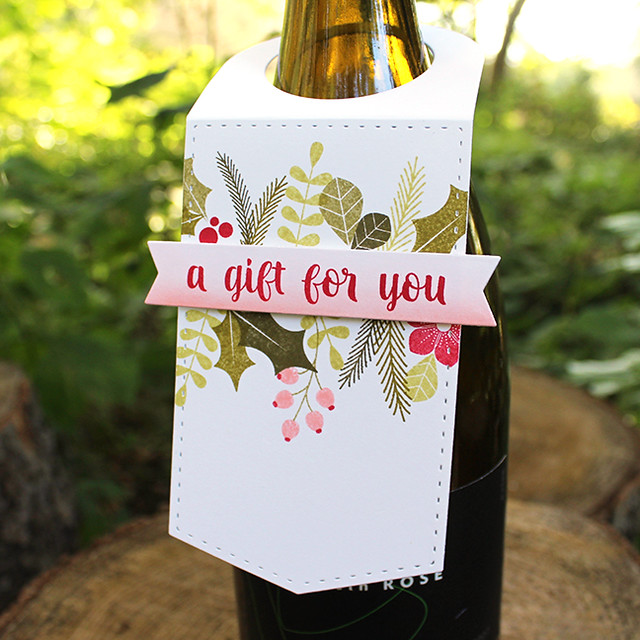
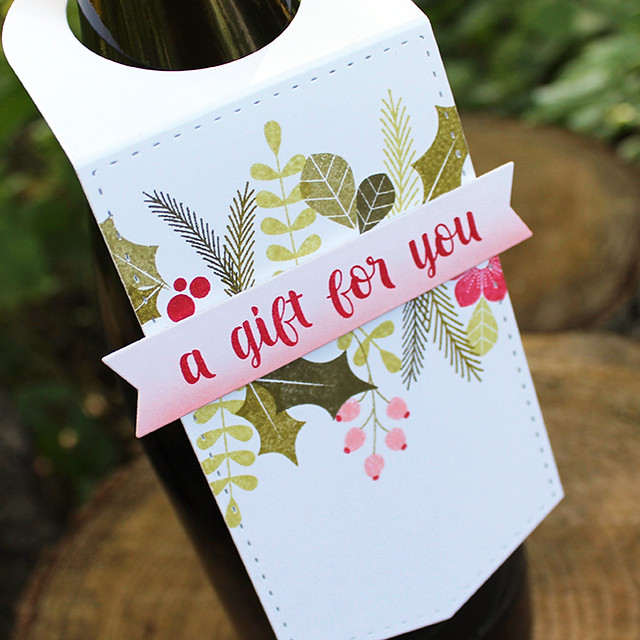
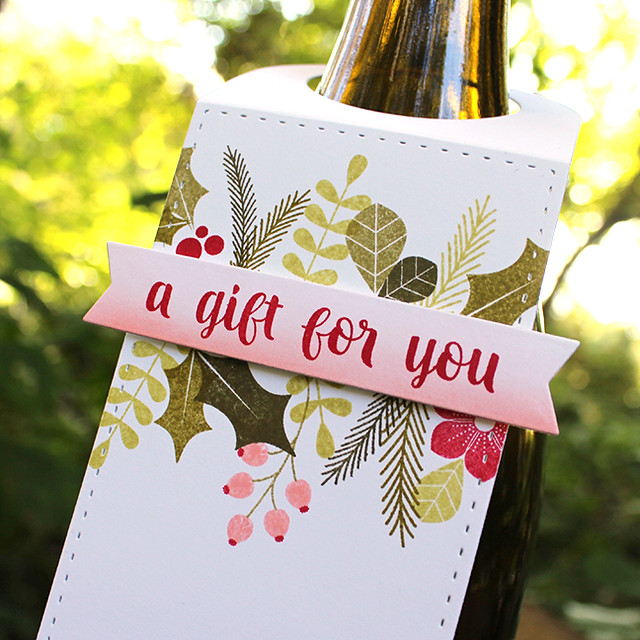
Wine Bottle Tag #2 die I mentioned a moment ago. I've truly enjoyed making pretty wine bottle tags using the original die for years now, but I thought it might be nice to have another option when it comes time to dress up a gift. The new tag is a little bit wider, has a stitched border detail, and comes with two banners ideally sized to fit a majority of the sentiments in the Keep It Simple series.
I used it today to create a gift tag for some holiday libations.
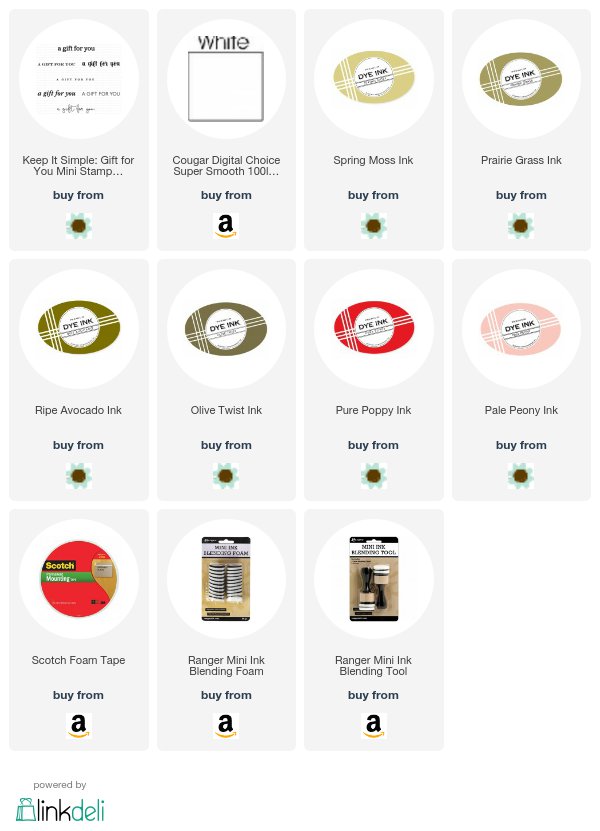
I cut the tag from white cardstock and then stamped it with the foliage from Brilliant Baubles in two rows (one facing up, one facing down).
Then, I sponged a bit of white cardstock with Pale Peony ink and die cut it with the wider banner (I used the narrower banner on the card above). I stamped the banner with the Keep It Simple: Gift For You sentiment and added it to the tag using foam tape. Easy and classy!
Supplies:
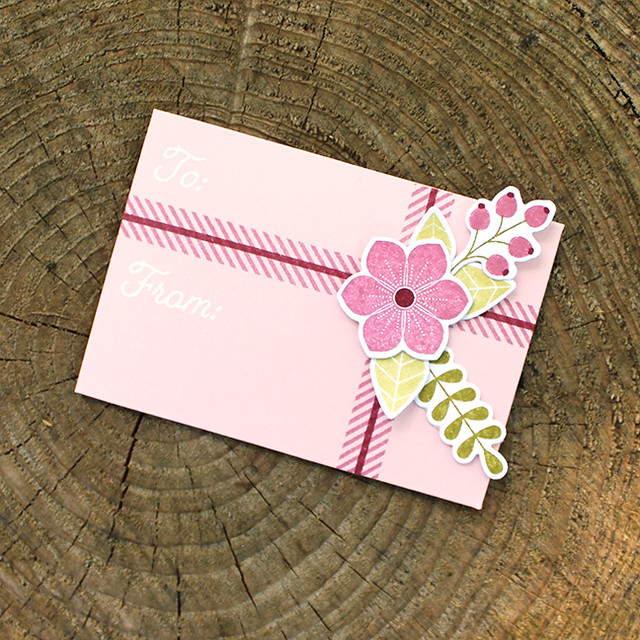
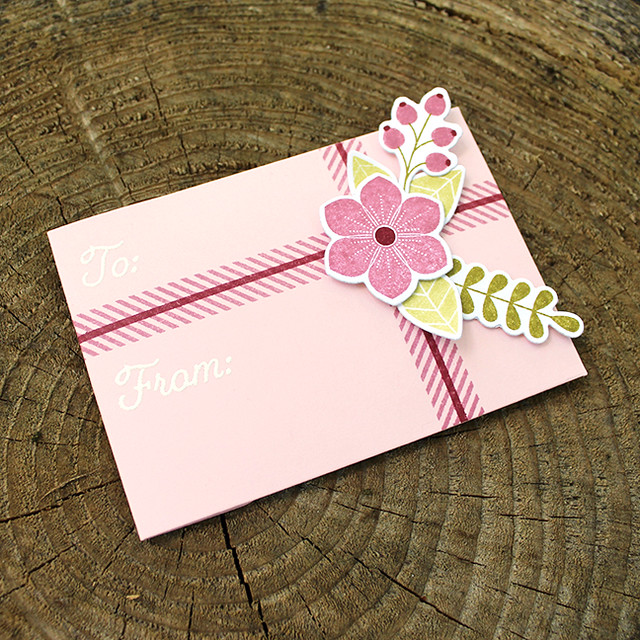
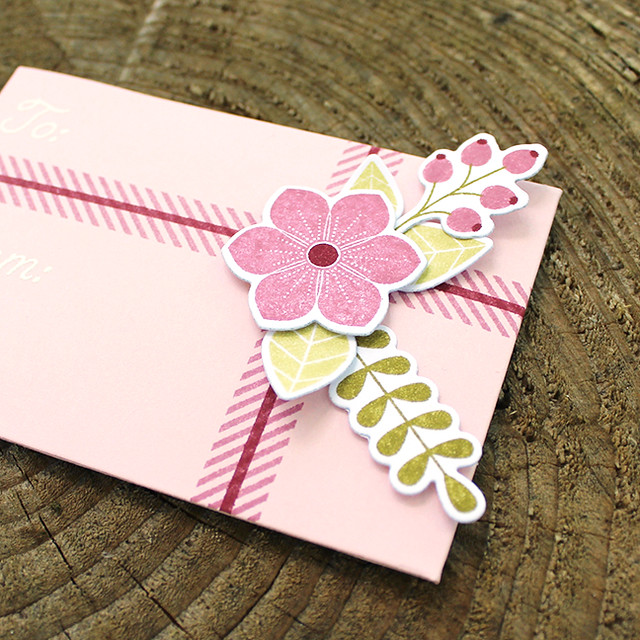
Next, I have another gift card holder to share. I wanted to show how great the botanicals in Brilliant Baubles can work for non-holiday purposes. Most of the flowers and leaves don't scream "Christmas" so they're great for year-round use.
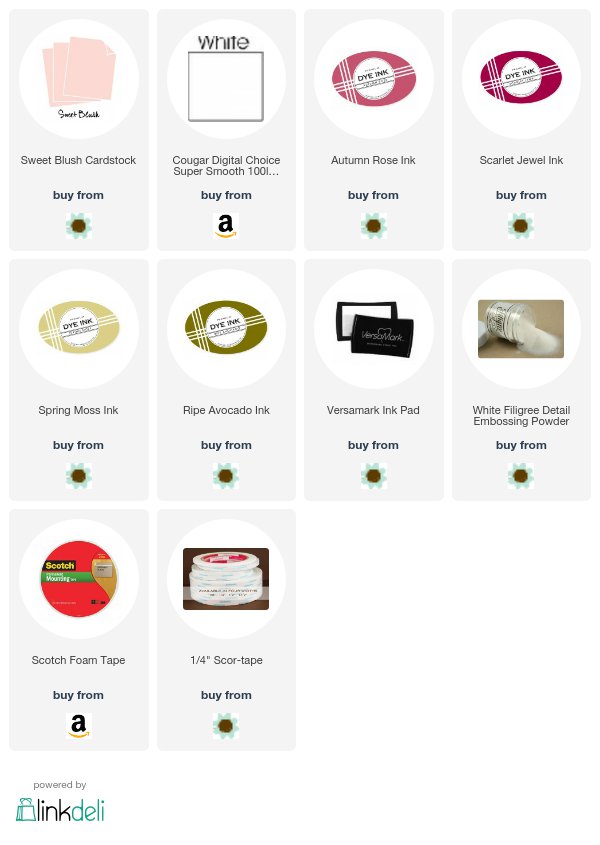
I began by die cutting the Gift Card Cozy from Sweet Blush cardstock. Then, I stamped the solid panel with the striped and solid ribbons from Gift Card Cozy sentiments. Once the ink had dried, I heat embossed the "To:" and "From:" from the same set.
Next, I stamped and die cut the larger flower and a handful of leaves and berries from Brilliant Baubles.
I added the flower to the gift card holder with foam tape and then tucked the foliage in around it, securing the ends with tape. This color combo would be great for a birthday or Mother's Day gift, don't you think?
Supplies:
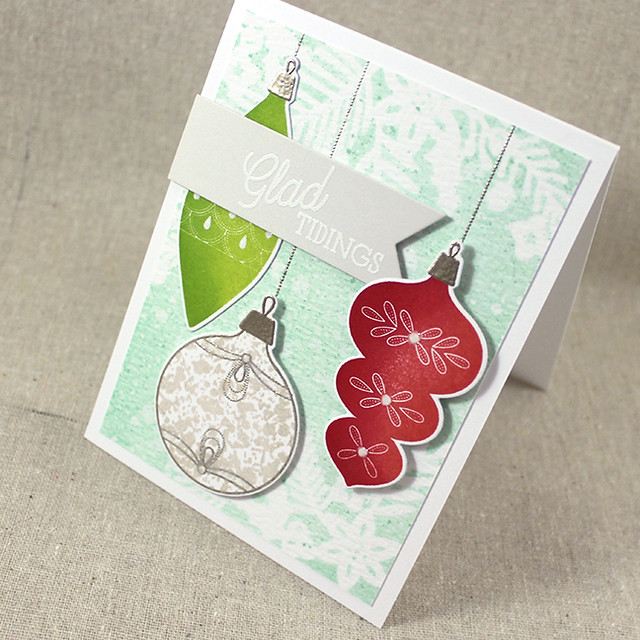
And last, but not least, I have one more Brilliant Baubles card to share.
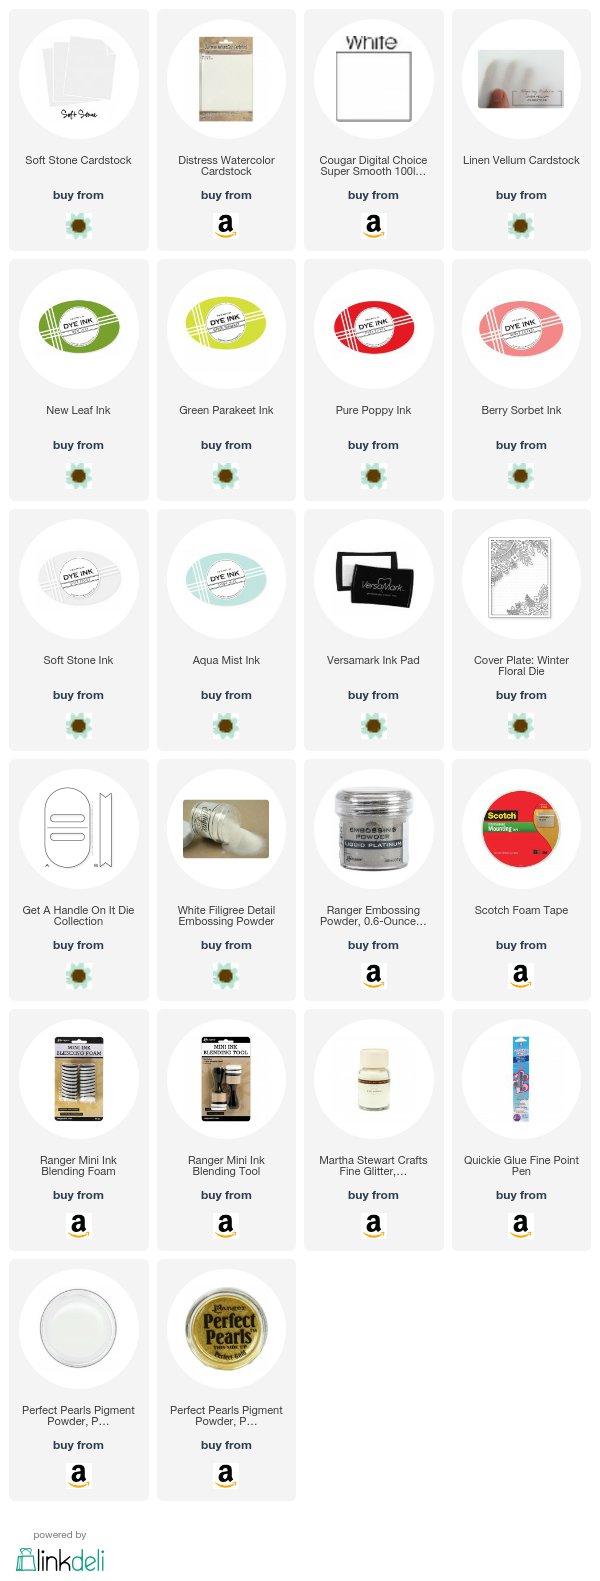
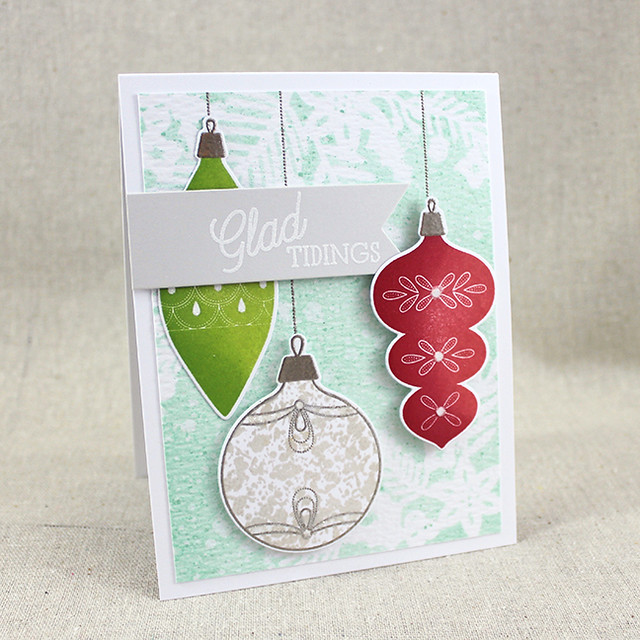
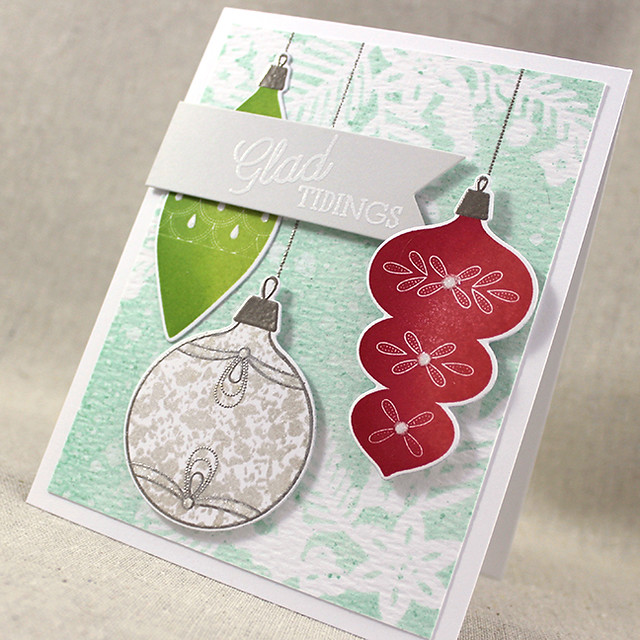
I began by die cutting the Cover Plate: Winter Floral die from vellum and using it as a stencil. I sponged the design onto a panel of watercolor paper using Aqua Mist ink before splattering it with clean water and Aqua Mist reinker.
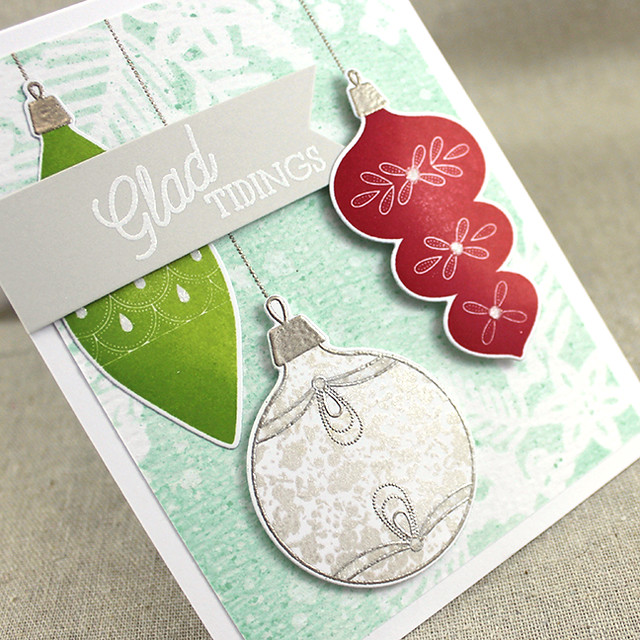
Then I stamped and die cut three of the bulbs from the set (well, technically four as one of them is two-step). I used sponging to add depth to the two solid ornaments. I also heat embossed the toppers on those two ornaments using Liquid Platinum powder.
The speckled ornament took a few more steps. I began by heat embossing the outline and topper. Then, I stamped the mercury glass speckles in Soft Stone ink. Next, I stamped directly over the Soft Stone speckles with VersaMark and sprinkled on Perfect Pearl and a tiny bit of Perfect Gold pigment powders. The result is a silvery finish with just a hint of patina. I so wish you could see how lovely it is in real life!
I embellished each ornament with fine Crystal glitter and then set them aside to dry. While those were drying, I heat embossed the ornament hanger line from Brilliant Baubles onto the sponged panel in three places. I adhered that panel to a white card base and attached the ornaments with a mix of flat and foam adhesives. To finish up, I heat embossed my sentiment onto a Soft Stone Get A Handle On It banner and adhered that to the card front with foam tape.
Supplies:
Thank you so much for joining me today! I hope you've enjoyed today's post. Make sure to pop in with
Nichole as she shares more of
Brilliant Baubles and
Heather as she shares another of my sets for this month,
Very Merry. I told you I had a lot to share!
Betsy also has a few sneak peeks to share, so you'll definitely want to check in on her, too. Have a great day, everyone, and I'll see you back here tomorrow!


3 comments:
Wow! Every single project is charming and stunning, all at the same time. Let's not talk about the product intros, okay? I think I'm going to have lots of 'splaining to do this month! 😬😘❤️
I love the sentiments and font styles you designed in your Very Merry set, Lizzie! Looking forward to seeing the rest of the products revealed. It'll be fun holiday crafting this year! I still need to make some catnip toys for the kitties! Great ideas, Lizzie!
Gosh, I love the mercury glass ornament! So unique - I love this whole set. It's coming to my house!
Post a Comment