

Good morning and welcome to this month’s Stitching Focus! I’m Lizzie Jones, your Stitching Ambassador and I am so excited to be here sharing with you today! I wanted to think outside the box for this month’s Stitching Feature to come up with a piece of patriotic home decor that you could create and hang for your upcoming Fourth Of July festivities. I think it’s easy to forget how many fantastic alphabets we have at our disposal that can really help us customize our stitched projects. How about a refresher?
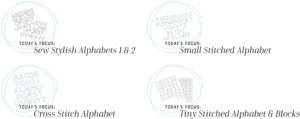
We have several alphabets available to fit nearly any need. The Sew Stylish Alphabets are a nice, large option great for monograms and home decor. The Small Stitched Alphabet is perfect for spelling out words and adding names to coin purses, coffee cozies, and bookmarks. The Cross Stitch Alphabet makes for a striking monogram, with its unique style and bold size. And the Tiny Stitched Alphabets give you the flexibility to customize any message you want to add to a project. Let’s take a peek at these different alphabets in action!

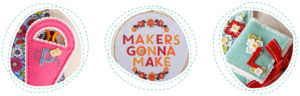
Erin used the Sew Stylish Alphabet 1 and the Small Stitched Alphabet together to personalize her Scissor Keeper. The two sizes pair perfectly and the Sewing Staples: Floral Cluster bloom makes a very cute embellishment.
The Sew Stylish Alphabet 1 is also perfect for creating bold wall art for your studio. Erin sewed her saying into a large hoop with two sprays of Embellished Elegance and Button Stacks flowers for a piece that’s sure to brighten even the dreariest office.
Adding a monogram is a lovely way to customize a gift and the Sew Stylish Alphabet 1 is the ideal size for making that happen. Mymonogrammed Needle Book is something I still use on a very regular basis and that bright, Pure Poppy “L” never fails to make me smile.

A more unique way to personalize an item is to mix and match several alphabets together to give your project quirky flair. Erin used the Sew Stylish Alphabet 2, Small Stitched Alphabet, Cross Stitched Alphabet, and Sew Stylish Alphabet 1 to give this little Coin Purse IIbig personality!
Laura used the Cross Stitch Alphabet to emblazon her Stitched Tag with a bold letter “A.” The Bitty Button Stacks die cuts are such a charming way to dress up a monogram!
Melissa create a festive handmade banner with the Cross Stitched Alphabet and the Tag Sale #5 and Basic Bookmark 1 dies. She dressed up her tag pennants with Seasonal Stitching: Holly leaves and delicate trims. the result is soft and sweet and full of texture.

Erin created this joyful birthday wand by using the Small Stitched Alphabet to spell out the word “wish” on a star from her Quick Stitch: Beaded Holiday kit. The beaded sequins add such sparkle and texture!
Kids love seeing their names on gifts, so I used the Small Stitched Alphabet to personalize this Stitched Bookmark for my nephew, Charlie. The letters were a perfect fit!
Nichole used the Sew Stylish Alphabet 2 to complement the Seasonal Stitching: Ladybug and Button Stacks blooms. Using the “holes only” style dies gives your projects an embroidered look and keeps the bulk at a minimum.
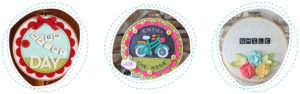
I wanted a unique message for my decorative Hoopla hoop, so I used the Tiny Stitched Alphabet to add my message on the Hoopla: Stitched Banner Dies. I finished off the sentiment with the Sew Stylish Alphabet 1 and a vintage button “bouncing ball.”
Amy also used the Hoopla collection on her home decor piece. She used the same Tiny Stitched Alphabet to add her sentiment to her hoop. The message is perfect with the Stitched Bicycle die!
Laurie chose the Tiny Stitched Alphabet Blocks dies for her hoop. She very cleverly created dimensional flowers using the Hoopla: Stitched Scallops Die and leaf dies. This would make such a cute gift for a friend in their favorite colors.

It’s amazing how versatile our stitched alphabets can be. There’s a size and style for every project! I thought it might be fun to mix and match a few different fonts and create a bit of decor for the upcoming Fourth of July holiday. I’ve used Sew Stylish Alphabet 1 and Sew Stylish Alphabet 2 along with the Small Stitched Alphabet and Tiny Stitched Alphabet to put together a totally customized message.
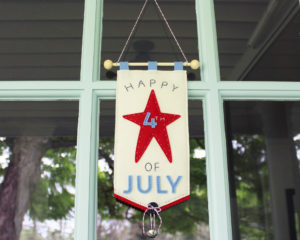
I was inspired by this door hanger that I made for Christmas a couple of years ago. I just made it a little bit longer to make room for the Stitched Primitive Star shape.
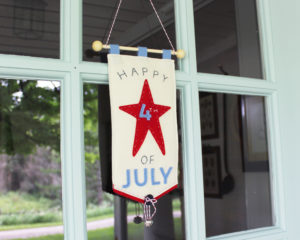
Instead of free handing the bottom edge this time, I was able to use the To The Point Edgers. I used the Stitching Lines to die cut sewing lines around the edges.
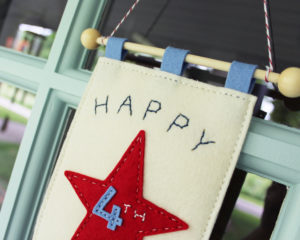
I used the Small Stitching Alphabet and Sew Stylish Alphabet 1 and 2 to create the message. The “holes only” design of the Sew Stylish Alphabet 2 made it a snap to attach the Sew Stylish Alphabet 1 letters evenly.

The Sew Stylish Numbers came in handy on this design too. The Tiny Stitched Alphabet was just the right size to add the “th.” I used a single thread of silver along with the white to make the edges sparkle. I added the same single thread to the red on the star and the blue on the 4.
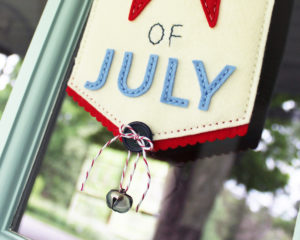
I dressed up the bottom of the door hanger with a navy blue button and a jingle bell (because a little jingle never hurt anybody). The baker’s twine brings that pop of red back in again.

I used the Sew Stylish Alphabet 2 to stitch my initials onto the back. I like adding touches like this so my recipient can always remember where they got the gift. I also added an extra layer of felt between the front and back before stitching up the edges. It gives the door hanger a little extra heft and stability. You could probably use cardstock or inexpensive eco felt (the stuff from a big-box store) if you don’t want to use your beautiful Papertrey felt somewhere where it won’t be actually seen. Now our front door is all ready for next month!
Thank you so much for joining me today! I hope this post has inspired you create something beautiful for your home. Have a wonderful, crafty week and I’ll see you again soon!
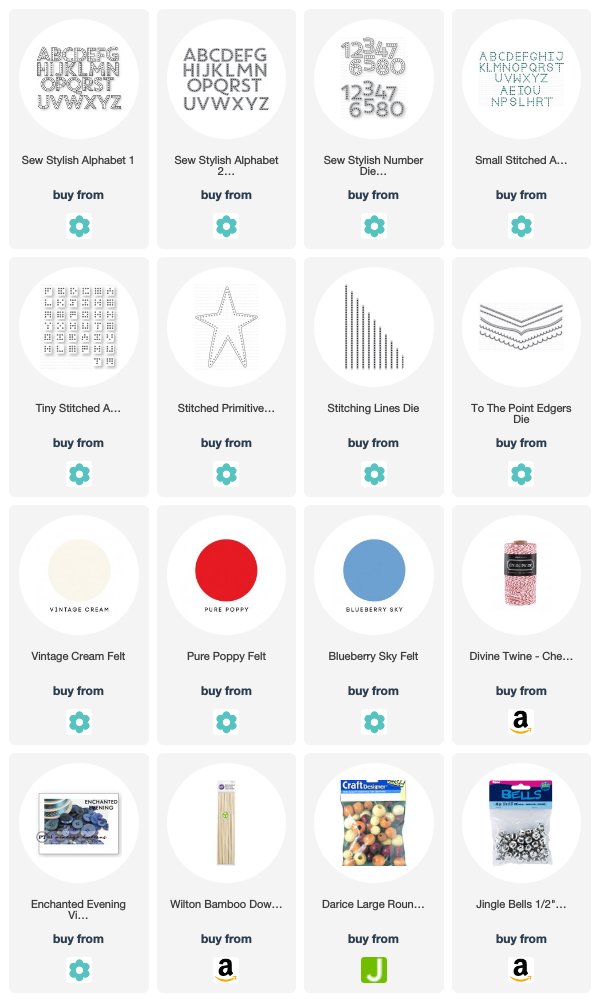
Supplies:
No comments:
Post a Comment