Good morning and welcome back for Day 5 of the
Papertrey Ink April countdown! The team is back today introducing a super fun new Make It Market Mini Kit from Betsy Veldman called
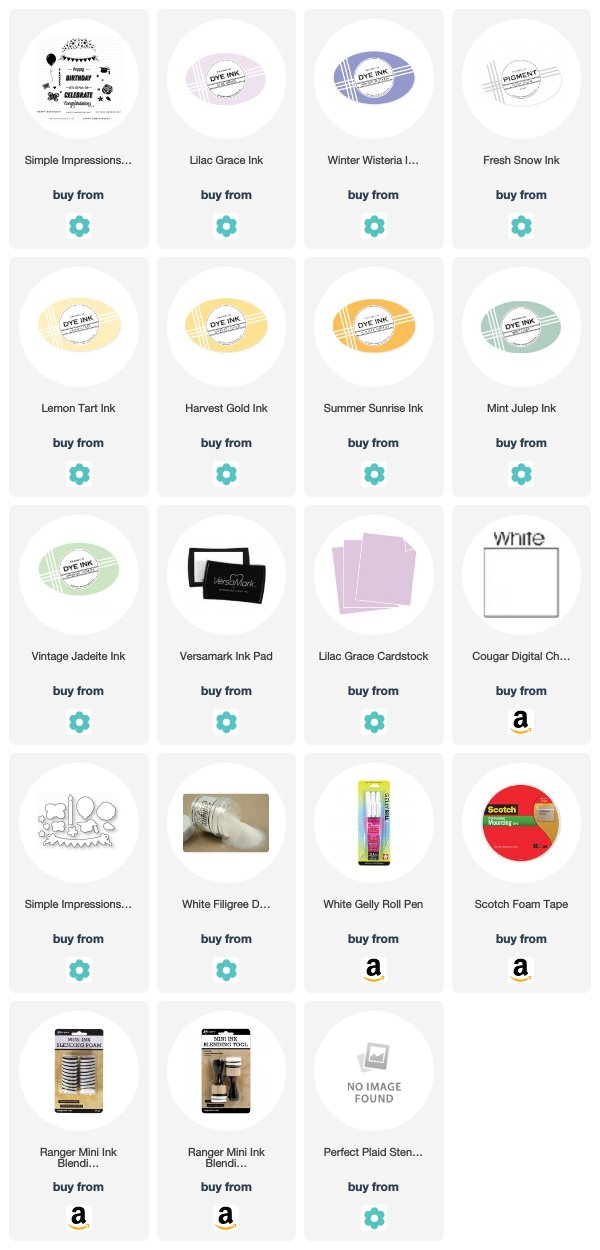
Simple Impressions: Celebrations. This kit includes everything you need to get a beginner
hooked on excited about stamping! I have a couple of projects to share, so let's get to them!
My first card today uses just the kit (and a couple of extra inks because I'm a dweeb and I didn't read the contents carefully enough). You could easily get a very, very similar look with the items in the kit.
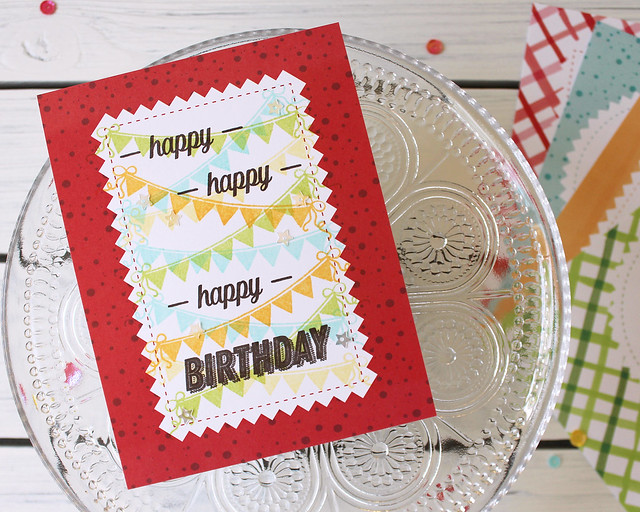
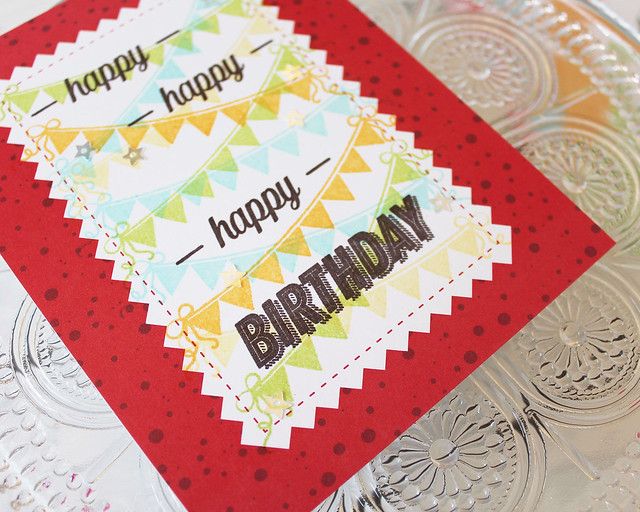
I love that this kit makes quick and easy cards a breeze. The printed card fronts are perfect for placing your focal image and sentiment with no fuss. I chose one of the Pure Poppy papers to create this birthday card.
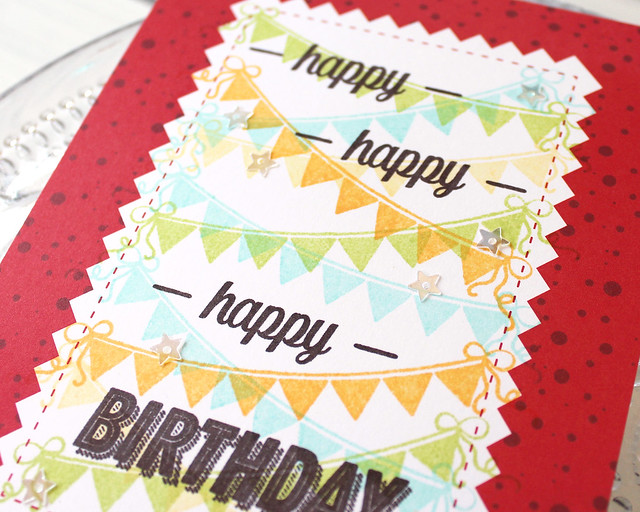
I repeatedly stamped the banners down the length of the opening, angling them differently to keep thing interesting. The kit doesn't include the die collection (because how many novice stampers run out and buy a die cut machine immediately), but I actually love how the banners look layered like this. You get extra pops of color where they overlap.
Then I stamped the "happy" sentiments and "Birthday" atop the banners and embellished with star sequins. I adhered it to a white card base and that's really all there is to it. It's bright and fun, but it came together in minutes and it wasn't challenging (but your recipient doesn't need to know that, am I right?!).
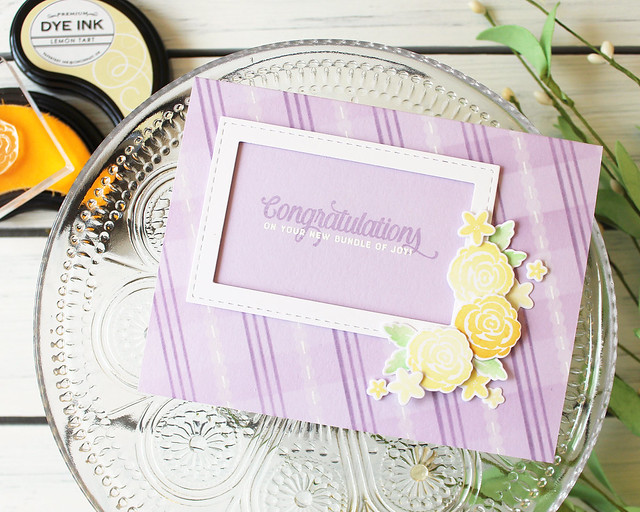
Next up, I created a card using the stamp set and die collection which are available separately from the kit. You heard that right! You can buy this stamp set separately if you're not interested in the papers and sequins and other bits and bobs (though the papers are totally worth it).
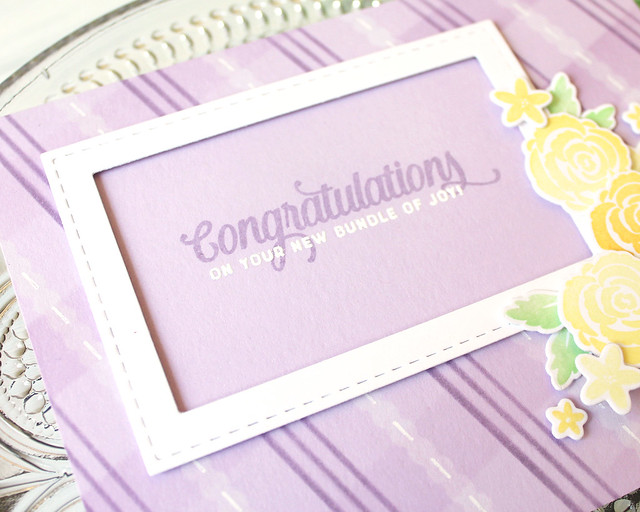
I began by stenciling a plaid pattern onto my Lilac Grace card base, but first I masked off the area where I knew I would be stamping my sentiment using post it paper. Once my stenciling was done, I stamped my greeting and heat embossed the companion sentiment using white powder.
Next, I die cut a frame using the new Noted: Simply Stitched A2 Vertical die. I adhered that to the card front with dimensional adhesive and set the card base aside.
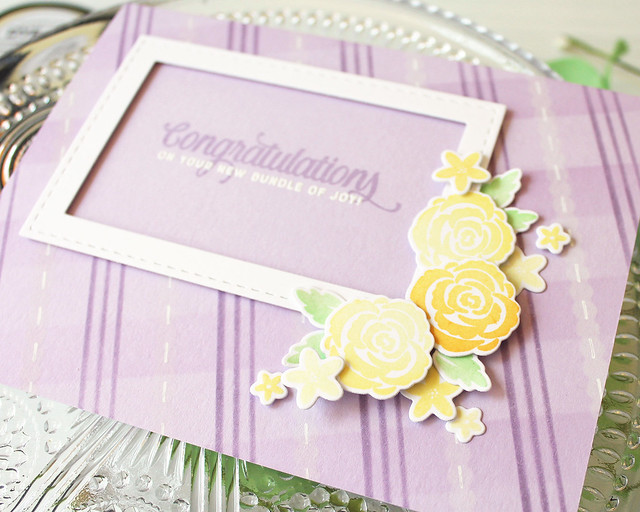
Then, I stamped a whole bunch of flowers and leaves. I die cut them and arranged them on the corner of the frame, using both flat and dimensional adhesives to get different levels of depth. I love how soft and pretty this card turned out! Now someone just needs to have a baby so I can give it to them. Ha!
Thank you so much for stopping by today! I'm heading down to Cincinnati for our Release Party Live broadcast on Sunday (4/15), so I hope you'll join us for that at 9pm EDT. In the meantime,
Betsy,
Dawn,
Heather,
Keeway,
Laurie,
Melissa B,
Melissa P,
Michelle, and
Stephanie have more to share with you. Have a great weekend and I'll see you soon!
Supplies:
Birthday Banners Card
 Bundle Of Joy Card


2 comments:
Hi Lizzie! It's going to be hard not to pick up the patterned papers and bits and bobs. I loved how you put that! Your cards are so festive and PRETTY. I sure have my eye on the plaid stencil! Please have a safe trip and see you tonight! :)
Lizzie, don’t call yourself a dweeb...as you aren’t one! What a festive birthday card you made, and tga5 sweet bundle of joy card is priceless. Clever way to stencil the Plaid around the border only. Can’t wait to get my hands on that stencil because I’ve always been fond of Plaid. You’re probably too young for the old Madras plaids, but I loved the. Safe travels!
Post a Comment