
I love my stencils, but they were starting to get unruly. Flipping through a basket just wasn't working anymore. So I recently buckled down and figured out how to organize them in a way that is both easy to set up and easy to maintain. Since my Blending Sponge Organization worked out for so many of you, I thought this might be worth sharing too!
The fact that using a binder for my sponges worked so well meant that I was already fairly committed to the idea of using a binder for stencils, too. The only problem with using the same Kraft binder is that many of the stencils in the Papertrey line are too wide to fit into the half-size page protectors (though some are not, so you could use the smaller binder depending on your needs). Luckily, there are plenty of quality binder options on the market so I knew I wouldn't have any trouble finding an alternative.
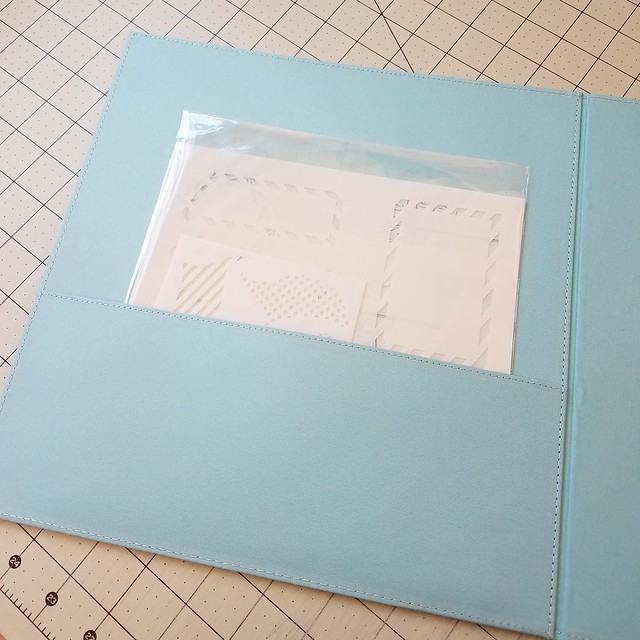
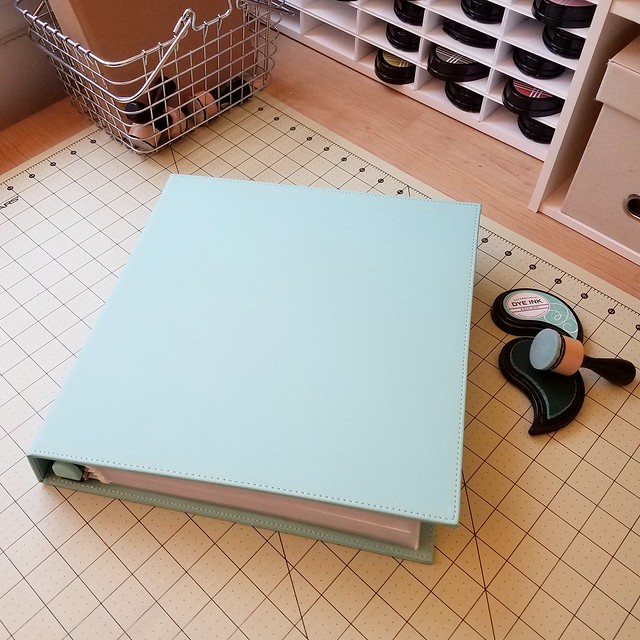
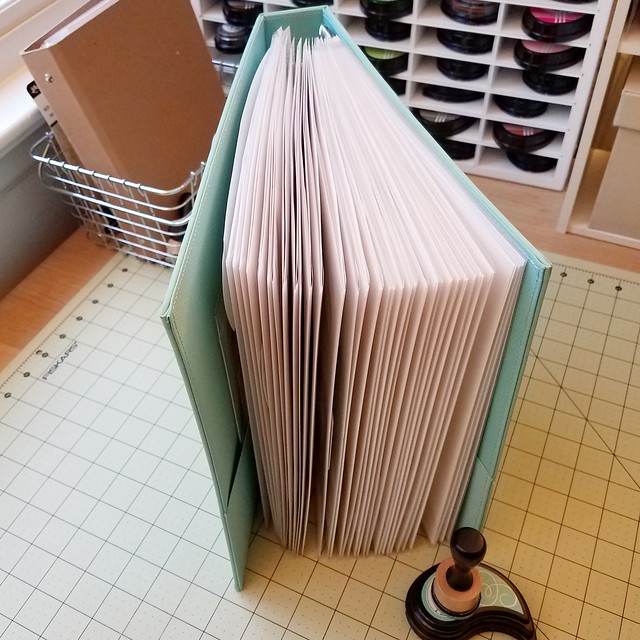
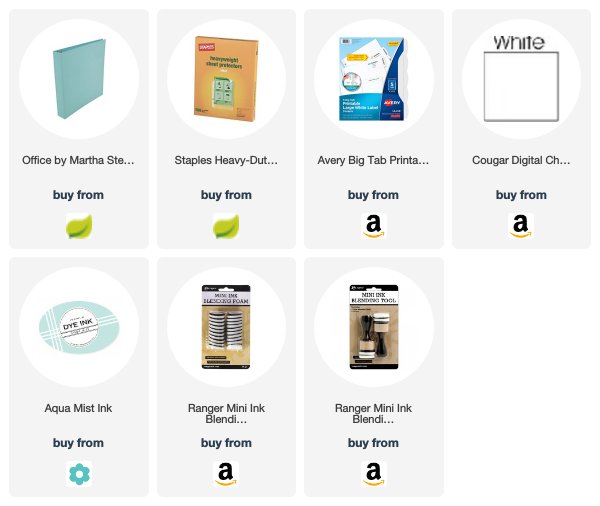
I ended up choosing a blue Martha Stewart binder. The faux-leather and fabric construction makes it nice and sturdy and will hopefully hold up to plenty of use. Inside the binder are pockets that I'm using to hold the stencils I haven't gotten around to making pages for yet. It's a really quick process though, so I'm sure the pocket will be emptied before long.
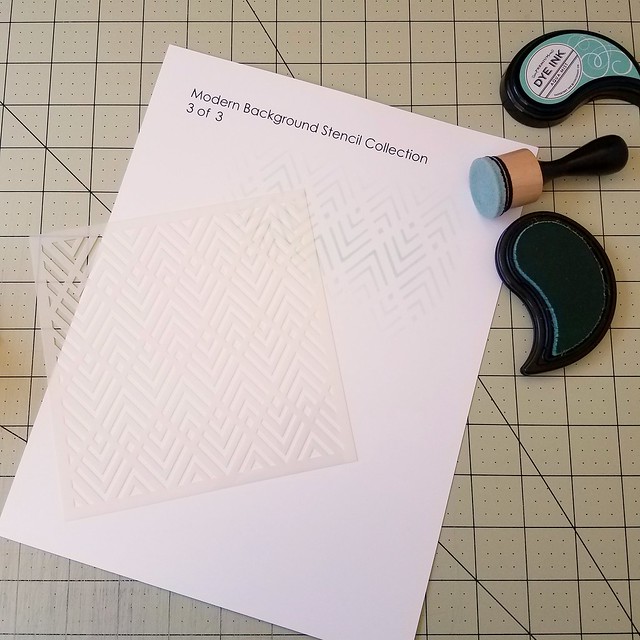
The pages themselves are fairly straightforward. I simply printed the name of each stencil along with the number of stencils in each collection at the top of an 8 1/2" x 11" piece of white cardstock (that font is Century Gothic for any of you who might be wondering).

Each stencil got its own page rather than an entire collection on one sheet. I chose to do it that way so I could sponge a bit of each pattern on the page to have a reference for what the design really looks like when stenciled. It also helps keep the stencils from getting caught and tangled on one another. No one likes a tangled (and potentially damaged) stencil.
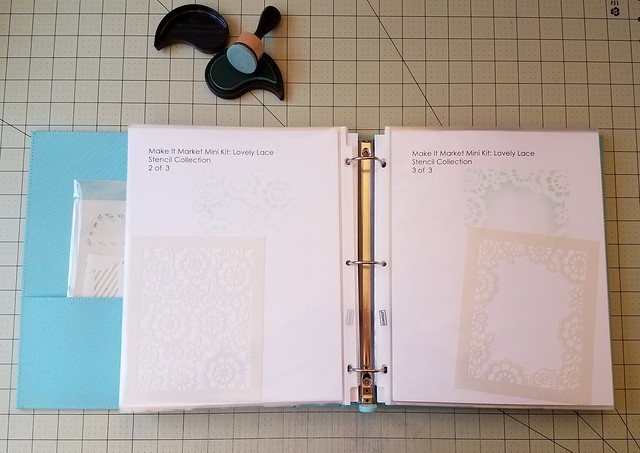
I printed out all of the pages first and just used one ink color (Aqua Mist) for the whole book to help streamline the process. Then I tucked the sheet and stencil into a page protector. There are two sheets and stencils in most page protectors. The sets with three stencils just span two pages in the binder.

I divided the stencils into five groups and then alphabetized each group. The categories are Stencil Basics, Stand-Alone Collections, Make It Market Mini Kits, Make It Market Large Kits, and Color Pop Kits (which, yes, are Make It Market Minis, but there are enough of them that I thought they deserved their own section).
This project was such a no-brainer for me. It's so much quicker to find what I need now! And it's so easy to pop out the page I need and slip the stencil in and out of the sleeve. Like I said, I had been storing everything in a basket on my workbench, but this has proven to be a far superior solution. I'm really glad I bit the bullet and finally put this binder together. I truly hope you have found this helpful. Happy organizing and happy crafting! Have a wonderful weekend!
Supplies:
28 comments:
This is fantastic Lizzie! I continually look at my bin of stencils, shake my head, sigh and move on. Now you've given me a brilliant solution! Thank you!
Awesome! I wanted to take another look at your ink blending sponge system in your kraft binder. What post is that?
Great idea. I already use binders for lots of things so this will just add one more to the shelf. Thanks for the tutorial.
Hi Lizzie! I can't thank you enough for your outstanding organizational ideas. I love my sponge binders! One thing I did learn was that it does matter how sturdy the binder is, so your tips really do matter. Thank you Lizzie, I can't wait to case your stencil binder. :)
Brilliant.
Thank you so much for sharing!
Wonderful solution! I have kept my stencils from kits with all the other parts of the kit, but this way you can have every single stencil you own in one place, and do some mixing & matching!
I just love your stencil storage solution, Lizzie! Although I don't have too many stencils yet, my collection has grown with each Papertrey release over the past year. So this is the perfect time to begin your binder system. It will be a fun project this weekend! Many thanks for your always wonderful inspiration, Lizzie!
Great tip! Thank you - can’t wait to organize my stencils. Would you mind sharing your ink pad holder? That is a big issue for me. Thanks!
Thanks for sharing this idea. I will be putting it to use immediately.
Great idea...I made the ink pad holder right after I read your original post and then showed it to all of my papercrafting friends. Thanks for your creativity and sharing of such.
This is a great idea! I have all of mine stuffed into a ziplock bag. It'll be so much easier to find them in a binder!
This is a great idea! I already use your idea for storing blending sponges; excited to create a stencil binder too! And add to my collection...:)
Now, why didn't I think of this??
A perfect solution to storing stencils! Thank you, Lizzie.
BrilliNt idea. I already have a sentiment binder and a die cut word binder, so this is the perfect next binder for me to create.
Awesome, Lizzie, you took yours one step further than mine with the full-size page protectors. I procrastinated on proceeding when some wouldn’t fit in the TH folders. Thanks to you I can now finish organizing them and stamping an example on the white c/s. Love my ink blending sponge notebook...thanks, Lizzie!
Great idea, Lizzie! Mine are all in a drawer, but they aren't easy to go through now that I have so many. My stamps are in binders (wish I'd used storage containers, but too many to change now) so don't know why I never thought to use a binder for my stencils!
Fabulous solution for those tangled stencil blues! Thank you for sharing the idea Lizzie!
Genius! Thanks so much for sharing this idea. Your post has made me smile from ear-to-ear ^_^
Hi Lizzie! I just love it when someone does all my work for me! Can't wait to get started!
Another great idea, I did make the ink sponge blending pads and find it very helpful, I'm sure this will work out just as well,
Thank you.
Love this tip, especially inking the samples of each stencil. I love organization tips. Keep them coming.
Very helpful. As is your blending tool binder. TFS.
Nice! I especially like that the stencils are protected and easy to slip in and out.
PS, I second the request for info on your ink pad storage. :)
Oooh. Love this, Lizzie!!! Swiping this idea for sure!
I don't own enough stencils to organize, but if I did...WOW this is so smart! Thanks for the idea~
I love this whole idea and ordered a binder for myself. I have lots of page protectors on hand already so I love the whole idea of printing out a white page with the name on it and inking it up. I think stencils seem to be making quite a comeback currently.
Post a Comment