Good morning, friends and welcome to the last day of projects for the
Papertrey Ink countdown! The new products release tomorrow night at 10pm EDT on the Papertrey Ink website, so you definitely won't want to miss that. Today though, I have the great pleasure of introducing my
Glorious Globes: March stamp set and Betsy's
Shape Shifters: Oval 1 die with you. Check 'em out!
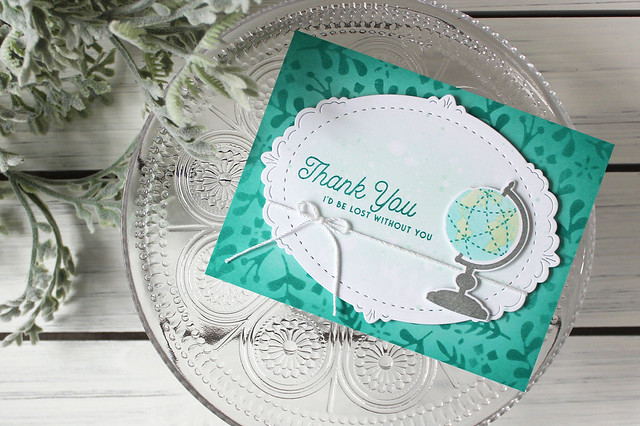
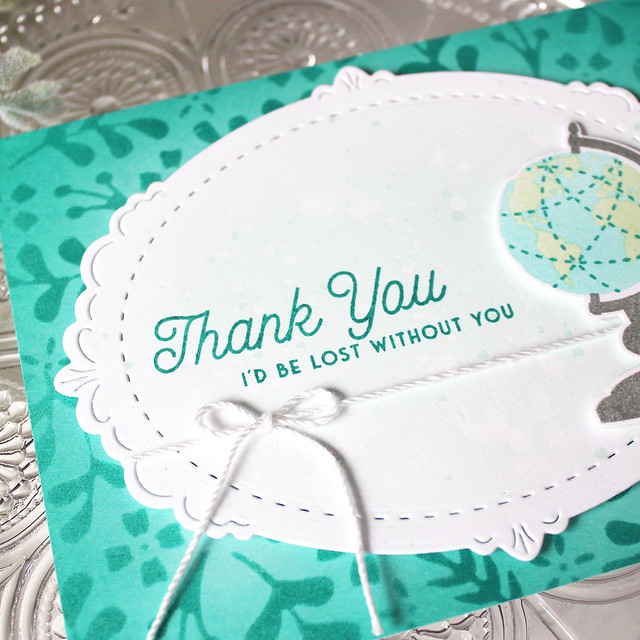
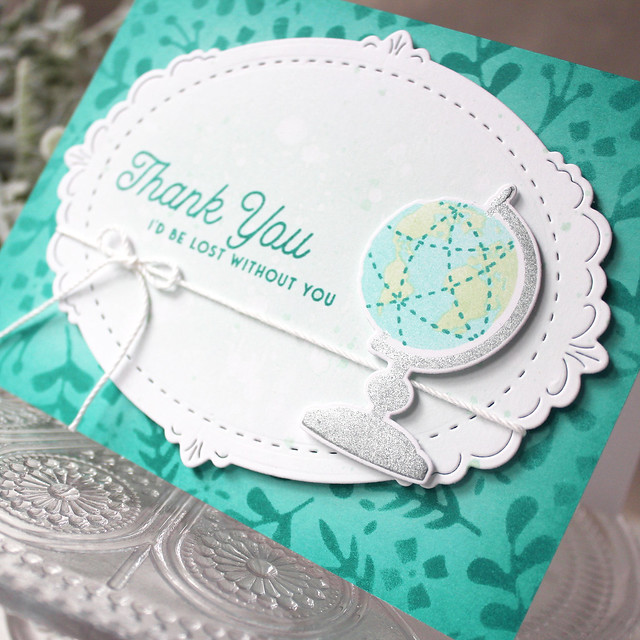
For starters, I thought I'd do a thank you card. I used my
Sentiment Staples: Thank You set on this one, too.
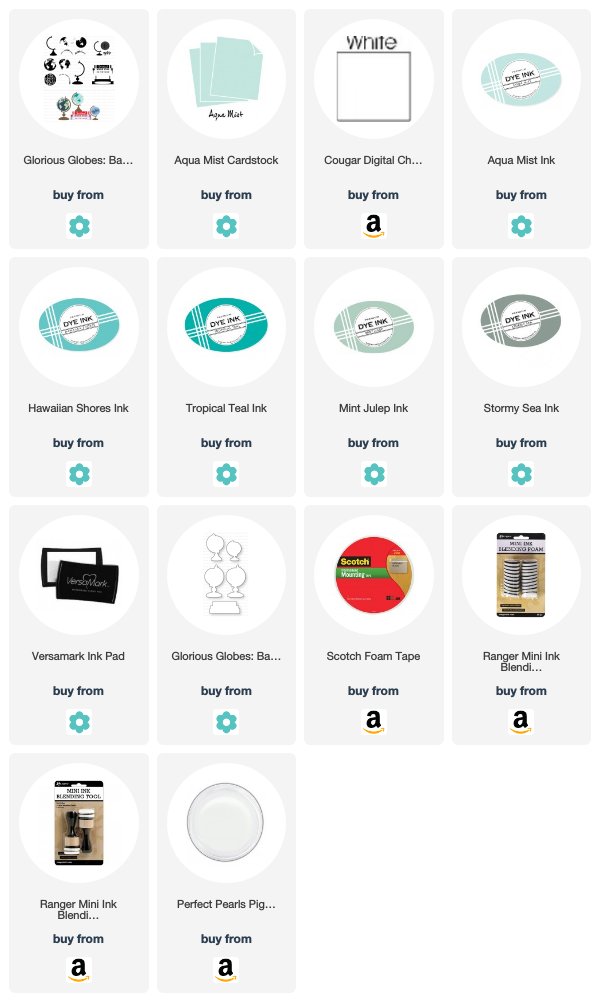
I began by sponging a bit of Aqua Mist ink onto a Shape Shifters: Oval 1 die cut. I speckled it with water and reinker to add a bit of additional texture and then stamped it with the Sentiment Staples greeting in Tropical Teal.
Next, I sponged a bit of additional Tropical Teal onto an Aqua Mist card front to give a bit of depth. Then, I die cut the central window from the Shape Shifters set from vellum and used it as a stencil. Instead of rubbing or blending like I normally would with a stencil though, I dabbed or pounced the ink through the openings. Otherwise the sponge would have gotten caught on all of the little pointy edges from the die cut.
I tied crochet thread around the oval layer before adhering it to the card front. Then, I stamped and die cut the globe. The stand and globe are from the original Basics set, but the "travel lines" are from the March edition. In order to get a metallic finish on the stand I stamped first with Stormy Sea and then again with Versamark. Then, I sprinkled Perfect Pearls pigment powder over the sticky ink. The finished result looks metallic without the hassle of pulling out my heat tool. Yay! I adhered that in place with foam tape.
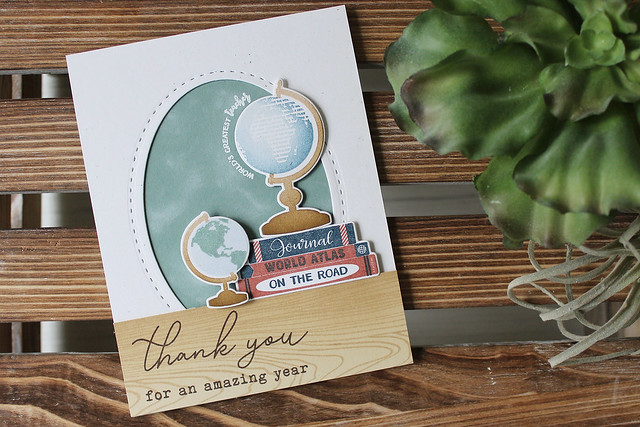
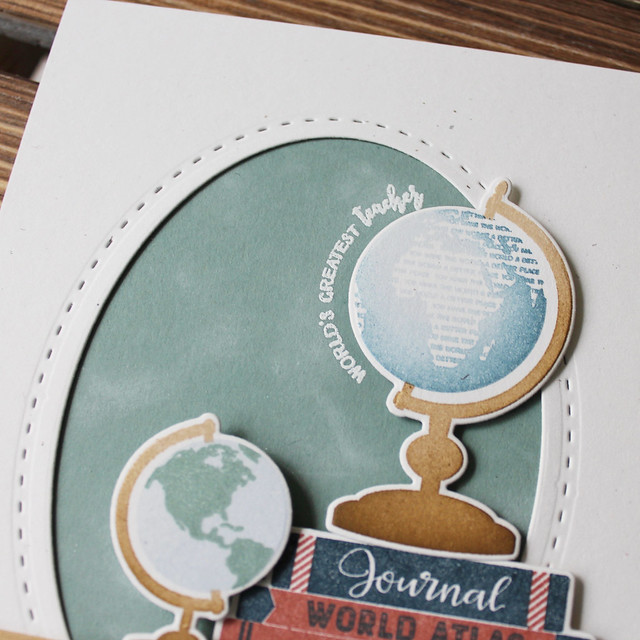
Next, I have a teacher thank you card that pulls in a sentiment from Heather's
Great Teachers set.
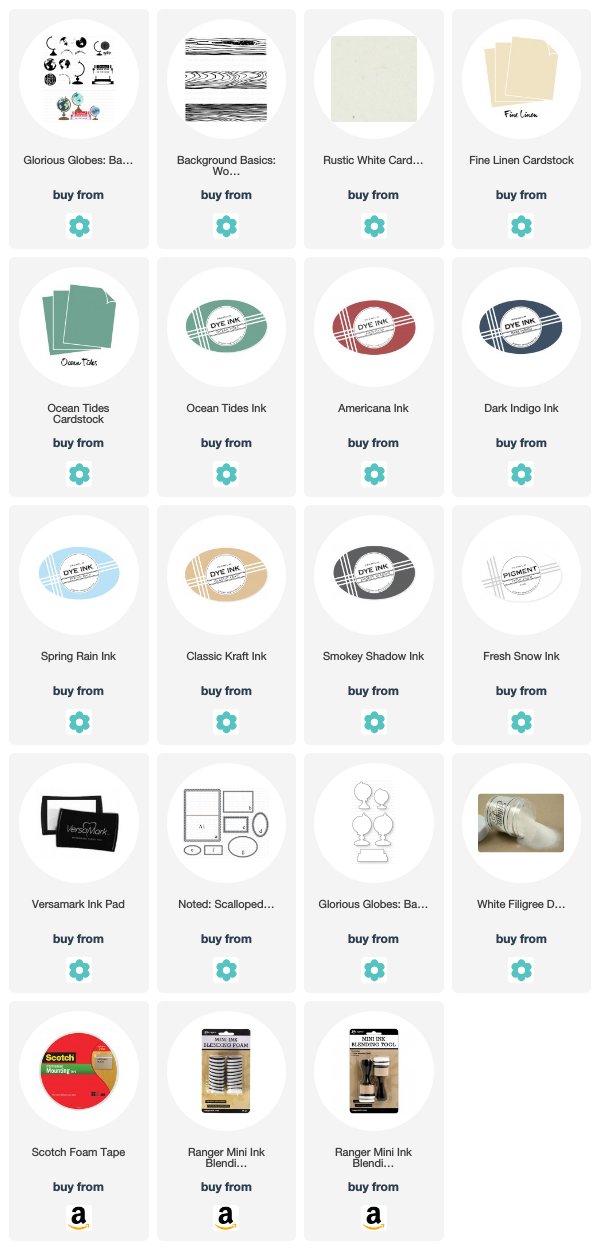
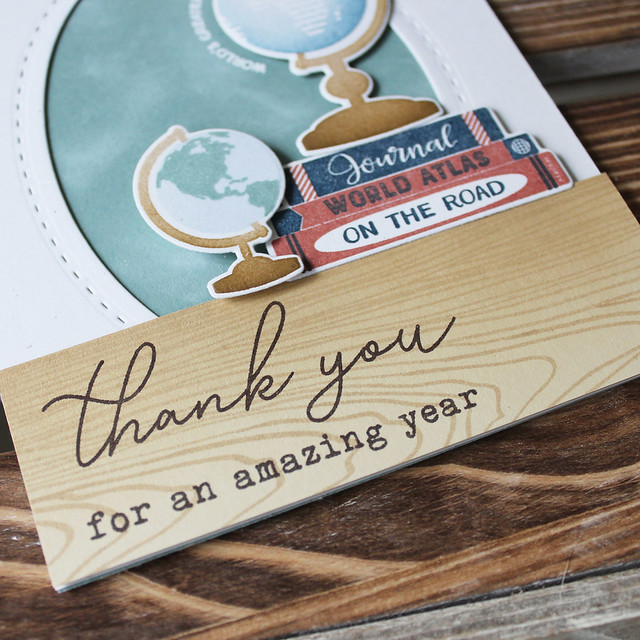
I began by using the large oval from the Noted: Scalloped A1 Die Collection to cut a frame from Rustic White cardstock. Then, I added the dashed frame detail from the Shape Shifters: Oval 1 set. Next, I sponged a piece of Fine Linen cardstock with Classic Kraft ink to give the impression of distance and then stamped it with Background Basics: Woodgrain to make it look like a desk or something.
Side note: Background Basics: Woodgrain is retiring this year and I cannot stress enough how much I recommend this set. It's great for snow, water, grass, woodgrain (duh), sand...so many things. Make sure to get it before it's gone! I stamped that panel with the Great Teachers sentiment and set it aside.
Next, I stamped and die cut the globes from Glorious Globes: March. These are both new to this month's set. The text inside the Africa globe says "you make the world a better place" though that's hard to read here because I used a light ink. It's also tiny...so there's that. But that's what it says, fyi. I also stamped and die cut the stack of books from the original Basics set.
Then, I smudged a bit of ink on an Ocean Tides card base to make it look like a recently erased chalkboard. I intentionally went with distinct smudges to give that authentic "streaky blackboard" look. Do they even use blackboards in schools anymore? Anyway, I adhered the frame and desk to the card front and then placed the globes and books to use as a guide for stamping the curved sentiment. I heat embossed that in white and then adhered the rest of the elements to the card front with dimensional adhesives.
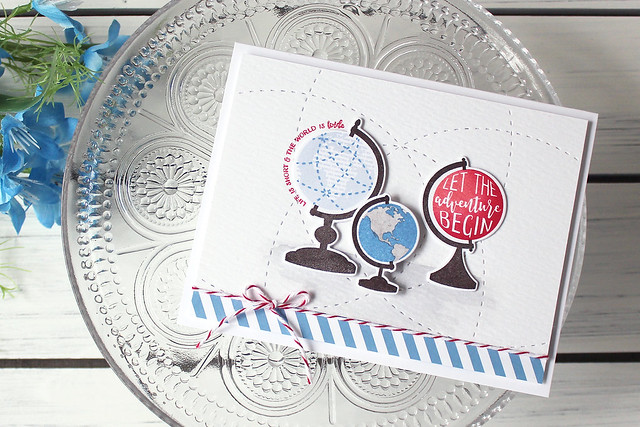
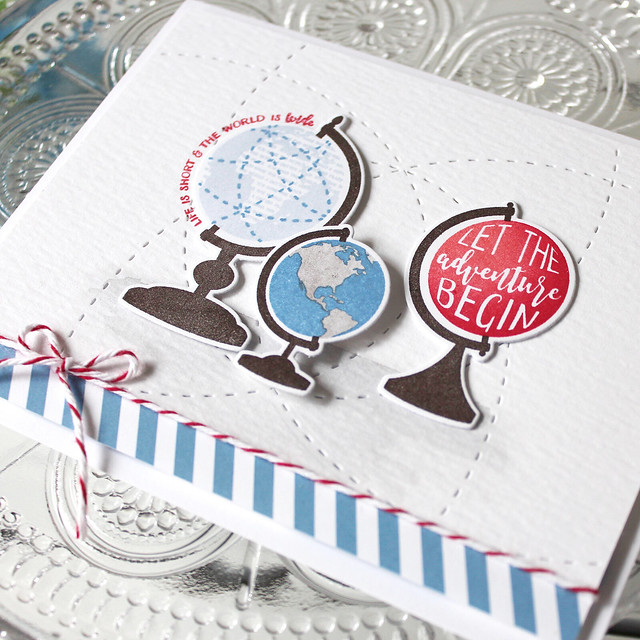
Last, but certainly not least, I have a graduation card. Or just a striking-out-on-your-own card. Or travel...it could be used for a few occasions, come to think of it.
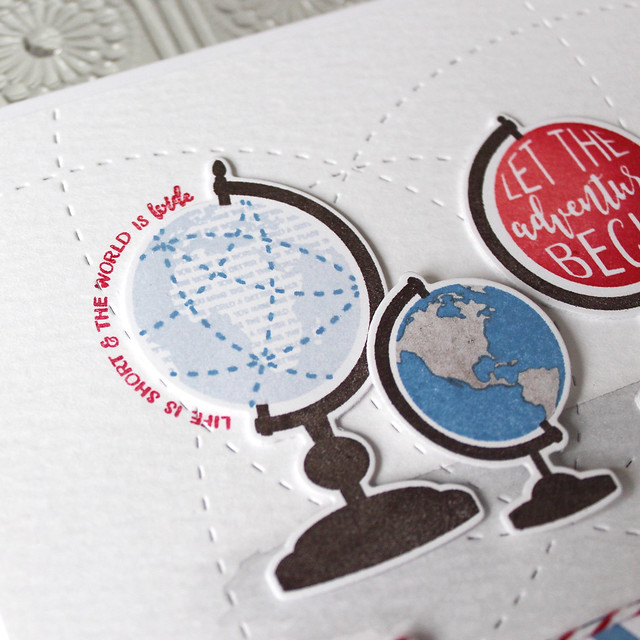
I began by watercoloring a "ground" on a watercolor panel using a gray Zig marker. Then, I used the dashed line frame to cut a background pattern into the panel. Once that was totally dry, I added a strip of Bitty Big: Blueberry Sky patterned paper and a baker's twine bow.
Next, I stamped and die cut my globes. I stamped the "adventure" globe with Berry Sorbet and then added shading with Pure Poppy to give it dimension. I placed the globes on the card front and stamped the sentiment with Pure Poppy ink. Then, I used a mix of flat and foam adhesives to adhere my globe arrangement to the panel. Finally, I used foam tape to adhere the panel to the card base.
Thank you so much for joining me today!
Betsy,
Heather,
Keeway,
Laurie,
Melissa B,
MelissaP,
Michelle,
Stephanie, and
Lexi all have cards to share with you today so make sure to check in with them, too. Have a wonderful day!
Supplies:
Lost Without You Card
 World's Greatest Teacher Card
Let The Adventure Begin Card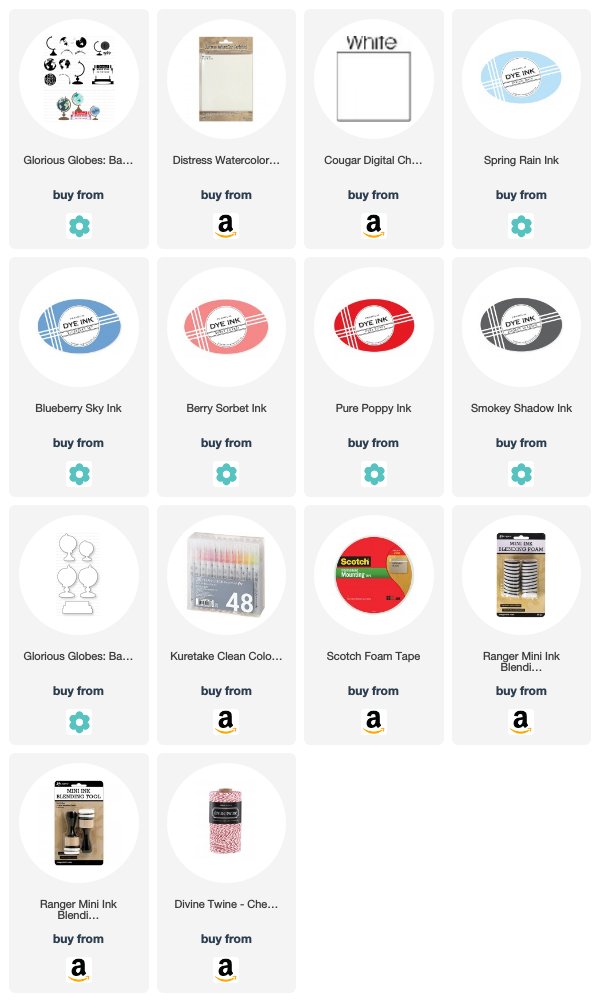


2 comments:
Hi Lizzie! Waiting with anticipation, the last day of the release isn't showing up on the Papertrey blog yet, so I've headed over to everyone's blogs. Oh my goodness, seriously Lizzie, I can't pick a favorite today, because all of your cards are ingenious. I love the teacher card but then I love how you used the dotted die to make your travel background. And stenciling the greenery. I pounce sometimes too. Awesome work Lizzie!! :)
The designs and sentiments on your card make them really impactful. I especially love the colour palette on your first card.
Post a Comment