Good morning, friends, and welcome back to Day 2 of the
Papertrey Ink January countdown! We have so much wonderful stuff to introduce today. The second edition in Rebecca's Frame It Out series has landed. This one is called
Frame It Out: What's Inside and it is such a fun, quirky set perfect for birthdays and other celebrations. Jennifer has created a super sweet and unique baby set called
Worth The Wait and a mini addition called
Even More: Worth The Wait that I really think you're going to love. And I have a set of
Nesting Basics: Ovals that you're sure to turn to again and again for focal points, frames, and beyond. Let's get to it!
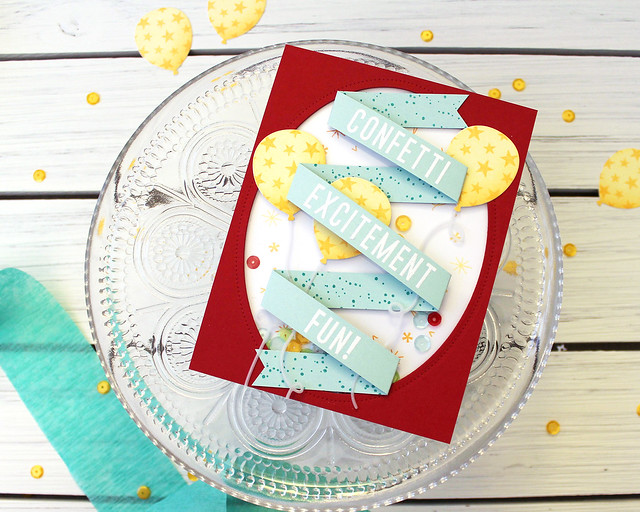
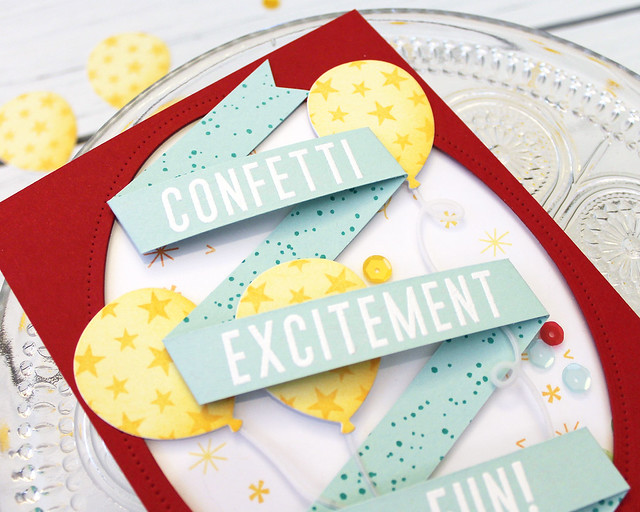
My first card today pairs my ovals with Rebecca's Frame It Out: What's Inside to create a cheerful birthday shaker card.
I began by creating a frame for the shaker by die cutting a Nesting Basics: Oval into a panel of Pure Poppy cardstock, using one of the Pierced Ovals to dress up the edge. Next, I stamped the Frame It Out: What's Inside frame onto a white card base. I blended together Harvest Gold, Summer Sunrise, and Orange Zest inks to give the frame a bit of dimension.
Next, I backed the Pure Poppy frame with clear cardstock and foam tape. I sprinkled sequins into the center of the card front and then adhered the Poppy/Clear Cardstock layer overtop to create the shaker box. Then, I went about decorating the front of the card.
I created the banner by first making a copy paper template and then making an Aqua Mist version when I was happy with the folds. I stamped the back with the Corner Adorner: January confetti and the front with the sentiments from Frame It Out: What's Inside. I adhered that to the card front and then tucked in Birthday Balloons stamped with Harvest Gold and Summer Sunrise inks. Then, I added Balloon Strings cut from vellum. I love how cheerful and carefree this card is!
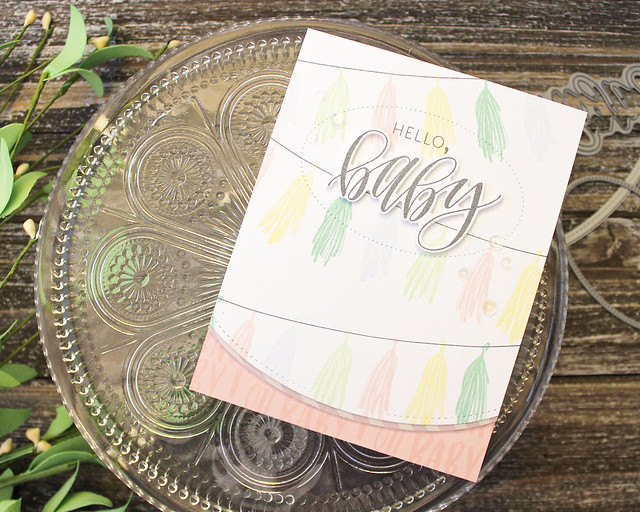
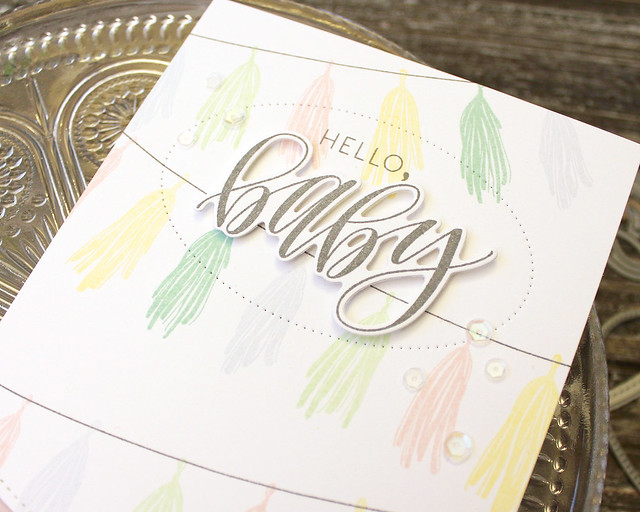
Next up, I have a card featuring Worth The Wait and Even More: Worth The Wait.
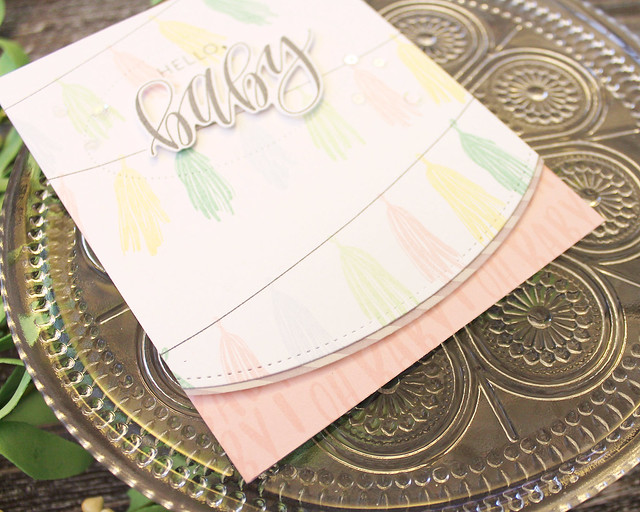
I began by stamping a background using the tassels in the set. I used a pastel color palette incorporating Spring Rain, Mint Julep, Aqua Mist, Harvest Gold, and Sweet Blush inks. I cut the bottom edge of that panel with a To The Point Edgers II die and matted it with striped vellum.
Next, I die cut a Nesting Basics: Pierced Oval to create a focal point for my sentiment. I stamped the greeting in Weathervane ink, using one of the dies in the set to pop up the "baby" and give it a little more oomph.
I used a sentiment from Even More: Worth The Wait to create a subtle, text pattern on a Sweet Blush card base before attaching the tassel panel with foam tape. A sprinkling of clear sequins was all I needed to add a touch of sparkle.
And there you have it! Thank you so much for joining me today!
Kelly and
Melissa B are featuring today's introductions so you should definitely pop in and see how they're using these wonderful additions to the Papertrey lineup.
Amy,
Betsy,
Dawn,
Laurie,
Melissa P,
Michelle, and
Steph are also sharing today, so make sure to visit them too. I'll see you back here tomorrow for Day 3!
Supplies:
Confetti, Excitement, Fun! Card
 Hello, Baby Card


2 comments:
Hi Lizzie ! I have been so WOWED by the release post today and your designs are just fabulous! I love your banner card and couldn’t wait to hop over to your blog. Surprise...your banner is a shaker too!! Seriously, what an outstanding design! The extra work you put into it really shows 😊👏. And the baby card is a fun new take on the traditional style, I love it!.
Great banner card! How long is the strip before folding, & how wide is it?
I just want to benefit from your experimentation.
Post a Comment