

Good morning, everyone, and welcome to this month's Stitching Focus! I'm Lizzie Jones, your Stitching Ambassador. Thank you so much for joining me today! This month I'm sharing a couple of bookmarks, one for my nephew and one for me! I used a mix of cardstock, felt, and fabric to create these handy place-keepers. We'll get to the projects in a second, but let's take a closer peek at the featured product first.

Like I said, today we're taking a fresh look at the Stitched Bookmark Die Collection. This die includes a full-sized bookmark, an insert (that actually doubles as a secondary bookmark option), a window die, and a hole die. They all work together to create a layered keepsake that you can give on its own or when gifting a book to someone you love.


1. Erin used the Die Collection to create a personalized bookmark that doubles as a gift tag. She used the Modern Alpha Upper Dies to add her recipient's name and Fancy Flakes die cuts to dress up her packaging.
2. Betsy used cheerful chevron fabric to create a pattern in the window opening of her bookmark. She even added a cute little felt tassel!
3. Erin paired the Stitched Bookmark Die Collection with Bibliophile to create bookmarks inspired by literature itself. She used patterned paper and twill ribbon to add interest while keeping her bookmarks nice and flat.
4. Heather created a sweet gift for an educator using the Wonderful Words: Teacher die and apple-theme patterned paper in the window opening. Imagine giving this bookmark with a leisurely read on the last day of school. The perfect gift for a busy teacher!
5. Maile used a carefree stringing technique full of colorful floss for her simple bookmarks. These fun and whimsical bookmarks would be ideal for the kiddos in your life.
6. Laurie created a charming ensemble for a worthy teacher. She embellished her Stitched Bookmark with the Seasonal Stitching: Apple and a wrap made with the Limitless Layers: 1 1/2" Square Die Collection and Teacher's Apple. She even dressed up her pen and notepad with patterned paper to match! So cute!
7. Laura paired the Stitched Bookmark Die with the Fillable Frames #7 Die to create a window to frame her Sew Stylish Alphabet 1 monogram. She embellished her window with Bitty Button Stacks flowers for a feminine pop of color.
8. Erin used the insert to create a smaller-scale bookmark. She used the Embroidered Borders Die to add a die cut pattern to her felt and added contrasting stitching for a bit of texture.
9. Nichole also used the Embroidered Borders die to create a floral pattern in the window of her bookmark. The seed beads she incorporated add such beautiful, delicate texture.

My nephew recently earned the "Most Improved Reader" award at school, so I thought he might appreciate a special, personalized bookmark in celebration of his achievement.

I wanted to keep this bookmark on the thinner side, so I used one layer of felt and one layer of plaid fabric for the full-sized bookmark pieces.

I made sure to use stabilizer on the fabric to keep the edges from fraying and I used the window die to cut an opening in the felt layer.

I also wanted to incorporate his name on the bookmark. He loves seeing his name on things! So I cut an insert from cardstock and used the Small Stitched Alphabet Die to spell out his name (I used a strip of post it paper to keep the letters in place when I die cut).

I stitched his name with dark gray floss using all six strands of thread. I stitched the cardstock layer to the felt layer first (using three strands) and then stitched the fabric and felt pieces together around the outside edge (also with three strands). I set a large silver eyelet in the hole and then tied Harvest Gold Twill through the opening. I think it turned out great! I hope he loves it.

While I had the die out, I decided to create a bookmark for myself at the same time. I would really like to read more this year, so hopefully having a pretty bookmark will encourage me to do so more regularly.
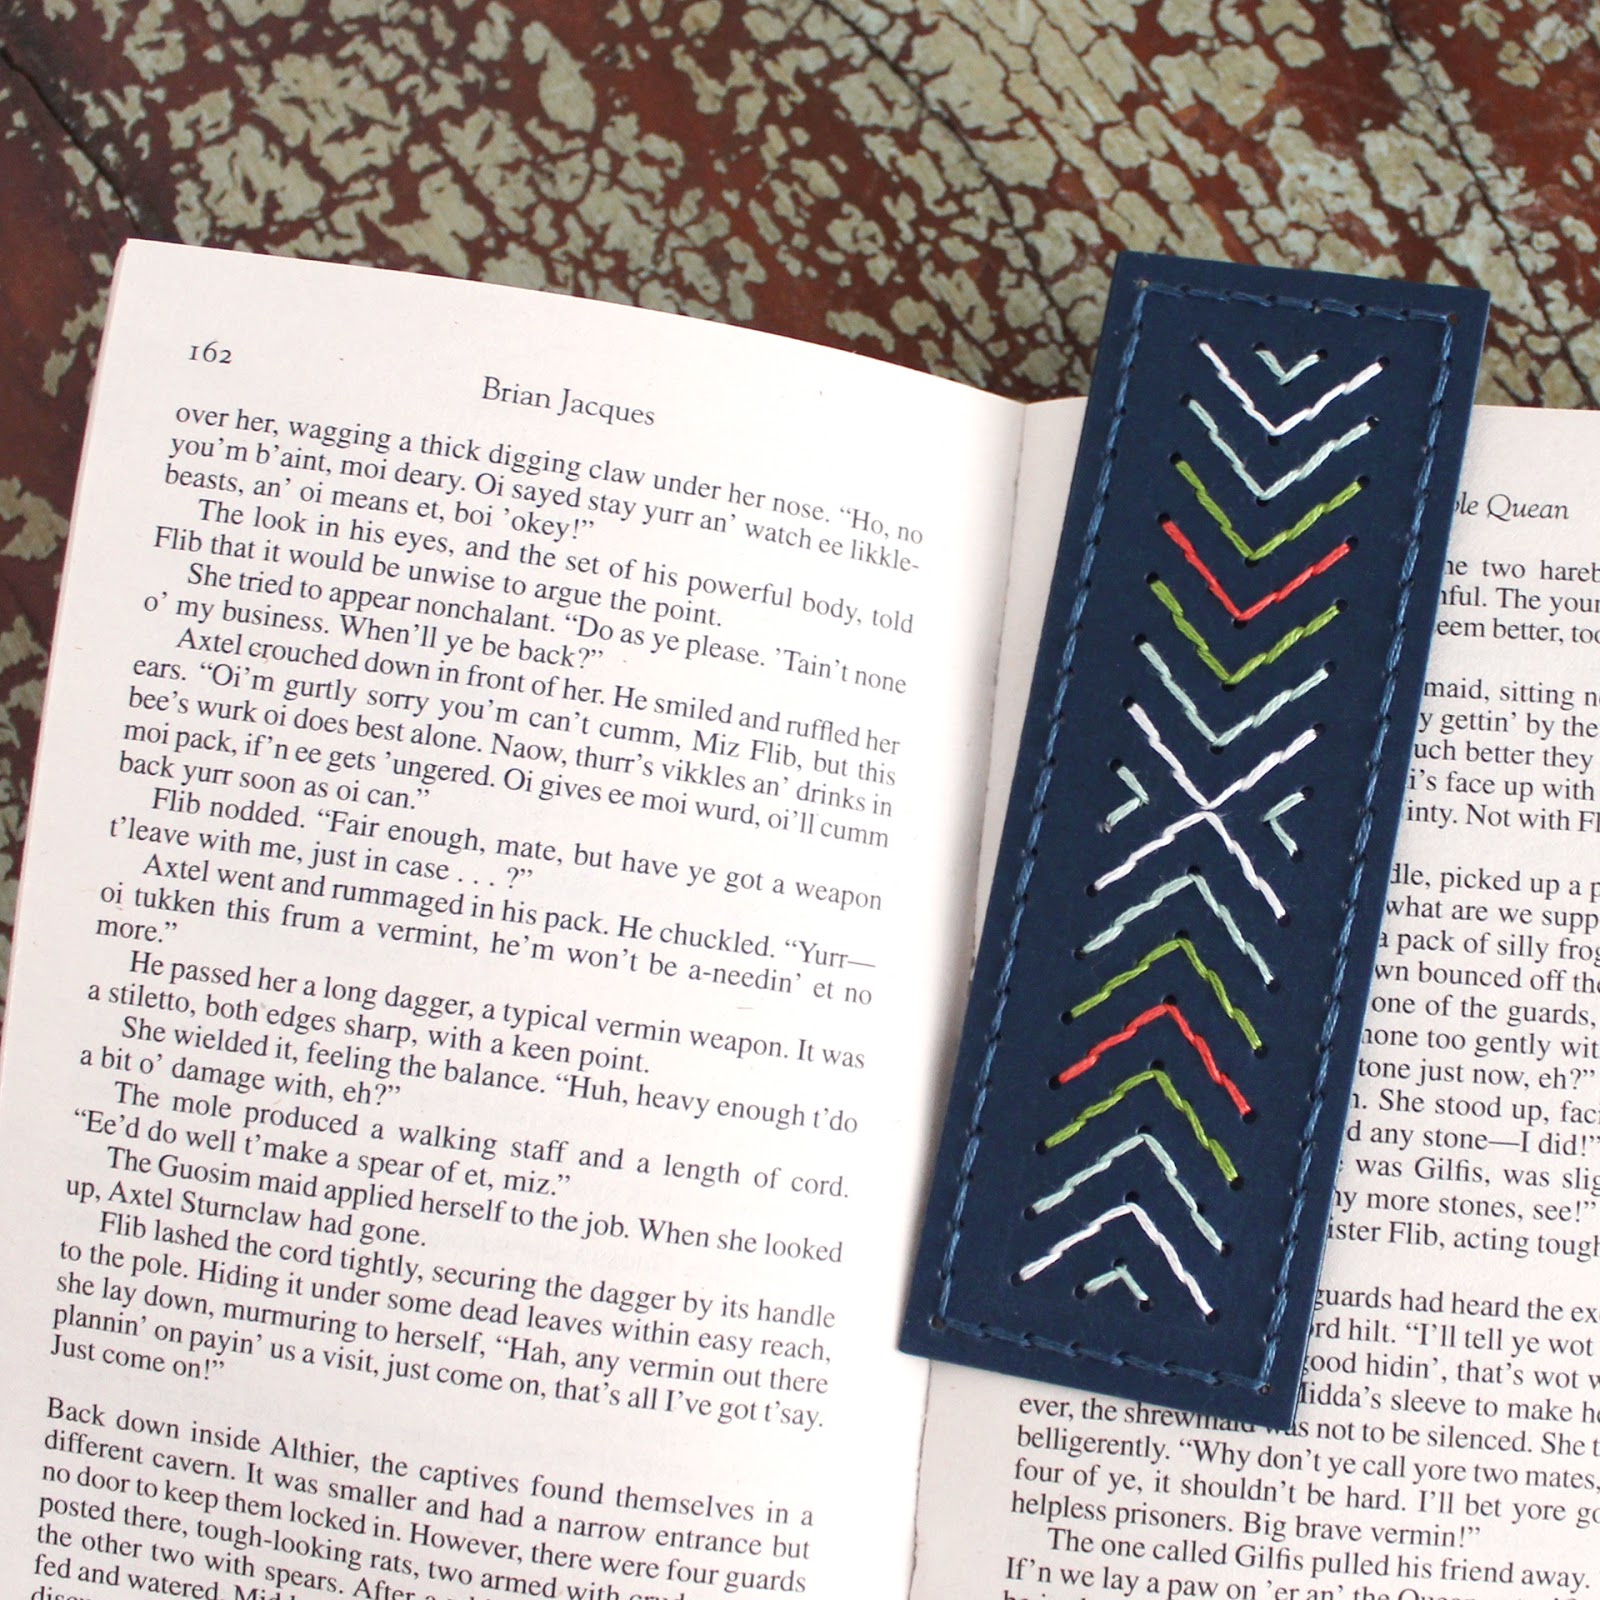
I used the insert die to make a smaller-scale bookmark. I tend to read the smaller paperbacks, so I thought the smaller size would be a better fit. I cut base pieces from Dark Indigo cardstock and used the Embroidered Borders die to cut the pattern holes. I actually cut the border twice (overlapping a few of the holes so it would fit properly) to fill the center of the bookmark.

I stitched the pattern using a handful of alternating thread colors and stitched around the outside edge with a matching thread. I love how the bright thread pops against the Dark Indigo cardstock!

Thank you so much for joining me today! I hope you've enjoyed this month's post and I'll see you again soon!
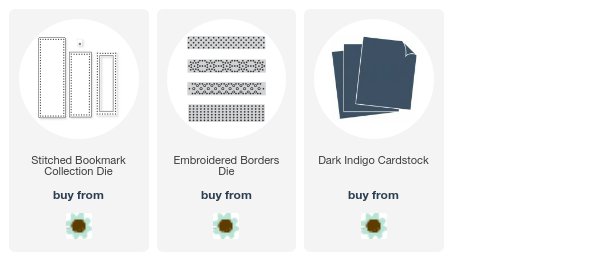
Supplies:
Charlie's Bookmark
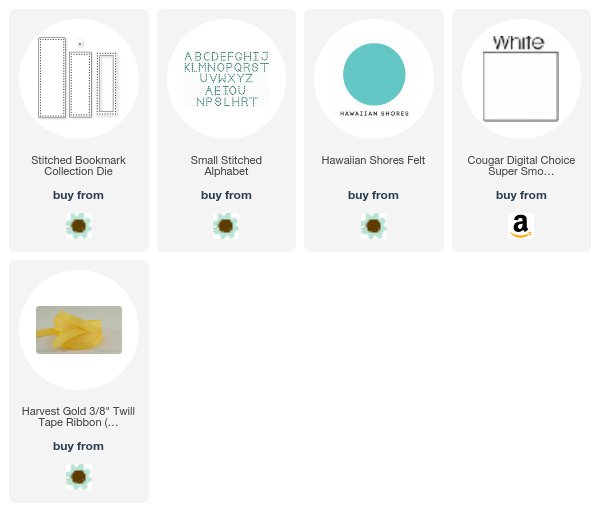
Stitched Chevron Bookmark
1 comment:
What a great idea to make stitched bookmarkers! I enjoy your monthly stitching ideas! I wanted to let you know that I was crazy enough to make your garland idea and barely finished it in time for Christmas. I only stitched up 8 of the balls cuz’ I just did not feel like making just one more to total 9. My garland is still up (ha, ha)! Wish I could send you my photo. Happy 2018!
Post a Comment