Thursday, October 26, 2017

Throwback Thursday: Stenciled Alphabet Blocks Die

Good morning, friends! It's Thursday and you know what that means...it's time for another Papertrey Ink Throwback Thursday feature! Today Betsy, Wanda, and I are showcasing the Stenciled Alphabet Blocks Die.

Congrats Card

One of my favorite parts of alphabet dies is the fact that I can spell out any sentiment I want. The Stenciled Alphabet Blocks are big and bold and perfect for creating a graphic focal point that really makes a statement on the front of a card.

Congrats Card 3

I wanted to make sure my sentiment was really the star of the show, so I kept today's card clean and simple. I began by die cutting the letters and star blocks from white cardstock. I also cut solid blocks from White Adhesive Sheets (because that stuff is awesome). I stuck the solid blocks to the back of each letter block with the sticky side up.

Congrats Card 2

Then, I sprinkled the exposed adhesive with a variety of glitter colors. A little tip for keeping the edges clean of glitter: swipe your Embossing Buddy or cornstarch around the edges (being careful to avoid the letter itself) before you sprinkle on the glitter. The powder will dull the tackiness and keep the glitter from ending up where you don't want it. Yay!

Congrats Card 4

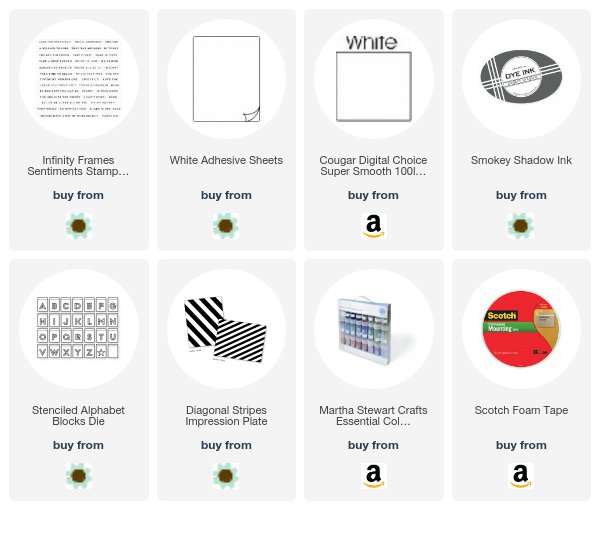
Next, I stamped the greeting from Infinity Frames Sentiments onto a panel of white cardstock. Then, I impressed it with the Diagonal Stripes Impression Plate to add a bit of texture and adhered that panel to a white card base. I used foam tape to pop up each of the letters, arranged in a grid. I love how colorful and sparkly it is!

Thank you so much for visiting with me today! Make sure to check in with Betsy and Wanda to see their wonderful projects, too. Have a great day!

Supplies:

Monday, October 23, 2017

Make It Monday: Matting With Glitter

Good morning, friends! I'm popping in this morning to share my latest Make It Monday video with you. I mentioned that I've been really into glitter mats lately, so I'm challenging you to try them out for yourself in this week's tutorial.

MIM 301 Merry Christmas Card

Head over to Nichole's blog or the Papertrey Ink YouTube channel to watch the video.

MIM 301 Merry Christmas Card 2

It's a super easy technique and it's perfect for the upcoming holiday crafting season! Have a great week, everyone, and I'll see you soon!

Supplies:

Friday, October 20, 2017

Design Team Tips: Making An Impression

Good morning, friends! I was talking to a friend about Impression Plates recently and she noted that she doesn’t own any or even know how to use them. I was floored! I love not only the Impression Plates, but also Cover Plates and even stencils for adding delectable textures to my projects. Papertrey has such a fantastic selection of styles, ranging from nature-inspired to clean and modern to touchable textiles that there’s truly something for everyone. I wanted to share a few of my favorites today just in case there are others out there, like my friend, who have yet to acquaint themselves with these fabulous tools.

Let's start by looking at the Impression Plates since that's where this whole thing began. This card would have been perfectly nice without the added texture, but the woodgrain really puts it over the top.

Woodgrain Season's Greetings Card

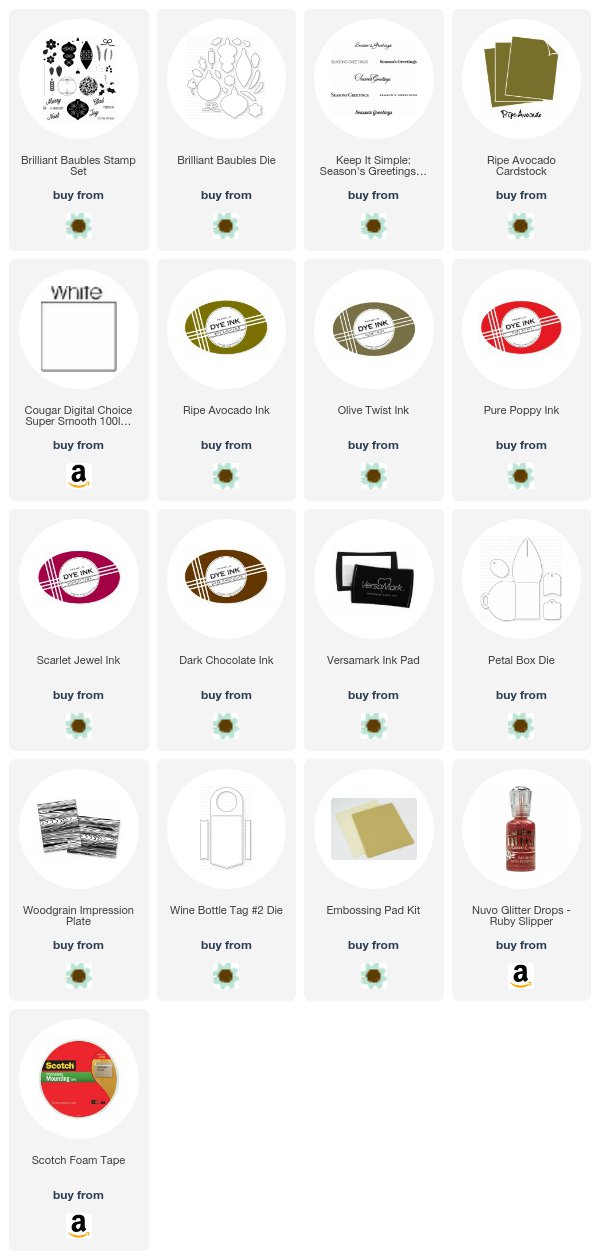
I began by die cutting three oval windows into a panel of white cardstock using the small oval tag from the Petal Box Die. Then, I used the Woodgrain Impression Plate to add texture. I did this by running the plate through my Cuttlebug with the Embossing Mat Kit and the metal shim.

Woodgrain Season's Greetings Card 4

My sandwich reads as follows: (bottom) A Plate, Metal Shim, B Plate, Woodgrain Impression Plate, cardstock, Embossing Mat Kit, B Plate (top) You can find Papertrey's Impression Plate Compatibility Chart HERE if that is helpful.

Woodgrain Season's Greetings Card 3

After adding texture, I mounted the textured panel to a white card base that I had already outfitted with a piece of Soft Stone patterned paper. Then, I stamped and die cut images from Brilliant Baubles to fill each window.

Woodgrain Season's Greetings Card 2

I also heat embossed the Keep It Simple: Season's Greetings sentiment onto a Ripe Avocado banner and adhered it over the center window. The woodgrain texture complements the nature imagery here and reinforces the theme.

Here's a list of my favorite Papertrey Ink Impression Plates. I really like that they're more subtle than embossing folders, yet give plenty of texture to make a big difference.
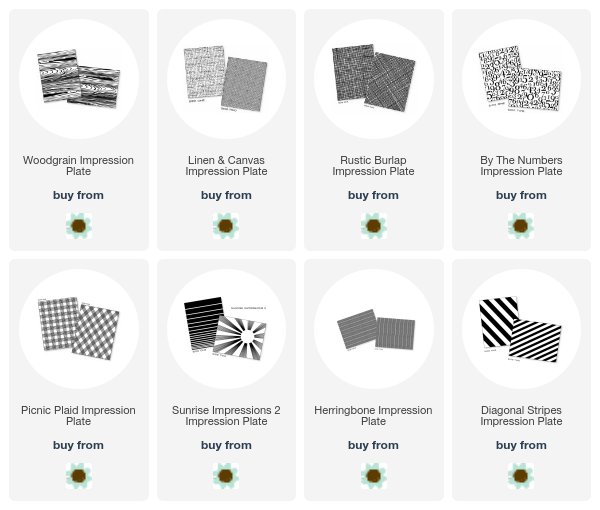


Next up, let's talk about Cover Plates. Sure, you can die cut with them. But they're also wonderful for adding deep, crisp texture to your projects. All you have to do is use the same sandwich as you use for your Impression Plates.

Christmas Hospitality Wine Tag

On this project, I decided to flip the script a little and use the back of the impression rather than the front on my project. That's another fabulous feature of using the Cover Plates to add texture. They give such beautiful, deep impressions that both sides look gorgeous!

Christmas Hospitality Wine Tag 3

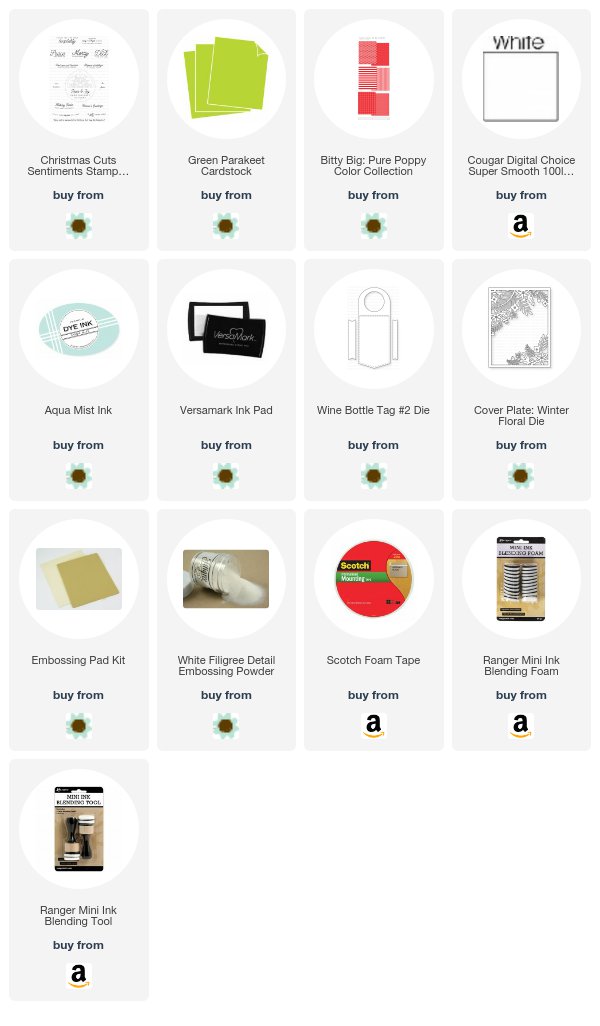
I began by die cutting my Wine Bottle Tag #2 Die from White cardstock. Then I stacked my impression sandwich in my Cuttlebug and ran it through. The only difference this time was that I took care to line up my top B Plate at the point on my wine tag where I wanted the pattern to stop (rather than cover it completely). That allowed me to selectively add my texture.

Christmas Hospitality Wine Tag 2

Then, I sponged a bit of Aqua Mist ink lightly over the pattern to make the details pop a bit. I heat embossed my Christmas Cuts sentiment onto Green Parakeet cardstock and backed it with Bitty Big: Pure Poppy paper. I used foam tape to adhere it to the tag. Simply gorgeous!

Here are a few of my favorite Cover Plates. I turn to these over and over again, not only for impression projects, but die cutting projects as well.
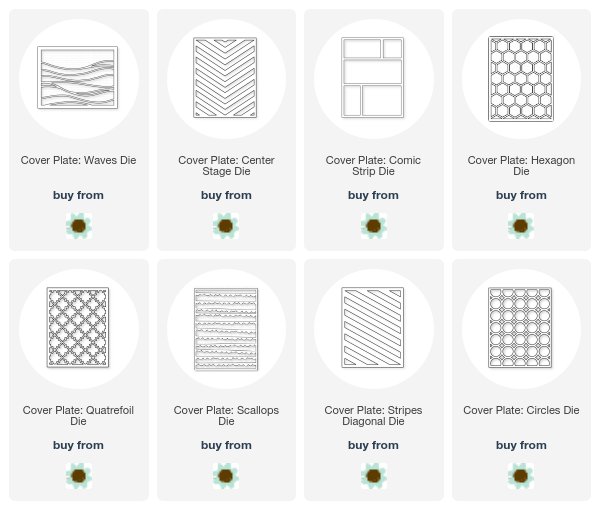


And last but not least, that brings us to Stencils. Obviously, stencils are great for applying ink, embossing paste, etc. in a pattern onto cardstock, but did you know you can use them to add physical texture too? It's true!

Lace Sending Hugs Card

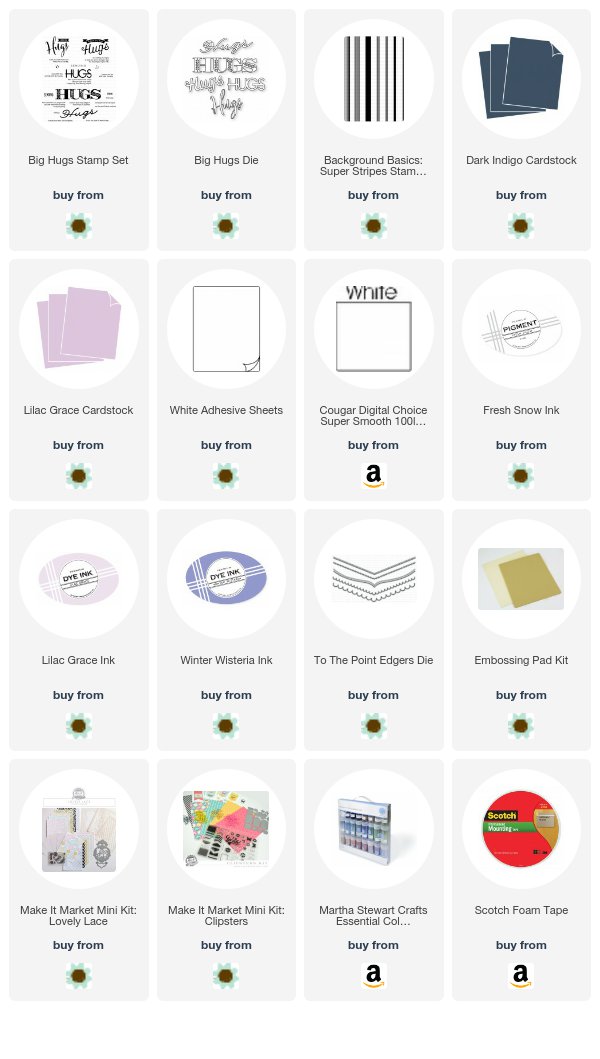
On this project, I wanted to enhance the texture by adding an ink color. I was going for high contrast, so I used Fresh Snow ink on Dark Indigo cardstock.

Lace Sending Hugs Card 3

I did this by pouncing my ink pad directly onto the stencil before carefully placing my cardstock straight down onto the inky surface. Then, I simply ran it through my Cuttlebug using that same sandwich.

Lace Sending Hugs Card 2

I adhered that panel onto a white card base and then added a decorative panel I cut using a To The Point Edgers die. I'd used the Big Hugs stamps and die to add a sentiment and stamped paper to add a contrasting edge. I also added a glittered banner cut using the Make It Market Mini Kit: Clipsters die. I cut it from White Adhesive Sheet and glittered it with Sterling glitter before tucking it under the sentiment panel.

Here are a few of my favorite Stencils (or kits including stencils). You probably have some of these in your collection. Give them a try and tell me what you think!
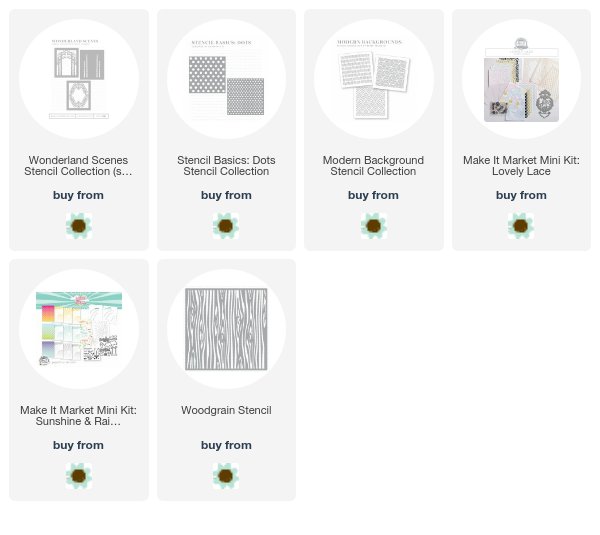

So there you have it, friends. Three different projects featuring just a few of the options you have for adding texture. I hope you've enjoyed today's post! I'll see you again soon!

Supplies:
Woodgrain Season's Greetings Card

Christmas Hospitality Wine Tag

Lace Sending Hugs Card

More Papertrey Ink Release: Cloche Quarters and Pen & Ink: Christmas

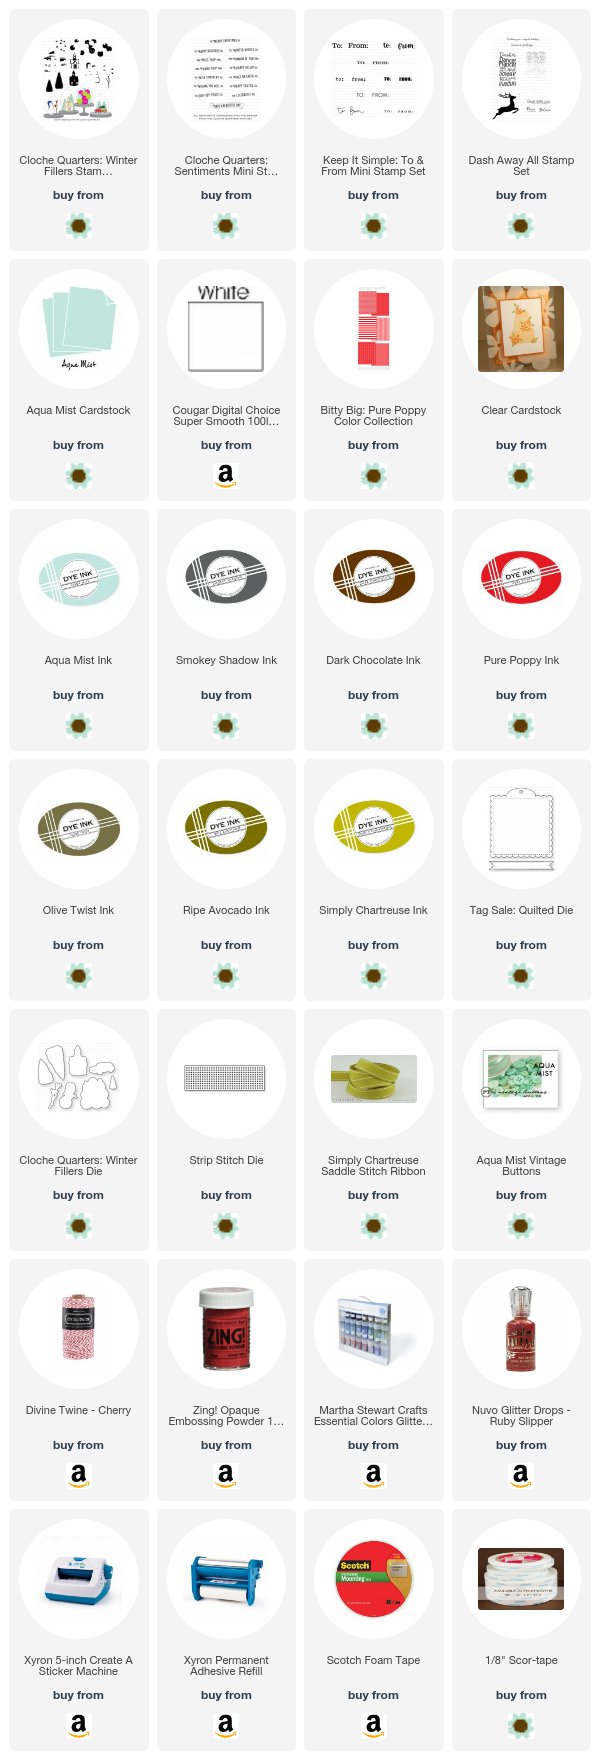
Good morning, all, and welcome back for the last official day of Papertrey Ink October release inspiration! I'm back today with projects featuring Betsy's new Cloche Quarters: Winter Fillers and Cloche Quarters: Sentiments sets as well as Nichole's Pen & Ink: Christmas. Let's get to it!

I was itching to make a few tags, so that's what I decided to get into for today's post. I started by creating this shaker tag with Betsy's Cloche Quarters set.

Snowman Shaker Tag

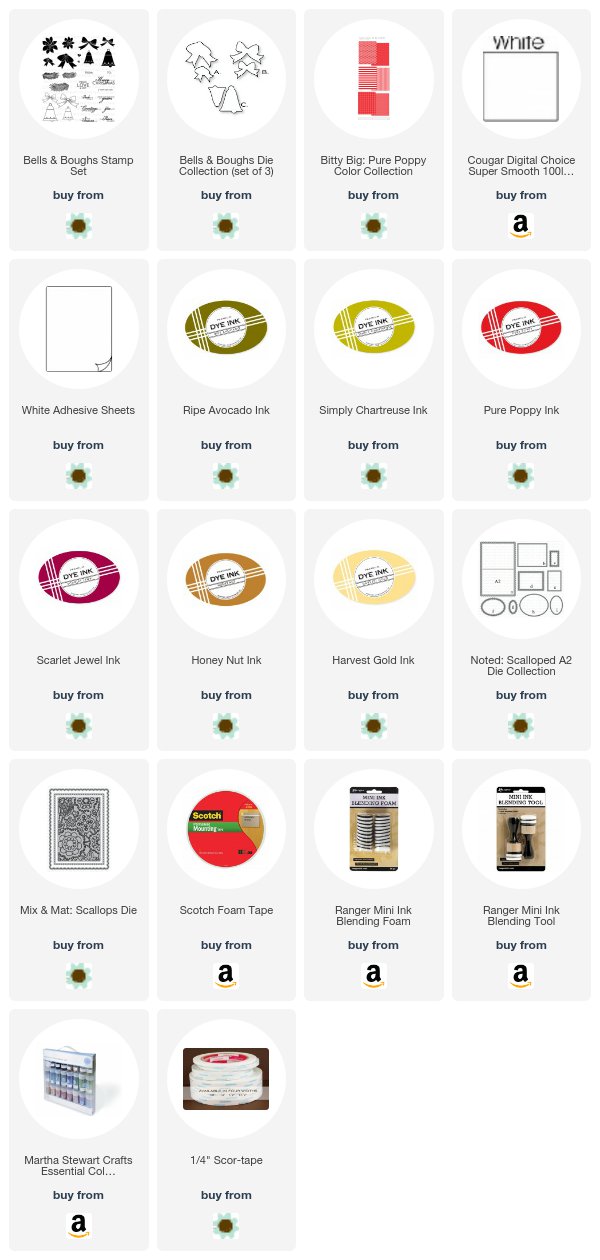
I began by die cutting two Tag Sale Quilted shapes, one from White and one from Aqua Mist. I heat embossed the Keep It Simple "To:" and "From:" greetings in red powder on the Aqua Mist tag and set it aside. Next, I masked off the edges of the white tag and sponged Aqua Mist ink onto the center of the tag. Leaving the masks in place, I stamped the falling snow from Dash Away All, also in Aqua Mist ink. Then, I stamped the Cloche Quarters Sentiments greeting in Pure Poppy.

Snowman Shaker Tag 3

Next, I cut a square of Bitty Big: Pure Poppy paper and die cut a window from the center using the circle die from the Noted: Scalloped Square Die Collection. I adhered a piece of clear cardstock to the back of the Pure Poppy paper and added strips of foam tape around the outside edge. Then, I used the Strip Stitch Die to create "snow" to fill my shaker. I just die cut it a few times from white cardstock and piled up the tiny dots. Once I had enough "snow" I adhered the clear/Pure Poppy square into place on the white tag.

Snowman Shaker Tag 2

Next, I die cut and stamped the snowman and trees from the Cloche Quarters set. I also die cut a snowbank using the Cover Plate: Waves and some xyroned, white cardstock. I adhered the snowbank to the tag with foam tape, glittered it, and then tucked the trees and snowman around it. To finish the tag, I stacked the two Tag Sale shapes and strung them together with Simply Chartreuse ribbon. An Aqua Mist button and a bit of Baker's Twine round out the look.

Supplies:


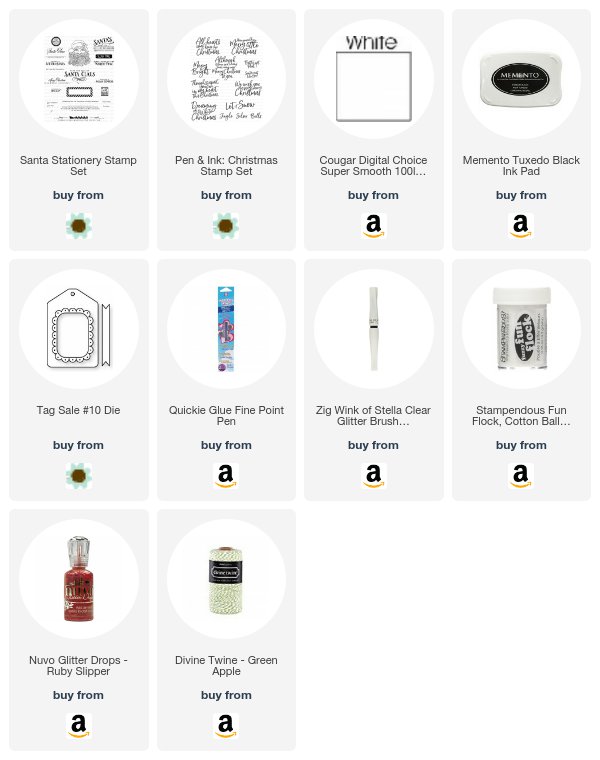
Next up, I have a set of Santa Claus tags I made by pairing Santa Stationery with the new Pen & Ink: Christmas.

Santa Must Like You Tags

I began by die cutting three Tag Sale #10 shapes from white cardstock. I stamped them with the Santa from Santa Stationery and colored them with Copic markers.

Santa Must Like You Tags 2

Then, I used red powder to heat emboss the greeting from Pen & Ink: Christmas onto each tag. Once they had cooled, I used a clear Wink Of Stella pen to add glittery wisps through Santa's beard.

Santa Must Like You Tags 3

I also used flocking to embellish Santa's cap and Nuvo Ruby Slippers glitter drops to accent the holly berries. To finish things off, I tied green baker's twine to each tag for easy hanging.

Supplies:


Thank you so much for joining me today! I hope you've enjoyed today's post (and don't miss my Design Team Tips post HERE). Make sure to check in with Betsy, Dawn, Heather, Keeway, Laurie, Melissa, Michelle, Stephanie, and Wanda to see even more inspiration. Have a great day, everybody!

Thursday, October 19, 2017

More October Papertrey Ink Release: Year Of Psalms & To The Point Edgers II

Good morning and welcome back for another day of Papertrey Ink October release inspiration! We're showcasing Betsy's newest Year Of Psalms and Dawn's second To The Point Edgers collection today. Let's take a closer look!

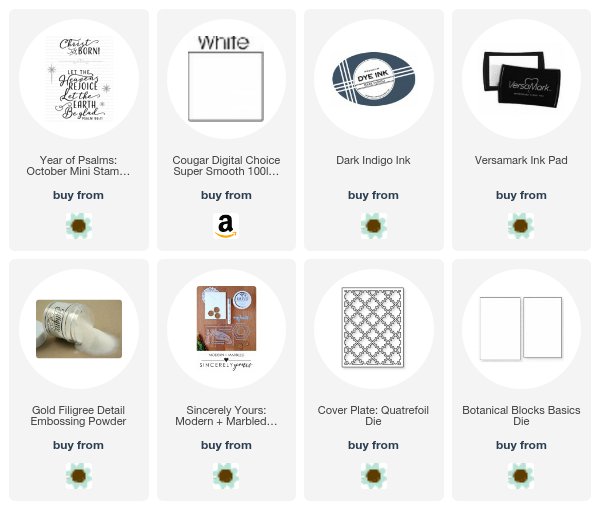
How about the Year Of Psalms: October card to start things off? This card is very simple, but the gilding makes it a real stunner.

Heavens Rejoice Card

I began by die cutting a Cover Plate: Quatrefoil panel from white cardstock. Then, I cut a rectangle from the center using the Botanical Blocks Basics Die. I used the two rectangles together to cut a frame that would fit into the space left behind. I placed the frame on a white card base and stamped my sentiment in the center using Dark Indigo ink. I followed up with one of the stars from the Year Of Psalms set heat embossed in gold powder.

Heavens Rejoice Card 2

Then, I die cut a post it note and used it to cover the center of the card front (where the opening in the cover plate is). I then used the glue pen from the Sincerely Yours: Modern + Marbled Kit to cover the entire card front with adhesive. I removed the post it note and placed the quatrefoil panel over the card front, allowing it to stick to the adhesive areas.

Heavens Rejoice Card 3

Then, I followed the instructions for applying the gold leaf (also in the Modern + Marbled kit). After I had burnished and removed the excess gold leaf, I applied a small rhinestone to the star for a little added sparkle. Clean and simple, but hardly plain.

Supplies:


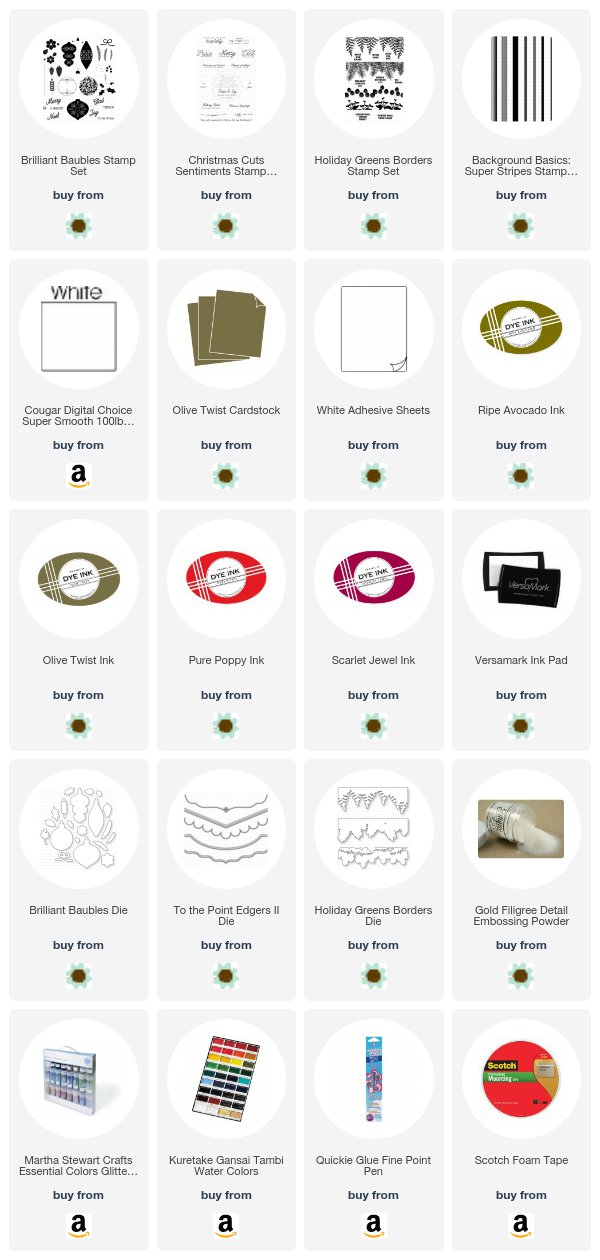
Next up, I used Dawn's To The Point Edgers II set to create a decorative panel and glitter mat for my Christmas card (I've been on a glitter mat kick lately - you may see it again soon).

Deck The Halls Ornament Card

First, I die cut my focal panel using the rounded edge die. I stamped the Holiday Greens Borders along the top in Ripe Avocado and Olive Twist inks before heat embossing the ornament hanger with gold powder. Then I added the sentiment from Christmas Cuts Sentiments in Olive Twist. Next, I die cut the Holiday Greens Borders shape and stamped it with the same image in the same colors. I layered it over the first set of greens and trimmed off the edges.

Deck The Halls Ornament Card 2

Next, I die cut the Brilliant Baubles ornament and stamped it with Pure Poppy and Scarlet Jewel inks. The topper was heat embossed with gold powder and the details were embellished with gold glitter. I wanted that extra touch of glittery gold, so I die cut an additional To The Point Edgers II shape from Adhesive Sheet (sticky side up). I removed the adhesive backing and adhered that piece to the back side of the focal panel, allowing just a bit to peek past the edge. Then, I sprinkled gold glitter over the sticky surface. It's an easy, fast way to achieve a glitter mat and I love it!

Deck The Halls Ornament Card 3

Next, stamped a panel of Olive Twist with stripes using the matching ink. I painted gold pinstripes using a tiny detail brush and gold watercolor to pull that metallic element in one more time. I like the perfectly imperfect feeling it gives. When that was dry, I adhered it to a white card base and adhered the focal panel into place. The ornament and branches were popped on in no time thanks to a bit of foam tape.

Supplies:


Thank you so much for joining me today! I hope you've enjoyed today's post. Make sure to check in with Betsy, Dawn, Heather, Keeway, Laurie, Melissa, Michelle, Stephanie, and Wanda to see even more inspiration. I'll see you again tomorrow!

Wednesday, October 18, 2017

More October Papertrey Ink Release: Dash Away All

Good morning, everyone, and welcome back to another day of post-release inspiration with Papertrey Ink! Today we're featuring Dash Away All. Before I jump in, I would like to take a moment to thank all of you for your enthusiasm for this set and your patience while the die is re-manufactured (they should be ready to ship out later this week). I am hopeful that as soon as this set lands on your doorstep it will become a favorite of yours just as it has become a favorite of mine. Ok! Enough chit-chat. On to the project!

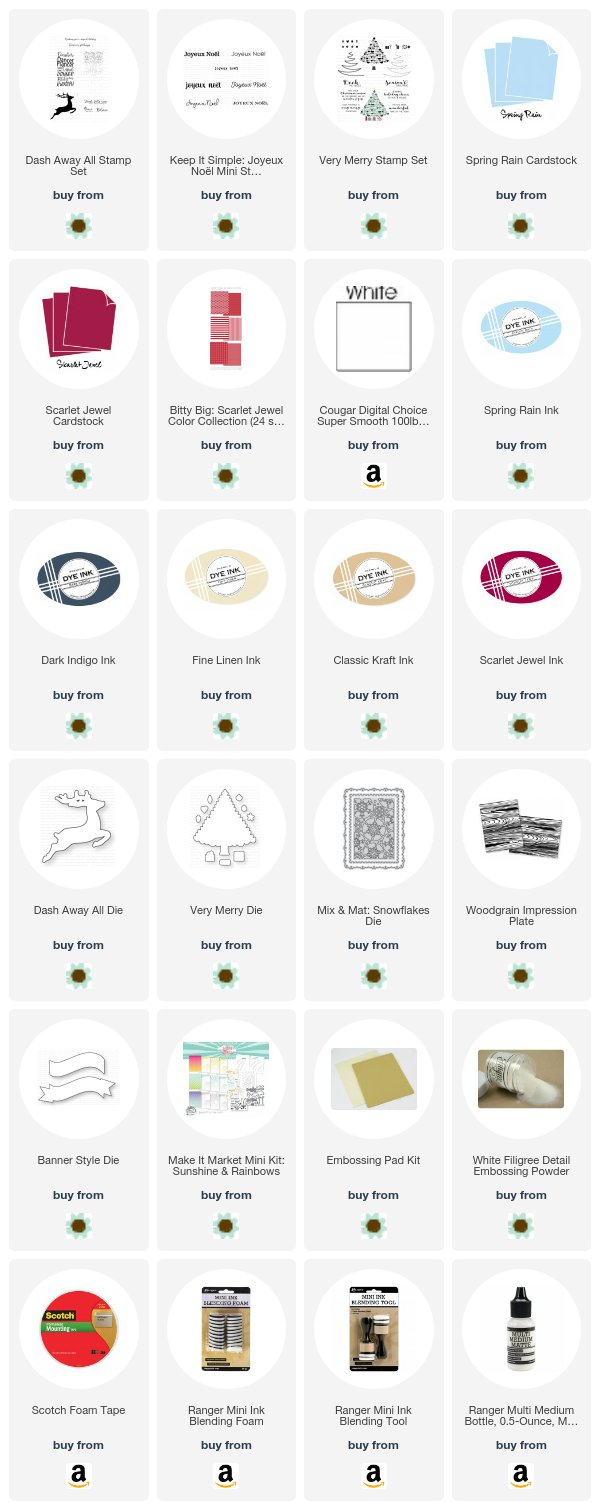
Joyeux Noël Card

I began today's card by creating a vellum mask using the Mix & Mat: Snowflakes set. I sponged Spring Rain and a tiny bit of Dark Indigo (mostly around the edges) ink through that stencil. Then, I used the scalloped border from the same Mix & Mat set to add the detail around the sponging. I trimmed down that panel and set it aside.

Joyeux Noël Card 2

Next, I stamped and die cut the reindeer. I used Fine Linen and Classic Kraft inks on the body and then added the nose in Scarlet Jewel. I also die cut and stamped one of the ornaments from Very Merry to hang from the reindeer's antler. I used silver embroidery thread to connect the two. I like that small metallic element.

Joyeux Noël Card 4

Then, I heat embossed the Keep It Simple: Joyeux Noël sentiment onto a Scarlet Jewel Banner Style shape. The beauty of clear stamps (well, one of them) is their flexibility, so I was able to curve the sentiment to fit on the die cut. I backed it with Bitty Big: Scarlet Jewel gingham for a bit of contrast between the two pieces. I also used the Woodgrain Impression Plate to add texture to a Spring Rain card base.

Joyeux Noël Card 3

Once all of my separate elements were complete it was time to assemble my card. I trimmed the bottom of my snowflake panel to match the Banner Style curve and adhered the two together. Then, I used foam tape to attach them to the card base. I also used foam tape to adhere my reindeer into place. Then, I added a sprinkling of clear sequins (from the Sunshine & Rainbows Make It Market Mini Kit) around the reindeer on the snowy panel. I feel like this card has just enough sparkle and texture while still being nice and simple.

Thank you so much for joining me today! Betsy, Dawn, Heather, Keeway, Laurie, Melissa, Michelle, Stephanie, and Wanda all have more to share with you, so make sure to visit them for more inspiration. I'll see you soon, friends!

Supplies:

Tuesday, October 17, 2017

More October Papertrey Ink Release: Traveler's Journal: December

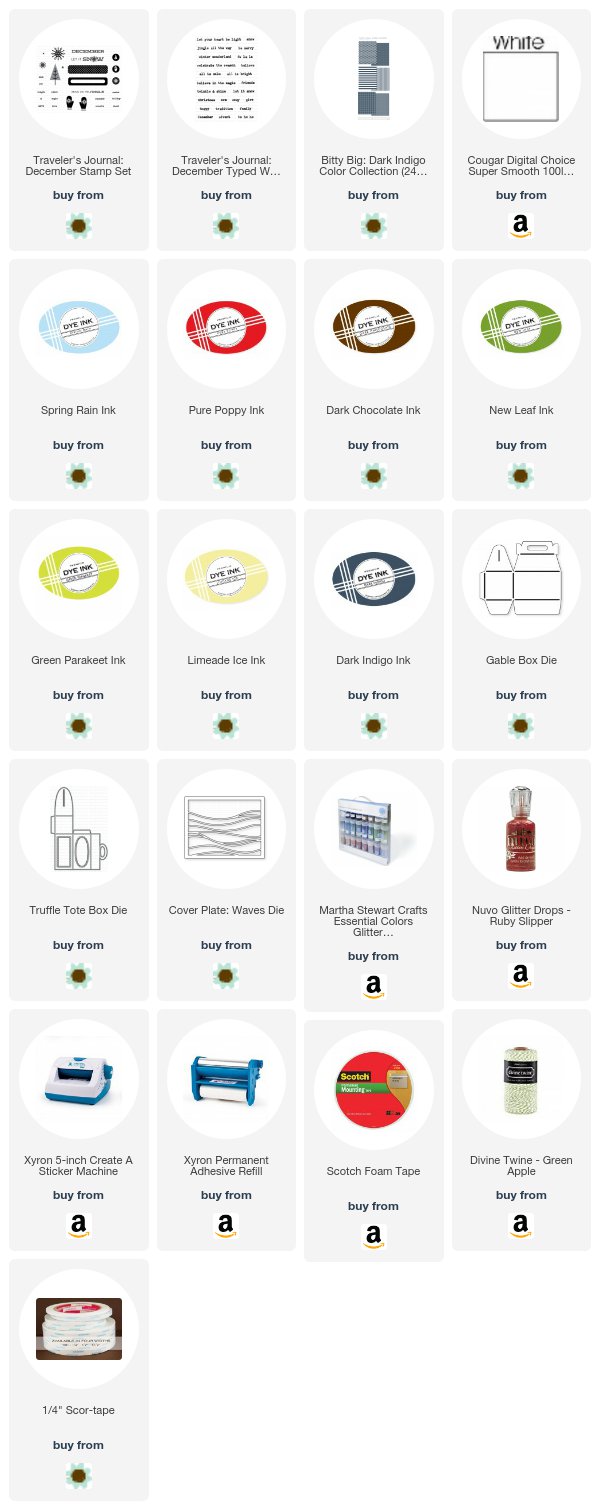
Good morning, friends, and welcome back for another day of Papertrey Ink October post-release inspiration! I have a couple of treat boxes to share with you today featuring Heather's new Traveler's Journal: December and Traveler's Journal: December Words stamp sets.

Traveler's Journal Gift Boxes

Heather has cleverly designed these sets to work beautifully for your December mini books, but other projects as well. I'm not much of a mini book maker, but I love the trees and mittens and labels and snowflakes and sweet seasonal sentiments in these sets. I'm sure I'll be pulling them out for my little gift boxes this year!

Christmas Tree Truffle Tote

I started with the Christmas tree Truffle Tote, so let's look at that one first. I began die cutting a box (two pieces) from white cardstock. I stamped my trees on the front using Dark Chocolate for the trunks and Limeade Ice, New Leaf, and Green Parakeet for the bodies. Then, I added the ornaments using Pure Poppy. Next, I stamped the rest of the open space on both die cut pieces with the smallest snowflakes in the set using Spring Rain ink. Then, I assembled the box.

Christmas Tree Truffle Tote 2

Next, I stamped the label onto white cardstock using Pure Poppy ink and added the sentiment from the December Words mini in Dark Chocolate ink. I trimmed that out and used a Crop-A-Dile to add a hole to one end before tying it to the tote handle with baker's twine. My box still needed a bit of sparkle, so I xyroned a strip of cardstock and die cut it (sticky side up) with the Cover Plate: Waves die. I used one of the waves to create a glittered snow bank along the bottom edge of the box. I also used Ruby Slippers Nuvo drops to give my ornaments a bit of sparkle. I almost want to make truffles just so I have an excuse to make more of these boxes!

Next up is the Let It Snow gable box.

Let It Snow Gable Box

When I saw the Dark Indigo Bitty Big paper I knew immediately that I wanted to make a gift box. I love that color (so, so, so much) and the gingham pattern is one that I think works well for the gentlemen in our lives. Between family and friends I have plenty of fellas on my gift list, so now is as good a time as any to get a jump on it, right? I cut my gable box pieces from the paper and assembled the box with Score-Tape. It's my go-to for treat boxes.

Let It Snow Gable Box 2

Then, I stamped the labels in Green Parakeet and Spring Rain inks. I added the sentiment to the open label using Dark Indigo and trimmed out the labels. Then, I stamped the mittens onto white cardstock using New Leaf ink and trimmed them out too. I used a mix of flat and foam adhesives to adhere all of the elements to the front of the gable box. It about killed me not to put glitter on there somewhere (because Christmas!), but in the spirit of masculine crafting I let it go...this time. Ha!

Thank you so much for joining me today! Betsy, Heather, Keeway, Laurie, Melissa, Michelle, Stephanie, and Wanda all have projects to share with you today, so make sure to visit them for more inspiration. Have a great day and I'll see you tomorrow!

Supplies: