Thursday, September 13, 2018

Introducing Dashing Through The Snow, Glorious Globes, Shape Shifters: Oval III, and Say It Simply: Holly Jolly

Good morning, friends, and welcome back to Day 4 of the Papertrey Ink September countdown! We have a few very exciting new products to share with you today. Betsy's Dashing Through The Snow Collection is going to knock your socks off! Dawn's Say It Simply: Holly Jolly is another great sentiment die to make your holiday cards a breeze. Betsy's latest Shape Shifters: Oval III is fabulous. And my Glorious Globes works both with the globe stands or independently for even more design options. Let's take a closer look!

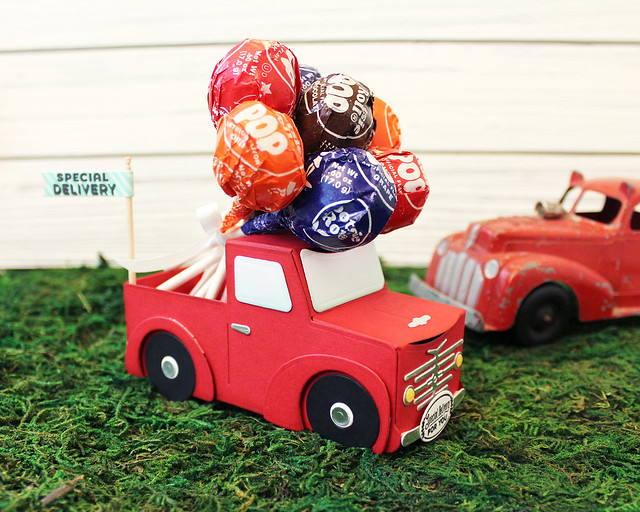
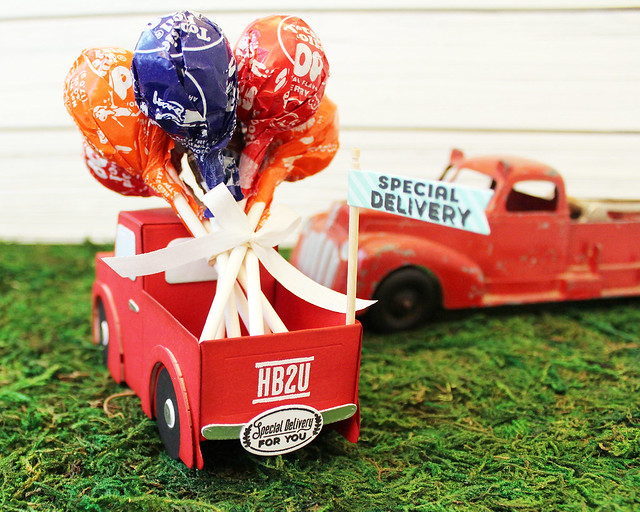
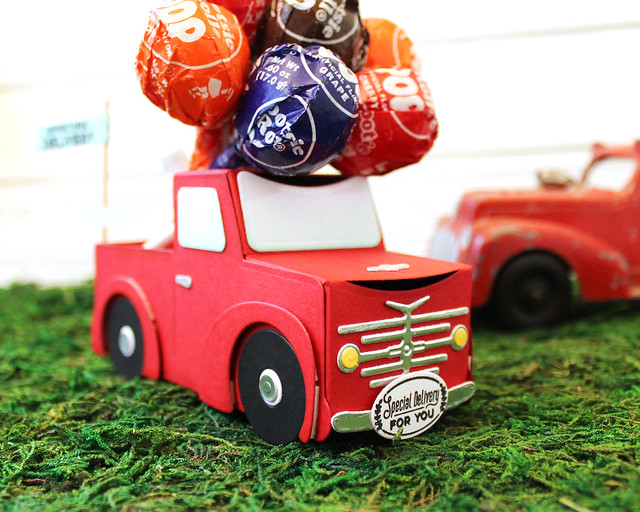
First up, I have a little birthday treat using Betsy's Dashing Through The Snow: Pickup Truck die.

LizzieJones_PapertreyInk_September2018_DashingThroughTheSnow_PickupTruck_SpecialDeliveryPickupTruckBox

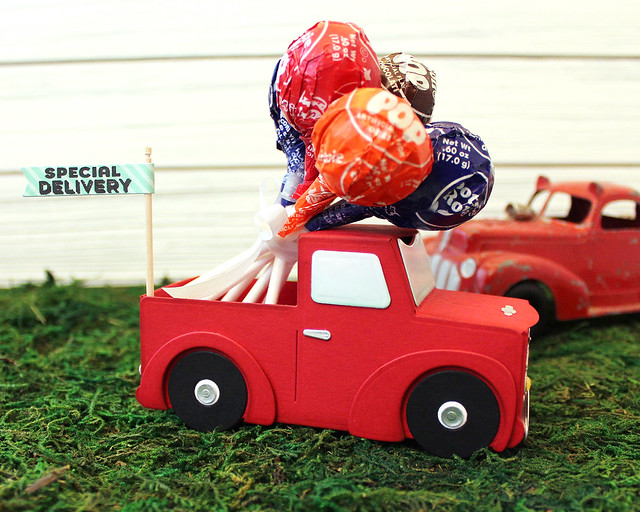
The collection that Betsy has designed is absolutely amazing and works beautifully for both holiday and everyday projects. My nephew has a birthday coming up fairly soon, so I decided to make him a little red truck hauling a bouquet of lollipop "balloons."

LizzieJones_PapertreyInk_September2018_DashingThroughTheSnow_PickupTruck_SpecialDeliveryPickupTruckBox4

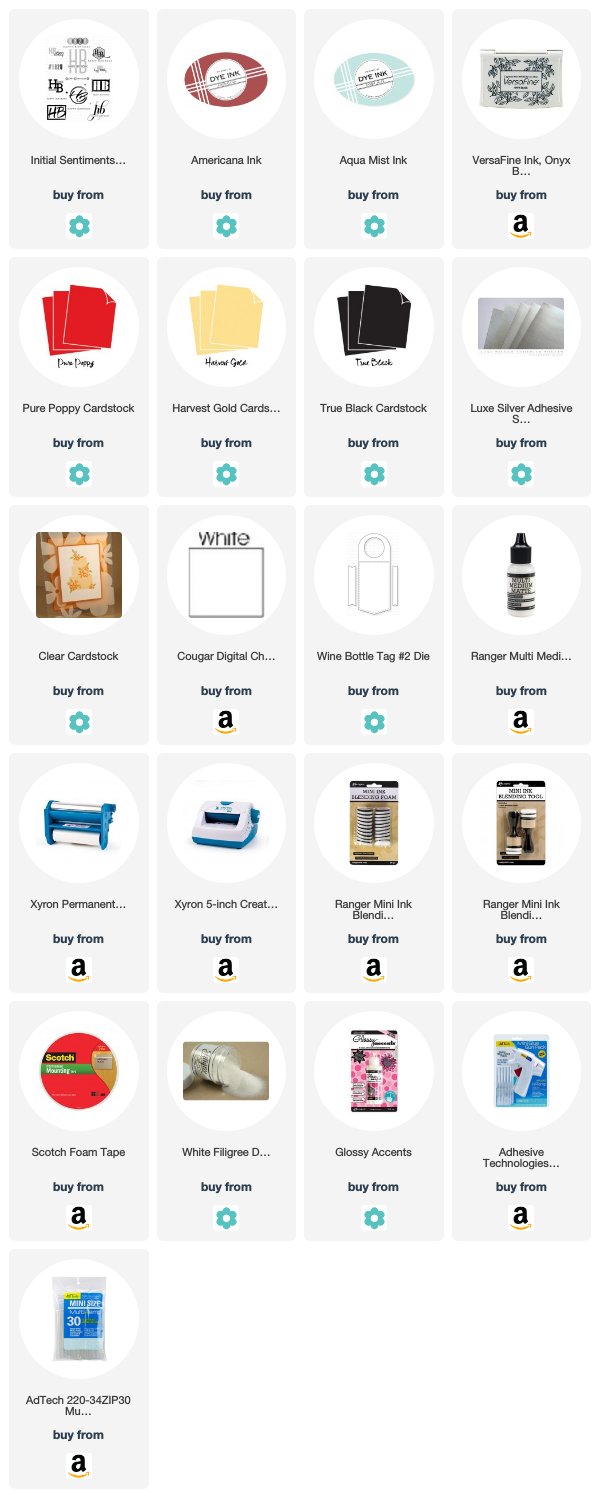
I began by die cutting the truck pieces from Pure Poppy, True Black (tires), Harvest Gold (headlights), Luxe Silver (bumpers, front grill, hubcaps, door handles), and white (windows, tires) cardstocks. I assembled the truck, lightly sponging Americana ink at each of the edges and corners as well as around the inner edge of the fenders. I just wanted to add a bit of depth rather than make it look like rust or wear so I kept it nice and light.

LizzieJones_PapertreyInk_September2018_DashingThroughTheSnow_PickupTruck_SpecialDeliveryPickupTruckBox3

Then, I heat embossed the "HB2U" from Initial Sentiments: Birthday onto the tailgate. I also sponged Aqua Mist ink along the bottom edge of each of the windows. Then, I xyroned a piece of clear cardstock and die cut the windows a second time. I layered the clear windows over the sponged white windows to make them look real and then adhered them to the truck.

LizzieJones_PapertreyInk_September2018_DashingThroughTheSnow_PickupTruck_SpecialDeliveryPickupTruckBox2

I added the other details to the truck with a mix of flat and foam adhesives. I used Glossy Accents to give the headlights shiny dimension. Then, I stamped the "special delivery" license plates and die cut them with the mini oval from the die collection. I also die cut a banner from the Wine Bottle Tag #2 and stamped it with the sentiment from the Dashing Through The Snow mini set. I attached that to a decorative toothpick and hot glued it to the truck bed. I gathered several lollipops into a bouquet and rubber banded them before tying a ribbon around them and laying them in the truck bed. I think Charlie will love it!

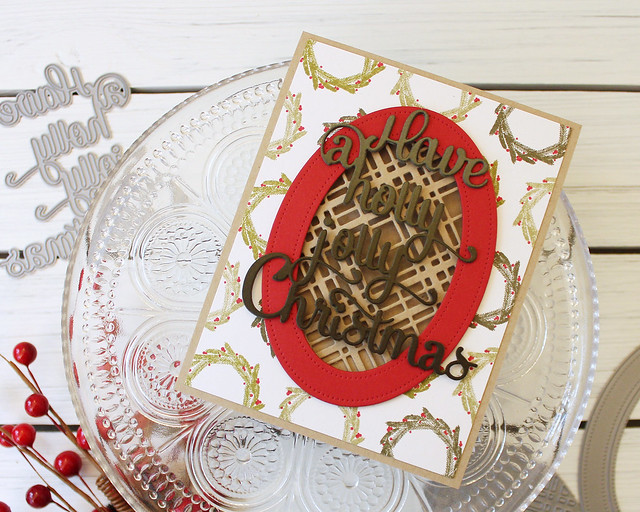
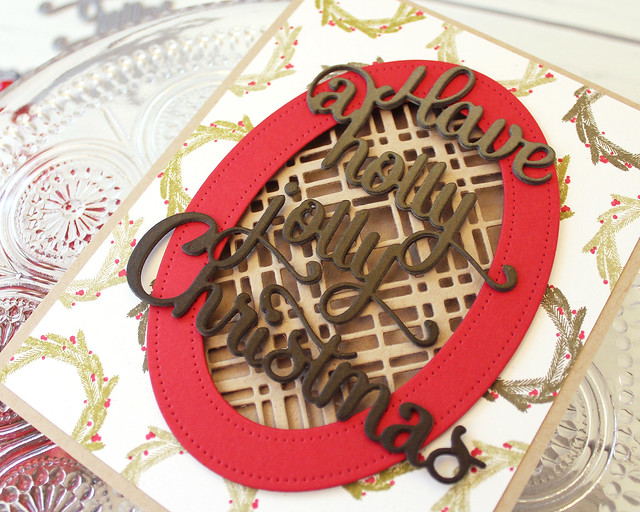
Next up, I have a card that combines Dawn's Say It Simply: Holly Jolly die, my Glorious Globes, and Betsy's Shape Shifters: Oval III.

LizzieJones_PapertreyInk_September2018_GloriousGlobes_ShapeShifters_SayItSimply_HollyJollyChristmasCard

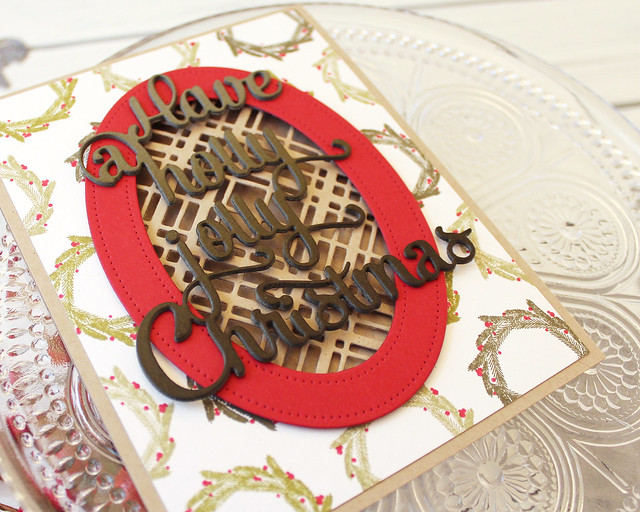
I began by stamping the wreath from Glorious Globes onto a Rustic White panel in Prairie Grass, Ripe Avocado, and Olive Twist inks. I followed up with the berries in Pure Poppy. I cut an oval in the center of that panel and set it aside.

LizzieJones_PapertreyInk_September2018_GloriousGlobes_ShapeShifters_SayItSimply_HollyJollyChristmasCard2

I used the Shape Shifters: Oval III plaid inlay die to cut a window in a Classic Kraft card base and adhered the stamped wreath panel to the front. I die cut a medium Pierced Feature Frames: Oval from Pure Poppy and mounted that to the card front with foam tape.

LizzieJones_PapertreyInk_September2018_GloriousGlobes_ShapeShifters_SayItSimply_HollyJollyChristmasCard3

Then, I xyroned a piece of Olive Twist and sponged part of it with Olive Twist ink to give it a gradient effect. I die cut the sentiment a few times, stacked them to make them nice and sturdy, and finally adhered the greeting to the front of the card, centered over the plaid window. The opening gives the sentiment a unique backdrop that doesn't distract from the message.

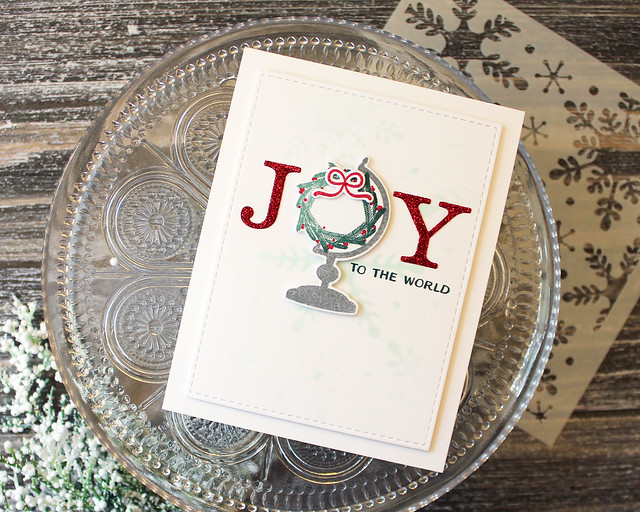
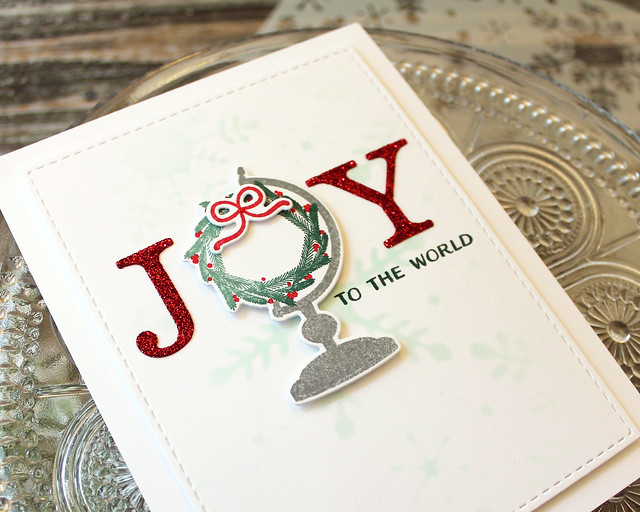
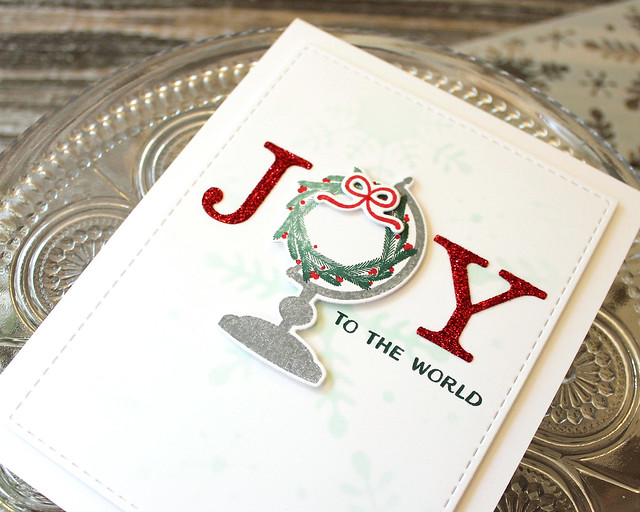
Last but not least today, I have another card made with this month's Glorious Globes. I paired it with the uppercase Bookprint Alphabet to spell out a seasonal greeting. I went with "JOY", but "NOEL," "HOLLY," "JOLLY," and "HO HO HO" would be other great options.

LizzieJones_PapertreyInk_September2018_GloriousGlobes_JoyToTheWorldCard

I began by using the Snowfall Style stencil to add a bit of a snowy background onto a panel of white cardstock. Then, I die cut it with the Noted: Simply Stitched A2 Vertical die to give the edges some interest.

LizzieJones_PapertreyInk_September2018_GloriousGlobes_JoyToTheWorldCard2

Next, I xyroned some Pure Poppy cardstock and die cut it (sticky side up) with the Bookprint letters. I covered those with red glitter and set them aside. I also stamped and die cut the wreath globe, adding a bit of dimension by sponging Pinefeather ink onto the Ocean Tides foliage.

LizzieJones_PapertreyInk_September2018_GloriousGlobes_JoyToTheWorldCard3

I laid those out on the panel and stamped the greeting from Glorious Globes in Pinefeather ink. This sentiment is curved, but the beauty of clear stamps is that you can manipulate them to suit your needs. I just straightened this one to fit the space below my letters. I adhered the elements to the snowy panel with a mix of flat and foam adhesives and then adhered it to a white card base. It's a quick and simple card, but the glittered greeting really makes a statement!

Thank you so much for joining me today! I'll be back tomorrow with several more projects, so be sure to come back for those. In the meantime, Amy, Betsy, Dawn, Heather, Laurie, Melissa B, Melissa P, Michelle, and Stephanie all have beautiful projects to share. See you soon!

Supplies:
Pickup Truck Birthday Treat

Holly Jolly Christmas Card


Joy To The World Card

Wednesday, September 12, 2018

Introducing Words To Live By: Joyful, Bold Borders: Yuletide, Corner Adorner, and Pierced Feature Frames: Oval

Good morning, friends! It's Day 3 of the Papertrey Ink September countdown and we have a great line-up in store for you. Today's debuts include Betsy's Words To Live By: Joyful set and my Bold Borders: Yuletide, Corner Adorner, and Pierced Feature Frames: Oval dies. Let's get right into it!

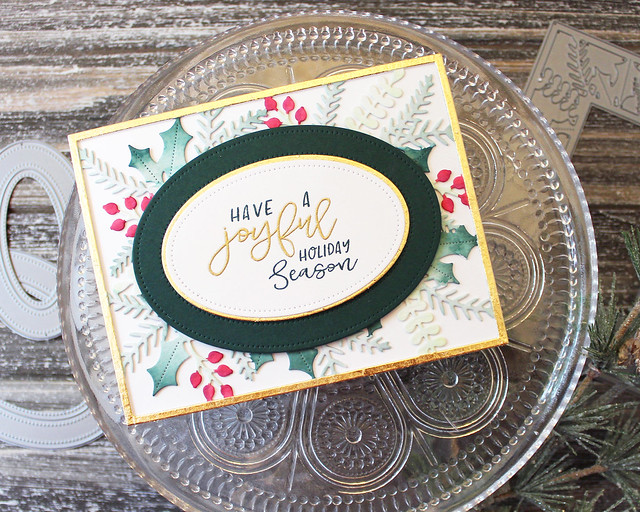
My first card today pairs Betsy's Words To Live By with my newest Bold Borders die. I love all the fancy, seasonal foliage with her gorgeous sentiment!

LizzieJones_PapertreyInk_September2018_BoldBorders_WordsToLiveBy_JoyfulHolidaySeasonCard

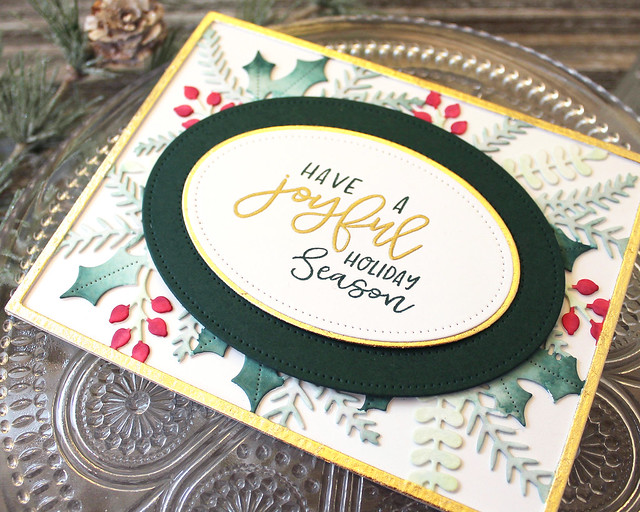
I began by die cutting the Bold Borders: Yuletide die from watercolor paper. I used inks and a water brush to add color to the foliage and set it aside to dry.

LizzieJones_PapertreyInk_September2018_BoldBorders_WordsToLiveBy_JoyfulHolidaySeasonCard2

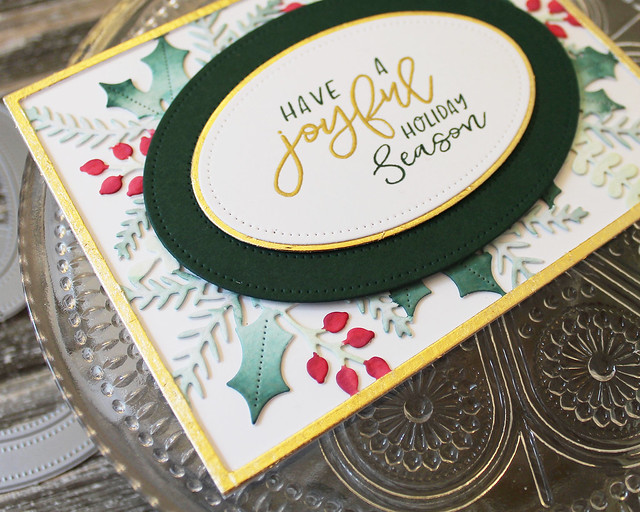
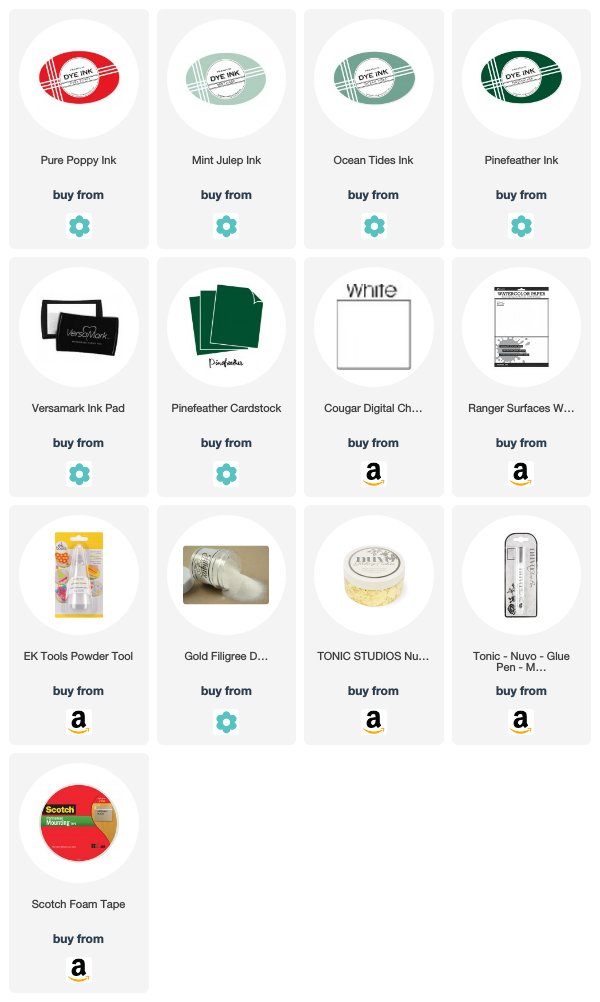
Next, I cut a second Bold Borders shape and a small Pierced Feature Frames: Oval shape. I trimmed out the center of the Bold Borders frame so that just the thin outer edge remained. Then, I used a glue pen and gilding flakes to add a luxe, gold finish to both frames. I cut a medium oval frame from both white and Pinefeather cardstocks. I stamped and heat embossed the sentiment on the center panel of the white die cut and then matted it with the gilded frame.

LizzieJones_PapertreyInk_September2018_BoldBorders_WordsToLiveBy_JoyfulHolidaySeasonCard3

After adhering the watercolored Bold Borders frame to a card base, I adhered the Pinefeather frame to the card front with foam tape. Then, I used a double layer of foam tape to adhere the matted sentiment panel inside the Pinefeather frame. Finally, I attached the thin gilded frame to the outside edge of the Bold Borders layer. That gold adds such elegance to the design!

Next up, I have a slightly more playful card to share. This one pairs another Words To Live By greeting with this month's Corner Adorner set.

LizzieJones_PapertreyInk_September2018_CornerAdorner_WordsToLiveBy_Joyful&BrightCard

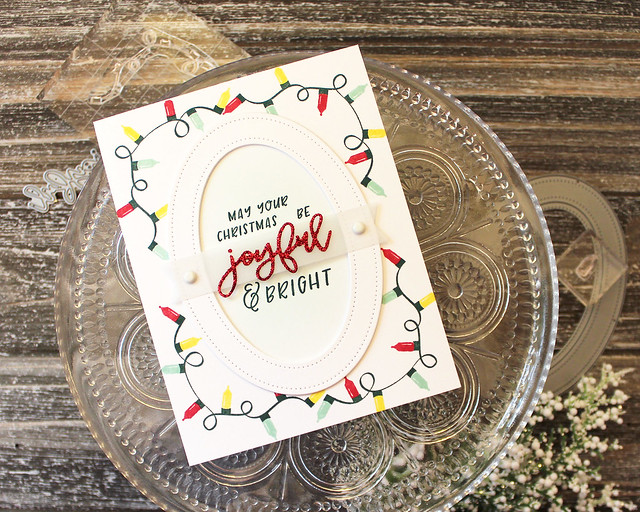
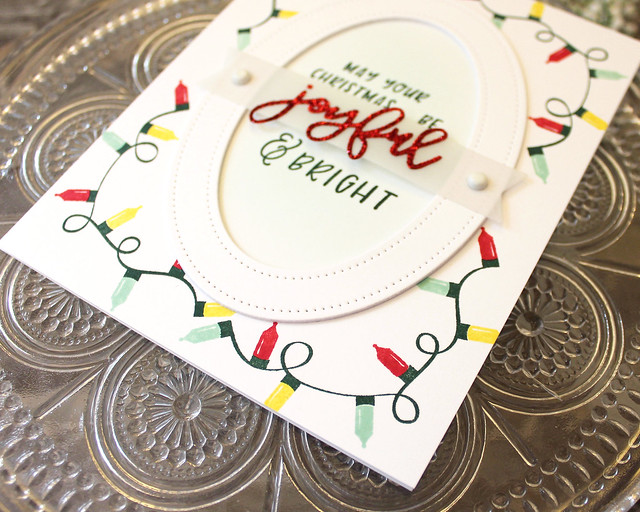
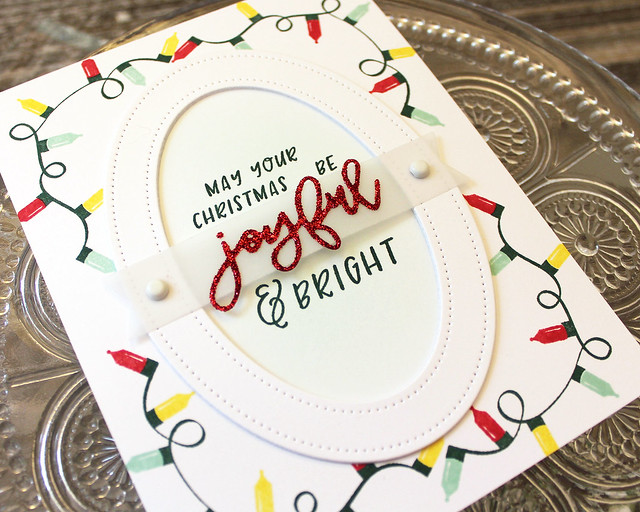
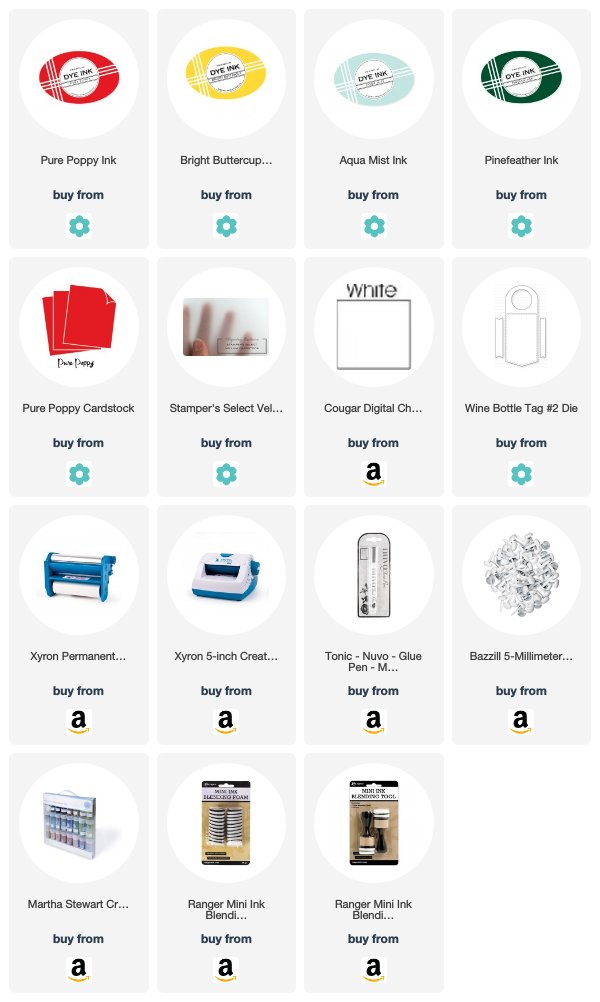
There are two strings of lights in this set. I chose to work with the smaller string. I began by stamping it in each corner of a white card base using Pinefeather ink. I continued with the bulbs (again, there are two style options) in Pure Poppy, Aqua Mist, and Bright Buttercup inks. There two of each bulb in the set, one with a highlight on the left and one on the right. That way you can choose the bulb you need based on where your light source is situated. Handy!

LizzieJones_PapertreyInk_September2018_CornerAdorner_WordsToLiveBy_Joyful&BrightCard3

Next, I sponged a bit of Aqua Mist ink in the center of the card front. I xyroned a piece of Pure Poppy cardstock and die cut it with the Words To Live By: Joyful die. I glittered the die cut and adhered it to a vellum banner. A little glitter makes a big impact!

LizzieJones_PapertreyInk_September2018_CornerAdorner_WordsToLiveBy_Joyful&BrightCard2

I secured that banner to a medium oval frame with white brads and layered it with a couple of additional frames. I stamped the rest of the greeting onto the front of the card with Pinefeather ink and secured the frame into place. I love how cheerful this card turned out!

Thank you so much for joining me today! I'll be back tomorrow with a few more projects using this month's new products. In the meantime,  Betsy, Dawn, Heather, Laurie, Melissa B, Melissa P, Michelle, and Stephanie all have beautiful projects to share. See you soon!

Supplies:
Joyful Holiday Season Card
Joyful & Bright Card
Tuesday, September 11, 2018

Introducing Winter Fox, Text & Texture: Wood Slices, Sending Comfort, And The Hinged Gift Card Box: Christmas Windows Die

Good morning, all! Are you enjoying the Papertrey Ink September countdown? Don't all of these festive holiday projects get you in the mood for carols, cocoa, and wrapping gifts by the light of a Hallmark movie? No? Just me? Cool...

Well, anyway, we're back with another fun round-up of fabulous products for you today. Heather's Winter Fox set is debuting along with Betsy's Text & Texture: Wood Slices, Kimberly's Sending Comfort, and my Hinged Gift Card Box: Christmas Windows die. Whew! That's a lot to fit in to one day, but I promise it'll be worth it. Let's get started!
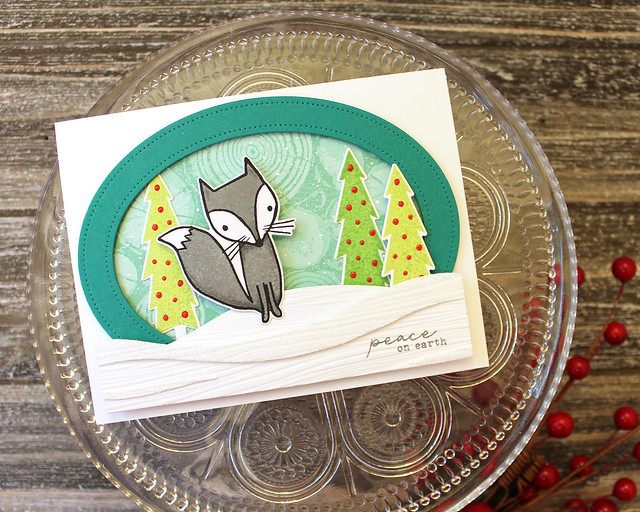
I'm starting today with a card featuring Winter Fox and the Text & Texture: Wood Slices paired together.
LizzieJones_PapertreyInk_September2018_WinterFox_Text&TextureWoodSlices_PeaceOnEarthCard

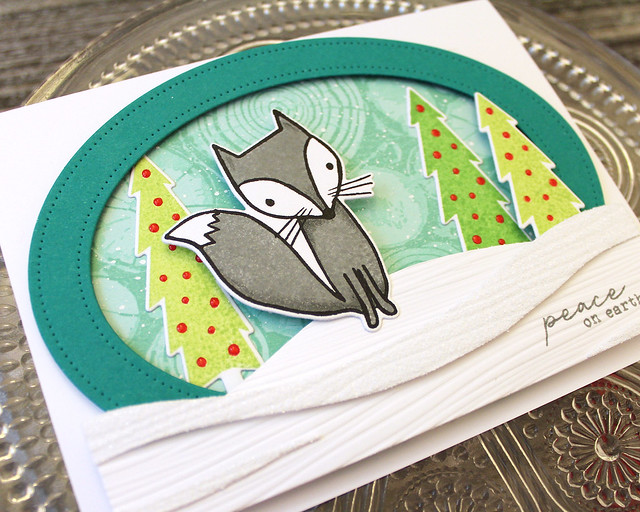
I began by stamping the wood slices background. I used Aqua Mist ink on Aqua Mist cardstock, but the lighter hue is just second generation ink (which means I stamped off before stamping on the actual project. I trimmed that down a little to hide behind a Pierced Feature Frames: Oval die cut and then splattered it with a bit of diluted Copic Opaque White Pigment to make it look snowy.

LizzieJones_PapertreyInk_September2018_WinterFox_Text&TextureWoodSlices_PeaceOnEarthCard2

Next, I stamped and die cut the trees and the fox from Winter Fox. I embellished the bulbs on the trees with Glossy Accents and set them aside to dry. The fox, looking very dapper in Weathervane ink may I add, got a little bit of depth and shading using colored pencils.

LizzieJones_PapertreyInk_September2018_WinterFox_Text&TextureWoodSlices_PeaceOnEarthCard3

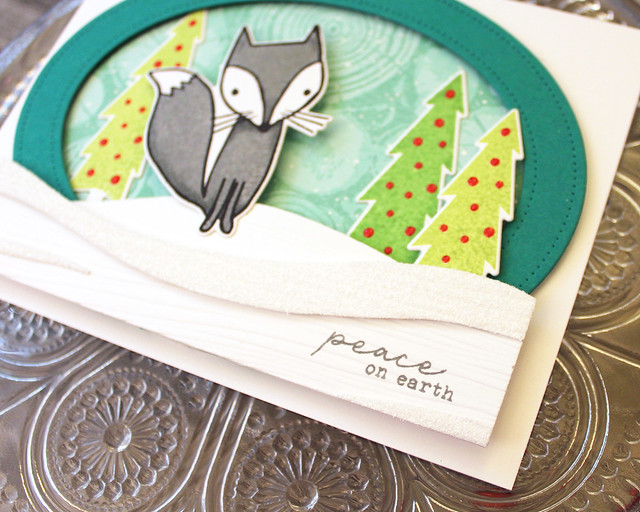
Finally, I die cut the Cover Plate: Waves die from white cardstock and white cardstock that had been xyroned. I stamped the greeting from Winter Fox onto the largest piece and then added texture to all of my chosen pieces using the Woodgrain Impression Plate. I layered the snowdrift pieces and then removed the adhesive backing to reveal the sticky surface. I sprinkled those with glitter to make them sparkle. The mix of matte and glittered areas is really cool in real life.

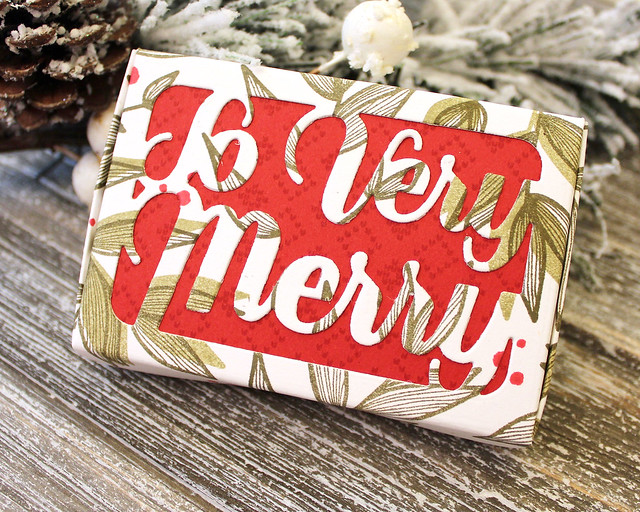
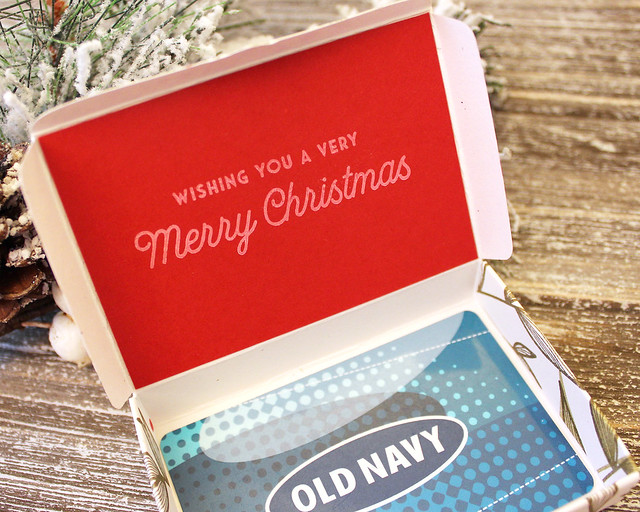
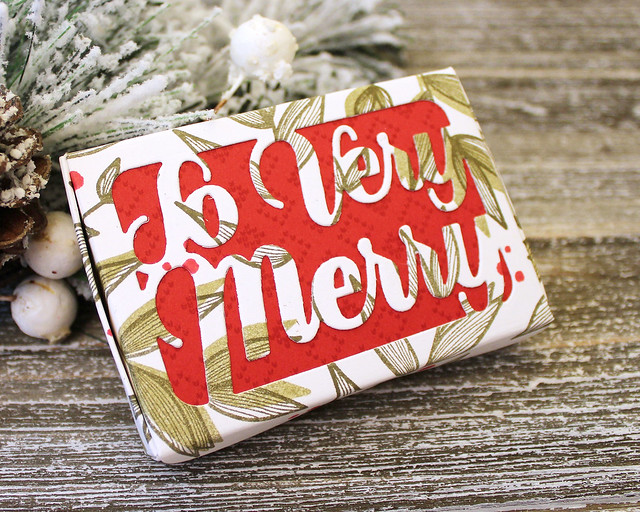
Next up, I have a gift card box to share. I paired Kimberly's Sending Comfort set with my Hinged Gift Card Box and the new Christmas Windows Dies to create a pretty, festive package.

LizzieJones_PapertreyInk_September2018_HingedBoxChristmasWindows_SendingYouComfort_SoVeryMerryBox

I began by stamping the leaf and berry pattern onto Rustic White cardstock using Prairie Grass, Olive Twist, and Pure Poppy inks. I left most of the outline leaves alone, but on a handful I offset-stamped the solid image to add a bit of interest.

LizzieJones_PapertreyInk_September2018_HingedBoxChristmasWindows_SendingYouComfort_SoVeryMerryBox3

Next, I die cut the Hinged Gift Card Box and used the "So Very Merry" window to cut a sentiment into the lid. I cut a panel of Pure Poppy cardstock to fit inside the lid and stamped it with a Fair Isle Borders design in the coordinating ink color. I stamped the Sentiment Staples: Christmas greeting inside using Fresh Snow ink before adhering it into place.

LizzieJones_PapertreyInk_September2018_HingedBoxChristmasWindows_SendingYouComfort_SoVeryMerryBox2

Then, I simply assembled the box like normal. You can see the instructions for assembling this box HERE in case you missed it the first time. It's incredibly easy and it has nice, finished edges that give it a really professional appearance.

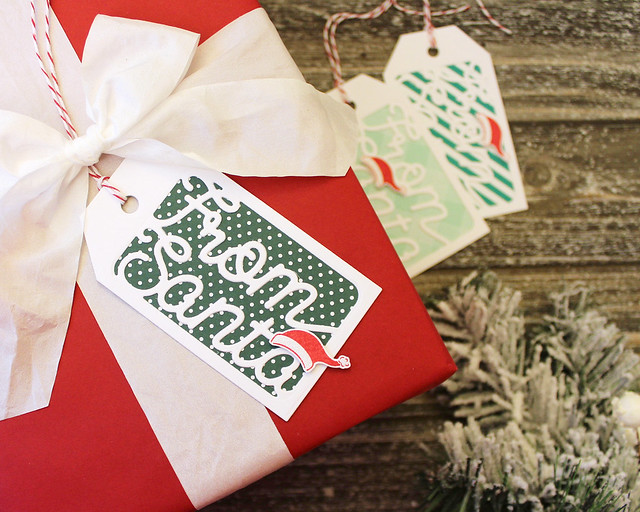
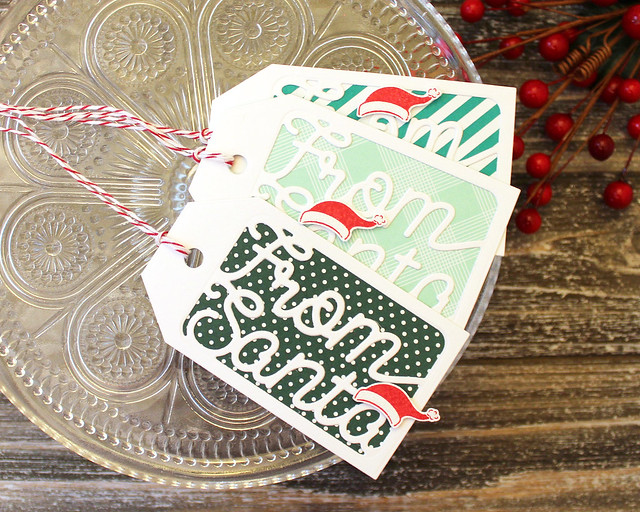
I also wanted to make sure I used the "From Santa" window, so I decided to make some quick and easy tags.

LizzieJones_PapertreyInk_September2018_HingedBoxChristmasWindows_FromSantaTags2

Ok. Hold up. It's important to mention how much I love making tags. Like, I really, really love making tags, especially at Christmas. Gift wrapping at the holidays is almost as much fun for me as actually giving the gifts, so making tags is definitely at the top of my to-do list this time of year.

LizzieJones_PapertreyInk_September2018_HingedBoxChristmasWindows_FromSantaTags

These tags are super simple and they came together in no time! All I did was xyron some white cardstock and die cut it using the large tag in the the Paper & Package Tag Die set. Then, I cut the tags with the Santa window. I peeled off the adhesive backing and adhered the white tags to Bitty Big patterned papers that I cut with the same tag die. I decided to dress these up a bit by adding little Santa hats (from the Make It Market Mini Kit: Holiday Pin Ups) embellished with glitter. The cherry baker's twine tied in nicely, too.

Thank you so much for joining me today! I'll be back tomorrow with even more of the September release. In the meantime, Betsy, Dawn, Heather, Laurie, Melissa B, Melissa P, Michelle, and Stephanie all have beautiful projects to share. See you soon!

Supplies:
Peace On Earth Card


So Very Merry Gift Box


From Santa Tags

Monday, September 10, 2018

Introducing Merry Mug, Say It Simply: You & Yours, and Sweet Stitching

Good morning, friends! Today begins my favorite time of the year; it's Christmas time! Well, it's Christmas time in the world of stamping anyway, and this year is going to be very merry indeed. Today, I'm sharing a card that uses three new products from the September release (available on the Papertrey Ink website at 10pm on 9/15). You're getting a peek at my Merry Mug set and Dawn's Say It Simply: You & Yours die and her Sweet Stitching collection. Let's get to it!

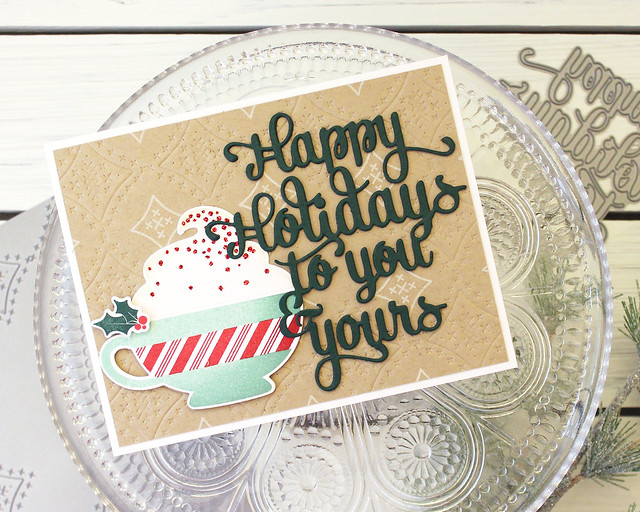
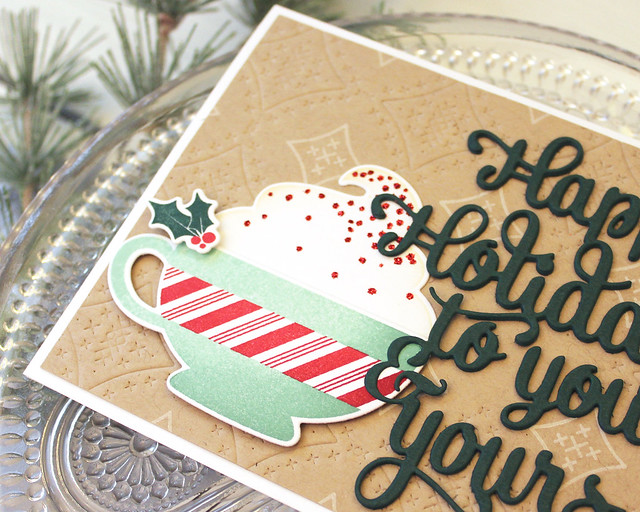
LizzieJones_PapertreyInk_September2018_MerryMug_SweetStitching_SayItSimply_HappyHolidaysCard

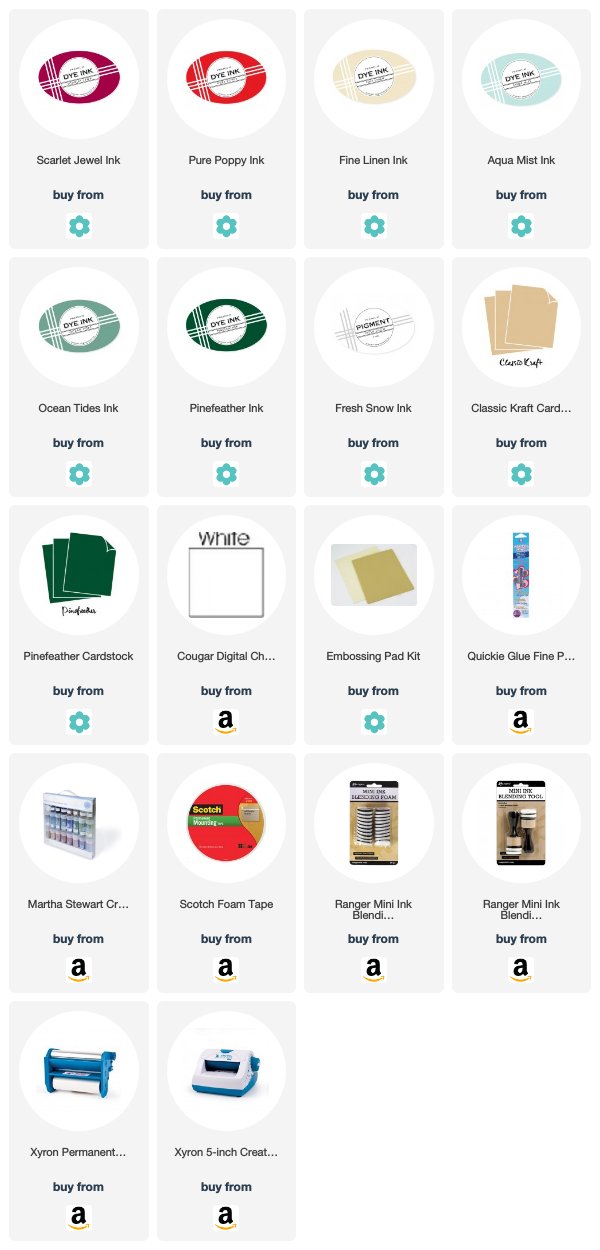
I began by impressing the Sweet Stitching plate into a piece of Classic Kraft cardstock using the embossing plate sandwich (for my Cuttlebug that is an A plate, a metal shim, a B plate, the Sweet Stitching Plate, my cardstock, the embossing pad mats, and finally another B plate). I added a few stamped details using the coordinating Sweet Stitching stamp set and adhered it to a white card base.

LizzieJones_PapertreyInk_September2018_MerryMug_SweetStitching_SayItSimply_HappyHolidaysCard3

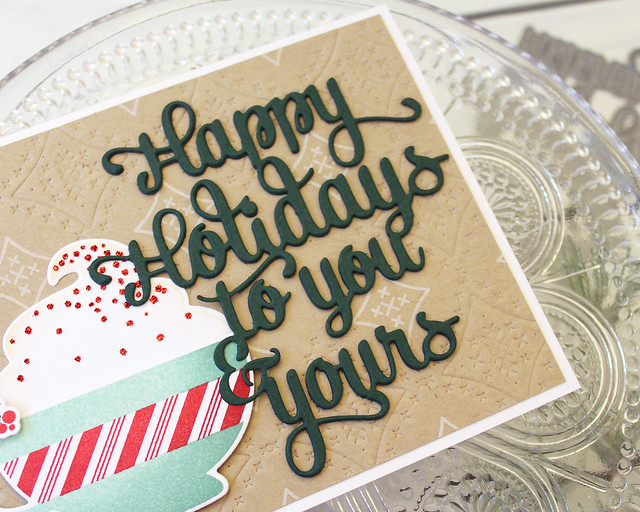
Next, I stamped and die cut the mug from Merry Mug using Aqua Mist sponged with Ocean Tides and Pure Poppy sponged with Scarlet Jewel to add depth. Then, I sponged the whipped topping image with Fine Linen ink and stamped it onto white cardstock. I only did the sponging around the edges to add a hint of definition before die cutting it. I added the sprinkles in Pure Poppy and embellished them with red glitter for some festive sparkle. I also stamped and die cut the holly before assembling the mug on the card front using a mix of flat and foam adhesives.

LizzieJones_PapertreyInk_September2018_MerryMug_SweetStitching_SayItSimply_HappyHolidaysCard2

Then, I die cut the Say It Simply: You & Yours greeting from Pinefeather cardstock. I stacked a few die cuts to get dimension, but I cut away the areas that would overlap the mug. I absolutely love that big, bold sentiment die!

Thank you so much for joining me today! I'll be back tomorrow with even more of the September release. In the meantime, Amy, Betsy, Dawn, Heather, Kelly, Laurie, Melissa B, Melissa P, Michelle, and Stephanie all have beautiful projects to share. See you soon!

Supplies:

Wednesday, September 5, 2018

September Stitching Feature - Ringing In September With New Ornament Dies!

Good morning, friends, and welcome to this month’s Stitching Feature! I’m Lizzie Jones your Stitching Ambassador and this month I’m introducing the Heirloom Ornaments 2 Die Collection! This collection will release on September 15th at 10pm ET along with the rest of the September release, so keep your eyes peeled for them at that time. I had so much fun designing this set of ornament stitching dies and I’m so excited to finally be able to share!
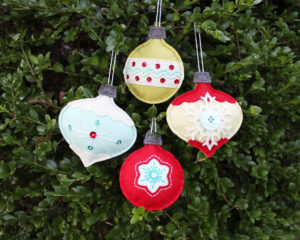
This collection includes two classic ornament shapes, one round and one onion shape, along with a few detail dies to dress them up and make ’em fancy. They also work beautifully with dies you may already have in your collection (like the Heirloom Ornaments 1 Die *wink, wink*)! Let’s take a closer look at the individual ornaments I have to share today.
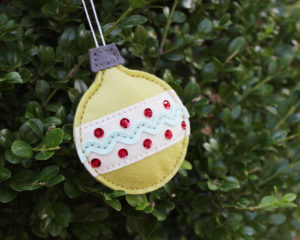
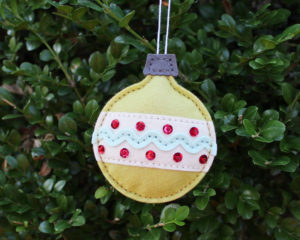
I’m kicking things off today with the round ric-rac ornament. This little guy is one of my favorites. You have the option to leave the round bulb plain or to dress it up with the ric-rac, stripe, and sequins/beads or the ric-rac and stripe alone. You could even concoct an argyle pattern with the holes for the sequins/beads. I haven’t tried that yet, but you better believe it’s on my list.
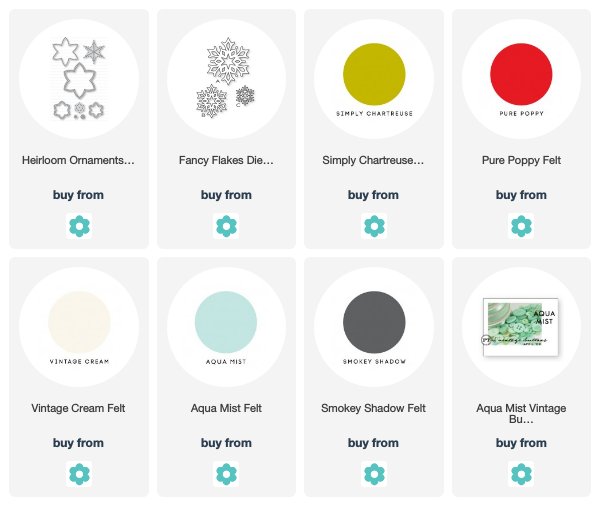
I made this little fella with Simply Chartreuse felt as my base, Vintage Cream as my stripe, and Aqua Mist as my ric-rac. All of today’s ornaments use Smokey Shadow for the bulb toppers, but Harvest Gold would make a great gold substitution. I want to get my hands on some patterned and glittered felt. Can you imagine?! I’m giddy just thinking about it! I used red beads to embellish the center of each red sequin. If you used beads that were large enough you wouldn’t even need the sequins, but I like the layered look of the two elements together.
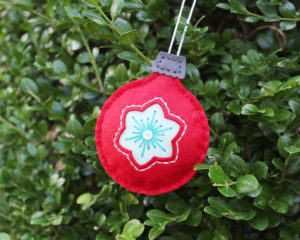
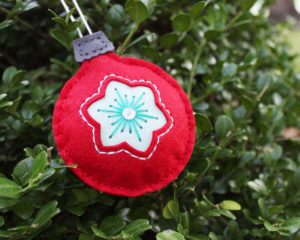
Next, I used the same bulb, but this time I used the poinsettia insert from the Heirloom Ornaments 1 collection to embellish the center. This time I used Pure Poppy felt for the base and Aqua Mist for the insert. I stuffed each of these ornaments with a bit of polyfil to give them some dimension before stitching up the outer edge.
The poinsettia insert takes on a little bit of a snowflake vibe in this color palette. I embellished the very center with a white sequin and clear bead to give a touch of sparkle. This ornament is a great size (about 3 1/3″ wide) so it’s ideal for personalization. The Sew Stylish Alphabet would be a great option for a monogram while the Small Stitched Alphabet would be great for names or initials!
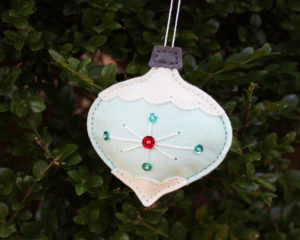
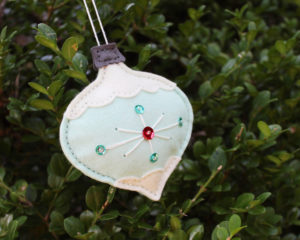
The onion bulb is one I’m very excited to use to fill a whole tree! I have several vintage ornaments in this shape that I adore, so I’m particularly smitten with this style. The ornament can be used without decoration or you can add the scalloped top and bottom or this mid-century style flare design. I used sequins and beads to dress this up, but you could also use metallic thread for another fun look.
I cut the ornament from Aqua Mist felt and the scalloped bits from Vintage Cream. It really doesn’t take much stuffing to fill these ornaments, so you can make a ton of them with the contents of a bag of polyfil. You could even stuff these with pine or cinnamon scented crystals for a festive aroma!
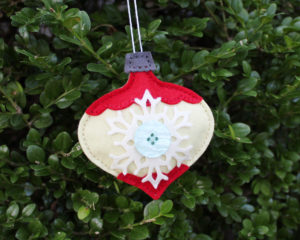
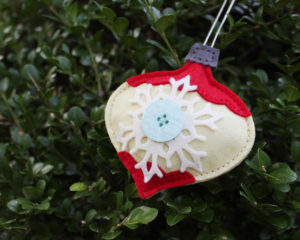
Like I mentioned before, these ornaments are sized to pair beautifully with dies you may already have in your collection. I used the medium Fancy Flakes die on this ornament, just anchoring each end with a single stitch. This is also a great way to incorporate some of those large buttons you may have sitting around waiting to be used.
I cut the large ornament shape from Spring Moss felt and the scalloped ends from Pure Poppy. The snowflake was cut from Vintage Cream and anchored with an Aqua Mist vintage button. These would also look amazing cut from patterned fabric or fashioned into gift tags. I plan to share more ornaments as we get closer to release day, so be on the lookout for even more of these ornaments popping up on a blog near you very soon!
Thank you so much for joining me today. I hope you’re as excited about this second edition of ornaments as I am! I’ll see you again soon!
Supplies:
Heirloom Ornaments 2 Collection