Friday, February 21, 2020

Concord & 9th Guest Designer - Stitched Blooms & Blooms Turnabout

Good morning, friends! I'm back today to share a couple more projects from this month's Concord & 9th release. If you're a floral fan, today is your day! The Stitched Blooms Bundle and Blooms Turnabout are sure to put a smile on your face!

First up, let's take a closer look at the Stitched Blooms Bundle. I really enjoyed the fact that I could use the stamp set to add color and dimension to the stitched design. Plus, the set includes several essential sentiments that I use all the time.

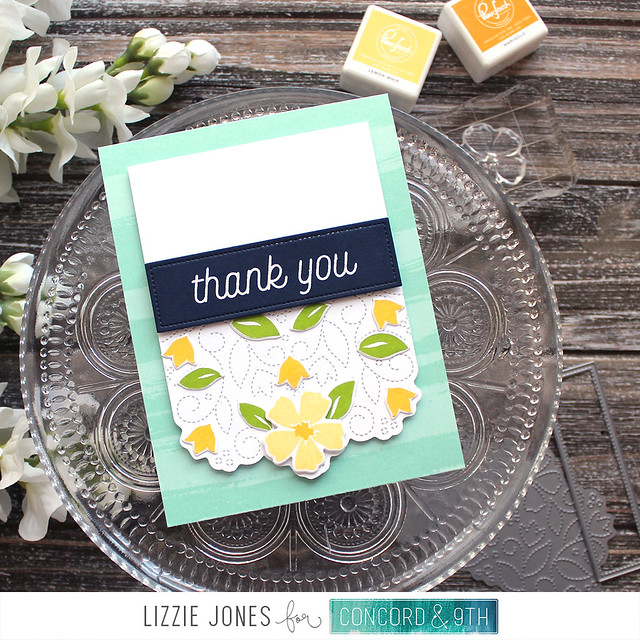
LizzieJones_Concord&9th_February2020_StitchedBloomsBundle_ThankYouCard


I began by die cutting the stitched design into a panel of white cardstock. I fussy cut the bottom edge to follow the stitching and give it a more decorative vibe. Then, I stamped and die cut several leaves and flowers from the set and adhered them over the stitched elements in the design.

LizzieJones_Concord&9th_February2020_StitchedBloomsBundle_ThankYouCard3


I heat embossed the sentiment from the set onto dark navy cardstock for a nice pop of contrast and then attached it to the focal panel with foam tape. I wanted to give my card base a bit of subtle interest, so I stamped it with the Brushed Stripe Background (also released this month) using a tone-on-tone ink.

LizzieJones_Concord&9th_February2020_StitchedBloomsBundle_ThankYouCard2

Then, I adhered the focal panel with a bit more foam tape. So full of texture while still being easily mailable. I love that!

My second card today is giving me major Spring vibes. I've always been a big, big fan of the Turnabouts and this Blooms Turnabout is no exception! I'm not usually a purple enthusiast, but I thought these sweet posies would look great in shades of purple, blue, and yellow. What do you think?

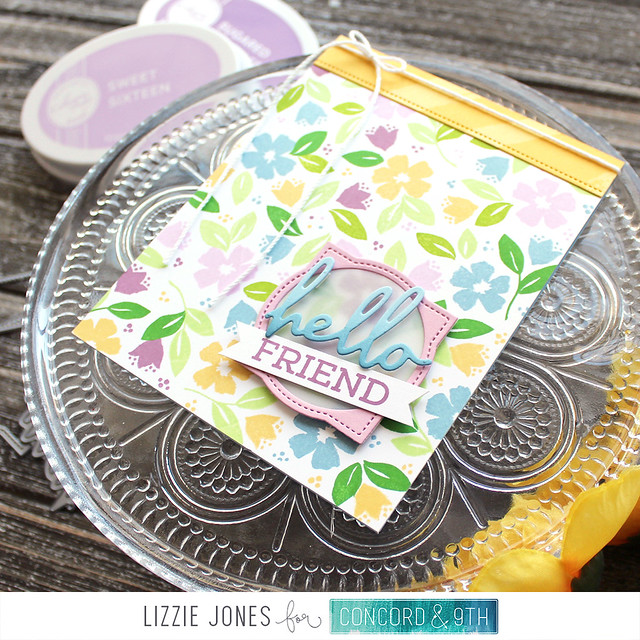
LizzieJones_Concord&9th_February2020_BloomsTurnabout_HelloFriendCard

I began by stamping the flowers using all four turns and followed up with the leaves in all four turns (though only with three colors). I adhered that panel to a card base and then added a stitched strip that I had stamped with the Brushed Stripe Background (definitely a new favorite). You may notice that the stitched strip extends all the way across the card even though the label die isn't quite long enough for that. I just used some selective die cutting to lengthen the die and make it even more versatile!

LizzieJones_Concord&9th_February2020_BloomsTurnabout_HelloFriendCard2

Next, I die cut a medallion shape from both lavender cardstock and vellum. I used a circle die to cut the center of the lavender shape and layered the two. I attached that piece to the card front with foam tape and layered on a greeting die cut from the Forever Flower Infinity collection and a stamped sentiment from the Meadow Blossoms set.

LizzieJones_Concord&9th_February2020_BloomsTurnabout_HelloFriendCard3

I tied on a piece of crochet thread to finish things off. I'm definitely going to create more of this design in a whole bouquet of colors!

Thank you so much for joining me today! I hope you enjoyed this peek at the Concord & 9th February release. Pop on over to their website to shop the new products and I'll see you again soon. Have a great weekend!

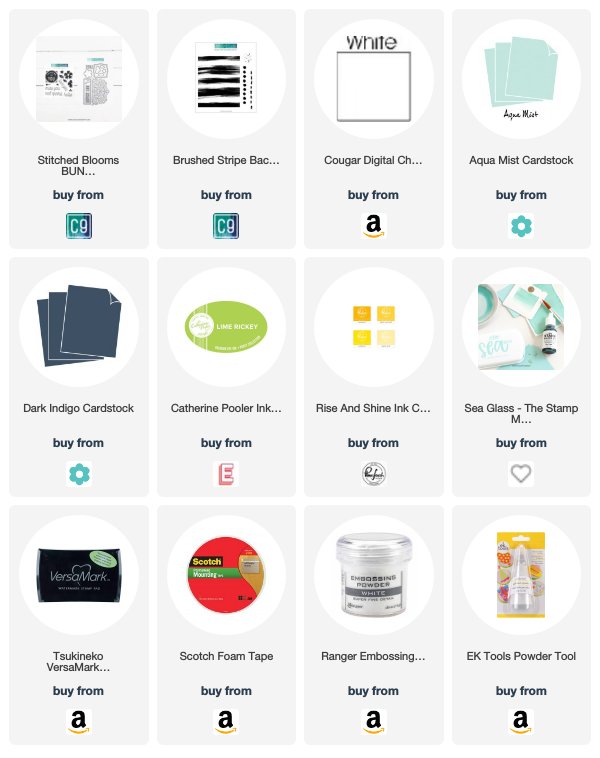
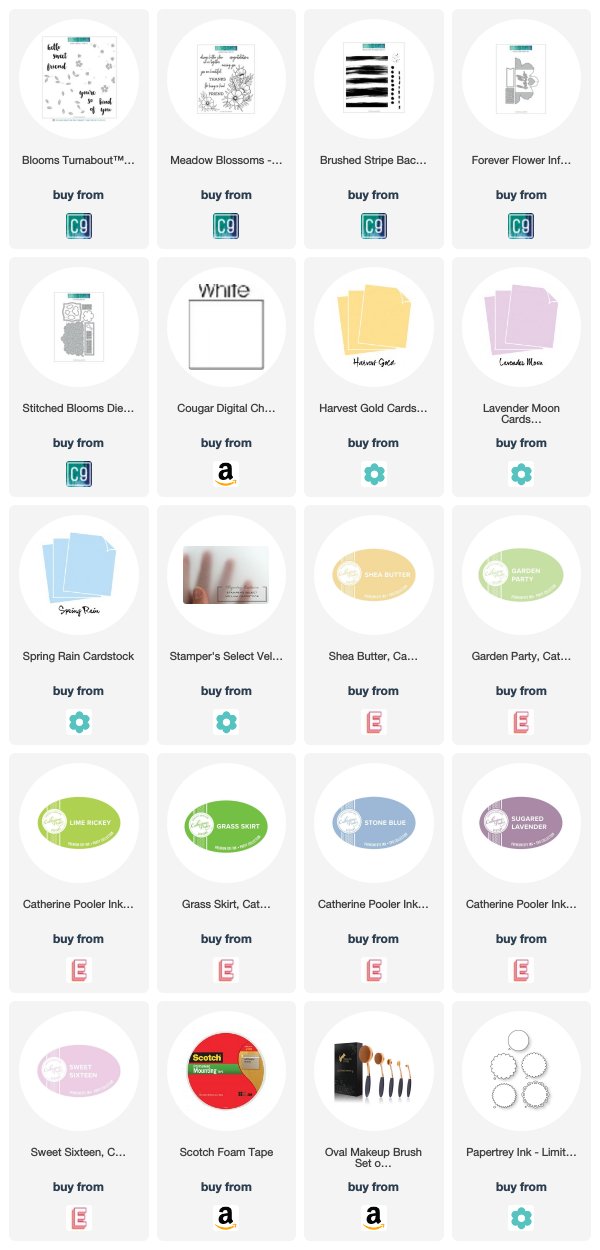
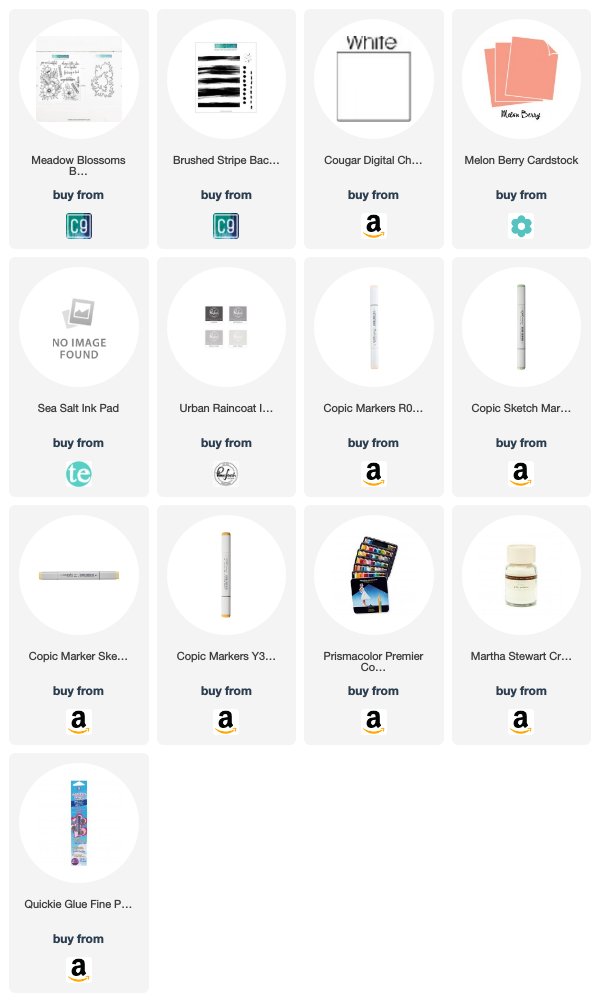
Supplies:
Thank You Card


Hello Friend Card

Friday, February 14, 2020

Concord & 9th Guest Designer - Meadow Blossoms & Brushed Stripes

Good morning, friends! I am so excited to be guest designing with Concord & 9th this month! I've loved their designs for a while now and I am totally pumped to be joining them for their February release.

To kick things off for this month, I'm sharing a card I made with their brand new Meadow Blossoms and Brushed Stripes sets. The second I saw the gorgeous Meadow Blossoms floral I knew I wanted to do some coloring. So that's exactly what I did!

LizzieJones_Concord&9th_MeadowBlossoms_BrushedStripes_ThankYouCard

I haven't done much no-line coloring, but these flowers seemed perfectly suited, so I started by stamping them in pale gray ink. Then I used a mix of Copics and Prismacolor pencils to add shading and depth. Sometimes when I use markers by themselves I feel like things get away from me a little bit (perhaps that just means I need more practice). I love this technique because I feel like it really gives me control over how much color is going down.

LizzieJones_Concord&9th_MeadowBlossoms_BrushedStripes_ThankYouCard3

Once my flowers were finished, I die cut them using the coordinating die and embellished the flower centers with a bit of my favorite crystal glitter. I just felt they needed a little something extra and this little touch of sparkle did the trick. I set those aside while I stamped the Brushed Stripes background onto a white panel using the same pale gray ink from before, but I reinked a few times to build up the color a bit. I used a darker gray for the sentiment from the Meadow Blossoms set.

LizzieJones_Concord&9th_MeadowBlossoms_BrushedStripes_ThankYouCard2

I adhered my flowers to the front panel of my card and trimmed the overhang off the edges. Then, I attached that panel to a coral card base to give a pop of contrast once the card was opened. I debated adding more embellishments, but in the end decided that allowing the coloring to shine was the best option. I'm really looking forward to trying these flowers in even more colors!

Thank you so much for joining me today. I'll be back for the next few Fridays with even more inspiration from this month's Concord & 9th release. In the meantime, have a wonderful weekend!

Supplies:
Thanks Card

Thursday, February 13, 2020

The Greetery - Lily & Palm Mini Release

Good morning, friends! Welcome to the introduction of The Greetery's Lily & Palm Mini Release. All of the new products I'm showcasing today will be available tomorrow, February 14th at 10am. If you make Easter or spiritual cards (prayers/religious sympathy) this release is going to be right up your alley. The products Betsy has designed are all so elegant and lovely. Let's get to it!

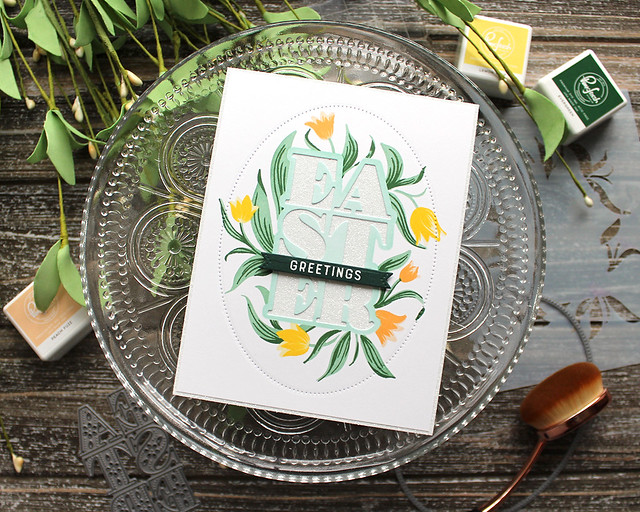
First up, I have a card featuring the new Easter Jubilee Creative Kit. This fabulous mini kit is packed with stencils, dies, and stamps that will make it a snap to make Easter cards with floral charm.

LizzieJones_TheGreetery_February2020_GatheringsEasterJubilee_EasterGreetingsCard

I began by using the stencil set to create the base for my design. I wanted to incorporate a couple different colors of tulips, so I used a smaller blending brush to single out the individual blooms. Then I used the coordinating stamps to add details to the leaves and flowers.

LizzieJones_TheGreetery_February2020_GatheringsEasterJubilee_EasterGreetingsCard3

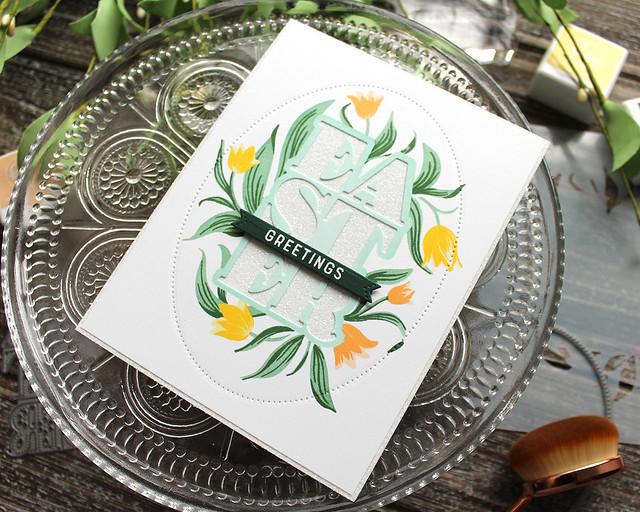
Next, I die cut the "Easter" letters out of the center area and added the pierced oval to highlight the central design. Rather than use the letter die cuts, I backed the whole panel with adhesive paper and sprinkled glitter through the negative spaces. The result is beautifully sparkly!

LizzieJones_TheGreetery_February2020_GatheringsEasterJubilee_EasterGreetingsCard2

To finish the card, I heat embossed one of the sentiments from the set onto a mini banner and attached it to the card with foam tape. I also adhered my front panel to a contrasting, colorful card base to add a bit of interest. It's a very simple design, but all of the little details make it special.

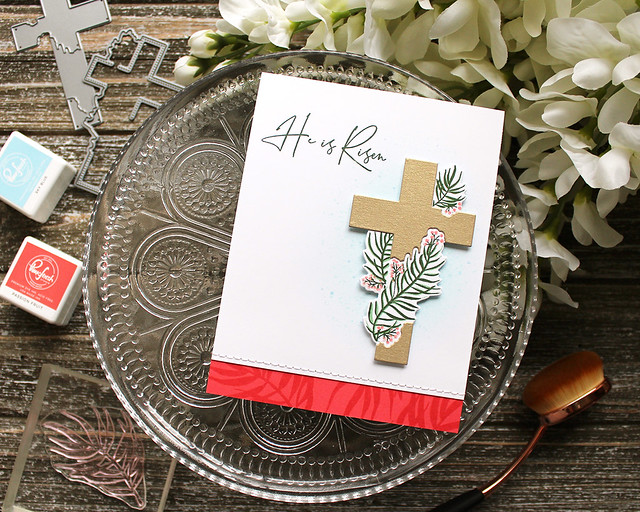
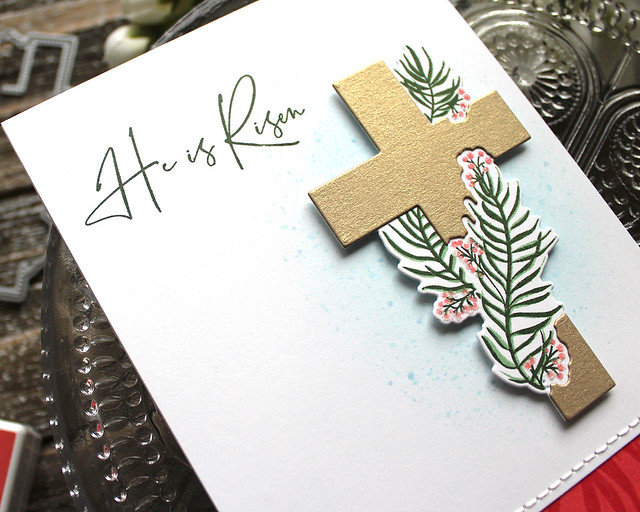
Next up, I have a card made with the new Caring Cross stamp set. I chose to make this an Easter card, but the stamp set includes several sentiments that would make it a wonderful choice for year-round crafting.

LizzieJones_TheGreetery_February2020_CaringCross_HeIsRisenCard

I began by stamping and die cutting the cross and palms. I used the cross pieces die to cut a second cross from champagne shimmer stock and layered those onto the first die cut, allowing the palms to peek through.

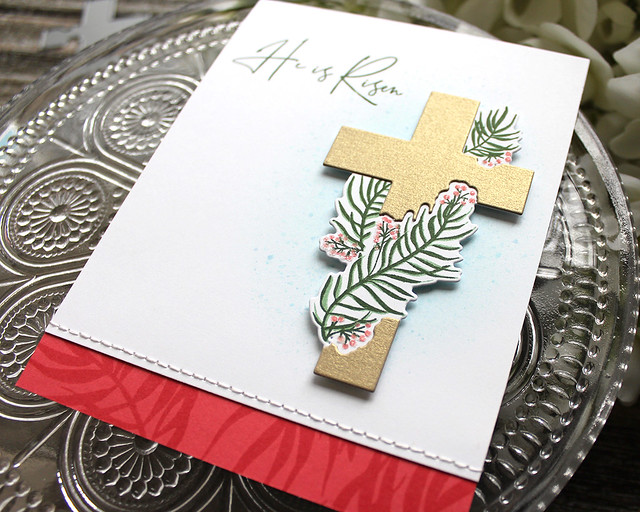
LizzieJones_TheGreetery_February2020_CaringCross_HeIsRisenCard3

Next, I sponged a bit of pale blue ink onto a card panel and added speckles. I stamped the sentiment and then stitched a strip of cardstock (stamped with the individual palm branch) along the bottom edge of the panel. I adhered that panel to a card base and then added the cross with foam tape.

LizzieJones_TheGreetery_February2020_CaringCross_HeIsRisenCard2

I thought the palms still needed something, so I went back with a glue pen and embellished the berries with crystal glitter. It's subtle, but the hint of shimmering glitter adds an exceptional touch without taking away from the message.

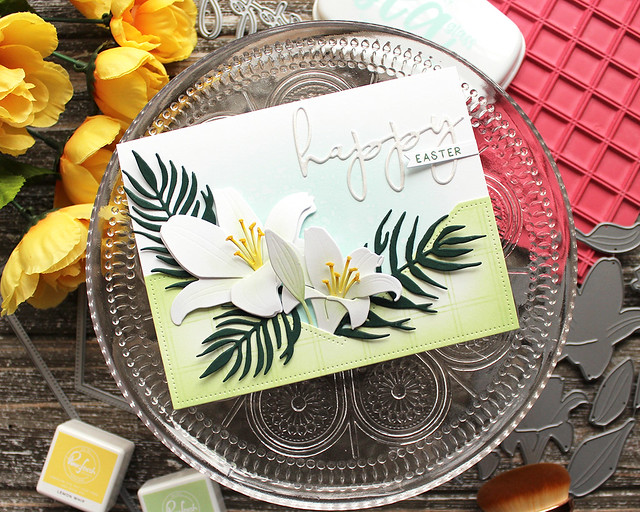
And lastly today, I have a card showcasing the new Botanicuts Lily, Botanicuts Palm, and Let's Have A Word: Happy dies. The lilies are so striking and really command attention on a card. And just think of how many different kinds of lilies you can create with these! I went with Easter lilies (because Easter), but there are daylilies, Stargazer lilies, Tiger lilies...the options are endless!

LizzieJones_TheGreetery_February2020_BotanicutsLily_BotanicutsPalm_HappyEasterCard

I die cut my flowers first and used a fine point blender brush to add a hint of color. I also embellished the stamens on the lilies with crystal glitter to zhoosh them a bit. Next, I die cut a Halfsies shape and sponged it with the same ink (albeit a bit more heavily). I stamped that with the recently released Windowpane Plaid Background and set all of those pieces aside.

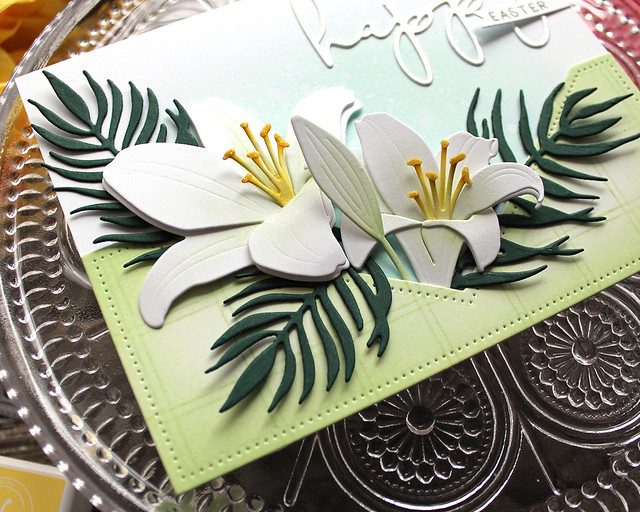
LizzieJones_TheGreetery_February2020_BotanicutsLily_BotanicutsPalm_HappyEasterCard2

Next, I sponged a bit of Aqua ink onto a card base and splattered it with clean water to get a subtle speckled look. Once it was dry, I attached my plaid Halfsies panel and arranged my Botanicuts Lily and Botanicuts Palm pieces.

LizzieJones_TheGreetery_February2020_BotanicutsLily_BotanicutsPalm_HappyEasterCard3

To add a sentiment, I cut the Let's Have A Word: Happy shape from white cardstock and then smooshed the die cut into a Versamark pad. I used Perfect Pearls to give the sticky surface a shimmery finish. I attached that to the card front and added the companion sentiment on a Sentiment Suite Basics die cut. This card has so much dimension thanks to those gorgeous lilies!

Thank you so much for joining me today! Make sure to pop in on the other creative ladies on the team for even more inspiration:

Kay Miller
Laurie Willison
Dawn McVey
Heather Nichols
Keeway Tsao
Angelica Conrad
Kelly Lunceford
Norine Borys
Wanda Guess

Make sure to leave comments as you go because Betsy is giving away $25 gift certificates to two lucky commenters! Have a wonderful weekend and I'll see you again soon!

Supplies:
Easter Greetings Card

He Is Risen Card

Happy Easter Card

Thursday, January 16, 2020

The Greetery - Coming Up Roses

Good morning, everyone! Thank you so much for your kind comments yesterday! We're very happy and excited and it's very sweet of all of you to join in our happiness.

Now let's get to something else that makes me very happy...the new release from The Greetery! I have a few more projects to share today featuring this month's Love Letters collection. Let's jump right in!

LizzieJones_TheGreetery_January2020_SketchbookRosesProjects

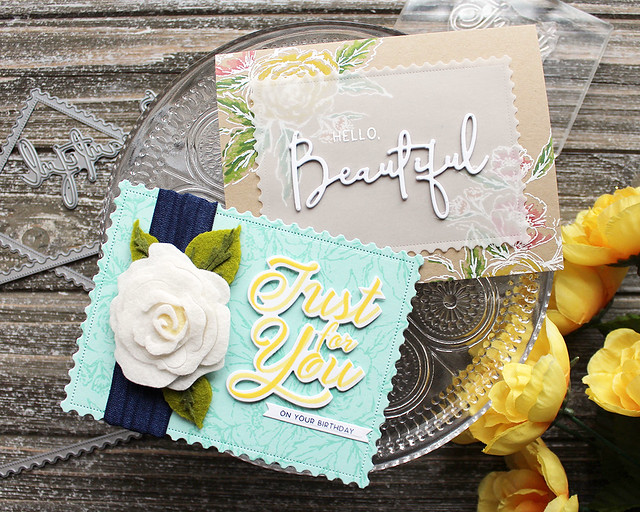
These first two projects show a couple of ways to use the new Sketchbook Roses stamp set. It's gorgeous as a monochromatic background, as a colorful focal point, or even colored with your favorite medium.

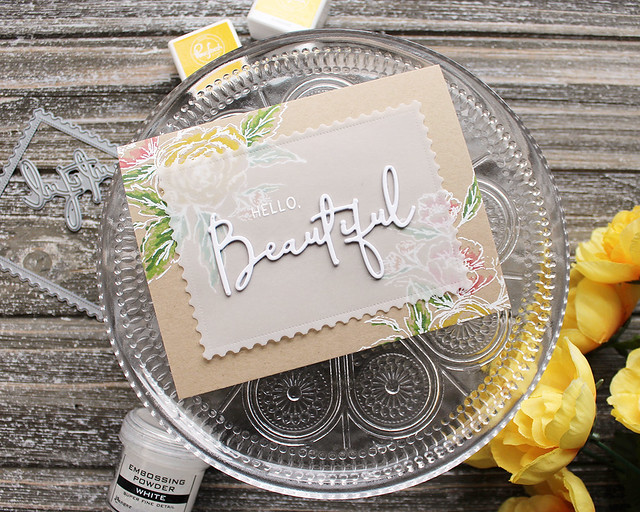
LizzieJones_TheGreetery_January2020_SketchbookRoses_HelloBeautifulCard

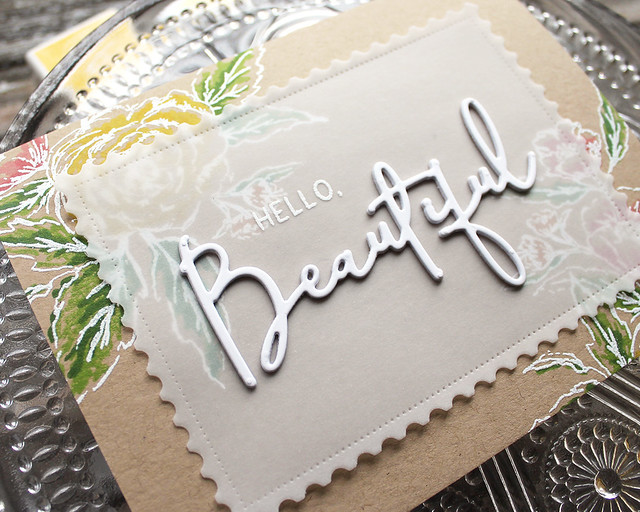
For this first card, I began by first stamping onto Kraft cardstock with Kraft ink. I used the layering stamps to add color to the blooms and leaves before heat embossing over the original Kraft stamping with white powder. The result reminds me of vintage textiles and I love it!

LizzieJones_TheGreetery_January2020_SketchbookRoses_HelloBeautifulCard2

Next, I die cut a vellum layer using the new Postal Frames die. I heat embossed it with part of a sentiment from the Sketchbook Roses and finished with a die cut sentiment, the new Let's Have A Word: Beautiful.

LizzieJones_TheGreetery_January2020_SketchbookRoses_HelloBeautifulCard3

I kept things simple by adhering the vellum layer over the floral card base, hiding the adhesive under the die cut greeting. I'm totally digging all of those pops of crisp white against the earthy Kraft.

On my second project, I used the Sketchbook Roses set to create an elegant monochromatic background.

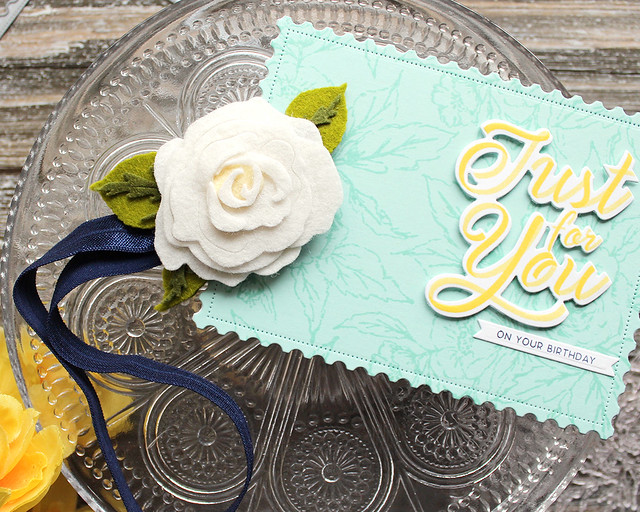
LizzieJones_TheGreetery_January2020_SketchbookRoses_BotanicutsRoses_FeltRoseHeadband

I actually started this project by using the BotaniCuts Rose to create a pretty felt headband. I cut the pieces and layered them according to the layering guide that Betsy put together. The floral parts, I kept as one layer, but I doubled up the leaves to make them a little more stable. I hot glued everything to an elastic band and layered a basic circle on the back to hide all of the unfinished edges.

LizzieJones_TheGreetery_January2020_SketchbookRoses_BotanicutsRoses_FeltRoseHeadband2

To create the card, I die cut the largest Postal Frames shape from a piece of aqua cardstock as well as a piece of thick tag stock (for stability). I stamped the aqua layer with the floral background and attached it to the thicker layer. Then, I added a sentiment from the Written In Ribbons set along with a small companion sentiment from the new Sentiment Suite: Love set. Then, I just wrapped the headband around it a couple of times for gift giving. Easy and cute packaging!

Lastly today, I have another card featuring Written In Ribbons and Sentiment Suite: Love.

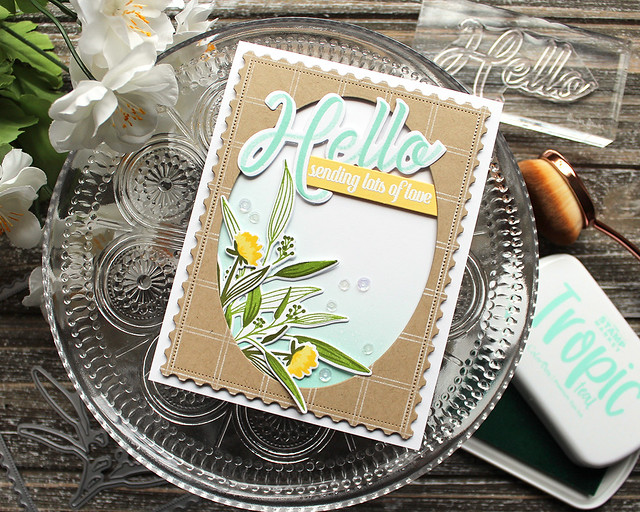
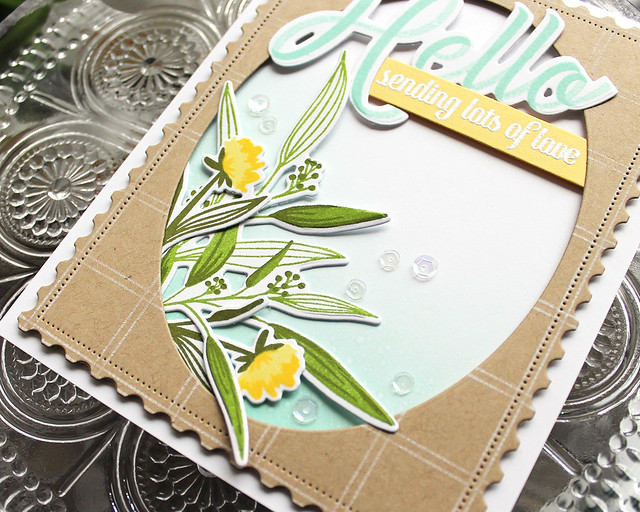
LizzieJones_TheGreetery_January2020_WrittenInRibbons_SentimentSuiteLove_HelloCard

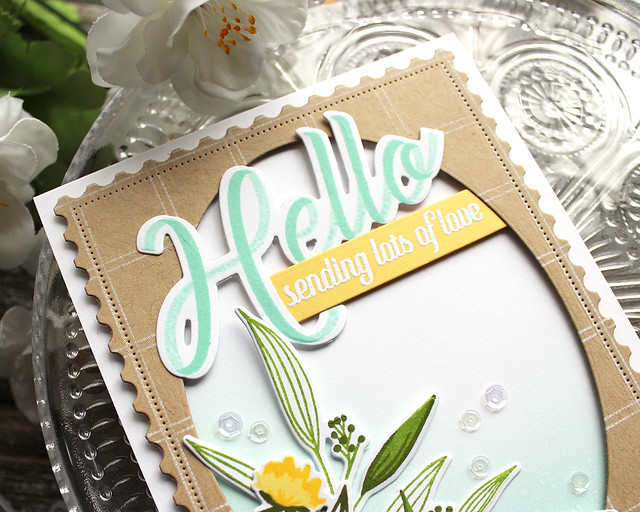
Written In Ribbons might be one of my favorite sentiment sets in a long time. The size of the greetings is super generous, making them wonderful focal points. Plus, the optional two-tone effect adds such a lovely, unique detail (you can stamp the sentiments without them if that's your preference on a particular project).

LizzieJones_TheGreetery_January2020_WrittenInRibbons_SentimentSuiteLove_HelloCard2

For this card, I created a frame using the Postal Frames and an oval die cut. I stamped the frame with the Windowpane Plaid Background. Next, I sponged a background onto a white card base and adhered the frame in place with foam tape.

LizzieJones_TheGreetery_January2020_WrittenInRibbons_SentimentSuiteLove_HelloCard3

Next, I stamped the Written In Ribbons sentiment and heat embossed the Sentiment Suite greeting onto a strip of yellow cardstock. I also stamped a handful of flowers and foliage from the Signed & Sealed With A Kiss set. I tucked the greenery under the frame and then adhered the sentiment in place. A few clear sequins finished things off nicely.

That's all I have to share with you today. I hope you've enjoyed my projects this month!

Don't forget to leave a comment for your chance to win a $50 gift card to The Greetery's website. Also, make sure to check in on the other ladies to see even more gorgeous projects:

Kay Miller
Laurie Willison
Dawn McVey
Heather Nichols
Keeway Tsao
Angelica Conrad
Kelly Lunceford
Norine Borys
Caly Person

Enjoy shopping tomorrow and I'll see you again soon! Have a great day!

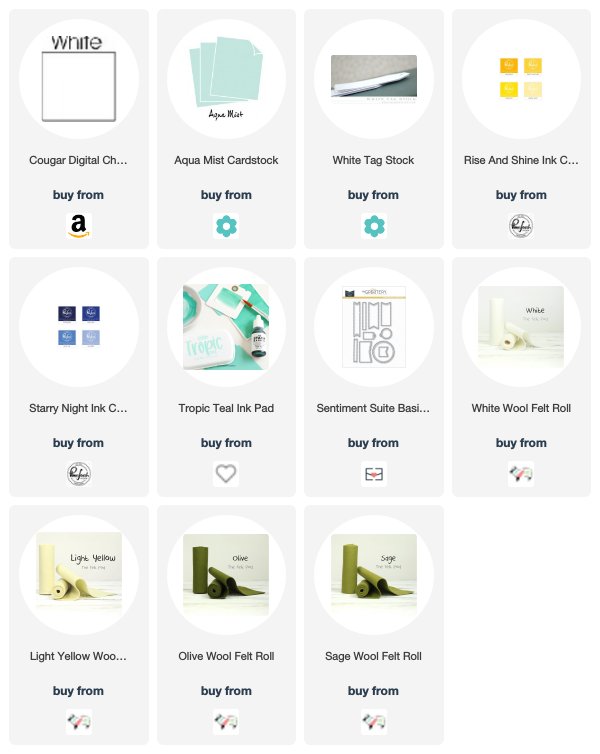
Supplies:
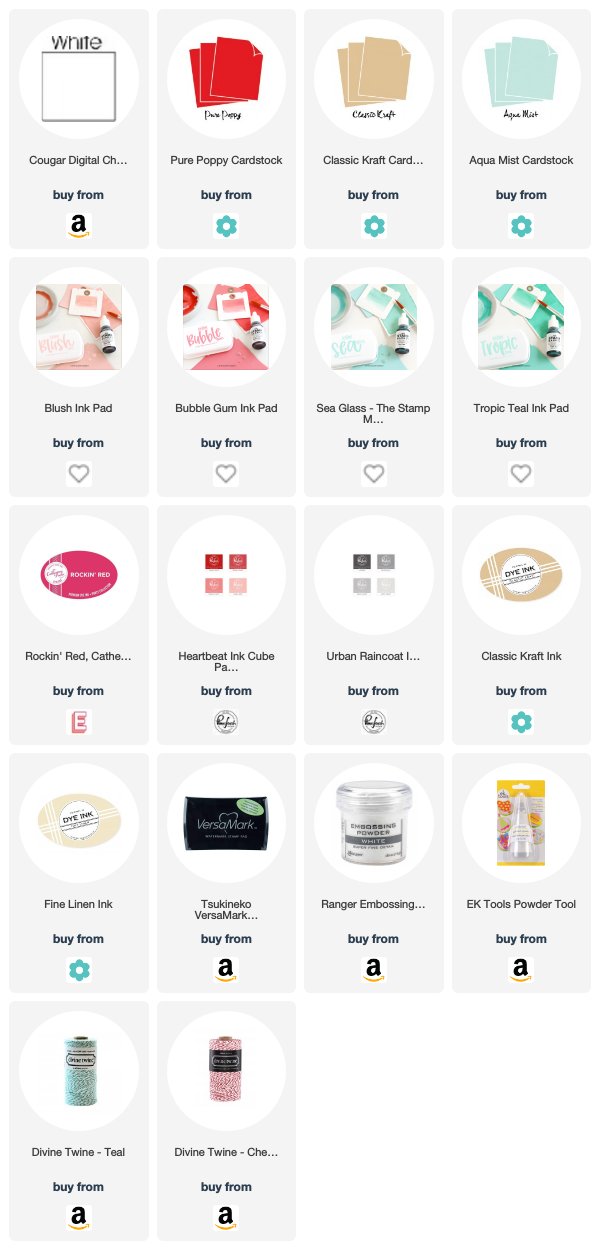
Hello, Beautiful Card
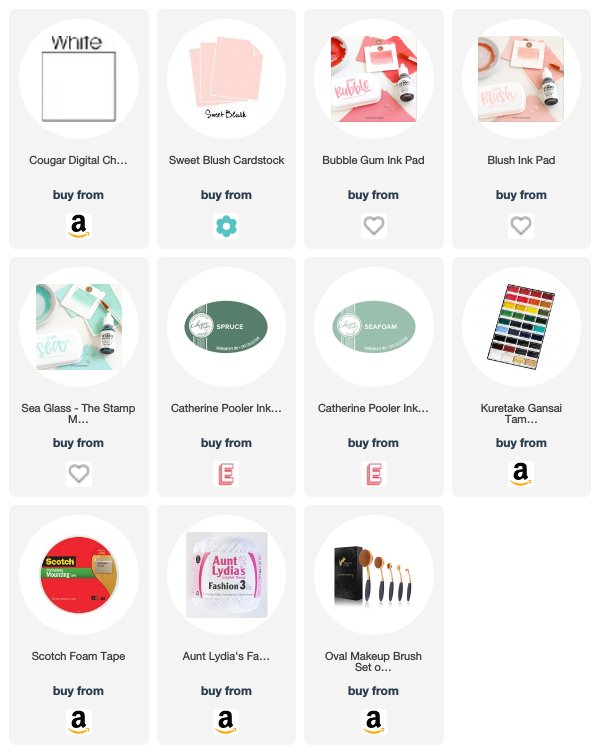
Just For You Card & Felt Rose Headband
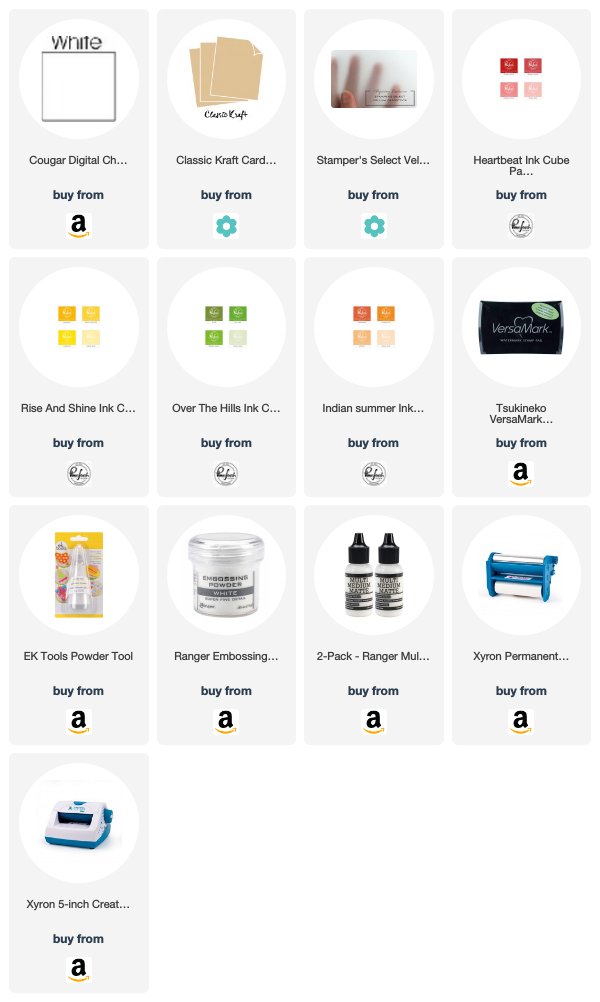
Hello Card
Wednesday, January 15, 2020

The Greetery - Pretty & Postal

Good morning, Friends, and welcome back! I know it's been a little bit quiet around here lately, but I have a good reason. Did you see our announcement? If not, you can see it here. Spoiler alert: baby (gender unknown), coming in April (or March, because who knows, but hopefully April)! So, it may stay a little quiet for a bit, but I'll try to check in as much as possible.

In the meantime, today is the first day of The Greetery's January release! There are so many beautiful things heading your way, friends. Truly. I have a few projects to share with you today to give you a sneak peek at what's to come. Let's get to it!

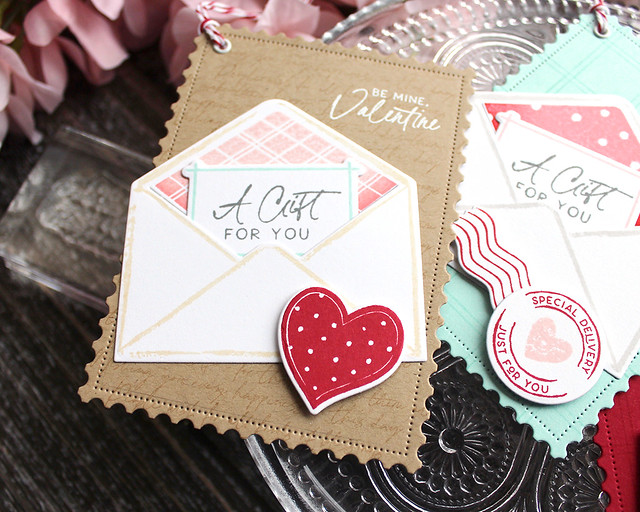
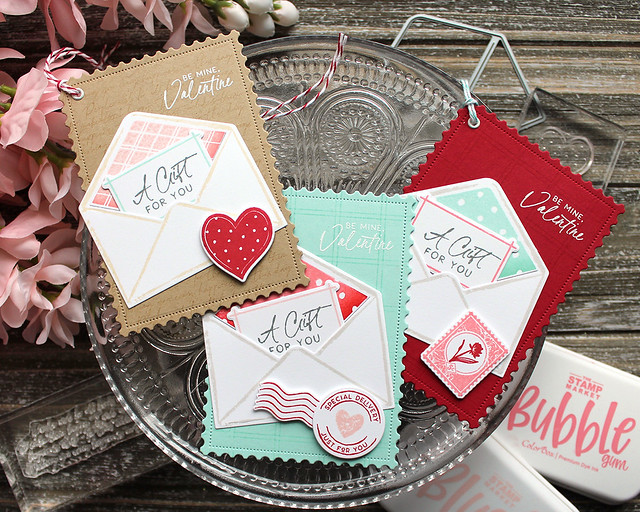
LizzieJones_TheGreetery_January2020_PrettyPostmarks_Signed&SealedWithAKiss_ValentineTags

You all know how much I love a good tag, right? So I had a blast creating these Valentine's Day tags with the new Postal Frames Die and the Signed & Sealed collection.

LizzieJones_TheGreetery_January2020_PrettyPostmarks_Signed&SealedWithAKiss_ValentineTags2

I began by die cutting the Postal Frames Shapes and stamping the watermarked backgrounds on each. The Pretty Postmarks script and Windowpane Plaid Background added perfect, subtle texture to the backdrop of each tag. Then, I heat embossed the tags with a sentiment from the Signed & Sealed With A Kiss set.

LizzieJones_TheGreetery_January2020_PrettyPostmarks_Signed&SealedWithAKiss_ValentineTags3

I used the envelopes and mini framed sentiments from the Signed & Sealed set as the focal point on the tags. I added a bit of sponging to the envelope liners to give them some depth before tucking the mini framed piece into the envelopes (I left them loose so they can be pulled out for a little interactive element).

LizzieJones_TheGreetery_January2020_PrettyPostmarks_Signed&SealedWithAKiss_ValentineTags4

I used images from the Signed & Sealed With A Kiss and Pretty Postmarks sets to embellish each envelope. Keeping the layout the same on each tag helps streamline the process, while using different images and colors keeps them each unique and special.

LizzieJones_TheGreetery_January2020_PrettyPostmarks_Signed&SealedWithAKiss_ValentineTags5

There are some kiddos in our lives that are sure to see these pretty little tags tied to a treat come Valentine's Day!

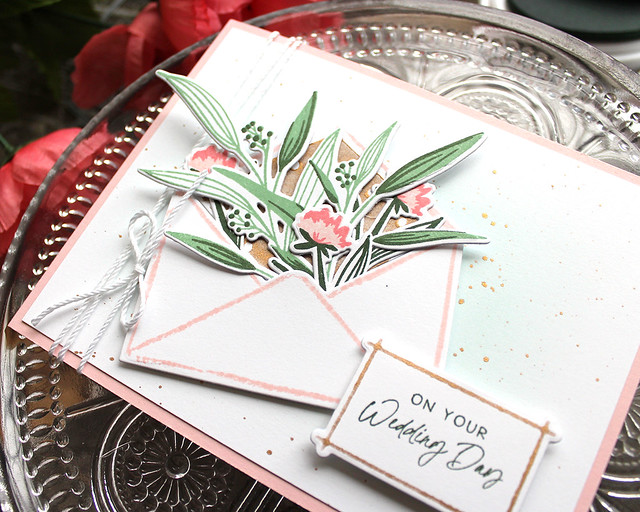
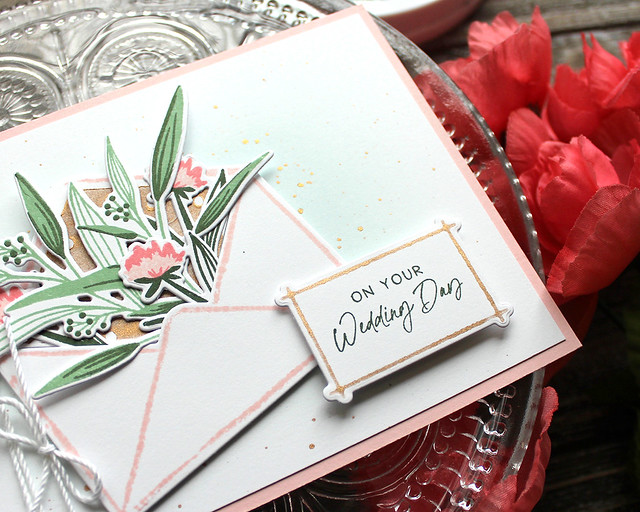
Next up, I've used that same sweet envelope from Signed & Sealed with the gorgeous florals in Signed & Sealed With A Kiss to create a delicate wedding card.

LizzieJones_TheGreetery_January2020_Signed&SealedWithAKiss_OnYourWeddingDayCard
I stamped and die cut the envelope and added the liner by painting directly onto the liner stamp with copper metallic watercolor. I tucked the foliage from the Signed & Sealed With A Kiss into the envelope (the handy, die-cut slit makes this a snap) and secured the stems on the back. I set that aside for a moment.
LizzieJones_TheGreetery_January2020_Signed&SealedWithAKiss_OnYourWeddingDayCard2

Then, I used the same watercolor technique on the frame. I love how it adds a soft, organic feel to the image. Once die cut, I stamped the sentiment from the Signed & Sealed With A Kiss set.

LizzieJones_TheGreetery_January2020_Signed&SealedWithAKiss_OnYourWeddingDayCard3

Next, I sponged a bit of aqua ink onto a white panel and splattered it with more of the copper watercolor. I am totally smitten with the mix of copper and pink! After it had dried, I attached that panel to a pink card base and tied it with a bit of crochet thread. All that was left to do was attach the envelope and sentiment with foam tape. I love that this card is clean, but still has plenty of texture and details to keep things interesting.

Thank you so much for joining me today! Don't forget to leave a comment for your chance to win a $50 gift card to The Greetery's website. Also, make sure to check in on the other ladies to see even more gorgeous projects:

Kay Miller
Laurie Willison
Dawn McVey
Heather Nichols
Keeway Tsao
Angelica Conrad
Kelly Lunceford

Have a wonderful day and I'll see you back here tomorrow with more of this amazing release!

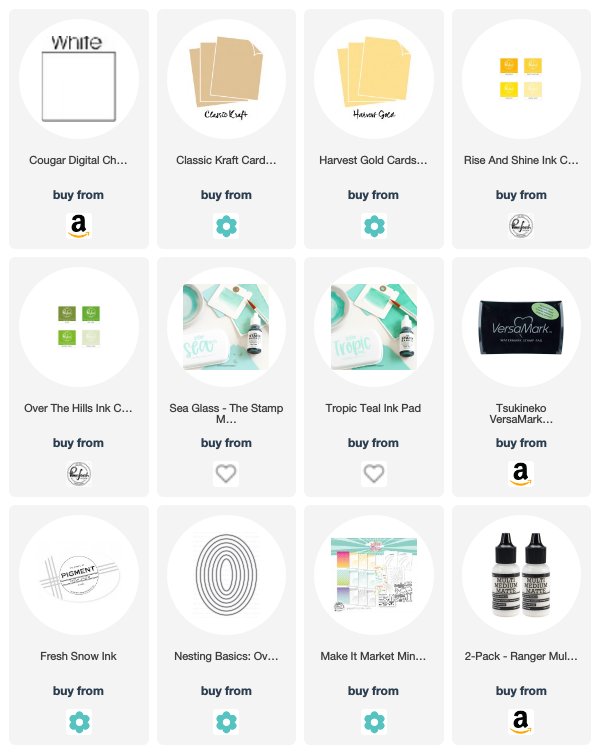
Supplies:
Valentine's Day Tags


Wedding Day Card