
We don't get any trick or treaters anymore (too far outside of town), but there are a few kids in the neighborhood that I'd still like to give small treats to mark the holiday. I knew I wanted to create a little treat box, so that's where I started.
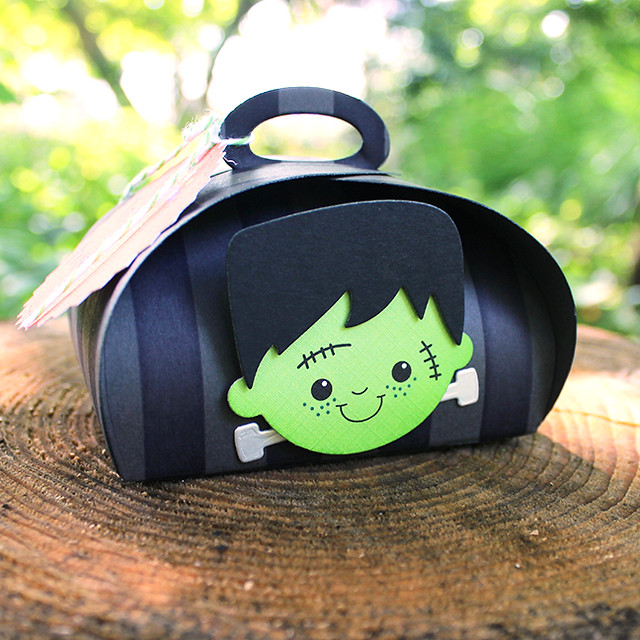
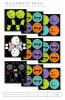
Then, I die cut the Frankie face from patterned paper and sponged his chin with New Leaf ink to give some dimension. I die cut his hair from True Black cardstock and his bolts from Luxe Silver cardstock before assembling Frankie’s parts and attaching him to the box with foam tape.
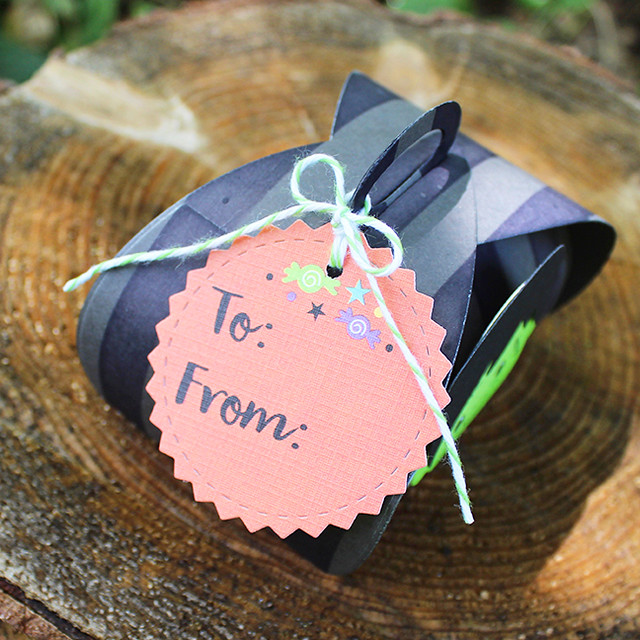
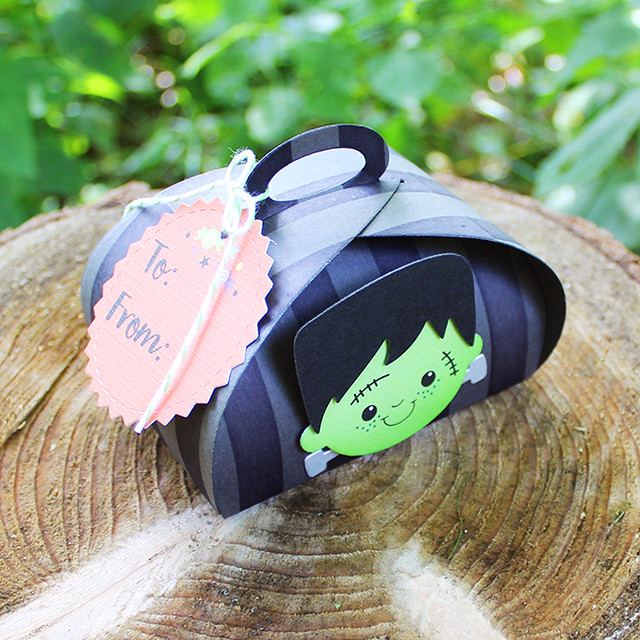
Next, I die cut the tag from the patterned paper in the kit. I punched a hole in the tag and tied it to the box handle with baker’s twine. Cute and easy!
Supplies:


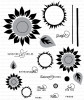
Next up is a non-Halloween card made with Wicked Elixir. I still have a few ideas about year-round use for this set that I hope to share in the near future, so stay tuned. For today, I have a get well card.
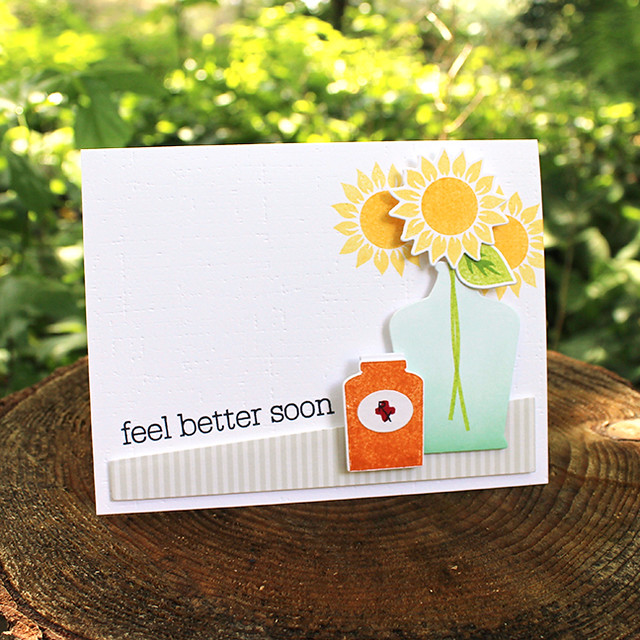
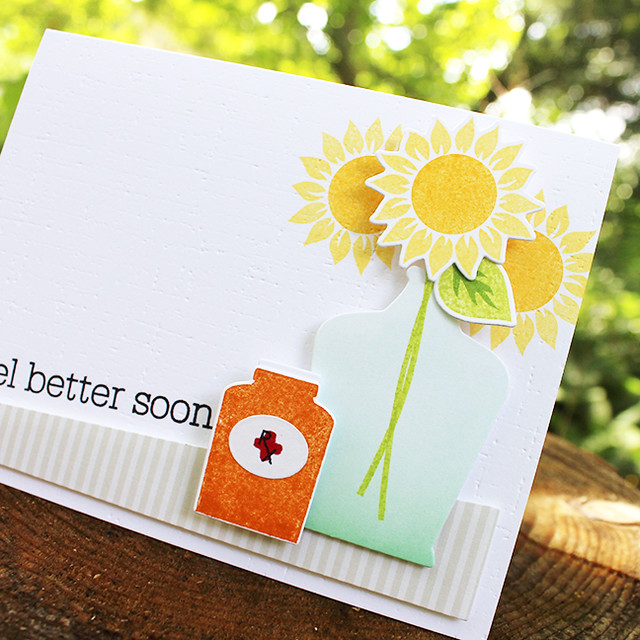
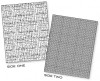
I die cut an angled base and lay it on my card front to help with sentiment placement. I stamped the sentiment and Sunflower Harvest sunflowers before texturing the card front with the Linen & Canvas impression plate.
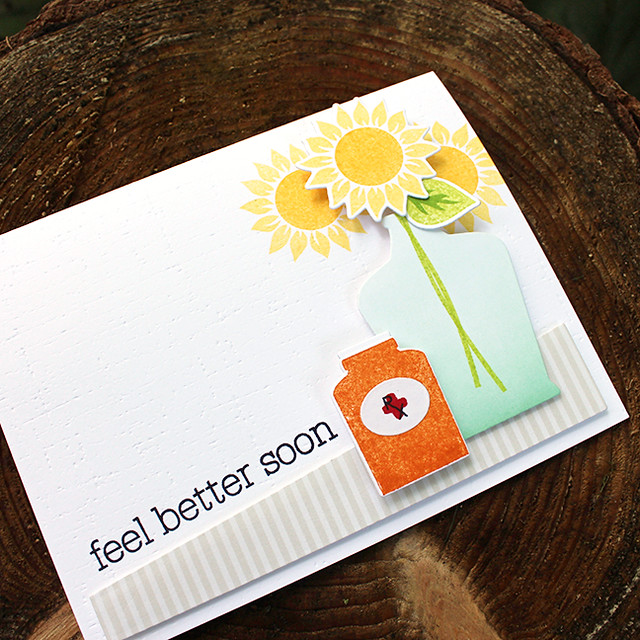
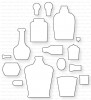
Then, I die cut and stamped an additional sunflower and leaf. I stamped a couple of stems onto the large bottle. Next, I adhered the patterned paper panel to my card front with foam tape and layered on the bottles and flower. I slightly curled the leaf with my fingers and tucked it beneath sunflower to finish the card.
Supplies:


No comments:
Post a Comment