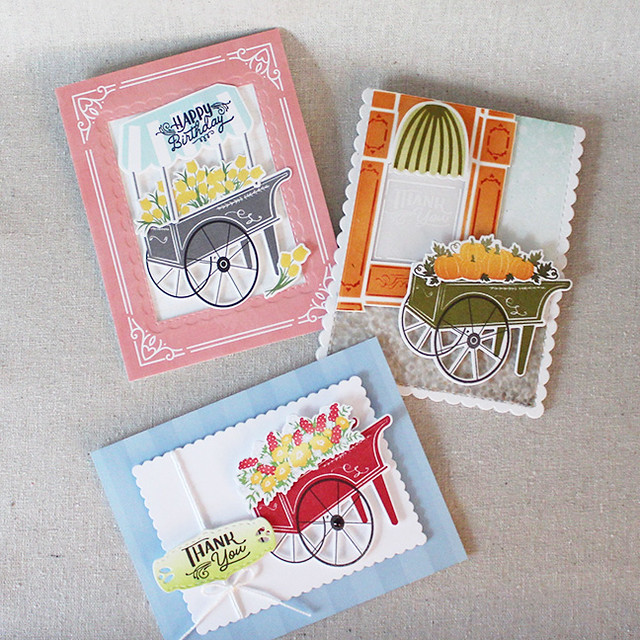
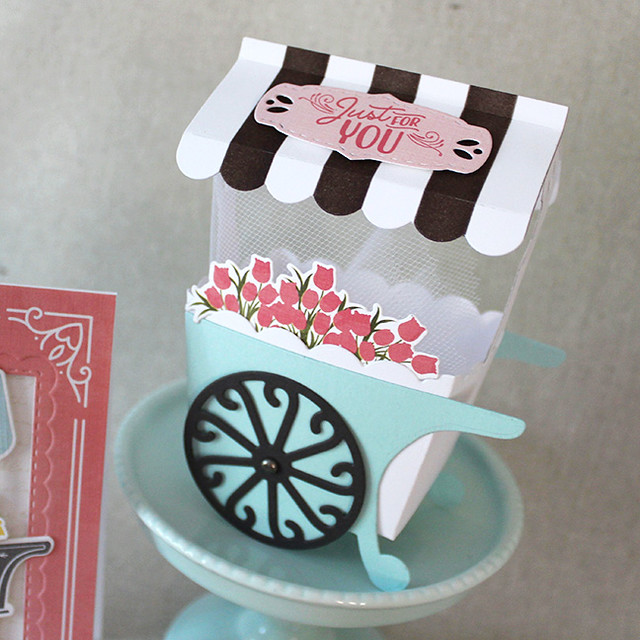
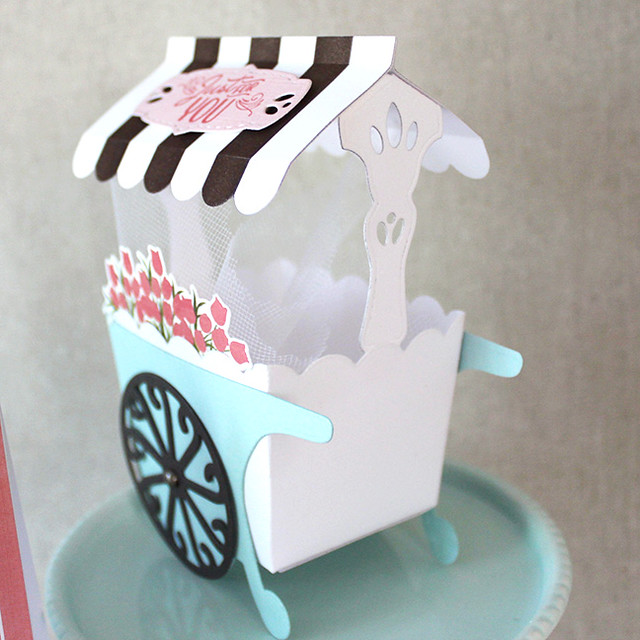
The next Make It Market Kit is entitled "Market Street". This entire kit revolves around a gorgeous market cart, both traditional flat and an incredibly detailed three-dimensional version! Both carts have inserts with different toppers that can be used, including things for several seasons and occasions. Apples for fall or even teacher, pumpkins for the fall or Thanksgiving, tulips for spring or Easter, and more! Not to mention you can experiment with other images in your stash to see what can fit in the cart. Use the dimensional cart as a treat container, something to hold small gifts, table decor and whatever else you dream up! Set the scene for your market cart creations with some amazing city street stencils. There's also some basic stripes that can be used for the awning on the dimensional cart, or as a background. All of the pieces of this kit come together to form a versatile, timeless collection that you will be excited to own.
The Market Street Kit contains:
Market Street stamp set & labels
Market Street A2 paper collection (20 sheets)
Market Street stencil collection (set of 4)
Market Street: Basics die collection
Market Street: Cart Basics die collection
Market Street: Cart Toppers die collection
This kit will be available for purchase from Papertrey Ink tomorrow night (Thursday, June 1st) at 10pm ET. Be sure to stop by Nichole's blog to see the full details of the kit along with all it has to offer!
Now that we've gotten through the nitty gritty, how about we take a peek at a few projects?
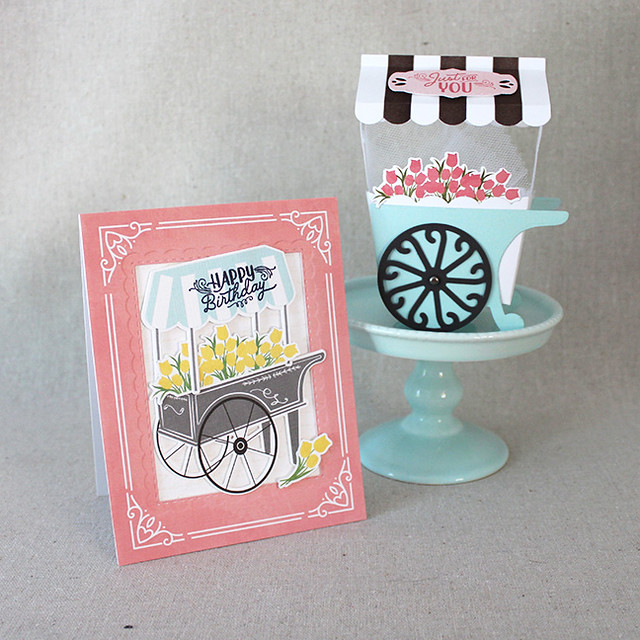
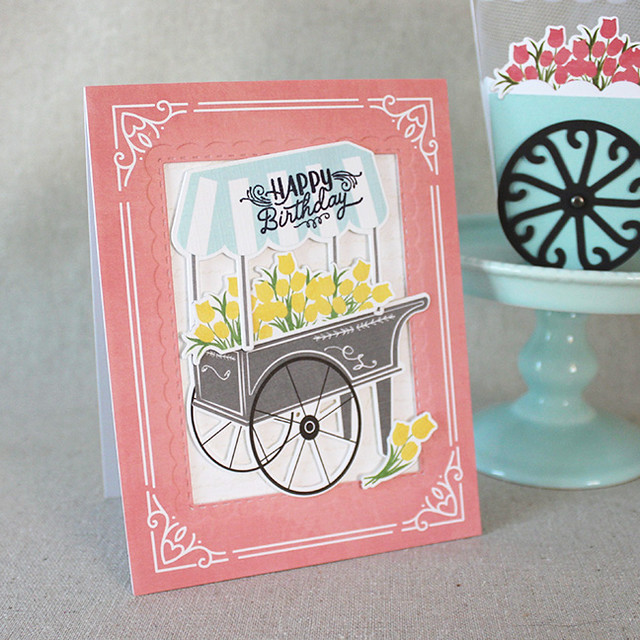
One of my favorite things about this kit is the seasonal items Betsy designed to fill the carts. There are flowers, apples, and adorable little pumpkins to peddle from the market cart. I designed a project for three of the four seasons in mind, so let's kick things off with my Spring project.
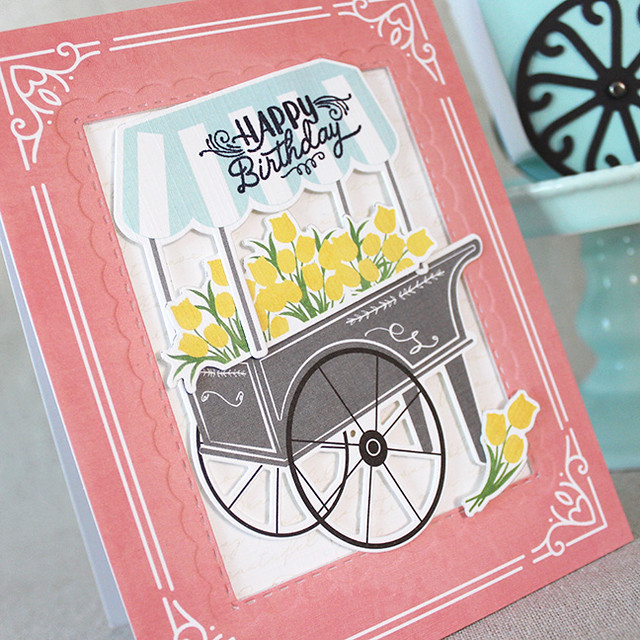
Next, I die cut the cart, tulips, canopy from the pre-printed elements included in the kit. I stamped the sentiment onto the canopy using True Black ink and then assembled my cart in the die cut window on the card front.
I wanted to create a coordinating gift box and the tiny, 3D cart dies that Betsy designed are perfect! I began by sponging Smokey Shadow ink onto white cardstock using the striped stencil included in the kit. I die cut that cardstock using the canopy die and assembled it before setting it aside. Next, I die cut the cart body and canopy supports from white cardstock, the sides from Aqua Mist, and the wheels from Smokey Shadow.
Supplies:
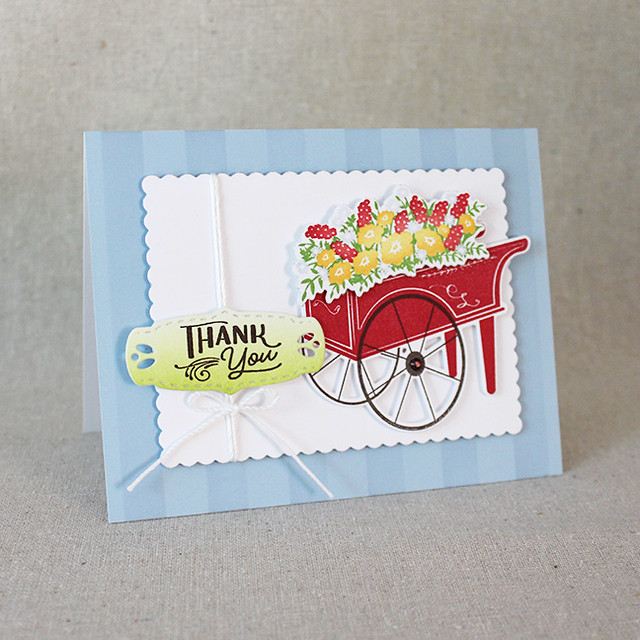
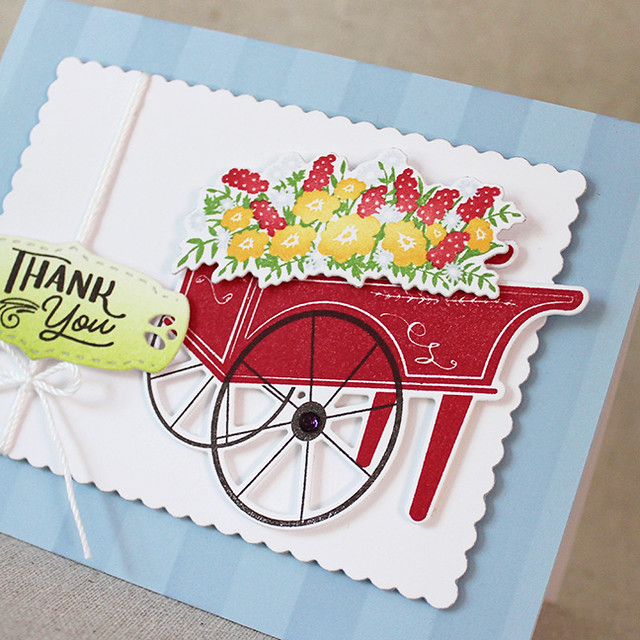
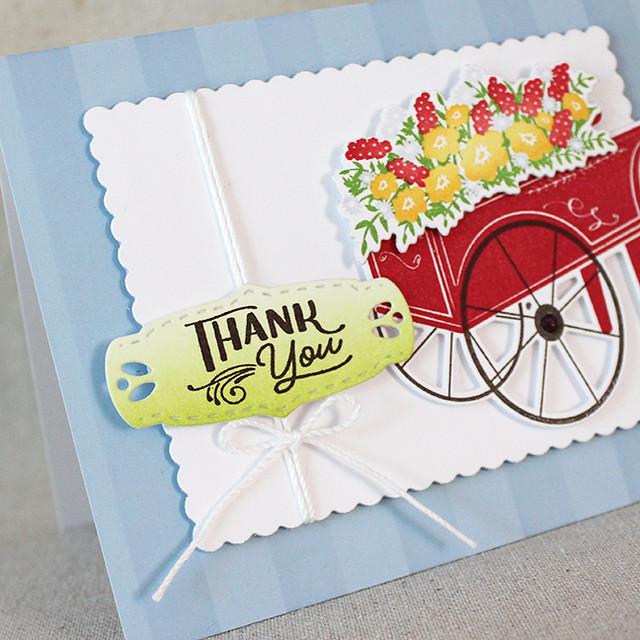
Next up, I have a thank you card that reminds me of bright Summertime flowers.
Betsy made the process so simple! That whole cart of flowers required only four impressions. I used a bit of sponging to add depth to the flowers, but it truly looked beautiful before I added that detail. Next, I sponged a scrap of white cardstock with Green Parakeet ink and die cut it with the label die in the kit before stamping it with the sentiment in True Black.
Supplies:
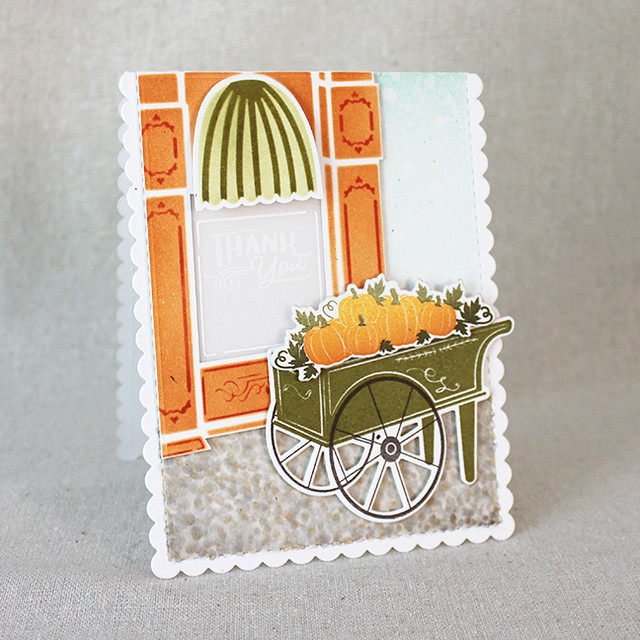
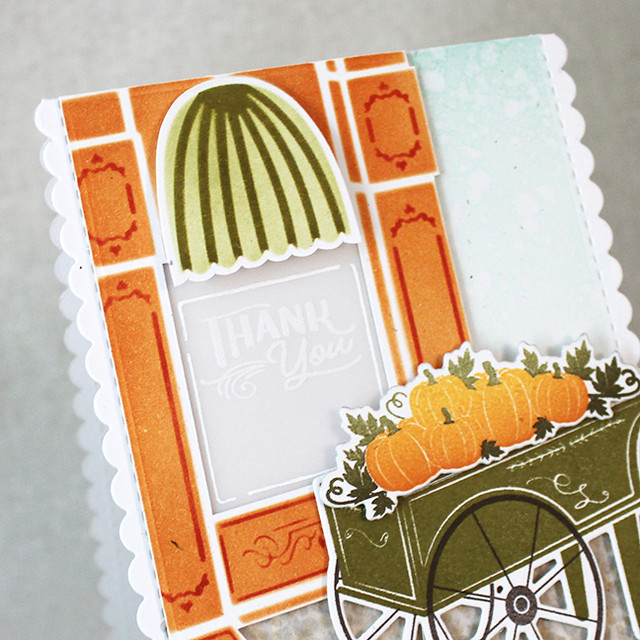
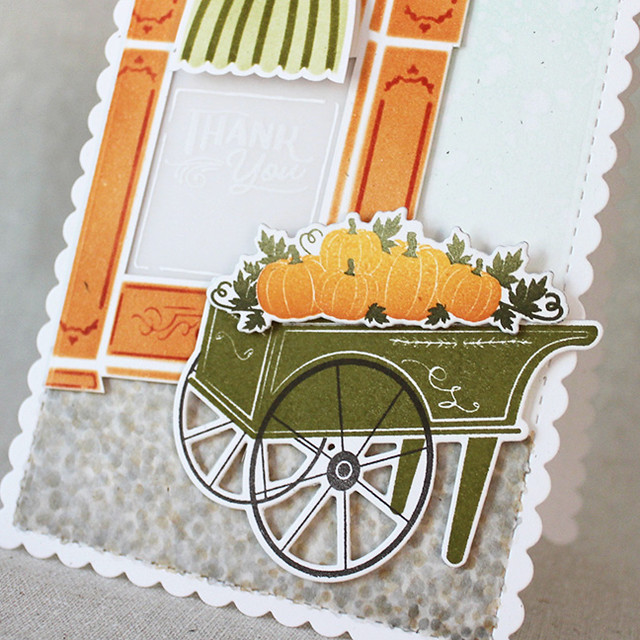
And lastly today, here's my Autumn project.
Supplies:
So there you have it! A kit for nearly all seasons. I hope you've enjoyed this look at the new Make It Market: Market Street Kit. Make sure to check in with Betsy, Laurie, and Melissa to see more inspiration and head over to Nichole's blog for all the important details. Remember: It will be available for purchase on the Papertrey Ink website tomorrow, June 1st, at 10pm. Thank you so much for joining me today! Take care and I'll see you again soon!


