Good morning and welcome back for Day 4 of the Papertrey Ink countdown! Today is another fantastic group post, this time showcasing seasonal gift wrap. I love gift wrapping at the holidays (it may even be my favorite part of gift giving). I set up a table with all of my supplies and I enjoy taking my time carefully wrapping each gift for our friends and family. This year my tags will be just as lovely as the rest of my packaging, thanks to the fantastic stamps and dies coming out this month! There's a lot to see, so let's get to it!
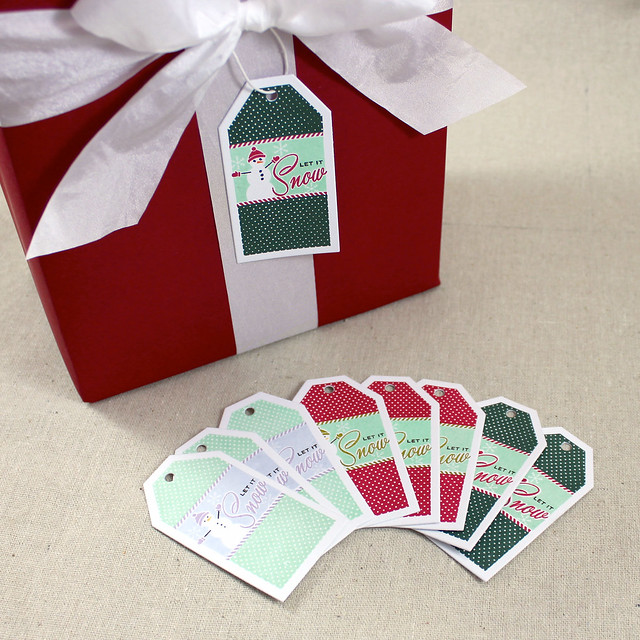
First off I'm going to share the new Minute To Make: Holiday Tags 1 set.
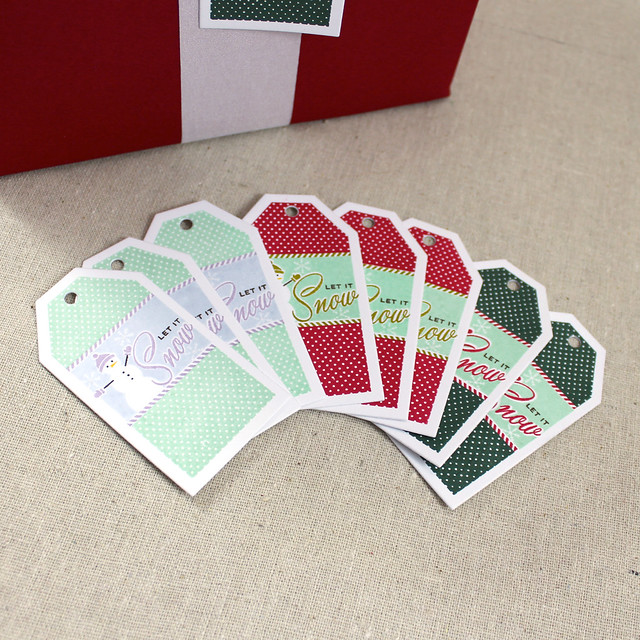
Once I started making these tags I just couldn't stop! They are so easy and they come together so quickly that I made all nine of these tags in about 15 minutes (and that includes embellishing them with glitter).
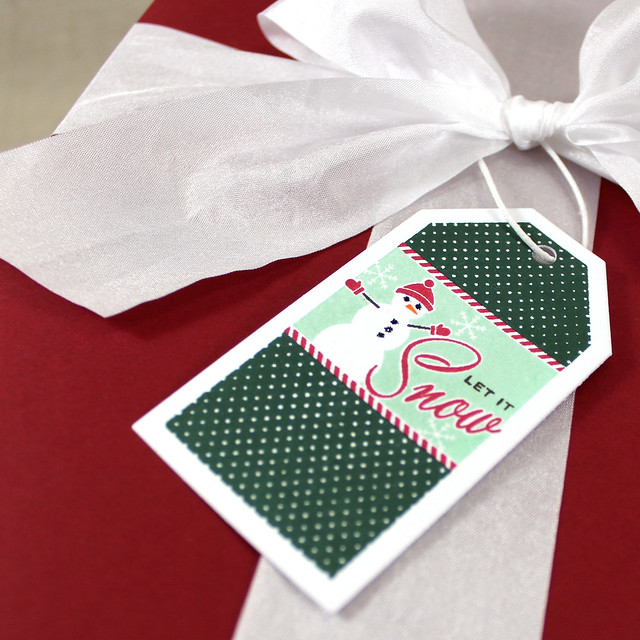
I use the new Minute To Make: Holiday Tags Die to cut the tag shapes out of the new White Tag Stock. This new stock is incredibly thick, but still easily die cut, resulting in tags with a nice weight and sturdiness. I simply chose a tag design (isn't that snowman the cutest?!), stamped the coordinating images, and embellished with glitter (some tags got glitter on the snowflakes, others on the buttons and eyes).
I was just going to do one set, but things were going so well that I went ahead and made two more sets of three. Honestly, the thing that took the most time about the process was cleaning my stamps between ink colors.
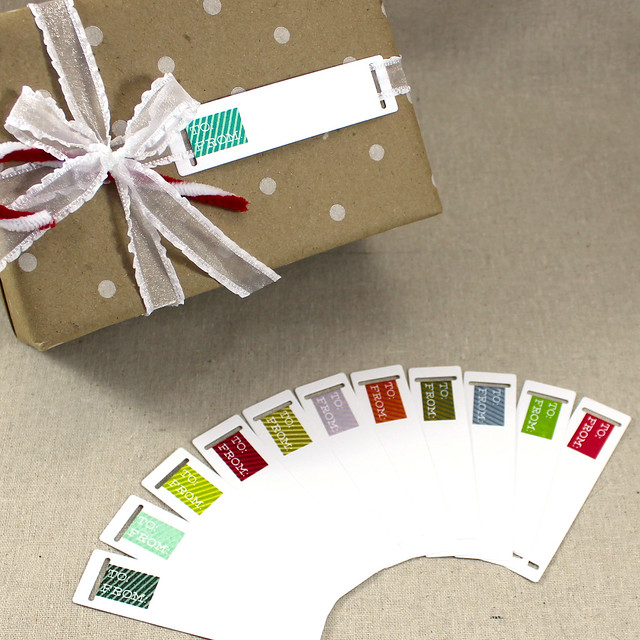
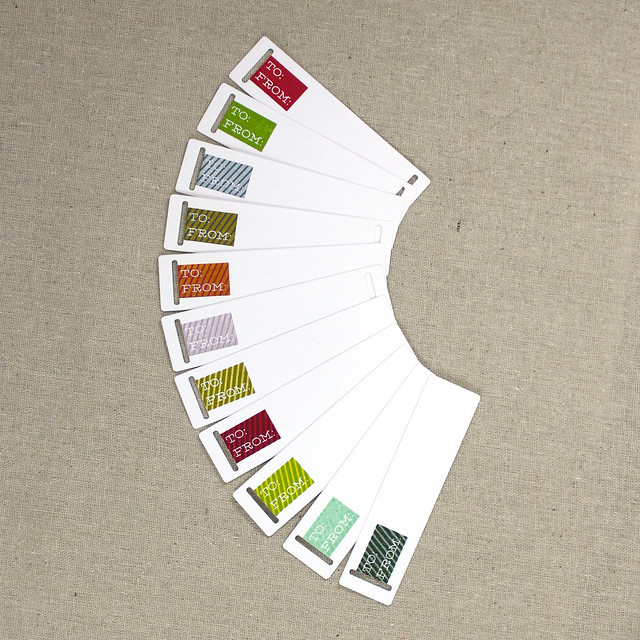
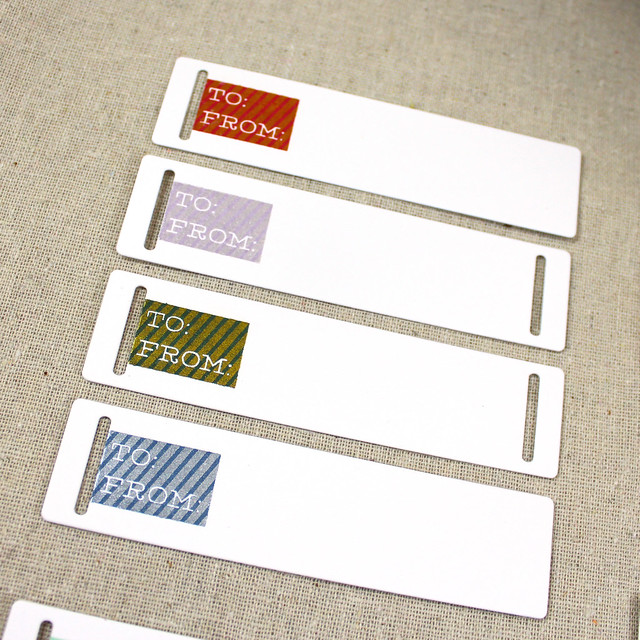
Next up, I'm going to share more of my Ribbon Slider Tags.
I wanted to create a set of tags in assorted colors that could work with any wrapping paper I happened to dig out. This "To:/From:" image is a nice basic image that can be dressed up or down depending on technique, so I thought it would lend itself well to creating a large set of tags.
The image has solid and striped layers that you can use together or separately. They're actually fairly simple to line up if you use this tip:
Always stamp the darker color first. If you remember to do that, you're golden.
I wanted to experiment with assorted styles on this tag set, so I tried a few different things.
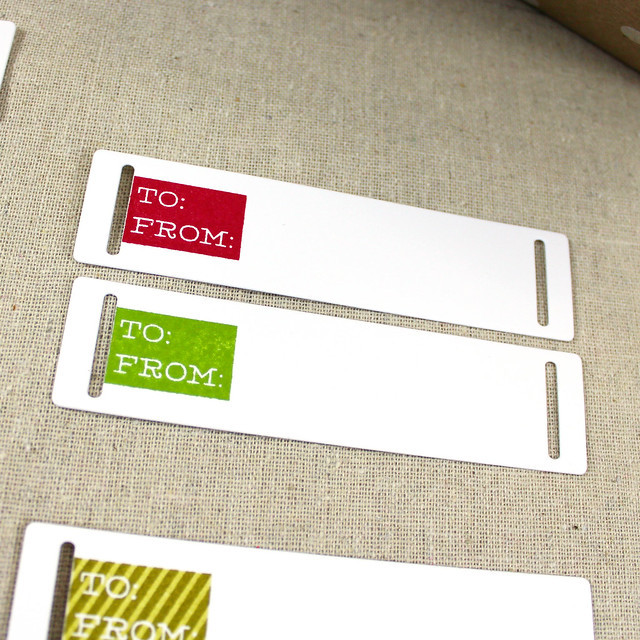
On these tags I simply used the solid image by itself. These tags would work particularly well on busy wrapping paper.
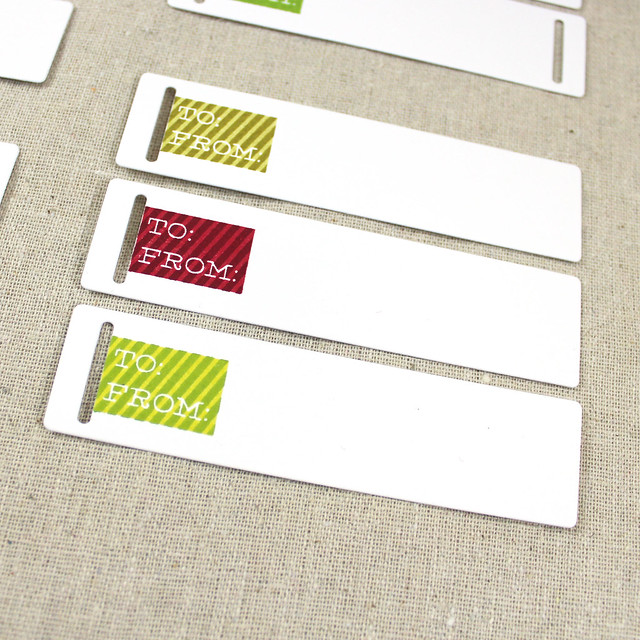
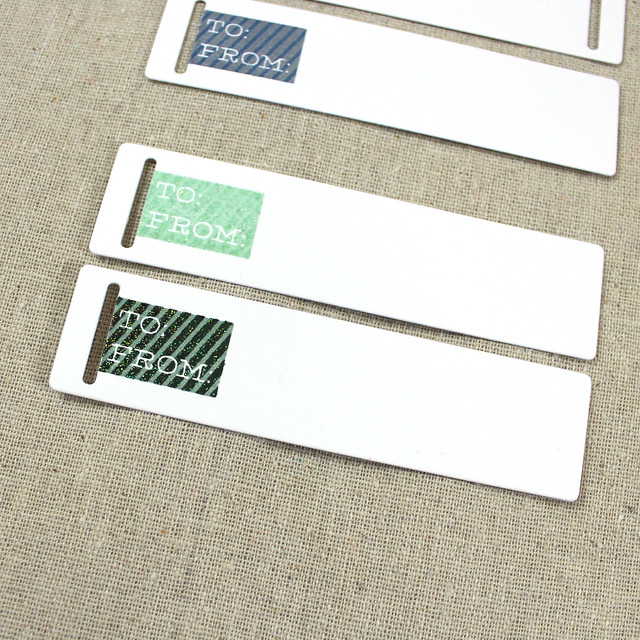
These ones use both the solid and striped images together to create a monochromatic striped appearance. The Pure Poppy/Scarlet Jewel tag might be my favorite of the whole bunch.
On these, I stamped the solid image in a color and then added the stripes with VersaMark and Perfect Pearls pigment powder.
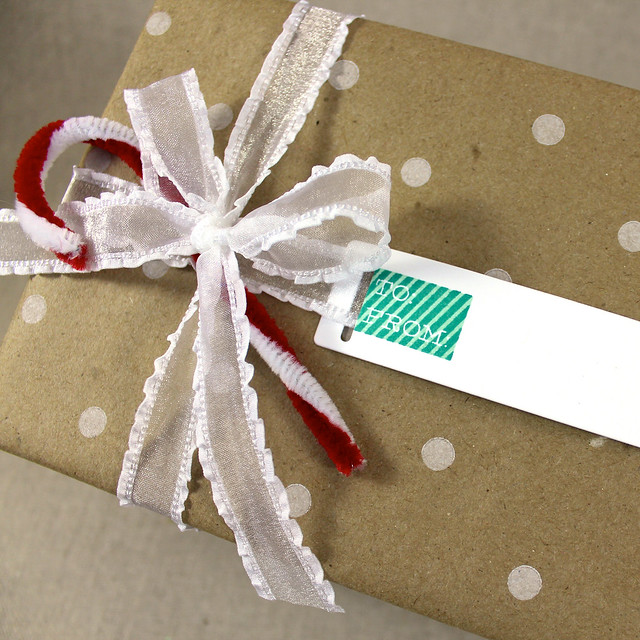
And finally, on these, I used holographic embossing powder on the stripes to add a bit of glitz.
I'm really looking forward to having these handy when I do my wrapping this year!
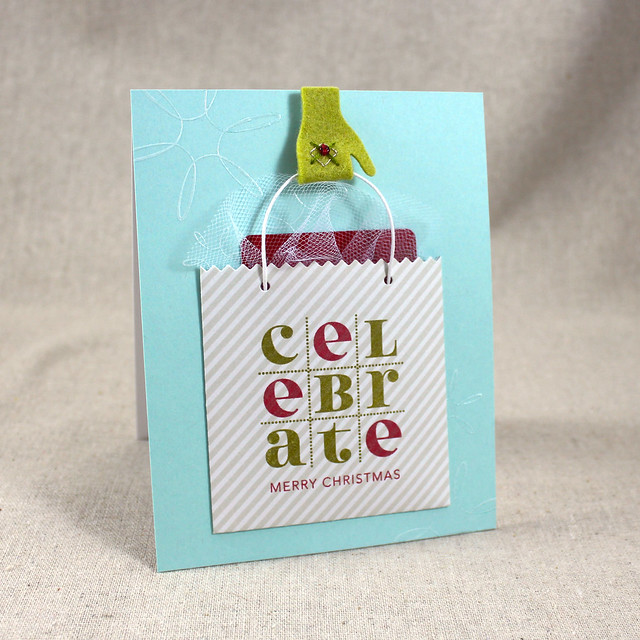
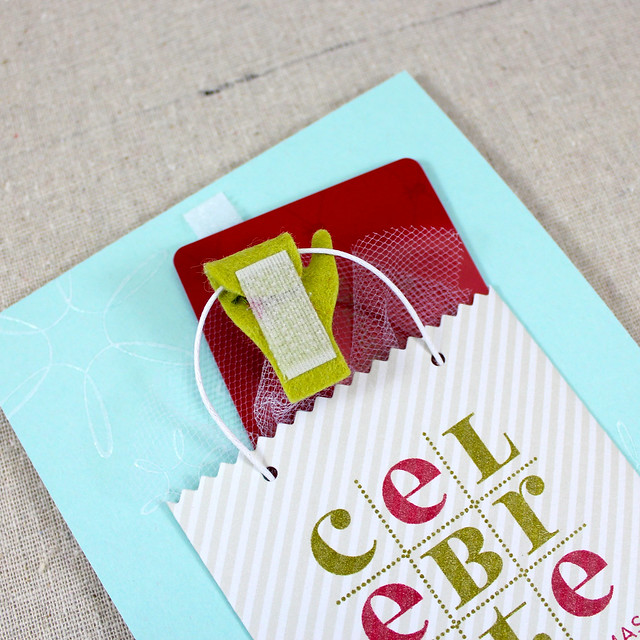
Now let's take a look at the In The Bag collection. More and more, it seems like gift cards are the most practical gift for certain members of our family. While I appreciate the practicality, I'd still like to present them with a little pomp, know what I mean? These stamps and dies help you do just that.
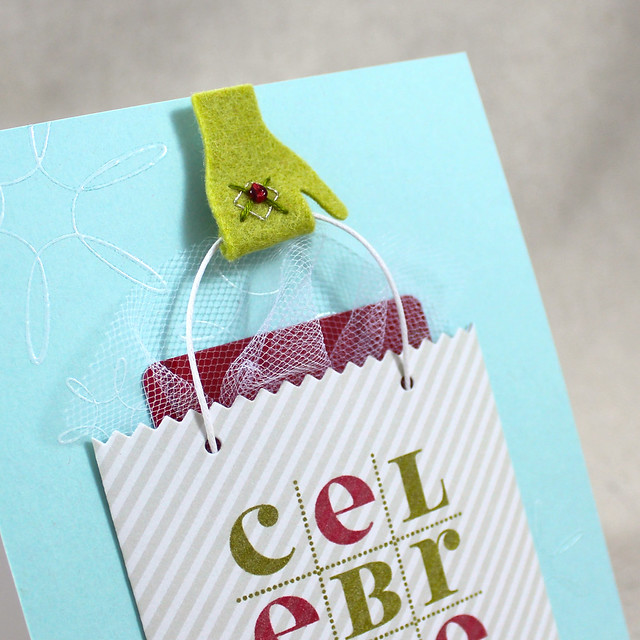
I began by die cutting the bag from Soft Stone patterned paper and the mitten from Simply Chartreuse felt. I stamped the bag with the "celebrate" image and the companion Christmas image from the In The Bag set. Then, I gave the bag a handle using waxed paper cord and added a bit of tulle to the inside of the bag to look like tissue paper. I stamped an Aqua Mist card front with snowflakes from Freshly Fallen using Fresh Snow ink and embossed with clear powder. Pairing the white ink with the clear powder makes the background particularly subtle which was ideal for what I wanted. The snowflakes are just a whisper.
I adhered the bag to the card front and set about embellishing my mitten. I stitched a simple argyle pattern using silver and green threads and then added a bead right in the center for a pop of color.
I folded the mitten around the handle and secured it with a piece of self-adhesive hook and loop tape (velcro). The companion piece of velcro was secured to the card front. This allows the recipient to get the gift card out of the bag easily while also keeping it secure in the meantime. Perfect!
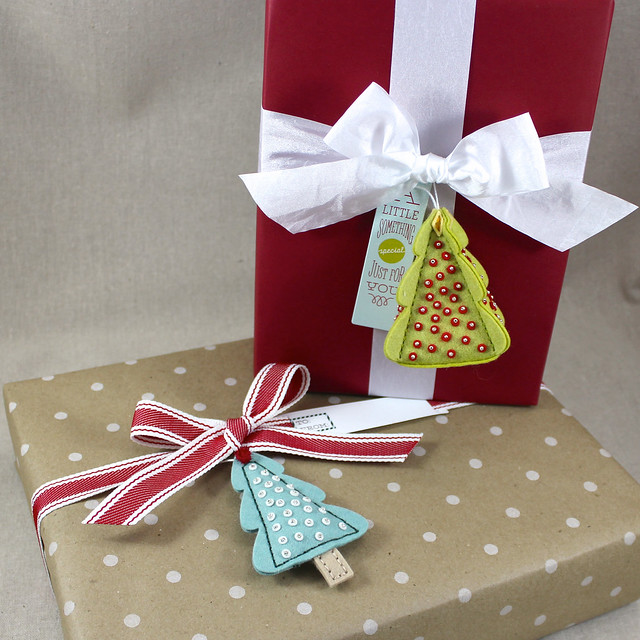
Lastly today, I'm sharing Erin's new Christmas Tree Change Up dies.
I wanted to create some felt gift toppers that could be used as Christmas tree ornaments after the presents have been opened. And, because I can't help myself when it comes to felt projects, I made two. One 3D and one flatter version.
Let's start with the 3D, shall we?
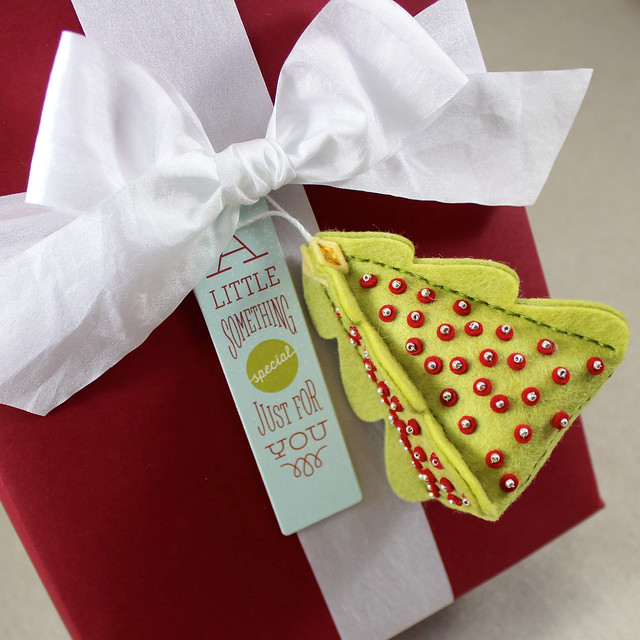
I began by die cutting the tree twice from Simply Chartreuse felt. I used the coordinating stitching dies to add holes to the tree shapes. I then die cut a whole mess of tiny red felt "sequins" and four Harvest Gold diamonds. I beaded each side of the tree using the red sequins and silver seed beads. Then I stitched together the bottom and sides of my tree, stuffing with polyfil and adding a crochet thread loop before closing it up. I added the diamonds at the top as a final touch. I've paired it here with one of the tags in my new Ribbon Slider Tag Paper collection. Cute!
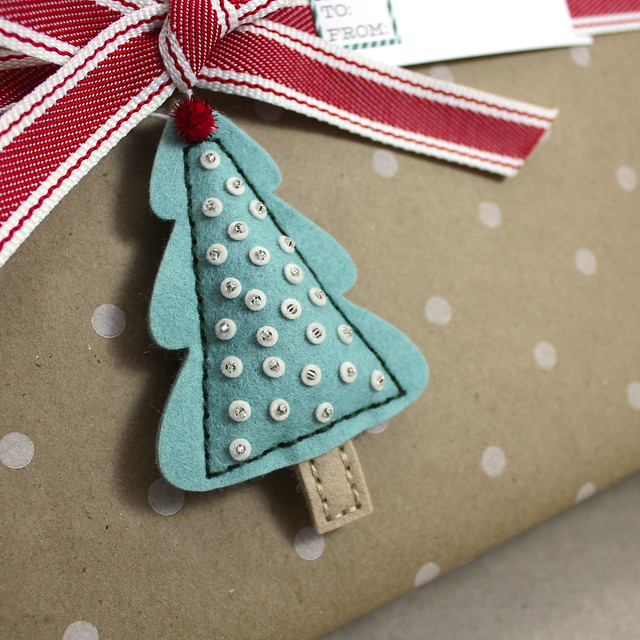
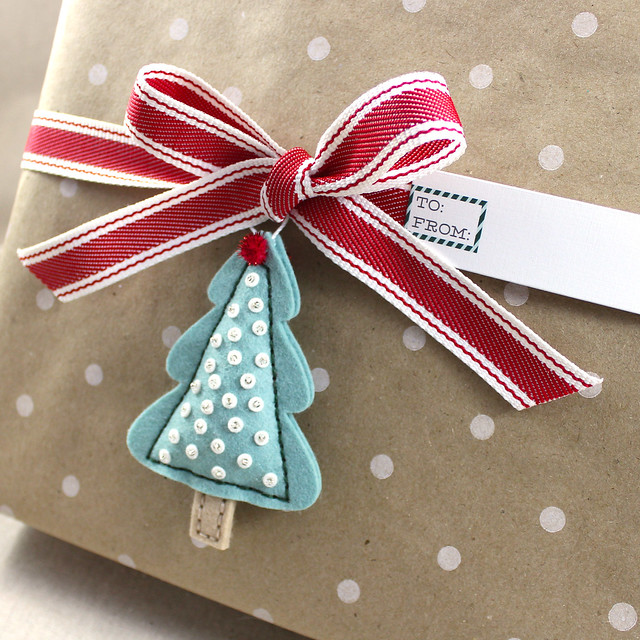
The flatter ornament/topper is my last share of the day.
I began by die cutting the tree from Ocean Tides felt, using the same stitching holes die to make it sewable. I also die cut a trunk from Classic Kraft felt using the smallest shape in the Stitched Rectangles Die and the same sequins from Vintage Cream felt. Then I trimmed the trees from their base, giving them a slightly curved bottom, and continued beading like I did on the first ornament.
I tucked the trunk between the layers while sewing the tree together and, again, stuffed with polyfil and added a crochet thread loop before closing it up. The glittered pom pom was added as the very last step. I simply stitched through it to secure it to the top of the tree. I've paired this one with another of the pre-printed tags from my new patterned paper collection.
Whew! That was a big one! I hope you've enjoyed today's post. Make sure to check in with
Nichole,
Amy,
Ashley,
Betsy,
Dawn,
Heather,
Laurie,
Maile, and
Melissa for more of today's group post.
Erin is also sharing additional projects featuring her new Christmas Tree Change-Up set. I'll see you tomorrow!
Recipes:
Let It Snow Tags
Stamps: Minute To Make: Holiday Tags 1 - Papertrey Ink
Cardstock: White Tag Stock - Papertrey Ink
Ink: Aqua Mist, Pinefeather, Pure Poppy, Winter Wisteria, Spring Rain, Simply Chartreuse, Orange Zest, Summer Sunrise, Smokey Shadow - Papertrey Ink
Other: Minute To Make Tag Die - Papertrey Ink; Crystal, Onyx Glitter - Martha Stewart Crafts
To:/From: Tag Set
Stamps: Ribbon Slider Sentiments - Papertrey Ink
Cardstock: white
Ink: Pure Poppy, Scarlet Jewel, Ripe Avocado, New Leaf, Limeade Ice, Aqua Mist, Tropical Teal, Pinefeather, Ocean Tides, Winter Wisteria, Enchanted Evening, Simply Chatreuse - Papertrey Ink; VersaMark - Tsukineko
Other: Ribbon Slider Tag Die - Papertrey Ink; Perfect Pearls Pigment Powder, Holographic Embossing Powder - Ranger
Celebrate Gift Card
Stamps: In The Bag, Freshly Fallen - Papertrey Ink
Cardstock: Aqua Mist, Soft Stone Patterned Paper - Papertrey Ink; white
Ink: Pure Poppy, Ripe Avocado, Fresh Snow - Papertrey Ink
Other: In The Bag Die, Simply Chartreuse Felt - Papertrey Ink; Clear Embossing Powder - Filigree; Embroidery Floss - DMC; Glass Seed Bead; Tulle; Waxed Cord - May Arts; Hook & Loop Tape - Singer
3D Christmas Tree Ornament/Topper
Cardstock: Ribbon Slider Tag Papers - Papertrey Ink
Felt: Simply Chartreuse, Harvest Gold, Pure Poppy - Papertrey Ink
Other: Christmas Tree Change Up Box Die, Christmas Tree Change Up Stitching Die, Stitched Rectangles Die - Papertrey Ink; Embroidery Floss - DMC; Stuffing - Polyfil; Glass Seed Beads
Flat Christmas Tree Ornament/Topper
Cardstock: Ribbon Slider Tag Papers - Papertrey Ink
Felt: Ocean Tides, Classic Kraft, Vintage Cream - Papertrey Ink
Other: Christmas Tree Change Up Box Die, Christmas Tree Change Up Stitching Die, Stitched Rectangles Die - Papertrey Ink; Embroidery Floss - DMC; Stuffing - Polyfil; Glittered Pom Pom; Glass Seed Beads

7 comments:
Thanks for all the tips!
These are fabulous!
fab projects!
Love the Swiss dots you used for the tags. Great projects.
I'm excited for your ribbon slider dies and stamps! The sentiments are perfect and it's so versatile! You can use them any time of year too! LOVE them!
Hi Lizzie,
So many FANTASTIC ideas you brought us today,thanks for sharing! Love your felt trees!!!
Cariños,
María Alba
Amazing! The more I see the tags, the ribbon sliders tags and the In the Bag, the more I love this release.
Post a Comment