Tuesday, April 10, 2018

Introducing Text & Texture: Agate

Good morning, friends, and welcome to the kick off for Papertrey Ink's April 2018 Countdown. Our new releases will all be available on April 15th at 10pm EDT, so keep an eye out. In the meantime, I have a project to share with you today featuring Betsy Veldman's Text & Texture: Agate Collection. This set is so trendy and super fun to use for masculine or tough tweener projects. I imagine I'll be turning to this set for my teenage brother's birthday card here in a couple of months. Enough chit chat! On to the project.

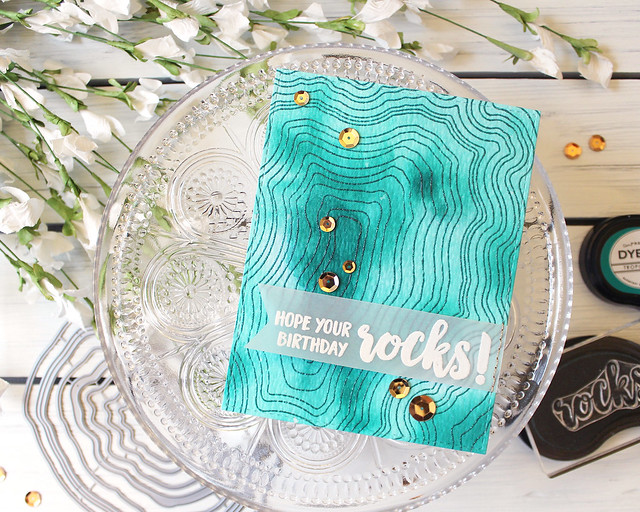
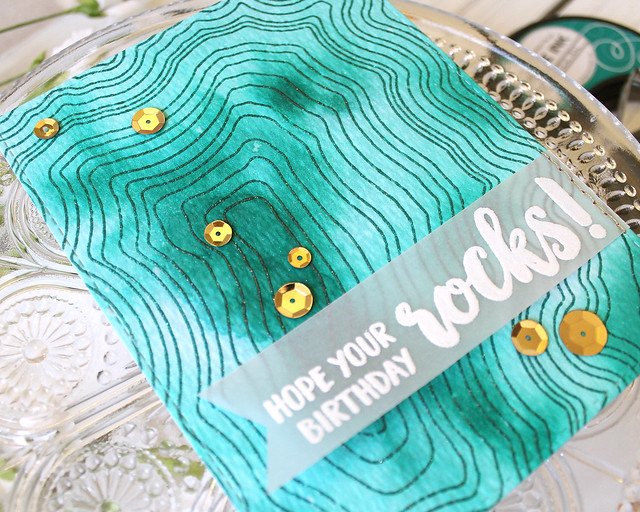
LizzieJones_April2018_PapertreyInk_TextTextureAgate_HopeYourBirthdayRocksCard

I began by watercoloring a panel using Tropical Teal reinker. I also sprayed the surface with pearl shimmer spray to give it a subtle luster. Once it had dried, I stamped the agate background onto the panel using Tropical Teal ink. Then, I stamped a second time with VersaMark and heat embossed using glitter embossing powder. I love the way it sparkles!

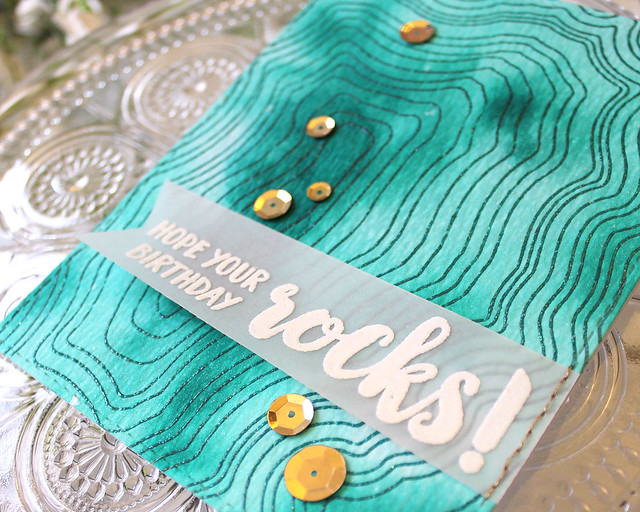
LizzieJones_April2018_PapertreyInk_TextTextureAgate_HopeYourBirthdayRocksCard2

Next, I heat embossed my sentiment onto vellum using one layer of white powder and one layer of the same glitter powder. I trimmed it into a banner and then stitched the banner to the agate panel with a coppery gold embroidery thread.

LizzieJones_April2018_PapertreyInk_TextTextureAgate_HopeYourBirthdayRocksCard3

I adhered the card front to a white card base before embellishing with sequins (these came from a giant bag from a big box store, so I'm afraid I don't have a specific brand or color to share). I really love how much this card front shimmers despite the fact that it's impossible to capture in photos.

Thank you so much for joining me today! I'll be back tomorrow with more of the April 2018 release, but in the meantime make sure to check in with Amy, Betsy, Dawn, Heather, Laurie, Melissa B, Melissa P, Michelle, and Stephanie for more inspiration today! See you soon!

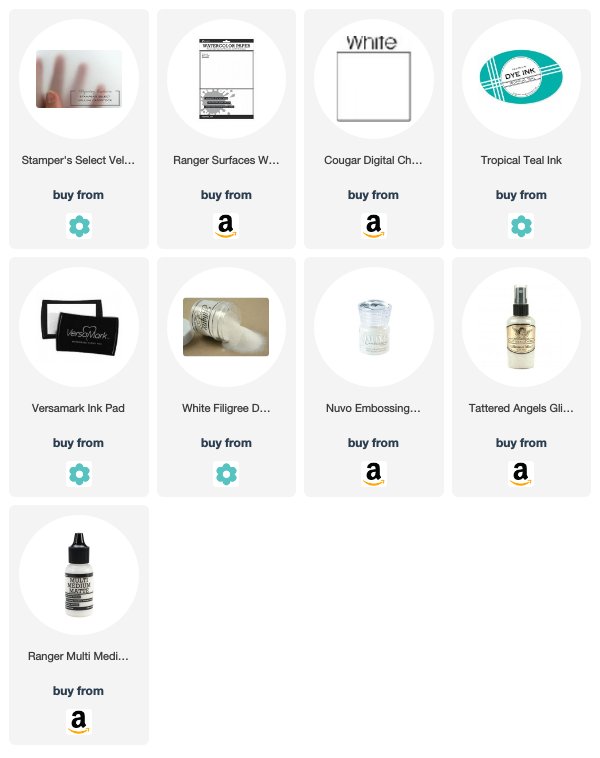
Supplies:
Hoping Your Birthday Rocks Card

Thursday, April 5, 2018

April 2018 Stitching Feature


Good morning and welcome to this month's Stitching Focus! I'm Lizzie Jones, your Stitching Ambassador and I am so excited to be here sharing with you today! I wanted to create something for this month that you could give as a gift for the upcoming Mother's Day holiday. It's not only a handmade keepsake, but it's functional too! Let's take a closer look at this month's featured stitching die!


Gift giving can be so difficult, especially when the person you're trying to indulge has everything they need. So sometimes a gift card really is the best option, but how to make it feel more personal and significant? It's all in the packaging, friends. I decided to put the Coin Purse II die to use this month as not only part of the gift, but also the wrapping for a gift card. It's so handy and it looks so much nicer than a plain envelope, don't you agree?


Amy used Button Stacks die cuts to give her Coin Purse a bit of flowery flair. A petite butterfly cut using the Cover Plate: Bitty Butterflies die adds a sense of movement to her design.

Erin personalized her purse with mix and matched letters for a fun, quirky vibe. She used the Sew Stylish I and II Alphabets, the Cross Stitch Alphabet, the Small Stitched Alphabet, Coffee Cozy Details, and the Alpha-blocks die to add the unique typesetting to this purse. It has such a carefree style, don't you think?

I used the Sew Stylish Alphabet I and Sewing Staples: Floral Cluster Die Collection to add a dainty monogram to this mini purse for my niece. I even added a Saddle Stitch Ribbon strap to make it easy for her to toss her itty bitty bag over her shoulder as she heads out to a pre-school power lunch.

Erin used the Seasonal Stitching: Bow Die to make a big impact on her little purse. The bold Pure Poppy felt contrasts nicely against the Aqua Mist and Hibiscus Burst design. I love how the corner patches and the flap match! Such a sweet detail.

Ashley created a drawstring design using the slotted die included in the Coin Purse II collection. She used Heart-2-Heart #7 flowers and Cover Plate: Mighty Bloom leaves to dress up her pretty purse. The contrasting stitching along the top edge of the bag really brings the whole thing together!

Betsy turned the Coin Purse II die into a mini clutch by adding a bit of hardware and a strap. The Sewing Staples: Floral Cluster made the perfect embellishment for her bag. It's so chic!


The Coin Purse II die is one of those wonderful, basic dies that can fulfill several different needs with a little imagination. Today, it's doing double duty as a gift and the presentation for another present hiding inside.


I love that the coin purse dies are the perfect size to hold gift cards, cash, and the like. I even use one as my everyday wallet. But with a little extra effort, these purses can be transformed into something a bit more special and worthy of gifting.


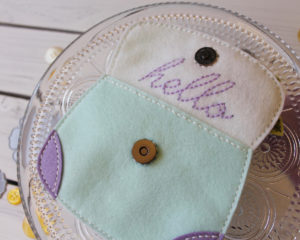
I began this purse by die cutting all of the pieces. I used Aqua Mist for the body and pocket, Vintage Cream for the liner and one of the flowers, Simply Chartreuse for the leaves, Winter Wisteria for the large flower and corner patches, and Lavender Moon for the middle layering flower. I stitched the details onto the leaves and then stitched them to the body of the purse, leaving the ends of the leafy branches loose. As long as you secure your branches with stitching all the way up to the base of your leaves you shouldn't have any problem with them falling off or getting damaged easily.


I chose to use a magnetic clasp rather than the button loop closure that comes in the die collection. I also wanted to add a touch of unexpected detail to the inside of the purse, so I stitched the word "hello" into the liner using the Quick Stitch Sentiments Die Collection. That extra pop of purple inside is such a happy surprise!


The corner patch details are also a favorite of mine! I love that this option is included in the die set. I really think it adds so much! And I love that they tie in to the color of the large flower.


And, like I mentioned before, this purse is the ideal size for gift cards so tucking one inside before handing the purse to mom is a snap! Consider a favorite restaurant or spa and the promise for a ladies' day. Or maybe a gift card toward a beloved crafting company, you know, for example.

These gift card coin purses would also be perfect for birthdays, graduations, and even baby showers (a mini wallet for the new mom to pop into a diaper bag, holding the essentials)! I'm sure you have other occasions in mind. What are they? I hope you'll share your suggestions in the comments and if you make a purse make sure to tag us on social media so we can check out your project. Thank you so much for joining me today!


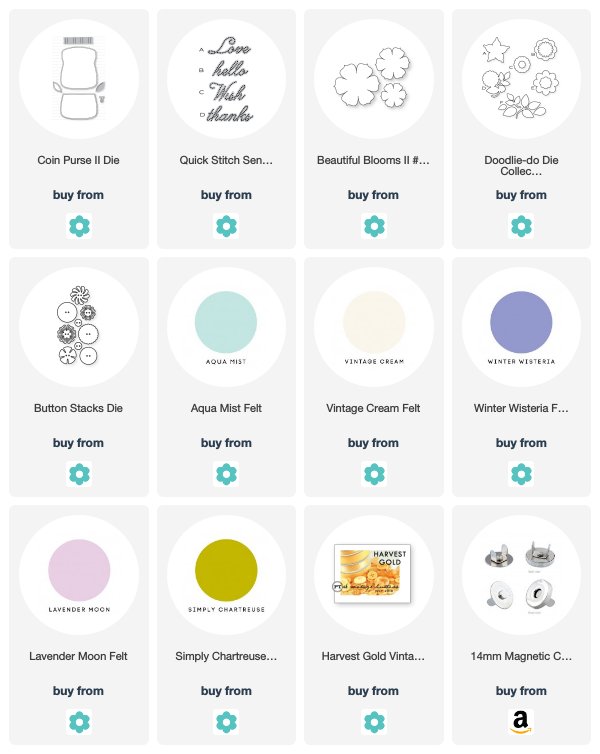
Supplies:
Hello Coin Purse

Sunday, April 1, 2018

Coming Soon: A New Gray Color At Papertrey Ink!

Good morning, friends! Today is a big day for Papertrey Ink. Today, we're announcing a new gray coming your way on April 15th! And we're even asking for your input! We're running a contest to help us name the new color! So many exclamation points!


Today the design team is sharing projects created with this great new color. See all of the color schemes and learn more about the contest over on the Team Blog. In the meantime, how about a closer look at my card?

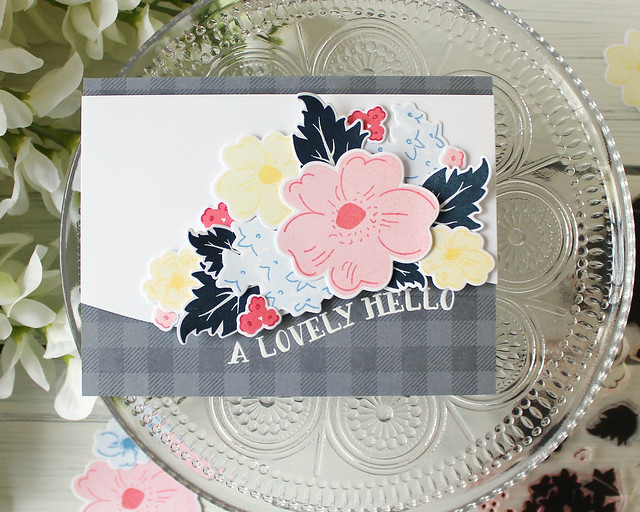
LizzieJones_PapertreyInk_FloralSketches_LovelyHello_Card1

I began by die cutting a Sentiment Splits: Curve Horizontal panel from white cardstock. Then I stamped and die cut a whole buncha flowers and leaves from the Floral Sketches set. I wanted to keep my flowers on the pastel end of the spectrum with the leaves and card base offering a nice contrast.

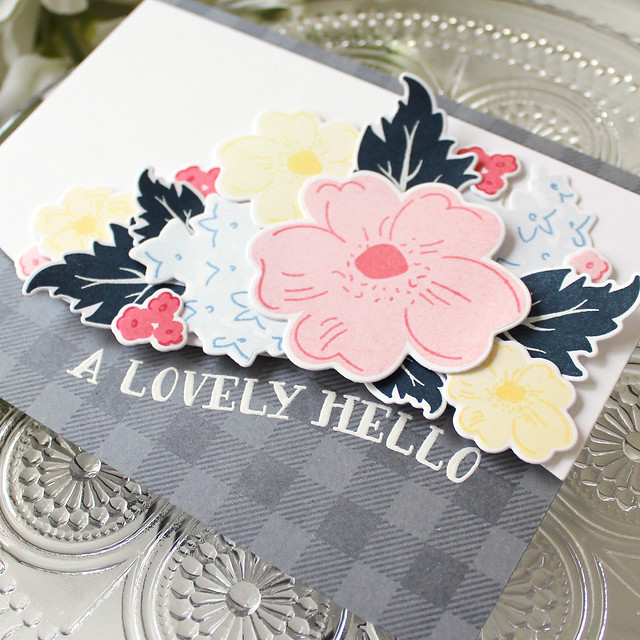
LizzieJones_PapertreyInk_FloralSketches_LovelyHello_Card2

Next, I heat embossed my sentiment on the card base, using the Sentiment Splits panel as a guide. Once that had cooled, I used watermark ink to add the Super Gingham background to the base. The new gray ink won't be available for a couple of months so we're just getting the cardstock this month, but that's not going to stop me from using the heck out of it!

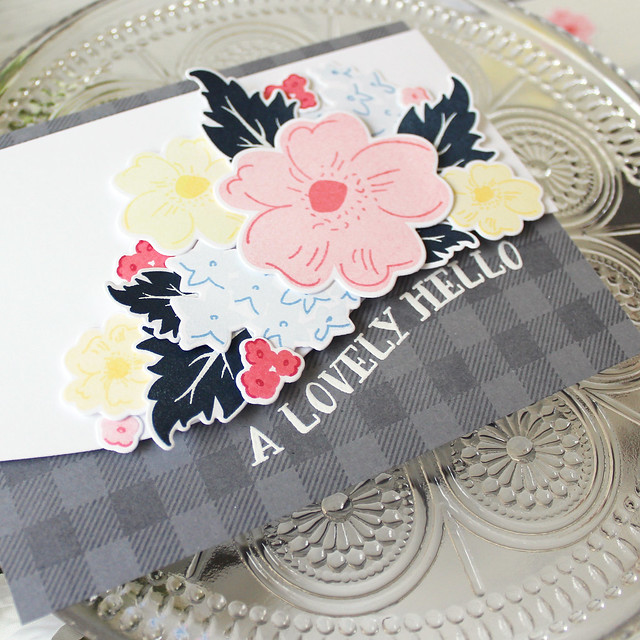
LizzieJones_PapertreyInk_FloralSketches_LovelyHello_Card3

Then, I attached the Sentiment Splits panel to the card base with foam adhesive. I arranged the flowers and leaves on the panel with a mix of flat and foam adhesives to give some dimension. Good golly I love that gray!


I hope you're as excited as we are about this new color! And I hope that means you'll put on your thinking caps and submit your suggested name for our fabby new neutral. There's a $100 gift certificate up for grabs, after all! Have a wonderful Easter and I'll see you again soon!

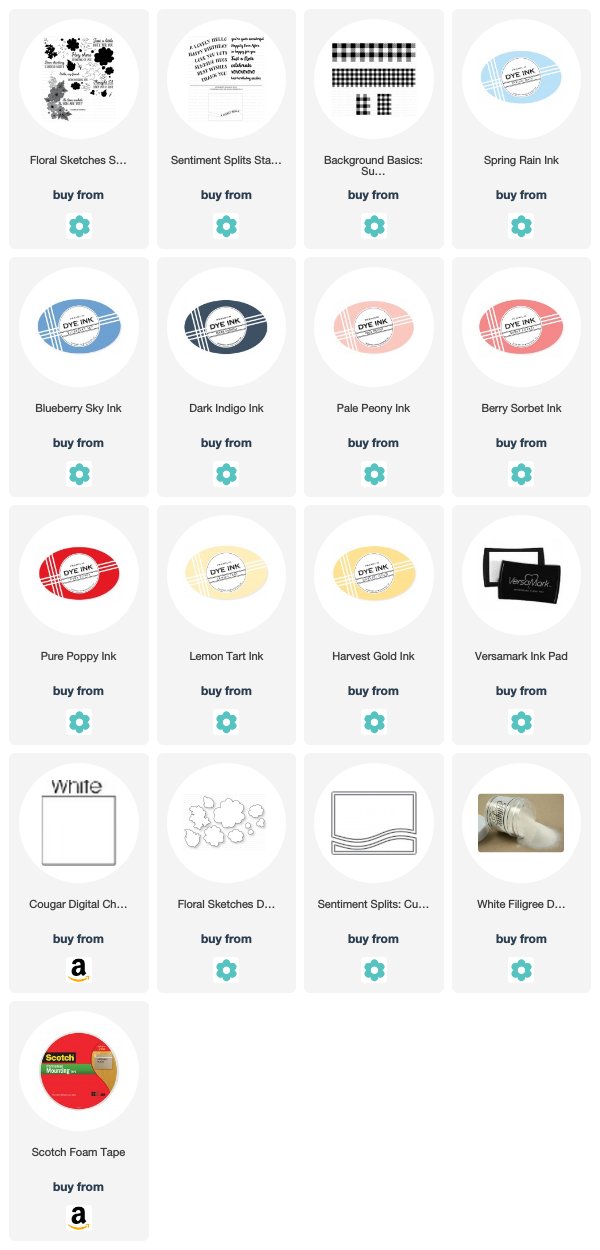
Supplies:
A Lovely Hello Card

Saturday, March 31, 2018

Make It Monday

Happy Saturday, friends! I'm just popping in quickly to remind you to check out this week's Papertrey Ink Make It Monday challenge.

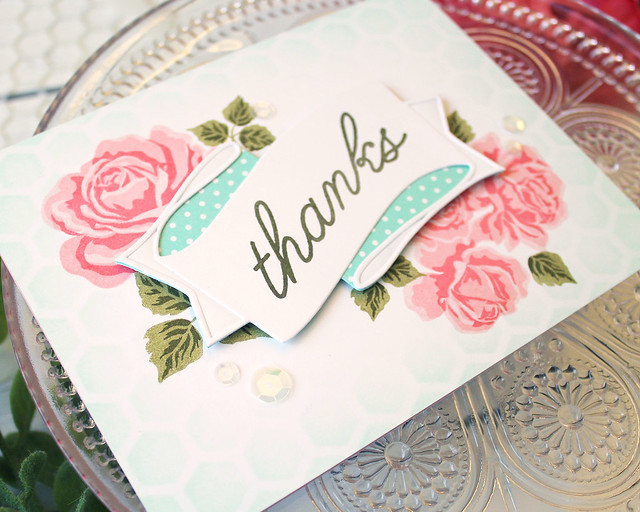
LizzieJones_MakeItMonday_SweetLife_LayeredBannerBanter_StencilBasicsHexagon_Thanks_Card_2

I'm up this week and I shared a quick and easy technique for adding a little extra impact to the edges of your card. Check it out HERE and make sure to link up your project by Monday (4/2) at 6am EDT for your chance to win a $25 gift certificate to the Papertrey Ink store. Have a happy weekend and I'll see you back very soon with a big, exciting announcement!

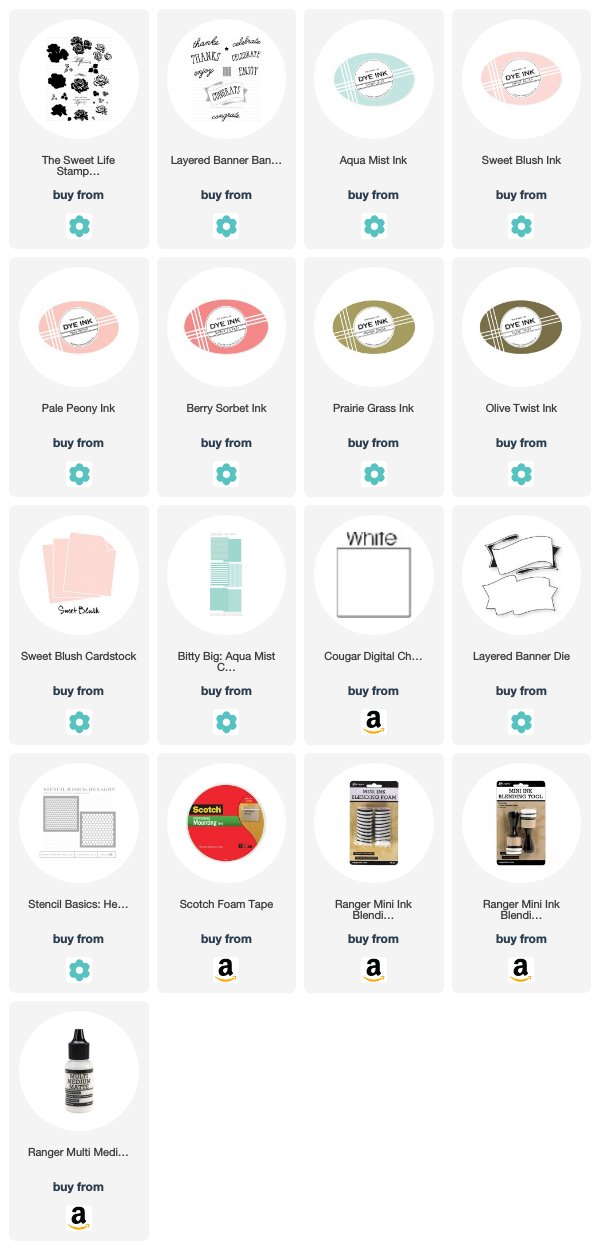
Supplies:
Thanks Card

Wednesday, March 28, 2018

Simple To Spectacular: Rosie Posie

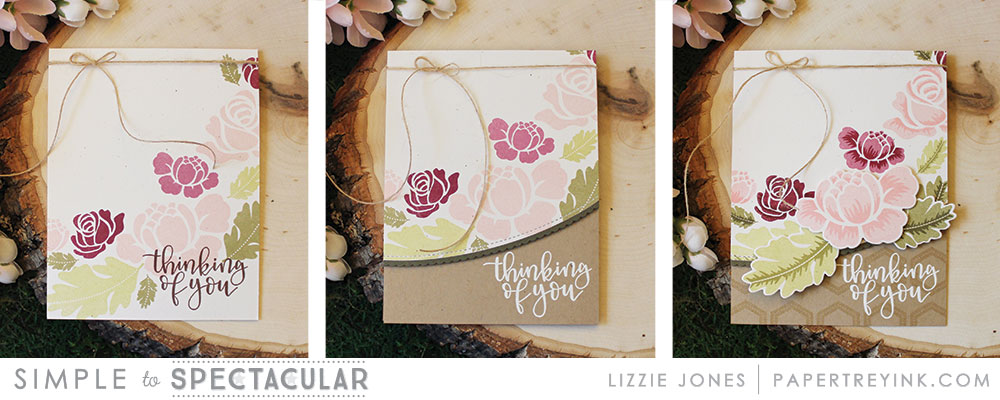
Good morning, friends, and welcome to this month's Papertrey Ink Simple To Spectacular feature! Today, Betsy, Laurie, and I are showcasing the progressive possibilities of Rosie Posie. This is a set I've loved for a long time, so it was such a fun challenge!


I generally feel like I land on the simple end of the spectrum, so I really enjoyed dreaming up ways to step up my designs from one card to the next. There's absolutely nothing wrong with keeping things clean, but there's something truly satisfying about adding in layers of texture and detail to really put a project over the top!


Simple

LizzieJones_SimpleToSpectacular_PapertreyInk_RosiePosie_ThinkingOfYou_Simple_Card_1

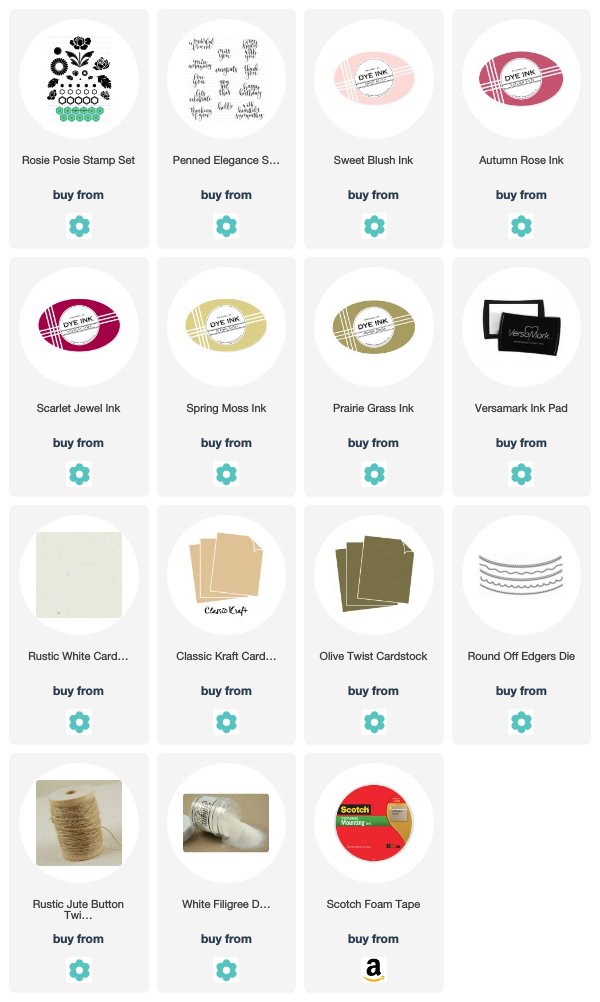
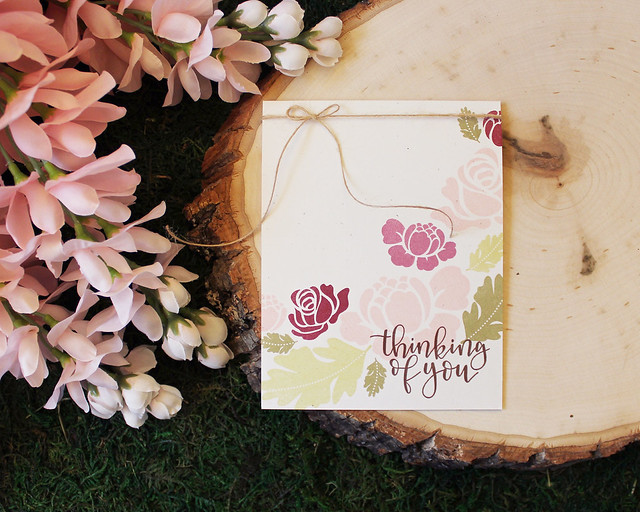
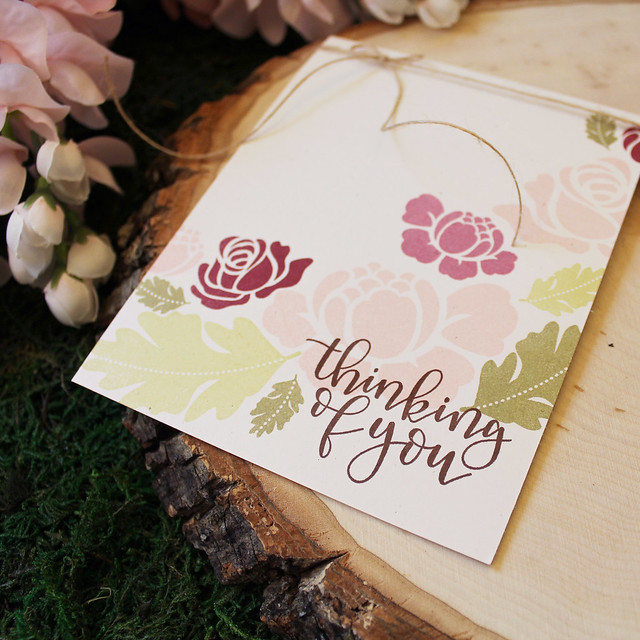
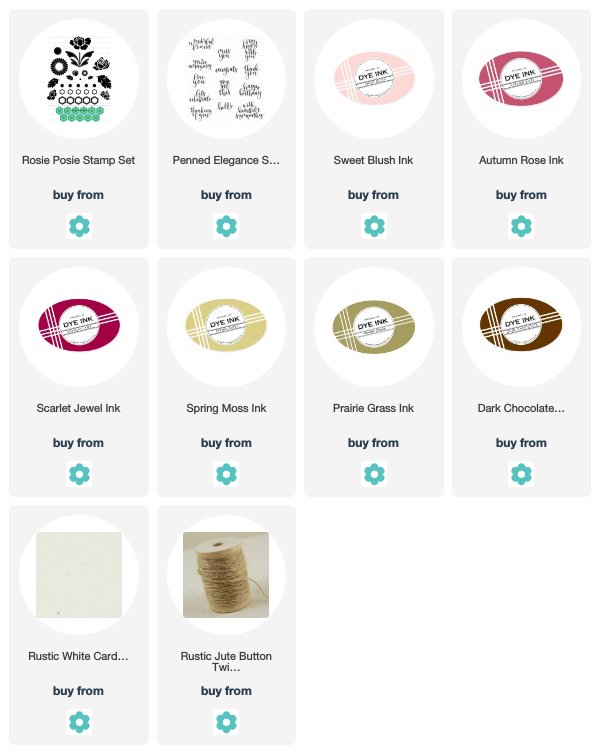
I started with my first card. One layer cards are quick and easy to produce and a whole set of them packaged together can make a lovely gift. Even better, a sentiment set like Penned Elegance paired with a wonderful floral like Rosie Posie makes it a snap. Just switch our your colors and your greeting for a collection of handmade cards that cover a wide variety of occasions.

LizzieJones_SimpleToSpectacular_PapertreyInk_RosiePosie_ThinkingOfYou_Simple_Card_2

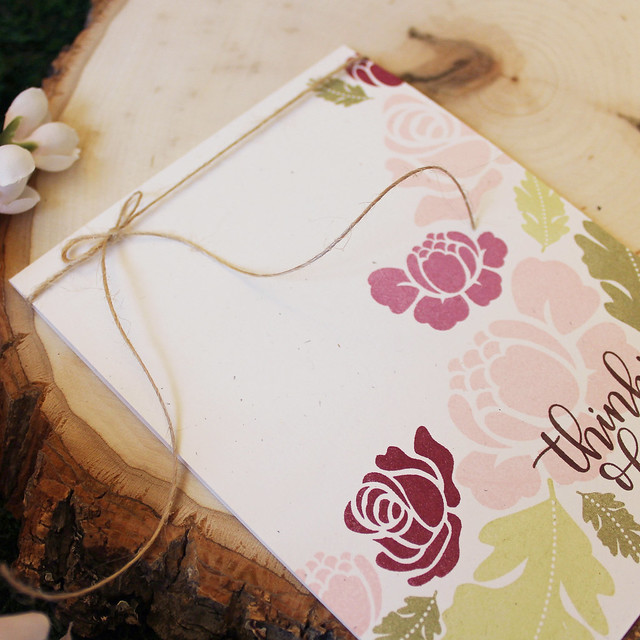
I began by stamping a floral swash along a curved line. I went with a Rustic White card base, so I used more subdued pinks and greens in keeping with the natural feel.

LizzieJones_SimpleToSpectacular_PapertreyInk_RosiePosie_ThinkingOfYou_Simple_Card_3

Once those inks were dry, I stamped my sentiment and tied on a Rustic Jute bow. Even one layer cards can use a little zhuzh.


Intermediate

LizzieJones_SimpleToSpectacular_PapertreyInk_RosiePosie_ThinkingOfYou_Intermediate_Card_1

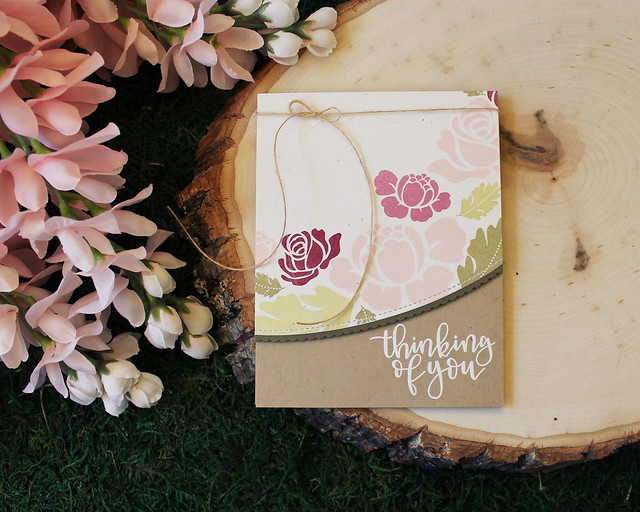
For my intermediate card, I decided to add a bit of texture and contrast.

LizzieJones_SimpleToSpectacular_PapertreyInk_RosiePosie_ThinkingOfYou_Intermediate_Card_2

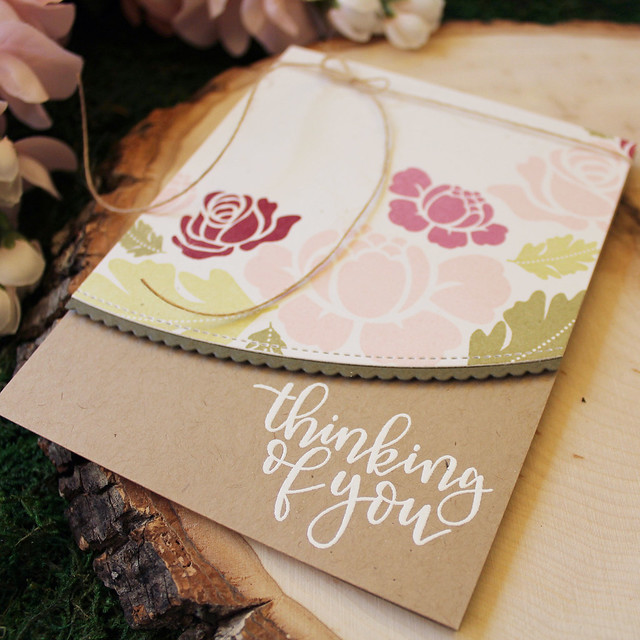
I cut the front panel with the Round Off Edgers before stamping the flowers in the same color palette. Then, I added a scalloped Olive Twist trim along the edge and tied another Rustic Jute bow.

LizzieJones_SimpleToSpectacular_PapertreyInk_RosiePosie_ThinkingOfYou_Intermediate_Card_3

I heat embossed the sentiment on a Kraft card base this time. The white embossing really pops and ties in to the Rustic White panel.


Spectacular

LizzieJones_SimpleToSpectacular_PapertreyInk_RosiePosie_ThinkingOfYou_Spectacular_Card_1

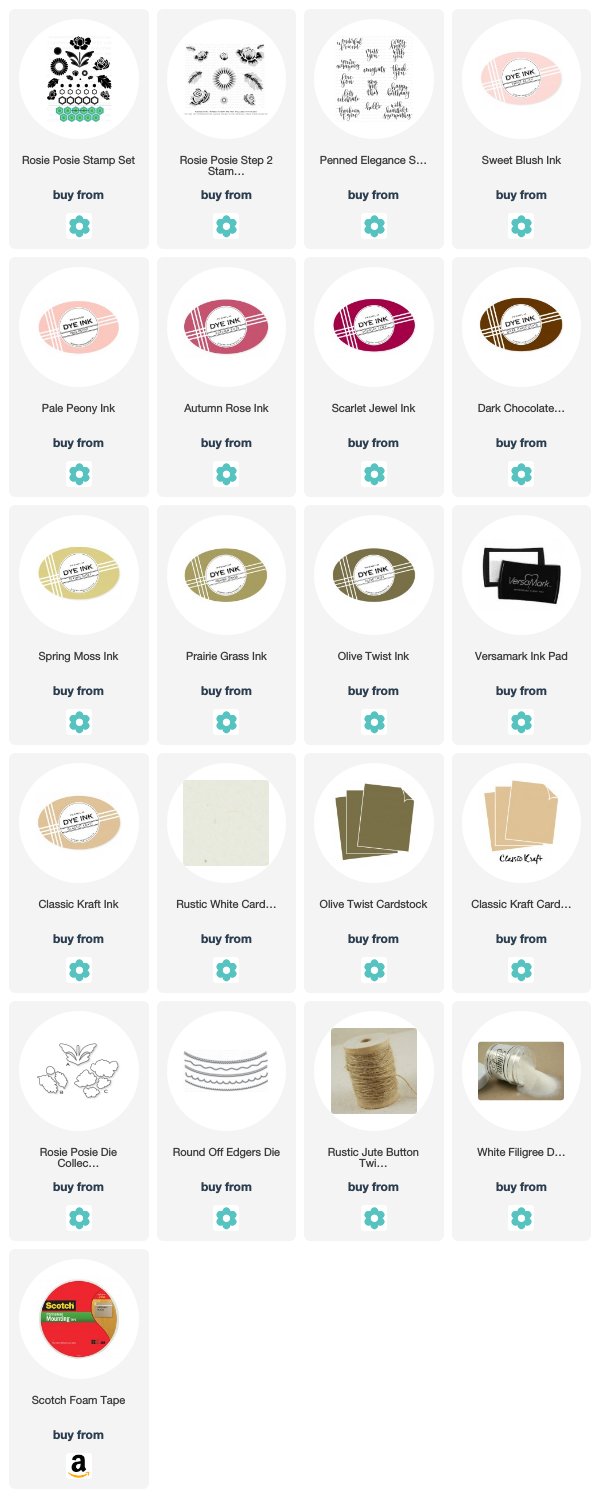
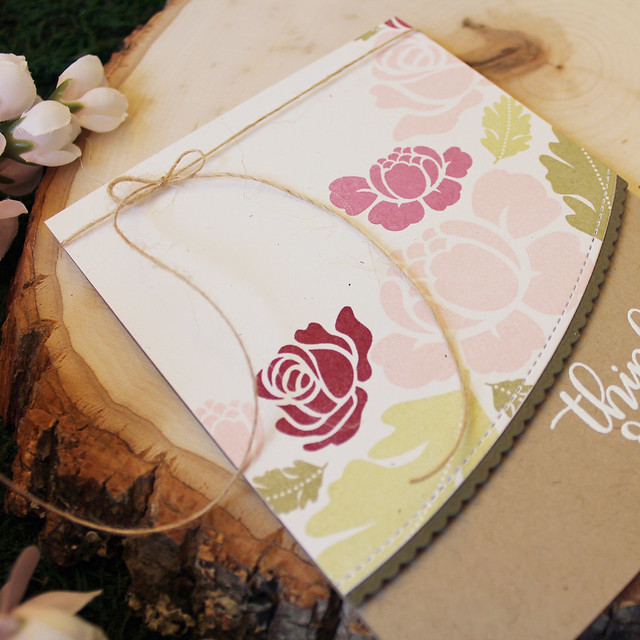
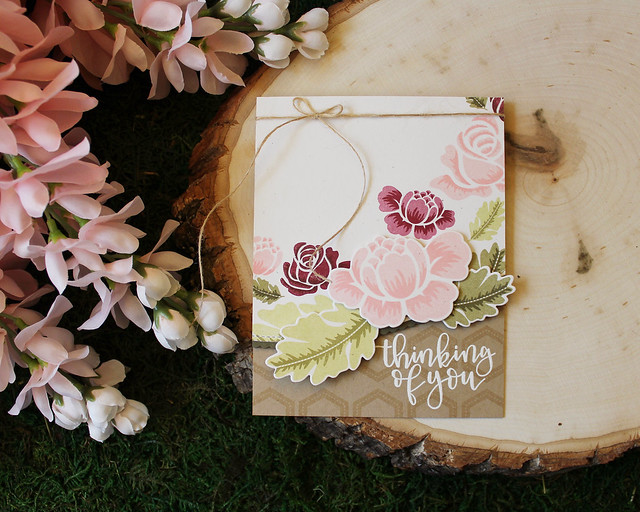
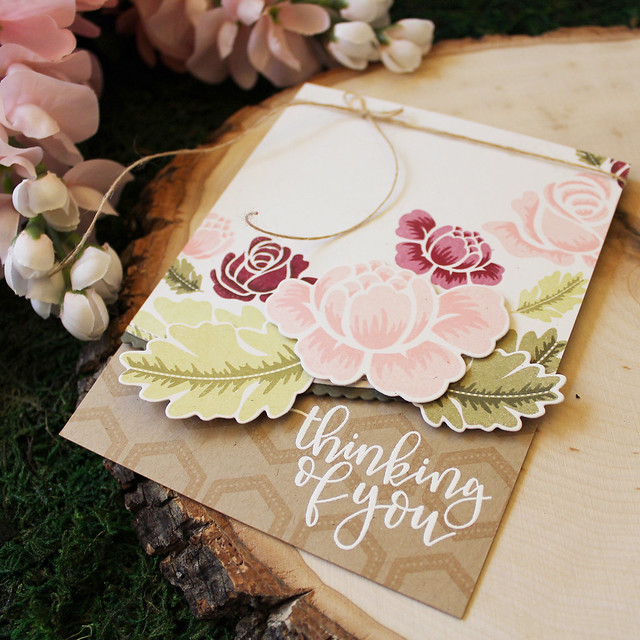
On the more complex end of the spectrum, I decided to go all out with layered stamping and die cuts.

LizzieJones_SimpleToSpectacular_PapertreyInk_RosiePosie_ThinkingOfYou_Spectacular_Card_2

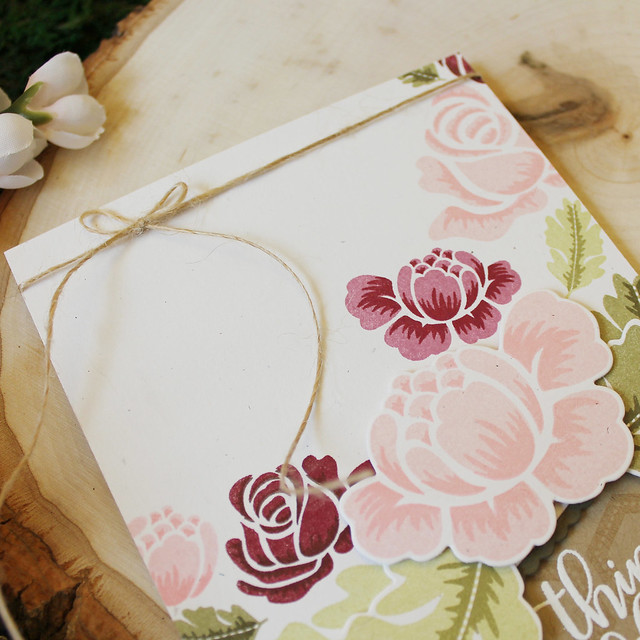
I paired Rosie Posie with the companion Step 2 set to give the blooms themselves a little additional interest. I also die cut and popped up the largest flower and a couple of its surrounding leaves.

LizzieJones_SimpleToSpectacular_PapertreyInk_RosiePosie_ThinkingOfYou_Spectacular_Card_3

I went with the same die cut panel and Olive Twist trim against a Kraft card base, but this time I used the large hexagon background strip in the set to give my card base a little bit of extra texture. The monochromatic stamping doesn't distract from the sentiment, but it does amp up the interest.

Thank you so much for joining me today! Make sure to pop in on Betsy and Laurie to see how they're using Rosie Posie for this month's challenge. Have a great day and I'll see you again soon!

Supplies:

Simple

Intermediate


Spectacular